Ever since I mounted an electric motor to the front wheel of my
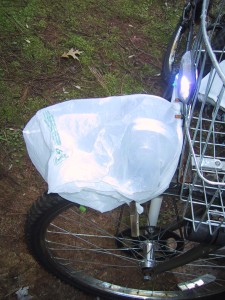
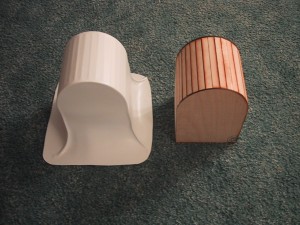
bicycle I have been keeping a plastic bag over the motor with a clothespin whenever the bike is parked. This does a decent job of keeping rain out of the motor, but the process of uncovering and covering the motor takes extra time. In an effort to make a permanent rain cover for the motor, I built a tool (mold form) out of wood and used a vacuuform machine to shape a piece of plastic over it.
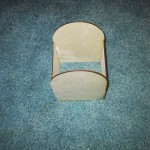
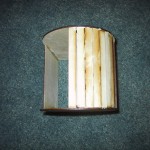
My tool was built out of craft plywood in a box shape with a rounded top. The tool was assembled using wood glue, and is (just) strong enough to resist being “imploded” by the powerful atmospheric forces that squeeze the hot plastic around it in the vacuuforming process. (A tool made out of cardboard would deform under the vacuum.)
The process of using a vacuuform machine is simple.
- Read the manual.
- Turn on the heater and wait for 15 minutes for it to reach operating temperature.
- Place your tool on the lowered tray.
- Clamp a piece of plastic over the tool.
- Pull the heater over the plastic.
- Wait just the right amount of time. The “correct” amount of time will depend upon the type and thickness of the plastic, temperature of the heater, phase of the moon, etc…While watching the plastic, you will see it go slack under the heat, then quickly raise up. After a while, the plastic will start to droop back down. At this point the plastic is almost ready. You still have to wait a bit longer until the plastic is melted enough to be pushed around the tool when you turn on the vacuum. You can push back the heater and poke the plastic (watch out, it’s hot!) to get a feel for just how pliable it is.
- Once the plastic is ready, push the heater back all the way, and raise the platform that your tool is sitting on. Once the platform is all the way up, turn on the vacuum.
- Wait until the plastic is pulled all around your tool. When you are happy with it (or if you hear the tool starting to break under the pressure) reverse the vacuum switch to blow a bit of air between the tool and plastic. This will make it easier to remove the tool from the plastic.
- Unclamp your plastic and pull it out. Expect the tool to be embedded inside the plastic, but with some pulling and bending you should be able to get it out. (You did make your tool without any overhangs, right?)
Here is a video of the procedure:
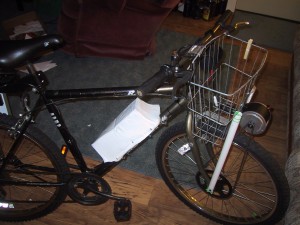
After you have your piece of plastic, you will have to trim the edges off to get it down to what you want. A pair of scissors will work, but may cause cracks to appear going around sharp corners. A rotary cutting tool (Dremal) also does a good job cutting through the plastic.
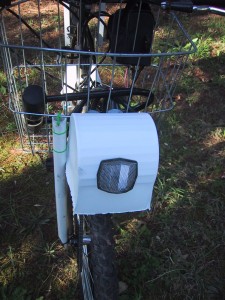
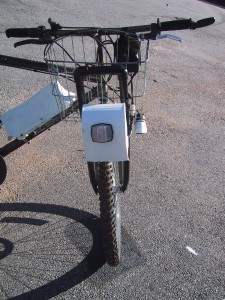
Here you can see the piece of plastic mounted over the motor, protecting it from rain.
Update: Noise Dampening
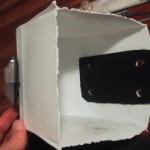
Because this motor cover is made up of rigid but thin plastic, it acts as a sounding board for my motor, greatly amplifying its small hum to a loud noise. I certainly didn’t have to worry about sneaking up on anybody with my electric bike! To mostly eliminate this noise, I cut two pieces of neoprene rubber (from an old laptop case) that are used to sandwich the plastic motor cover and isolate it from the mounting bolts. This does a great job dampening the vibrations.


Pingback: Jay’s Technical Talk › The $175 Electric Bike
thanks for post this information i really impress thanks for share.