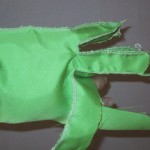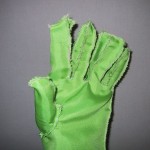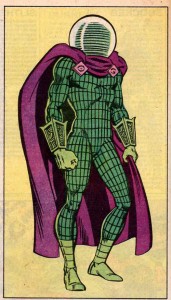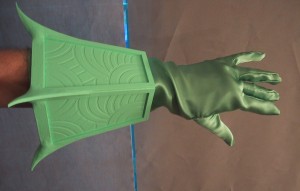
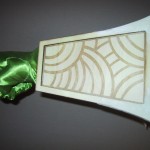
The pictures above show my right-hand Mysterio costume glove, on it’s own and with the bracer.
A note: I do not recommend that you sew your own costume gloves. It’s a lot of work, and takes a lot of time, which you can probably better spend on other aspects of your costume. However, if you have decided that your gloves NEED to be made out of specific fabric to match other aspects of your costume (such as Mystero’s boots), here is how to do it.
I found the following websites to be valuable references:
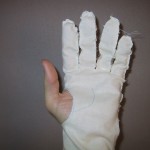
Step 1: Referring to the above websites for the general pattern shape, trace out your hand on a folded piece of paper, and then cut a test piece out of muslin or some other cheap cloth you have laying around the house. Hand sew this cheap cloth up into a glove, making note of where you got it too small (likely) or (possibly) too large. Note the three pieces of cigar shaped cloth that will be sewn along the insides of your fingers to make your index and middle fingers have 4 sides, and your pinky and pointing finger have three sides. If you don’t understand how these pieces work, re-read the above websites!
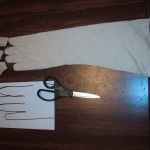
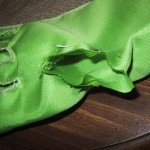
Step 2: Make your thumb piece of cloth, sew it up one side. Cut the thumb hole where appropriate and attach the thumb to the glove. The picture below shows the thumb cloth inserted using my “real” fabric, as this fabric has a “right side” and a “wrong side” (muslin does not). Don’t forget to turn your thumb “right-side out” before you stick it into the thumb hole! The “right sides” must face each other! It may look backwards, but since you are putting the thumb “inside” the glove, once you turn things inside out everything will be correctly set up. Remember that the seam on the thumb should face the palm of the glove. If you made it big enough, the base of your thumb piece will have extra cloth which allows you to adjust the angle and fit different sized thumb holes. Arrange the thumb piece appropriately, pin it in place, and then cut the extra cloth off before sewing around the hole. Unless you have a specialized sewing machine, you will probably have to hand-sew your thumb to the rest of the glove.
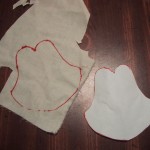

Step 3: If you are happy with how things worked out, rip out all the seams on your test glove, saving the fabric. Transfer the pattern to paper by tracing around the pieces of cloth giving yourself 1/4 to 1/2 inch seam allowances. This is your chance to fix anything that was the wrong size on your test glove. Use these paper patterns to cut gloves out of your “real” fabric. Use fabric scissors or a rotary cutter and cutting mat if you can steal one from your wife.
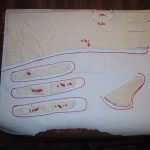
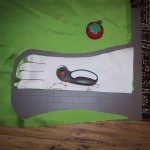
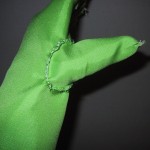
Step 4: Sew the real fabric using the experience you gained from hand sewing the test gloves using a sewing machine or serger. Note that the glove will be inside-out when you finish. When you turn the glove “right-side” out, it will magically transform from a left-hand glove to a right-hand glove. Here is a picture of my completed inside out and right-side out glove for my Mysterio costume. The fabric I am using is not really the best for making gloves, but I was limited by the available colors and material selection at my local fabric store. The type of fabric, slightly large pattern, and seams inside the glove combine to give my hands a “substantial” super-villian look. You can get a close look at any of the photos in this post by clicking on them to zoom in.
Step 5: Make a second glove! (I haven’t done this step yet…did I mention that sewing gloves takes a lot of time?). When you make the left hand glove, make sure that you are making an “inside out” right hand glove. You can basically use the same pattern, but will have to cut your fabric on the other side.
