A few things I learned from hands-on experience:
- If the bubbles are large enough to touch the side of the column, they don’t form spheres. Instead, they look like a jellyfish or bullet rising in the column. (You have to inject a very small amount of air to get a small round bubble.) I kind of like the visual effect, but if you wanted round bubbles (with water) you might need to go for a column that was larger than 1″.
- The water in the top of the column will rise the same height as the total height of all bubbles rising up in the display. (I guess I hadn’t fully internalized the story of Archimedes in the bath….) This means that if you want to have multiple large bubbles moving through the display, you’ll need several inches of “headroom” at the top, or suffer overflows. (Ask my wet garage floor how I learned this…)
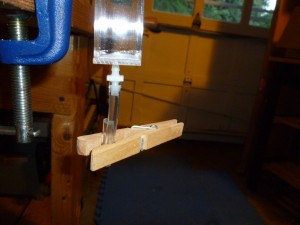
- Because the nozzle is so small, it throws out a stream of bubbles which gather together a few inches above the nozzle. (The bubbles at the front have more drag, so the bubbles behind them catch up until they all form into a single large bubble.) This effect takes a few inches in water, and may take a lot more height in glycerin.
- Always buy spare parts. After acrylic welding the bottom on the square 1′ column, I attached a check valve (which dripped). Then I attached a different check valve, which had no problems. McMaster-Carr is running 1 for 2 in the functioning check-valve competition….I hope the third one I have also works.
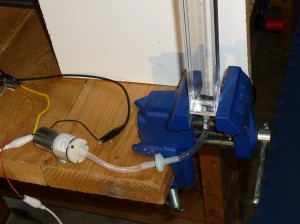
After I found a working check-valve, I added an air pump/motor combo and rigged it up so that I could manually activate it with a switch. I will need to test things out with a microcontroller to test super fast sub-100ms activation times.
Here is a closeup video of the end of the nozzle:
Here is a picture of the pump, check valve, and acrylic column (click to zoom):


