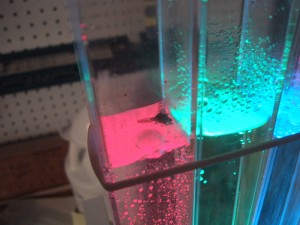
How do you make sixty bubble display tubes?
One. By. One. Well, actually, you do sixty duplicates of each individual step. The steps are:
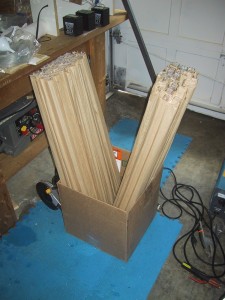
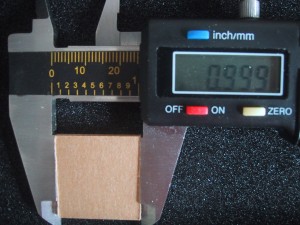
One: Cut lots of 1″ by 1″ squares from 4′ by 1″ by 1/8″ acrylic strips. These will be your tube end plates. Try and get your cut to be slightly under one inch, as the 1″ cut from the factory is slightly over. This will mean that you have to position YOUR cuts to the sides of the tubes that fit up with other tubes if you want them to not have gaps.
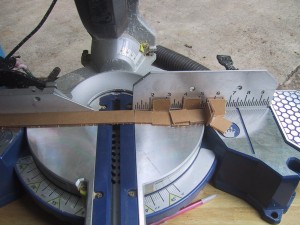
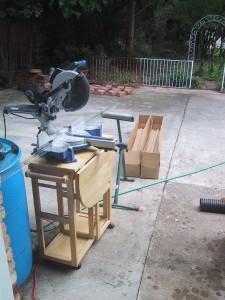
Two: Cut all of your nominally six foot tubes in half. Note that because they are nominally 6″ (and in actuality are closer to 73″) cutting them at 36″ gives you two different lengths of tubes, so measure both sides. Be sure to examine each tube BEFORE you cut it, as some of them may be damaged in shipping (scratches or even completely crushed ends). And you can’t really send it back if you cut it in half before you notice the damage. (This is why you should always order extra parts…) Cut fast enough to minimize melting which causes plastic gunk to get stuck to the tube, but slow enough to minimize cracking and chipping of the tube (which could keep your bottom plate from sealing!).
Three: Use a flat needle file to pry and file off any plastic gunk that did get stuck inside the tube. Also file the edge you will be gluing to the end plate completely flat. I find that by filing at a 45 degree angle across the face of the end square I can get all of the sides flat. Note that your cut end MAY (or may not) be better than the factory cut end for flatness. Examine both and pick the one that looks the most flat (so that it will make a water tight seal with the end plate).
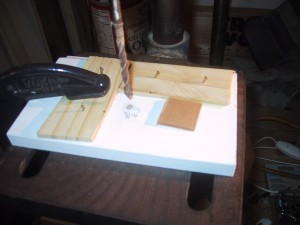
Four: Prepare your end plates. Drill a hole exactly in the center. I strongly suggest that you use a drill press for this, along with a positioning jig. Doing it with a hand drill would seriously impress me. Be sure to clamp your jig into the drill press, and use the hole in the jig to align the drill bit. Test your jig for absolute correctness before making sixty copies! I used a 3/16″ drill which worked well for my 1/8″ hose barb ends. Depending upon your nozzle the hole size may change.
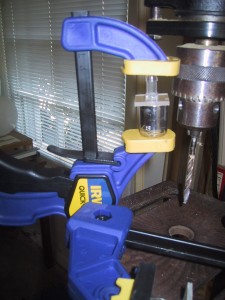
Five: Glue the nozzles to the end plates. Put on your Nitrile gloves and use a q-tip to wipe Acrylic Welder onto the base plate. Then coat the bottom of the nozzle plate with welder. Press the two together and hold with a quick clamp. I used a socket to act as a spacer so the bottom of the quick clamp would press against the base plate and not the nozzle sticking through it. Then use the q-tip to set the joint by touching the four corners, allowing acrylic welder to wick into the joint. Keep it clamped for at least five to ten minutes while it fixes. (The more clamps you have, the more you can do in parallel.)
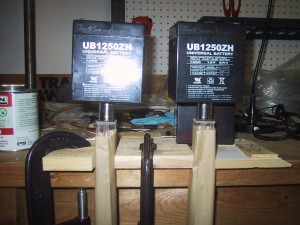
Six: Glue the end plates to the tubes (This is the hardest glue weld to get right). (I combine this step in parallel with the last one, as you will be wearing the nitrile gloves for both steps if you like your liver.) Unless you have a four foot pipe clamp (which I seriously considered buying just for this step) you will have to use a heavy object (such as a lead battery) to provide pressure while the acrylic solvent welds the two parts together. Wet the end of the acrylic tube, then wet the edges of the base plate, then wet the end of the tube one more time before assembling them (quickly). Use your fingers in the nitrile gloves to align the base plate to the end of the tube, trying to minimize any overlaps or rotations. Quickly place a socket or other spacer onto the end plate so that the heavy weight doesn’t push on the nozzle, and use the weight to hold the base plate onto the tube. Let sit for at least five minutes. As soon as you remove the weight, lift up lightly on the nozzle. If the end plate pops up, you didn’t do it well enough. Check your file job to make sure that the acrylic tube is really flat, and re-try. If you can lift the tube up with the nozzle/end-plate, then you are halfway done. Turn the tube over, and use a q-tip to spread acrylic welder along all four sides of the joint (again!). This will (hopefully) cause the solvent to wick into any spots that are not already water tight. Set the tube aside (end-plate/nozzle side down) for at least a day before testing it for water tightness. If you have more than one support/gluing station, you can parallelize this procedure. You are almost done! Only sixty tubes to test for water tightness!
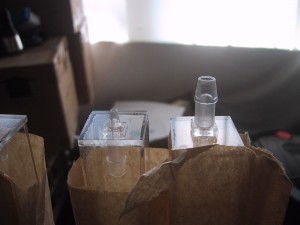
Note that your nozzles should point into the tube. If you find yourself making mistakes like this, take a break. (You can fix it by using a bandsaw to cut the end plate off and gluing it to the other side of the tube.)
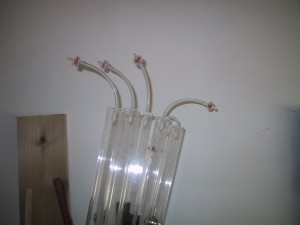
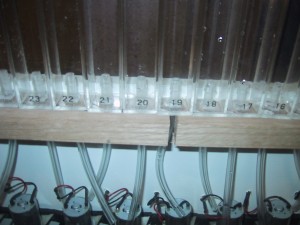
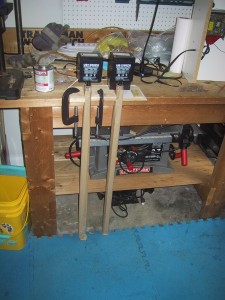
Seven: Test each tube for major leaks by, wait for it, filling it with water. Plug a check-valve and 1/8″ ID tubing onto the bottom nozzle, hold the tube up using a paper wrapped vise to protect it from scratches, and fill it with water. I suggest having a bucket under the tube before you find your first leaky tube. The picture below shows multiple check valves and vinal tubes, but you really only need one unless you are checking more than one tube at a time. After you fill it with water, if it has a leak you will typically see it relatively quickly. Look for water streaming or seeping out of the nozzle hole at the bottom or along the sides. Use your fingers to feel for wetness along the four sides and bottom. If it doesn’t leak in the first ten seconds, it is either 100% good, or has a very slow leak. We will test for slow leaks on all sixty tubes in parallel after all the tubes are in the frame, because they can take a lot longer to find. In my sixty tubes, I only found four leaks (one around the nozzle, and three on the edges). They are relatively easy to fix, just apply more acrylic welding solvent until they go away!
While you are testing for water tightness, you can also use a flat file to knock down any parts of end plates that are sticking past the edge of the acrylic tubes. (You need at least two opposite sides of the tube and end-plate assembly to be completely flat so that tubes can be placed next to each other without gaps.)
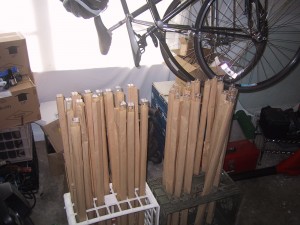
As a bonus side note for those who read the entire directions before starting, I recommend milk crates turned on their sides as a way to hold 12-20 tubes at a time.
