I find that getting a 3D printer working (i.e. printing parts) is relatively straightforward. But getting it FINISHED takes just as much time. Over the last month I have been working on finalizing all of the little bits of my Rostock-Mini that will take it from a “working printer” to something I am willing to put on a desktop and show off.
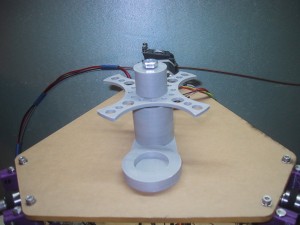
First, I needed a spool roller. I could have mounted the spool beside the printer on top of one of the many tabletop bearing spool rollers on Thingiverse, but I really wanted the footprint of the printer to be self contained, so I decided to mount the spool horizontally above the printer, and of course, designed my own horizontal spool roller system.
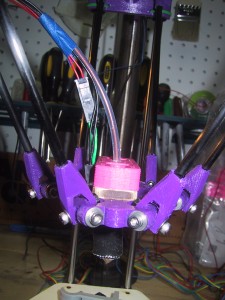
The biggest threat to a “finished” look is wires. Lots and lots of wires. Lets count them up… 4 per servo (16 so far), 2 per end stop (6 more makes 24!), 2 for each heater (extruder/bed) and temp sensor (extruder/bed) and fan (10 more make 34!) plus a few more to power the whole thing!
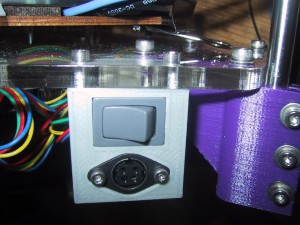
I tackled the power inlet and power switch (a.k.a. Emergency stop!) first, by designing a power inlet block to fit my jack and switch. Although not taking full advantage of the medium, I’ve found that 3D printers do a good job making custom front panels.
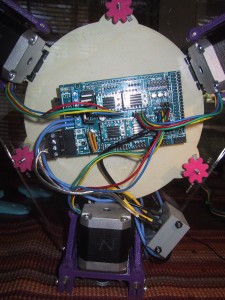
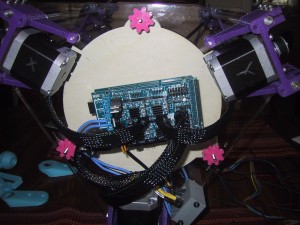
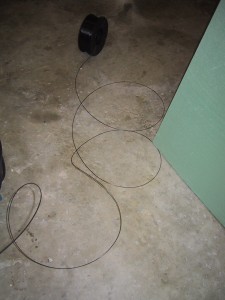
I shortened all of the wires under the base to size and then covered the servos and power wires with a wire mesh. (Wire management, in the form of extra crimp receptacles so that I could make custom wire lengths and wire mesh added $30 to the project cost…and quite a bit of time. After an hours work with my smallest needle nose pliers, I’ll be quite happy to outsource the population of crimp connectors.)
Luckily, with the Rostock-Mini, a good number of the wires are under the base, but even if you didn’t choose to put your extruder servo up top like I did, you’d still have to deal with getting quite a few wires from the endstops and print head down to the base. My current plan is a big long length of wire mesh. (Did I mention that I like this stuff?)
