I decided that I couldn’t wait for the official oneTesla stamped metal toroid to arrive, so I built one myself out of stuff I bought at the hardware store.
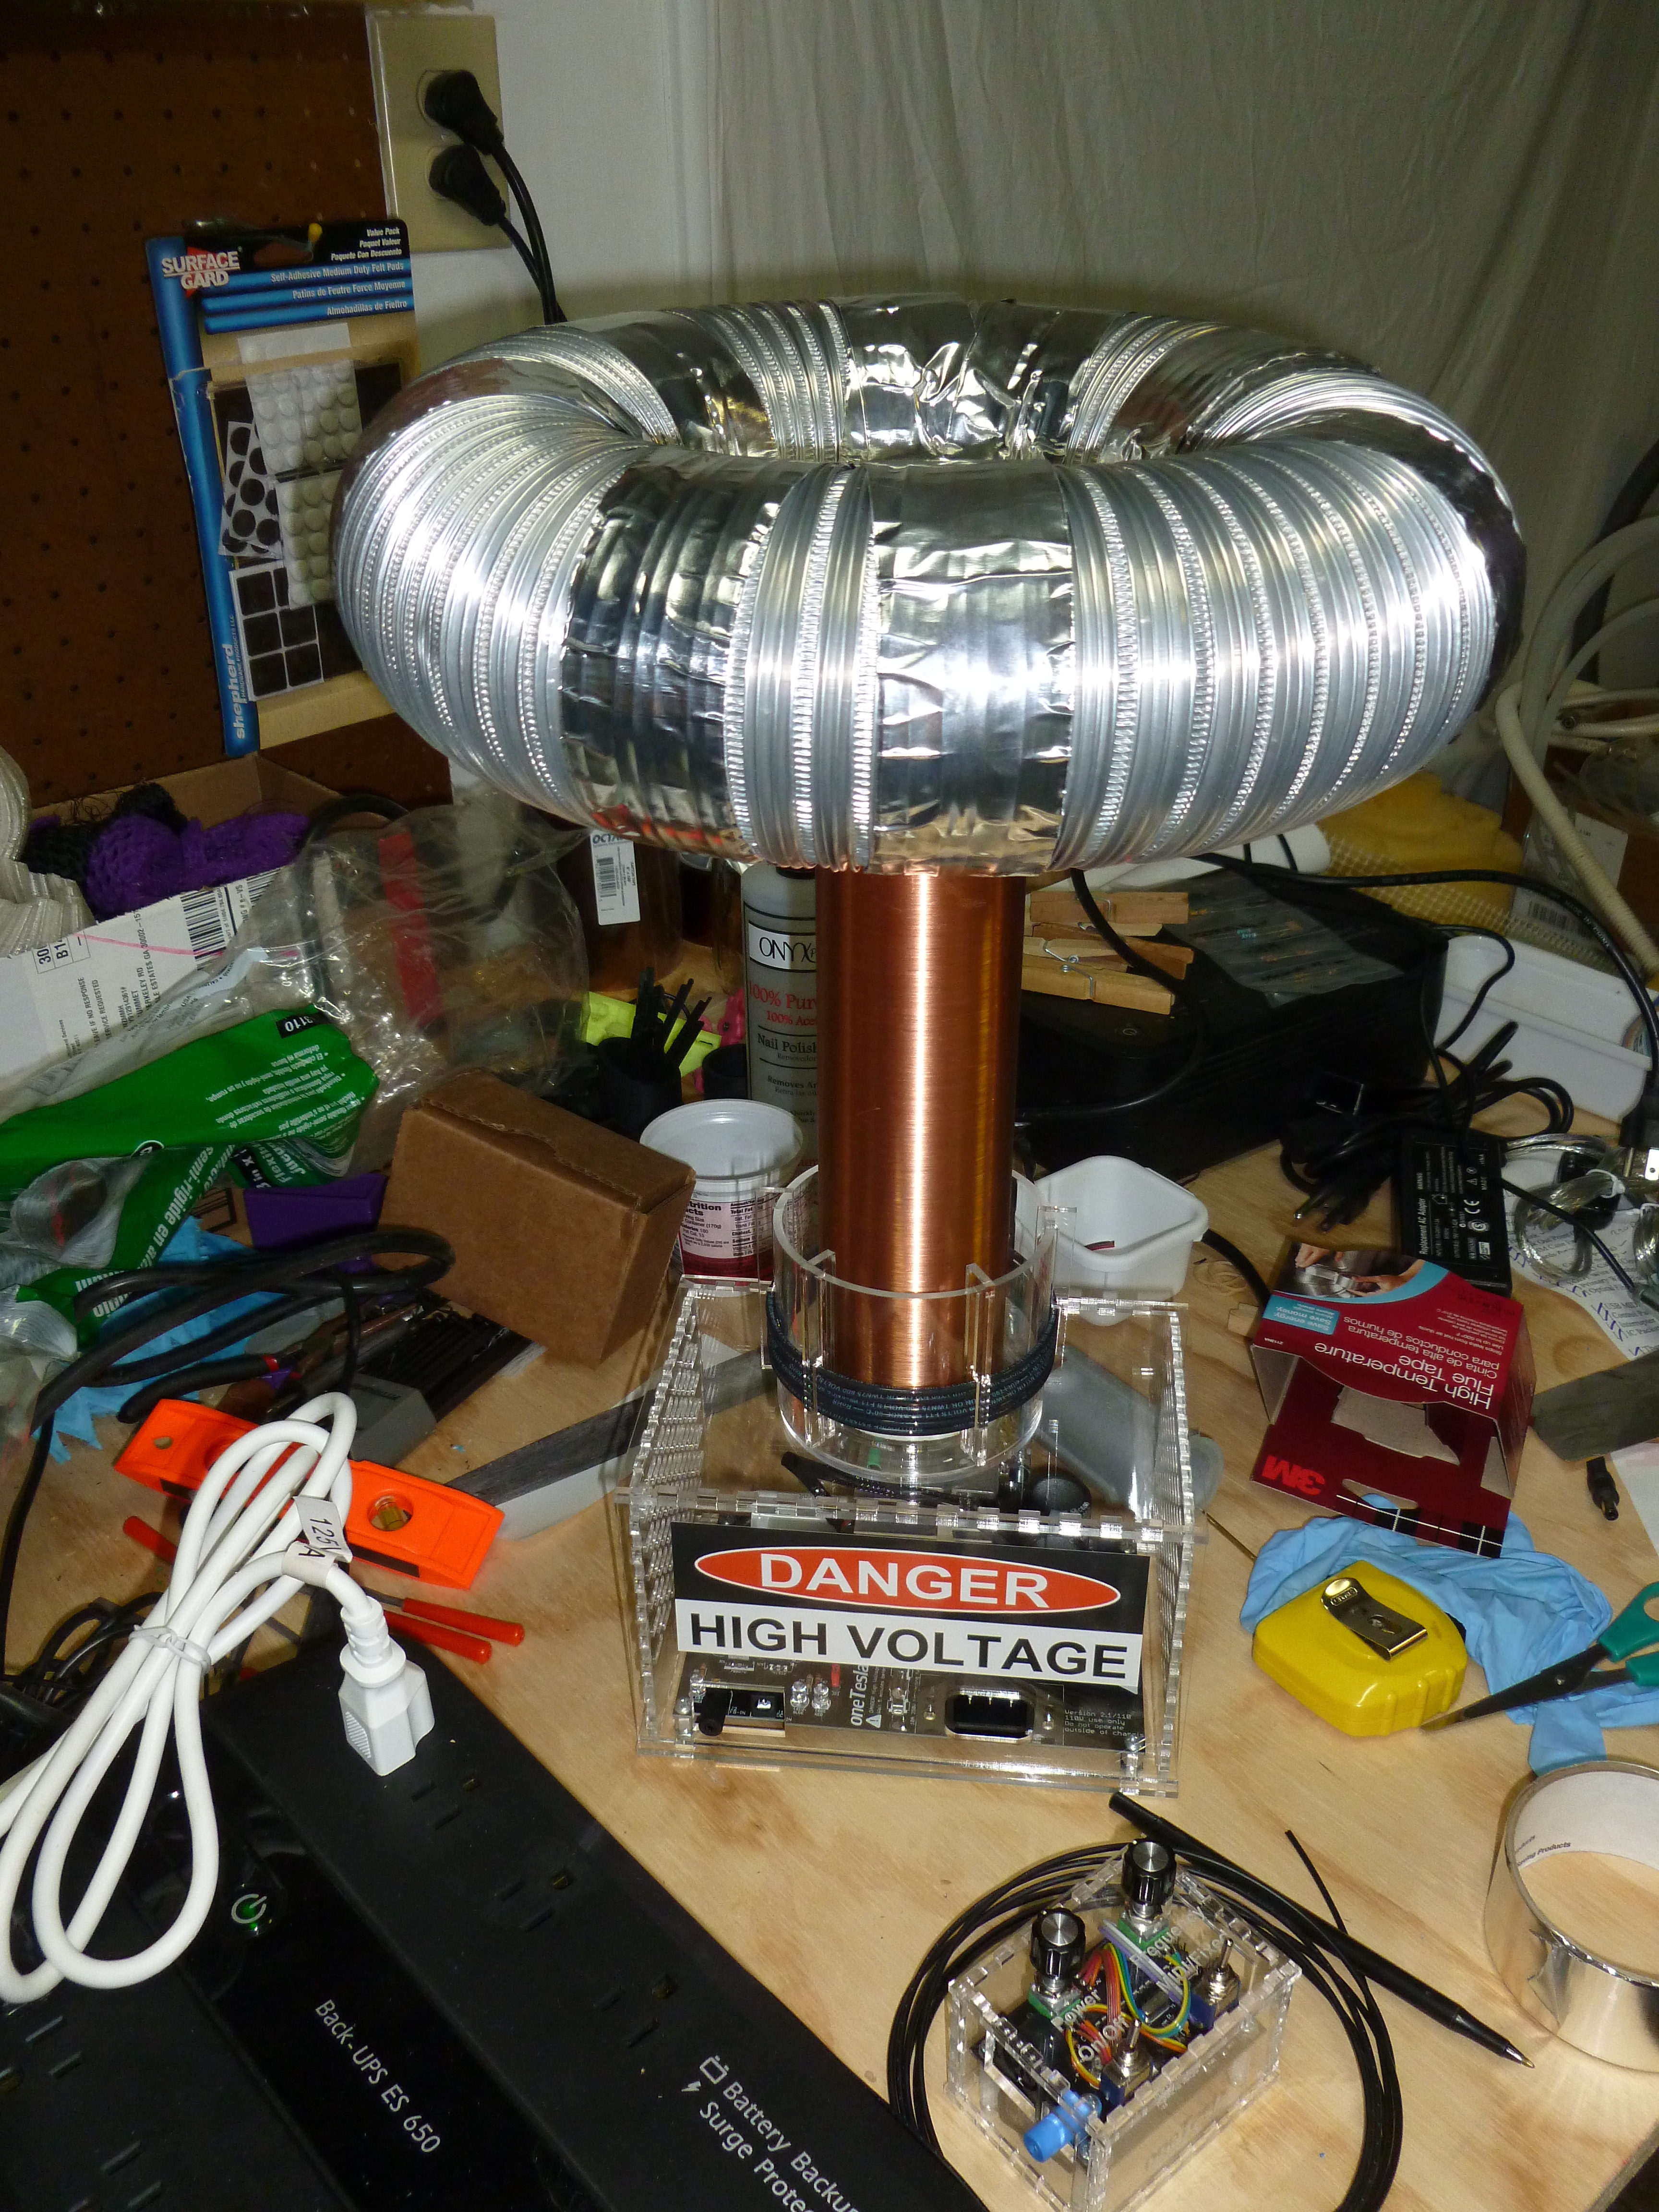
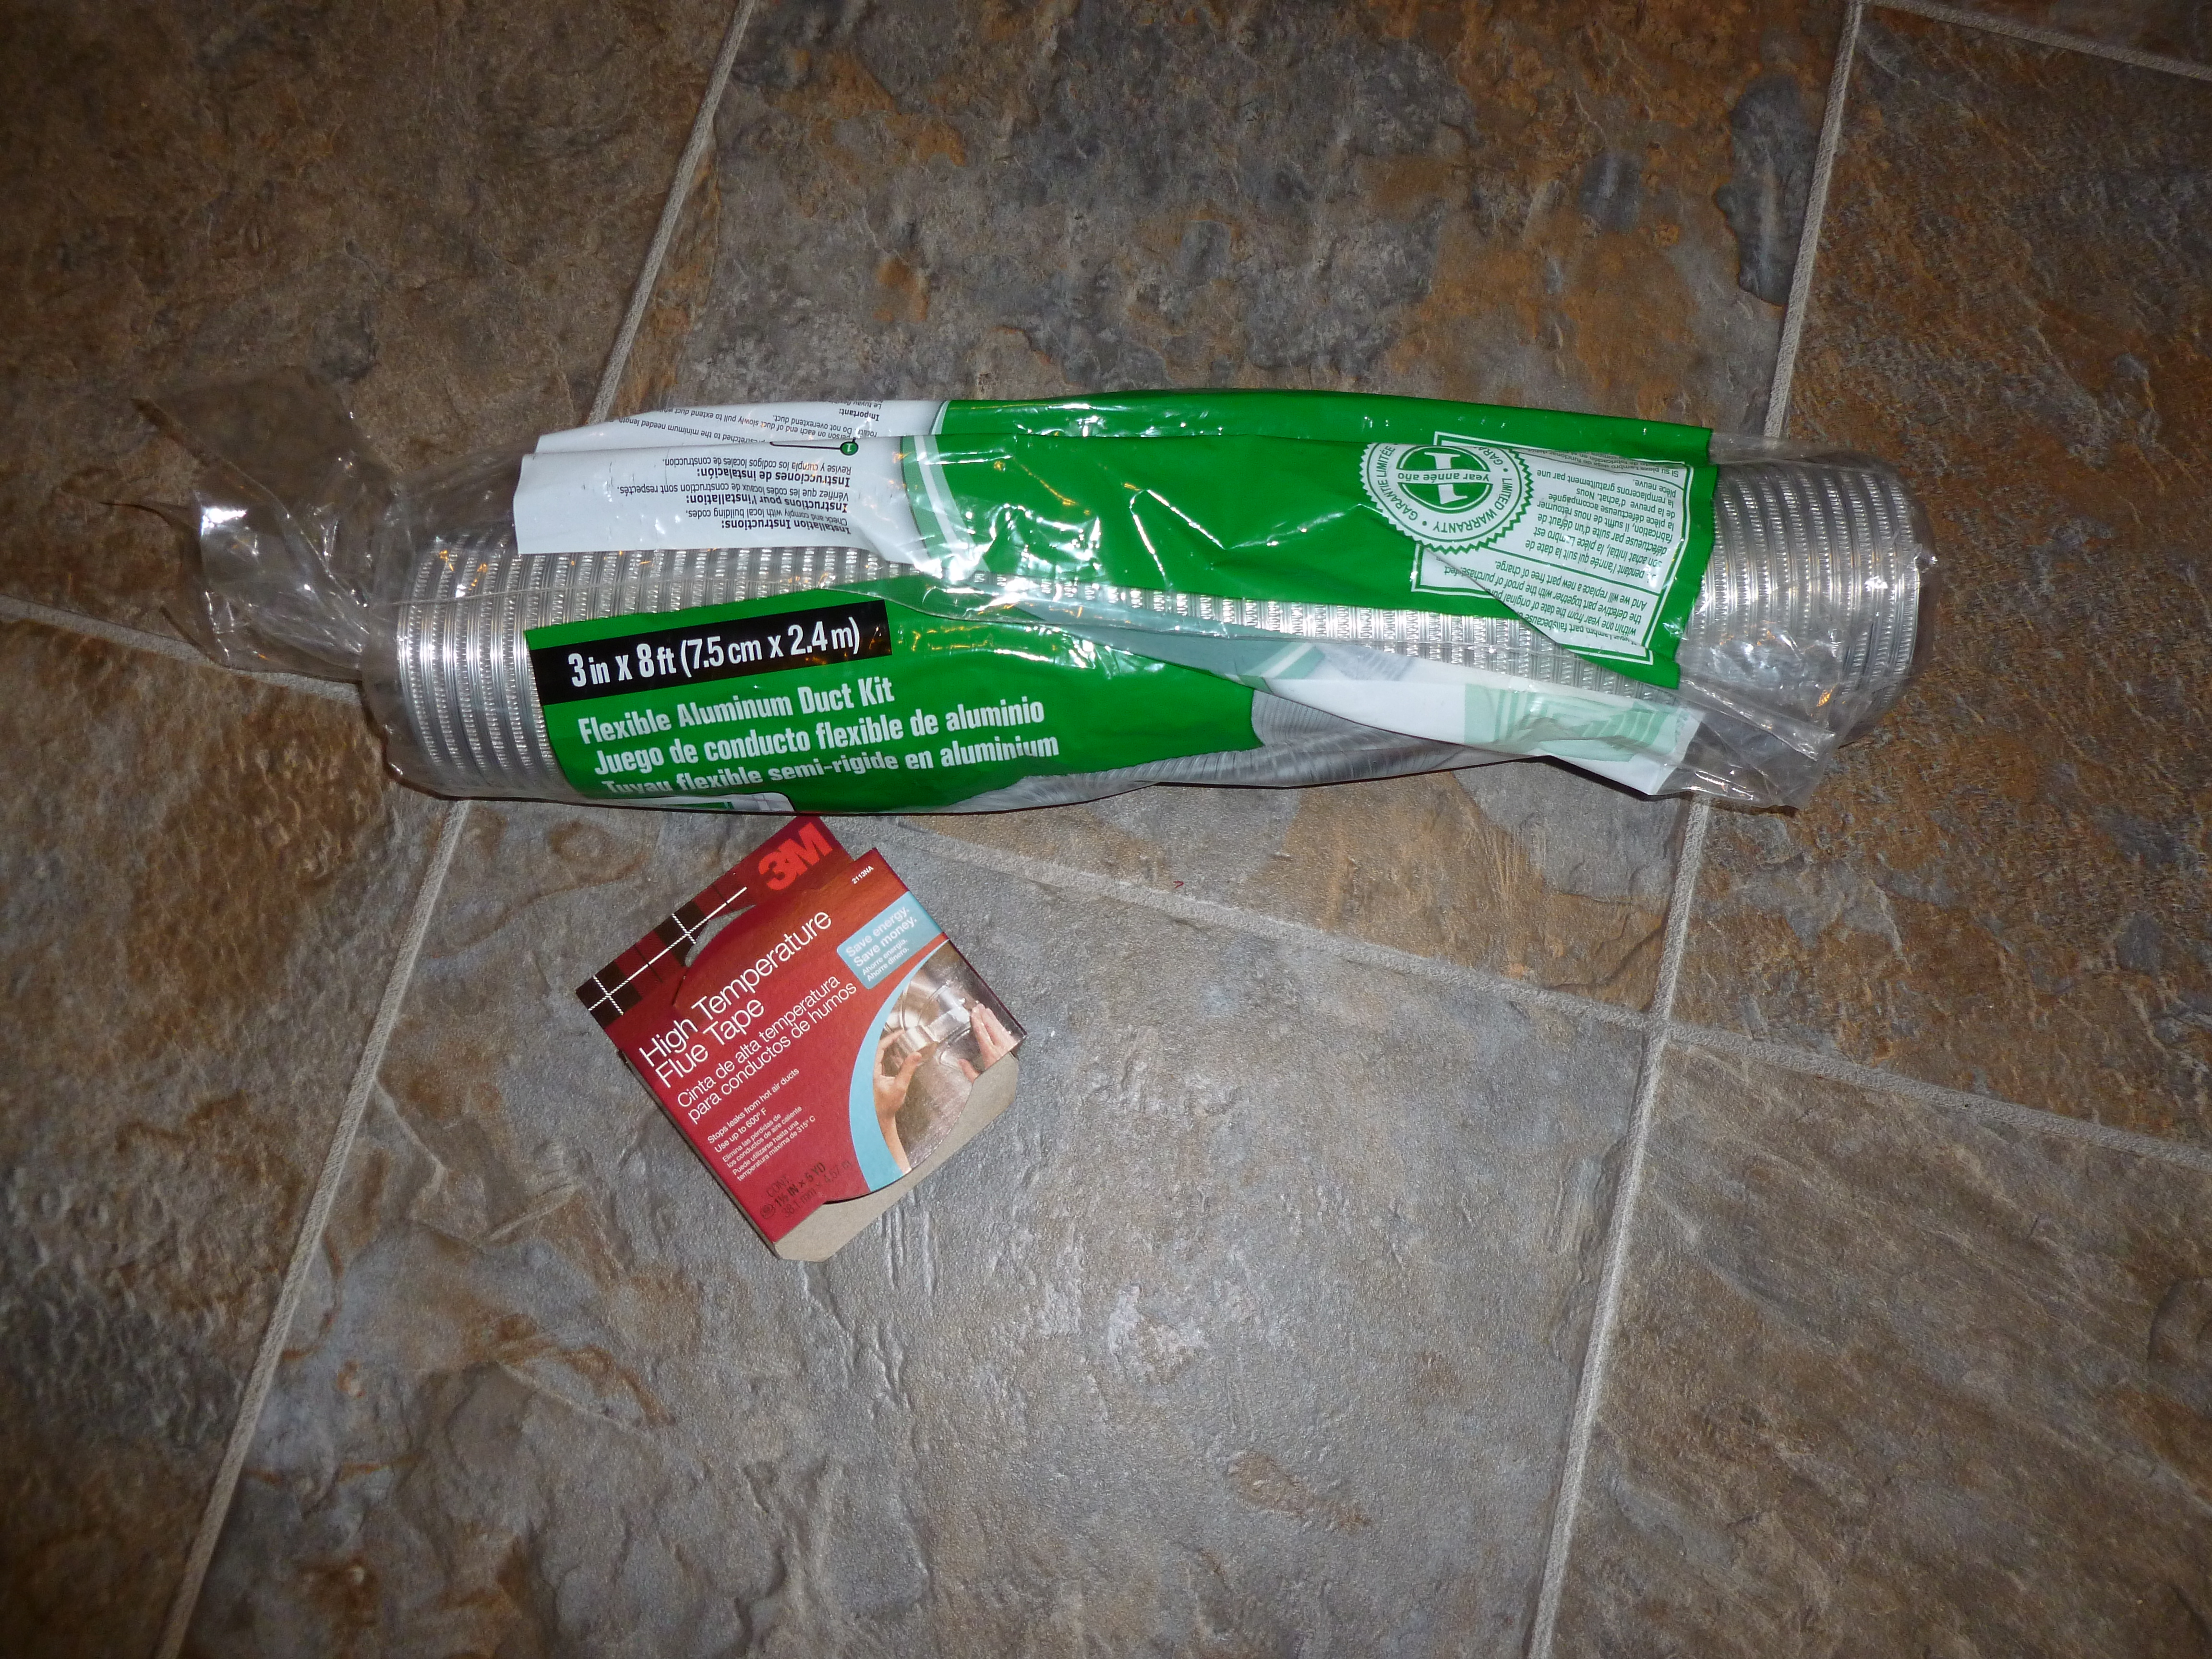
(Specifically 3″ flexible aluminum ducting, and aluminum Duct/Plumbers tape. I couldn’t find any 2″ flexible ducting…more about this later) I ran out of tape, so I couldn’t make it quite as nice as I would have liked, but a lack of tape isn’t my only problems from an aesthetic standpoint. I’m really looking forward to having the professionally stamped toroid, as it should maintain the great aesthetics of the kit.
It actually looked a lot nicer back when I only had one round of tape holding the two ends together. I also had some extra “Great Stuff” expanding foam that I had just used to plug some holes in the house, so I filled the inside of my toroid with some foam to give it a bit of extra rigidity before I taped it closed.

I used a piece of thin plywood to hold the toroid, and wrapped it in aluminum tape (until I ran out).
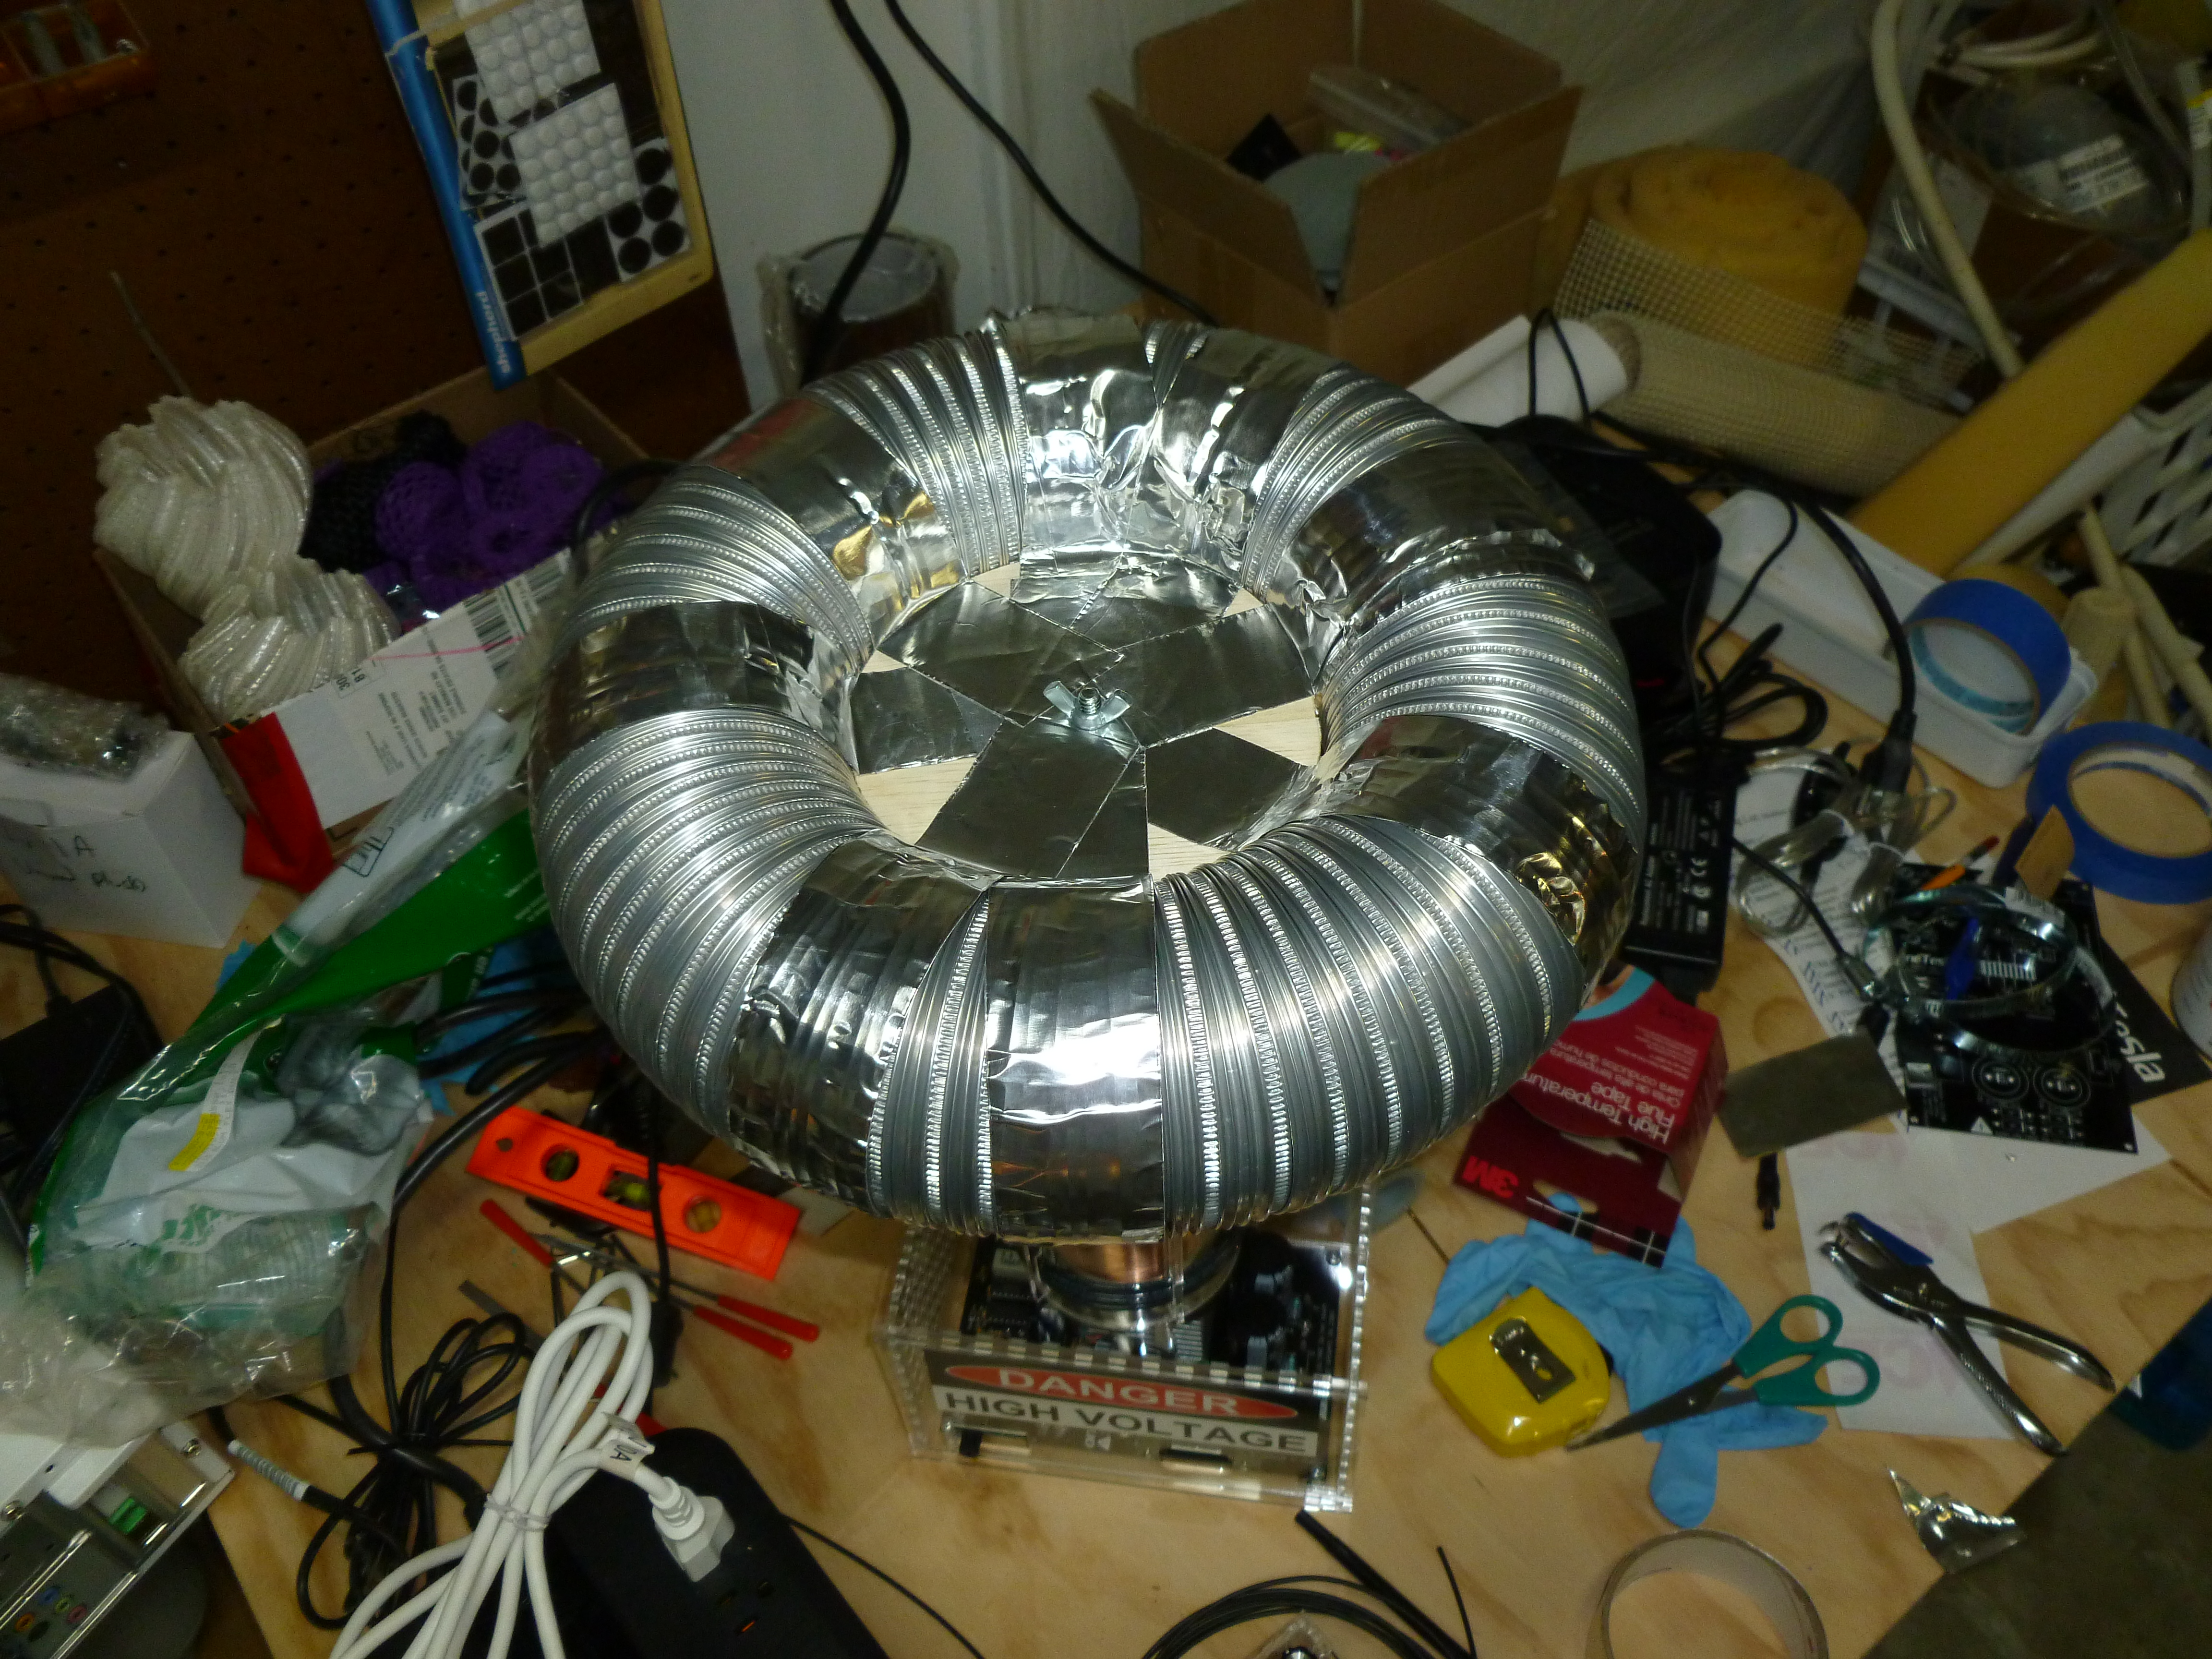
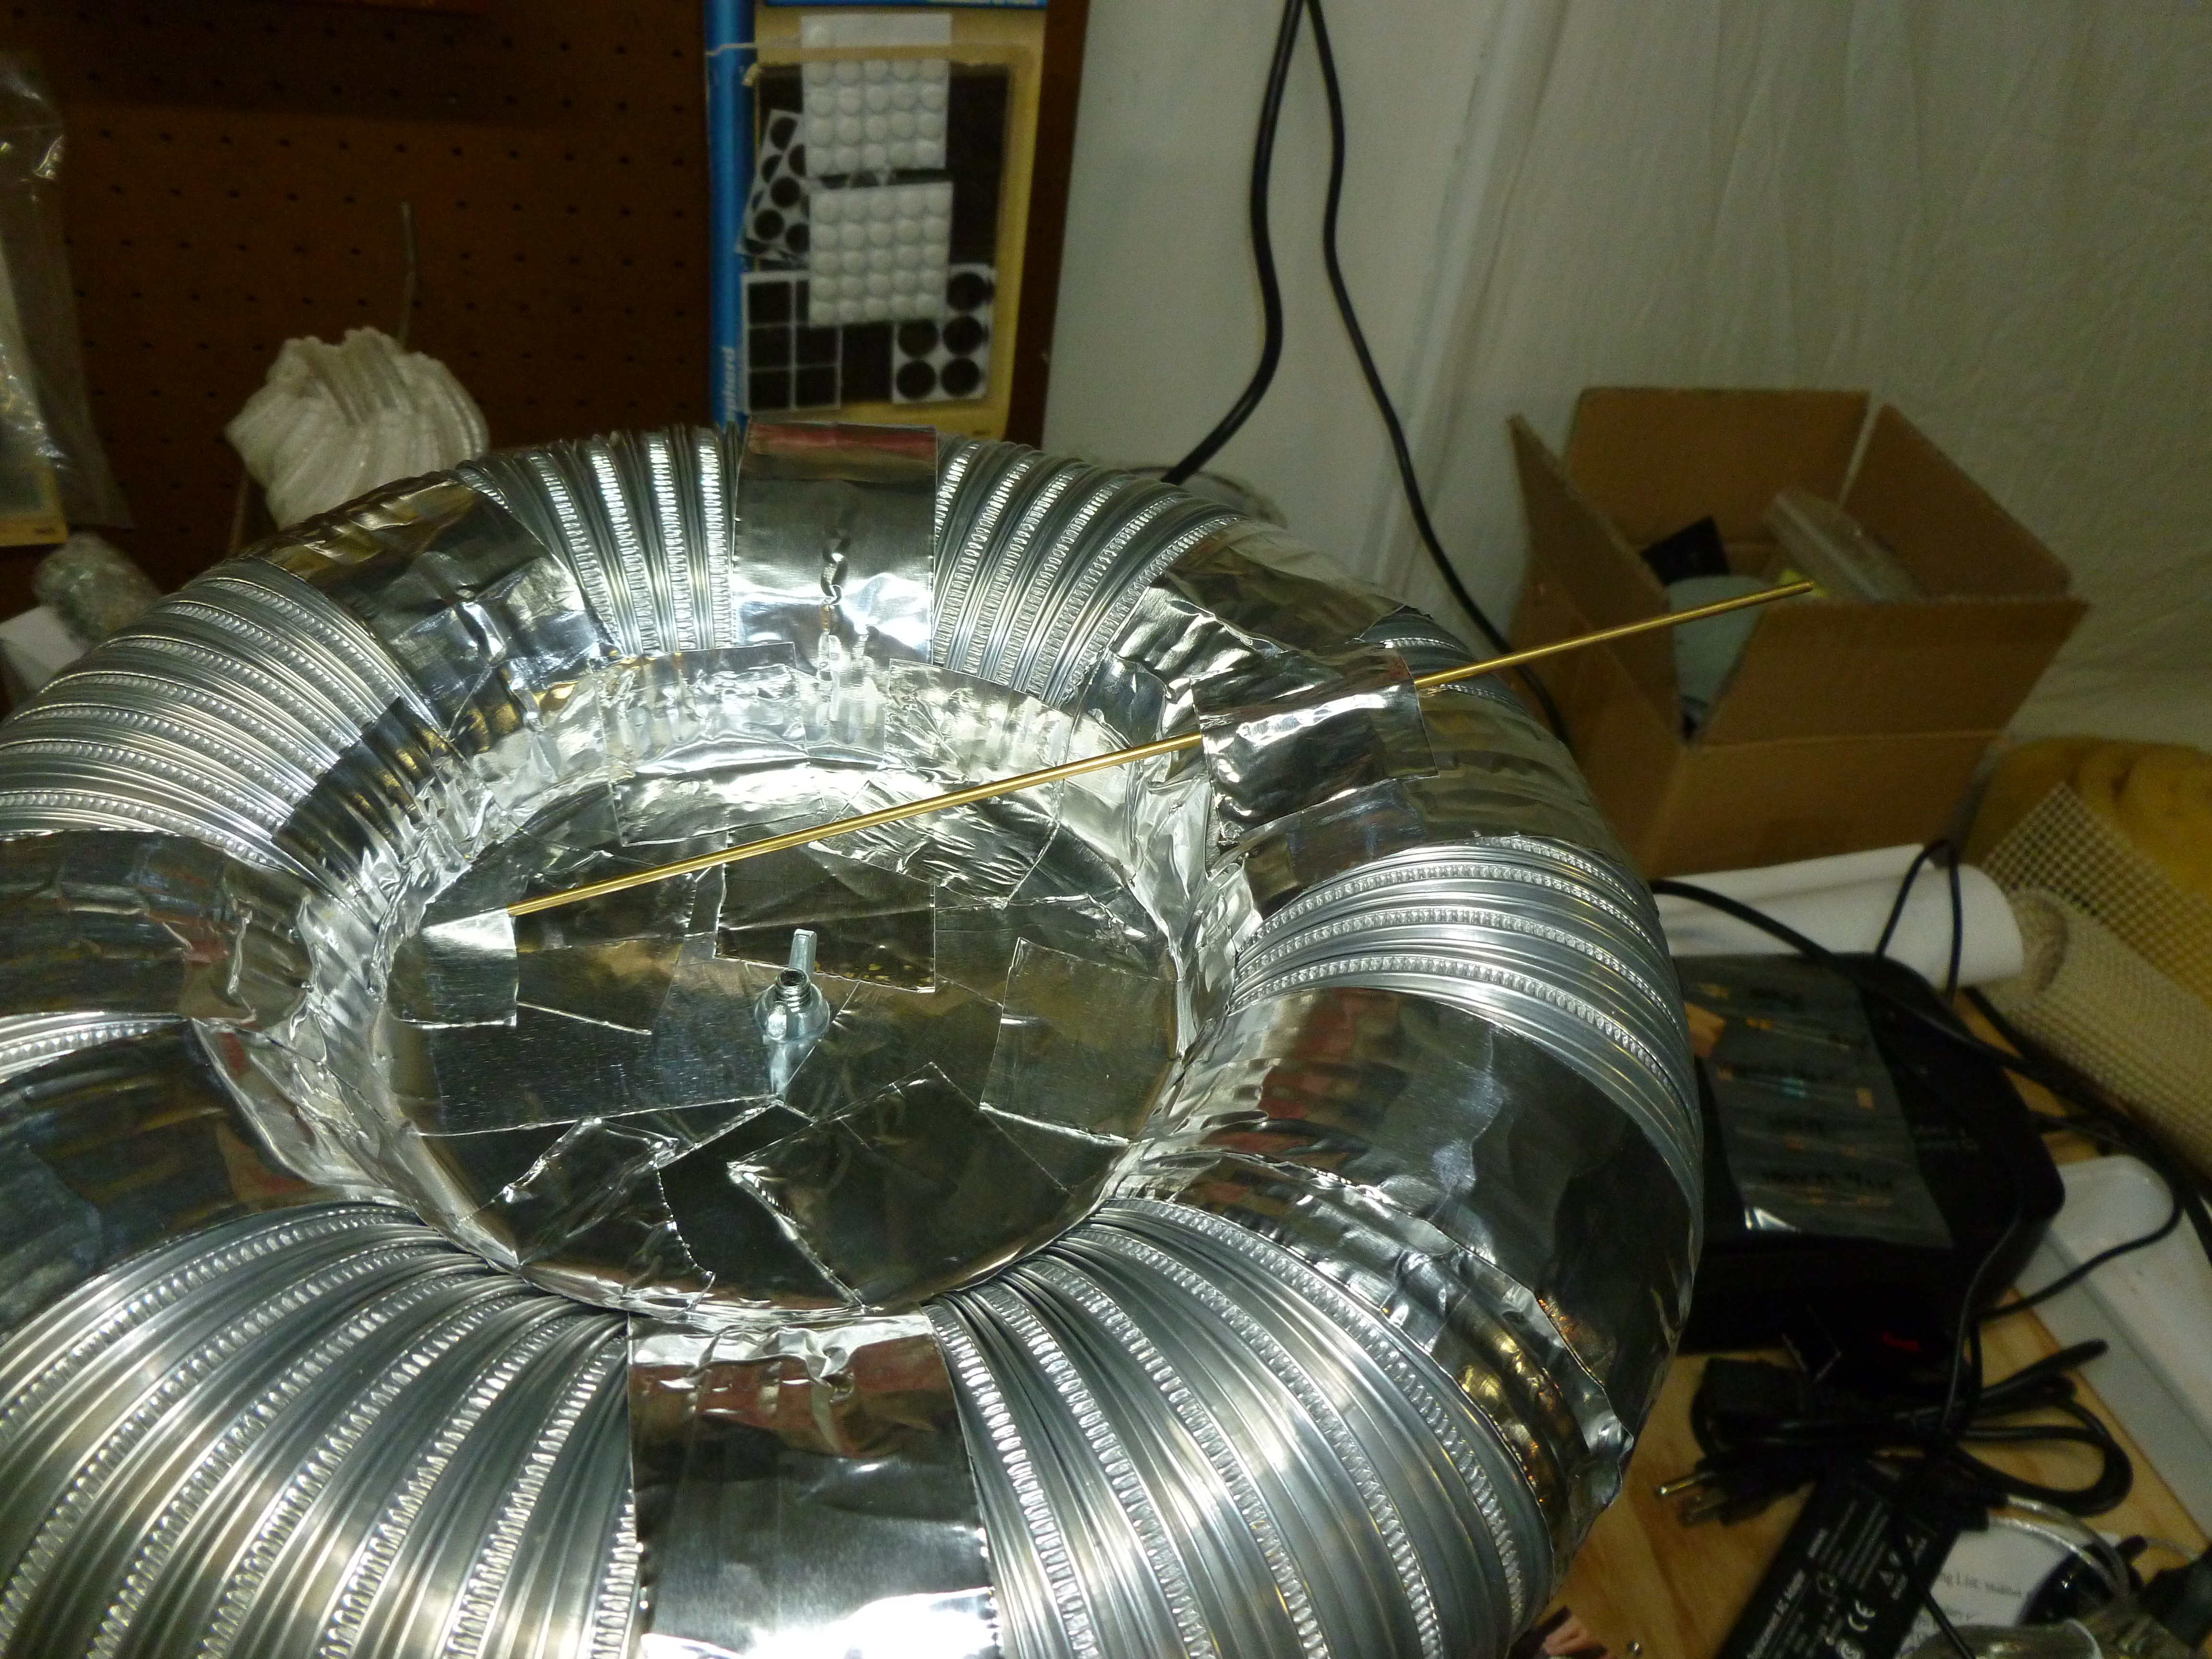
I used the last of my tape to completely cover the top and bottom of the wood circle and bridge to the toroid. I also taped the breakout point coming off of my toroid.
Now, for the big annoyance. Because I couldn’t find any 2″ tubing, I substituted 3″ tubing instead. The toroid has a major dimension of close to 11 inches and the diameter is 3″. The oneTesla recommended toroid has an 8″ major dimension and a 2″ minor dimension. I don’t know how much this will affect the Tesla coil, but I’m hoping that as long as I run it at 1/4 or 1/3 of the max power things won’t break.
Update:
Unfortunately, this toroid was measured about 70kHz out of tune (233kHz for the primary, vs 303khz for the toroid that I made). I only turned the power up to 40% and the primary oscillated, (you can hear the buzzing) but I never got a spark. I have a smaller 2″ diameter inner tube and more aluminum tape on order now…
Pingback: Building another Toroid — Jay’s Technical Talk