Now that I have the hardware in place, I’m working on the software side of things. I installed and configured LinuxCNC to control the Mill. (Mach3 was easier to get set up and running initially on the trial license, but they do require you to run windows…and the GUI is a bit garish.) In this video you can see the mill cutting out a circular pocket (in the middle of the air, as I’m testing CAM software, software limits, etc as well.)
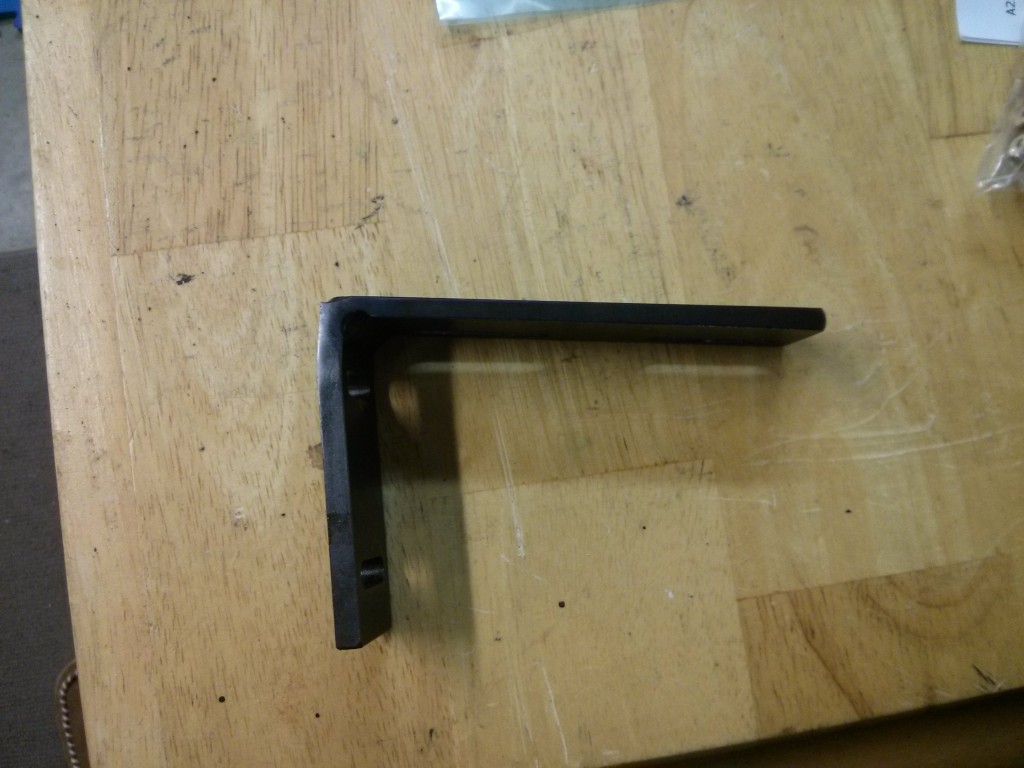
You might notice that the belt has been removed between my spindle and spindle motor. When I purchased the machine the spindle motor was at a slight angle, which I traced to a bent spindle motor bracket. As a new bracket costs under $7, I decided to buy a new one instead of trying to bend my existing one back into shape. The replacement bracket appears to be machined slightly better overall anyways. Until it arrives, I don’t have the spindle hooked up.


I was doing the denford conversion with the bob you mentioned and I was wondering if you could give me the pinout for the 25 pin cable you used,the one I have is a straight though cable with all pins going to the same number,there’s loads of pin outs out there and I’m not sure the one I should be using,I would like to make up a short cable so I can keep the original 25 pin plug on the side of the machine to keep it orderly so there’s not other cables coming out other than the power cord.
Thank you
Dan
Ps.if at all possible could you email the pinout to me,thanks
I removed the original 25 pin plug on the side of the mill, but I was able to replace it with the plug from the cable I used simply by screwing in the little hex/threaded standoffs into the cable end to hold it in place.
I simply used a parallel port printer cable (between the port on the side of the mill and the DB25 on the BOB, and rolled the extra cable up. As far as I know, every pin passes straight through on mine as well. I don’t know exactly which pins are used, but I expect that a lot of the pins are used, as each signal has it’s own line, so you might want to just use all 25 lines.
If you look at this post:
https://www.summet.com/blog/2016/03/26/micromill-mach3-linuxcnc-conversion-complete/
You can see some images of how I replaced the RS232 DB-25 connector with the DB25 parallel connector on the end of the cable.