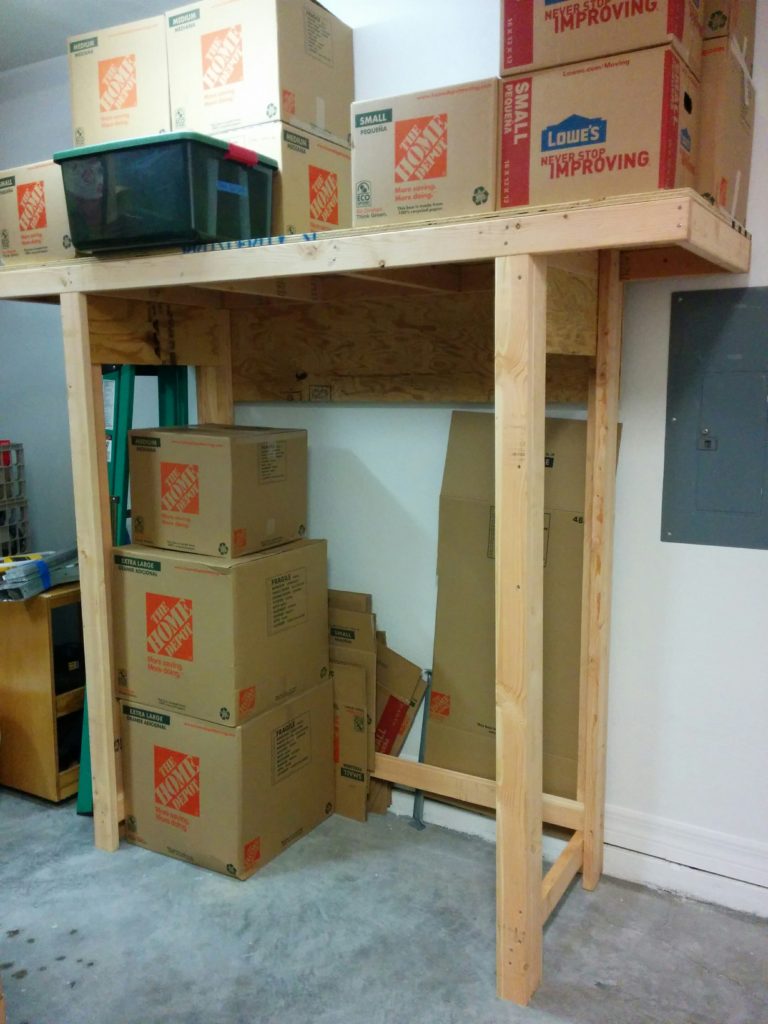
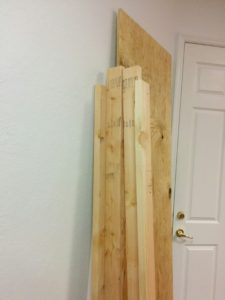
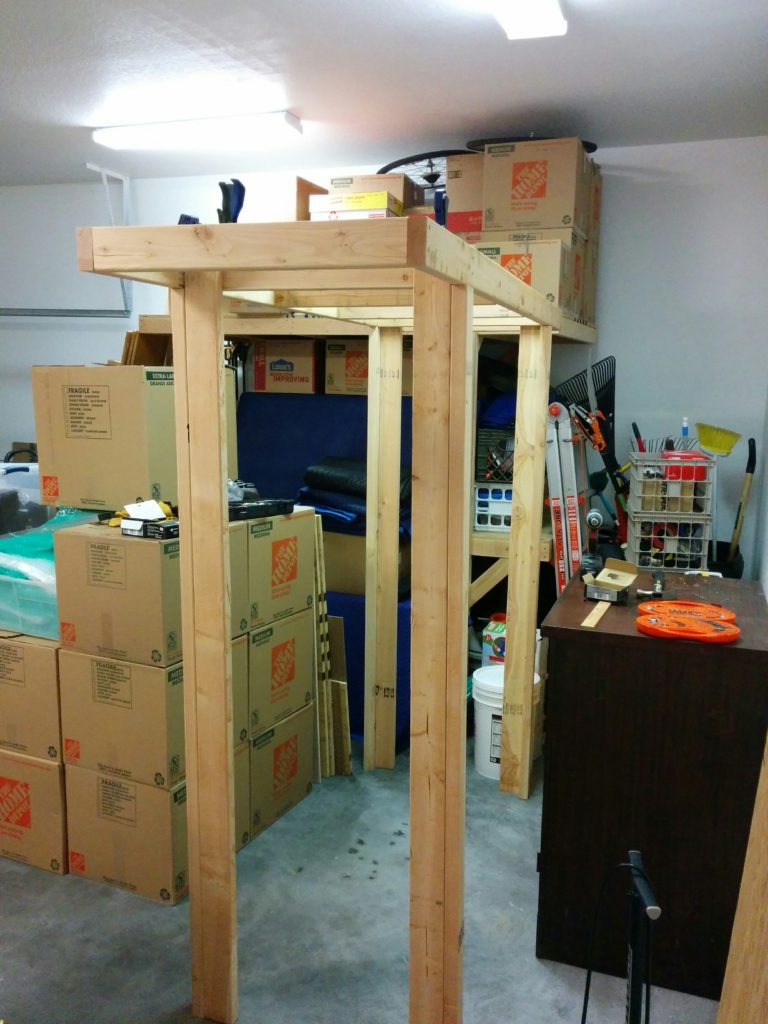
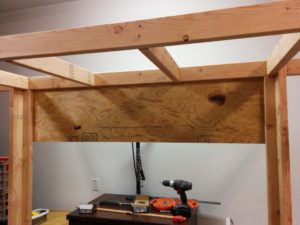
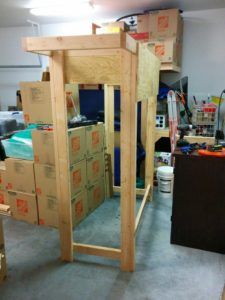
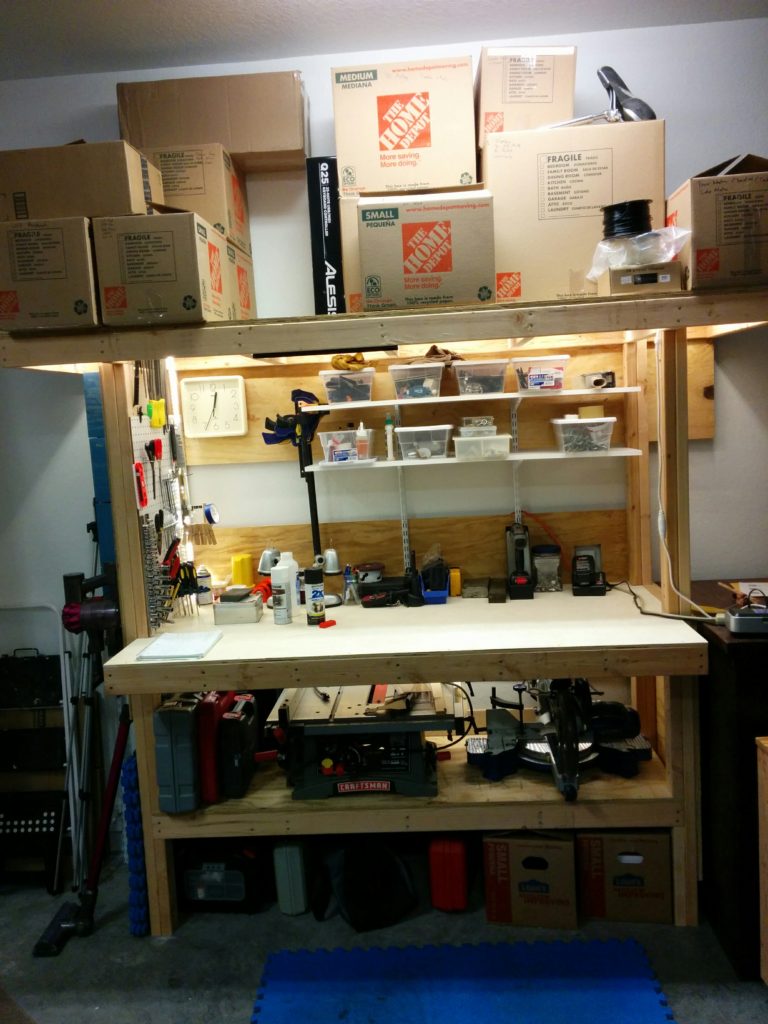
My rental garage has 10+ foot ceilings, and I have a lot of stuff to store. To utilize the vertical space, I built a lofted storage shelf from fourteen 2×4 studs and a single 4×8 sheet of 3/4″ plywood to go over my electronics project table. This is what it looks like before I added the electronics table, pegboard and shelves.
Because I’m renting, I needed the unit to be free-standing, and not attached to the walls. I had the plywood ripped at 30″ at home depot for a 96″ wide and 30″ deep shelf, leaving me an 18″x96″ section that was used for both the back and side bracing panels.
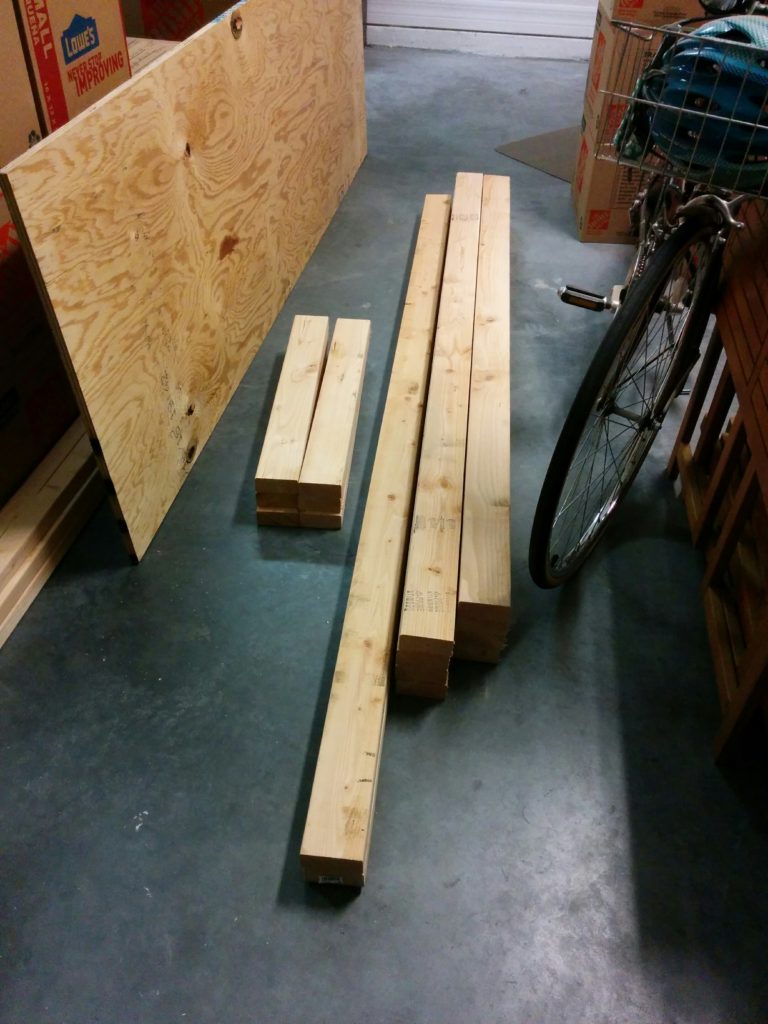
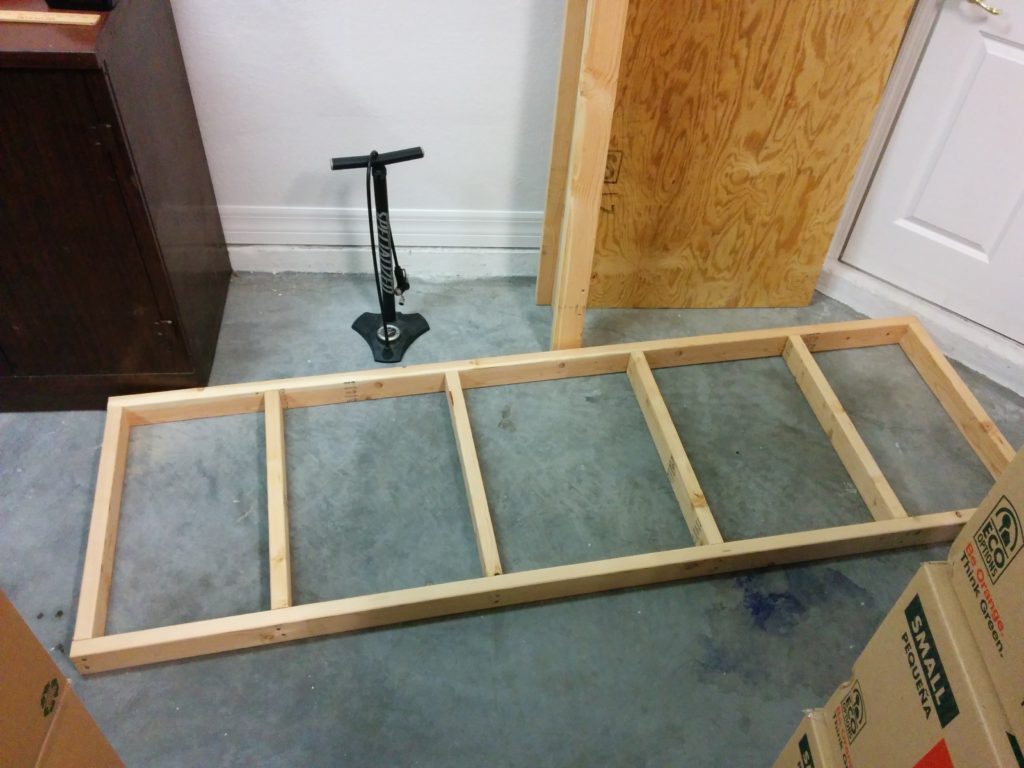
Here you can see all the 2×4’s cut for the top frame and the posts. I only used six 27″ studs on the frame (between two full 8 foot 2×4 rails) so that I only needed two 2×4’s for the studs. This gives almost 20″ centers instead of 16″ centers, but since the width is only 30″ I wasn’t too worried about this. You will have an extra 27″ of 2×4 left over from cutting your bottom braces and you might be tempted to use it to get 16″ centers, but having 20″ centers kept my posts the correct distance apart which affects the back and side brace measurements, so keep that in mind. I was able to get all of my cuts out of 14 2×4’s, including the bottom braces not shown here.
When cutting and assembling, pick the least ugly studs for the front sides of the two front posts and the front rail of the shelf frame. If you have any other beautiful studs, you can use them on the sides of whichever posts will be most visible when the shelf is finished. (I will be mounting pegboard to the left hand side, so that’s where my ugly studs went.) If you are really worried about appearances, spend extra time at Home Depot picking out the best studs. Being straight and unbowed is more important than visual appearance. Home Depot is not a lumber yard, so feel free to be picky. You can also buy more than you need and then take the worst ones back. (You will always find dings once you get the lumber home…)
The leg posts are made of two studs, one cut 3.5″ shorter than the other, mounted at 90 degree angles. The shorter jack studs support the front and back frame rails, while the longer stud just barely touches the plywood on top of the frame, and is used to connect the leg to the frame and mount the side bracing pieces. (It’s better to cut the long stud just a hair under 3.5″ instead of a hair over if you can’t get it exact, so that it doesn’t end up forcing the plywood off the top of the frame.)
The overall height of the posts was chosen so that I could fit two medium or three small moving boxes between the top of the shelf and the ceiling. Your ceiling height my vary, don’t forget the 4.25 inches of frame and plywood sheeting that will go above the shorter jack studs.
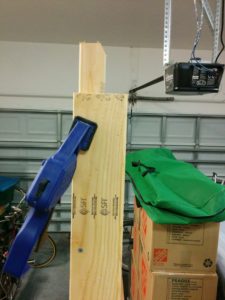
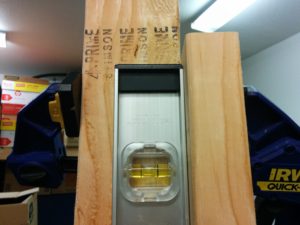
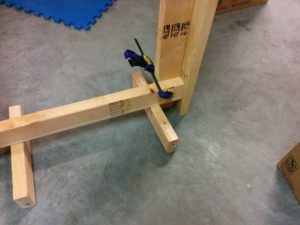
When building the posts, I stood them upright on a level floor and clamped them together so that I could verify that they were level before screwing them together with two deck screws. Then I nailed three 16d nails between the 2×4’s so that they could share downward force if for some reason one of them had better contact with the ground. I could have also used wood glue here, but the leveling procedure sometimes took a few minutes of trial and error before I was happy with the level, so I’d recommend using something a bit slower setting than titebond. Keep in mind that you will need two “left hand” and two “right hand” posts (they actually pair up in opposite corners), so they shouldn’t all look the same!
Then nail the 27″ studs between the two frame rails. If you care about visual appearance, place the best sides of your tails out and your “best” studs on the two ends with the “good sides” out, then you can use any ugly ones inside. (I used my ugliest 2×4 to provide 3 of these inside studs.) The posts will support the frame rails and be connected to the first stud inside the frame. So the location of these first inside studs will determine the distance between your posts and the length needed for your back support. In my case, the shelf overhangs the posts about 17″. This allows me to use the leftover pieces from the back support sheet as the side support sheets.
You could place the posts at the outside corners and still have a reasonable amount of load bearing capacity in the center of the shelf, but I felt a lot more comfortable using 2×4’s for a 60″ span instead of a 96″ span. By cantilevering 16″ outside the posts on either end the center can hold more weight. I haven’t done a load analysis, but the finished shelf is plenty sturdy for moving boxes and holiday decorations (or a worker climbing around on top of it). If you plan on storing multiple large hunks of metal on top of this sucker, you might want to use 2×6 rails instead.
Unless you have a way to hang the frame from your ceiling while placing posts under it, you’ll need a second person to help hold things until you get all four posts mounted. I clamped them in place and then screwed them to the frame with a single deck screw (so that the posts could pivot into level/square later on when I added the bracing. The shelf will be very wobbly until you get all the bracing in place, but it should stand without falling over if you have done a good job leveling the posts when you constructed them. Note how the shorter jack studs support the frame rails and transfer weight to the ground. The taller stud in each posts is mostly for aesthetics, a slight stability advantage at the bottom before the bottom bracing is in place, ease of mounting the posts to the shelf frame and mounting the side bracing. Because they are joined with 16d nails they can share load with the jack studs, but from an engineering standpoint they really don’t add much if anything to the load bearing capacity of the shelf.
Measure the distance between the outsides of your two rear posts, and cut the leftover 18″x96″ piece to that length. In my case it was 18″ x 62″. Hopefully this will leave at least 27+” left over for the side braces, if you haven’t made your posts too far apart.
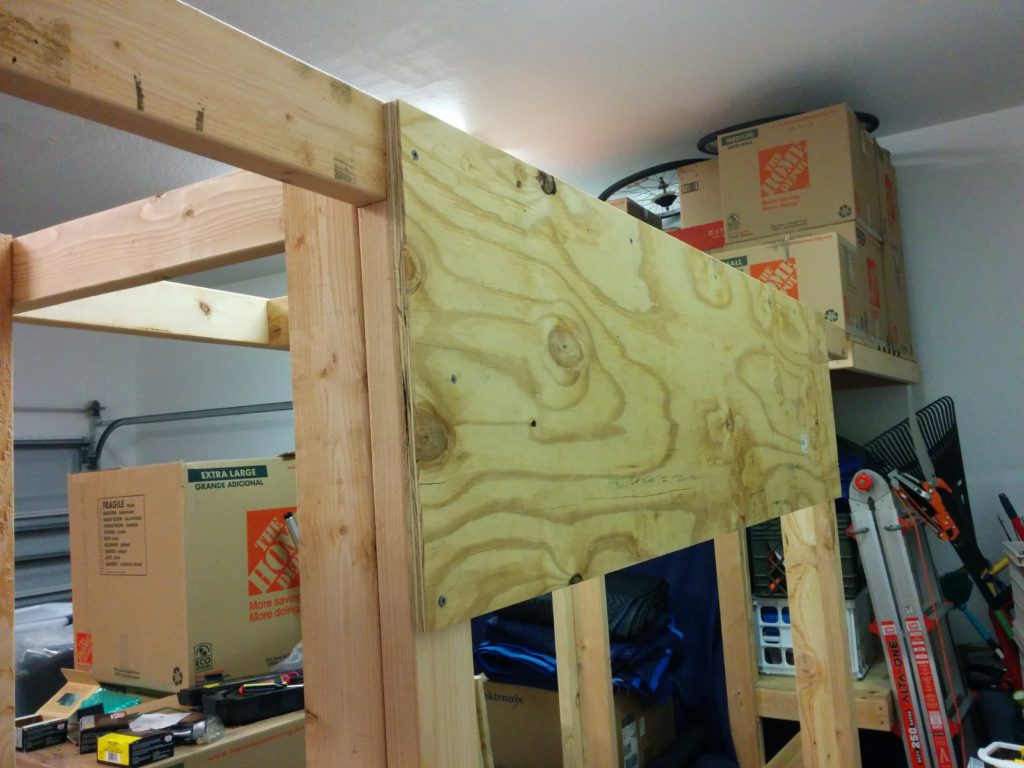
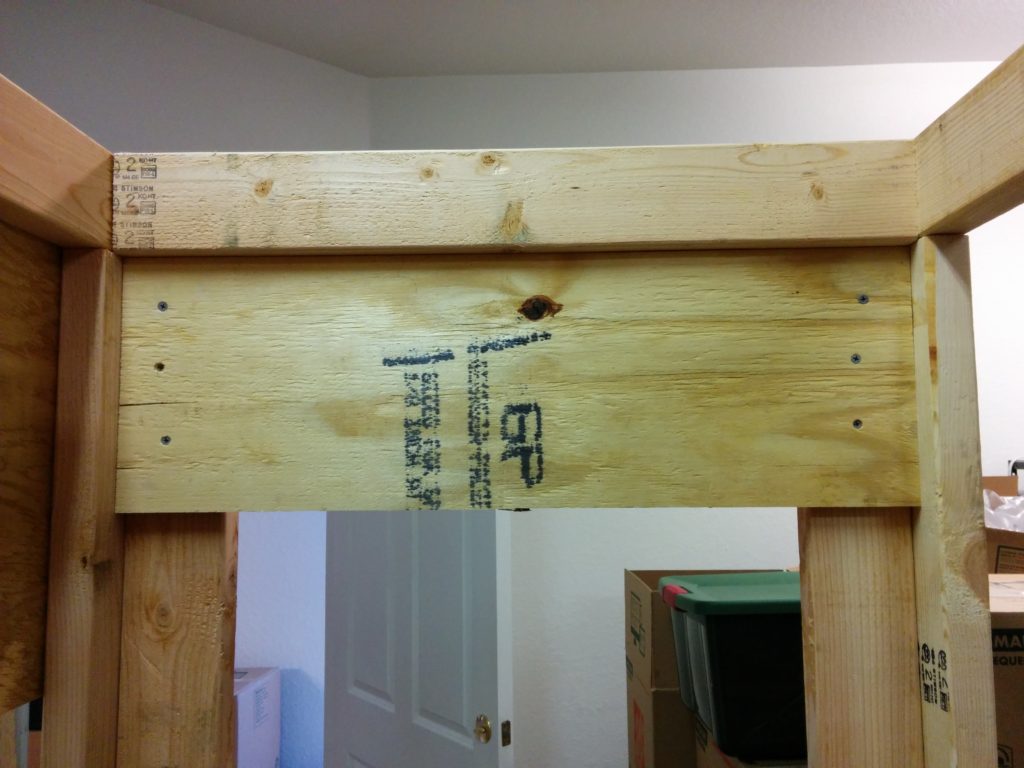
Screw it to the top frame, overlapping the posts, but do not screw it into the posts until you have checked them with both a level and square. Once this back bracing / sheathing is screwed to the frame and rear posts, the shelf will gain a lot of side-to-side rigidity, but will still be wobbly front-to-back. You may notice that I’m not climbing on top of the shelf screwing down the top 30″x96″ piece until after the sheathing braces are installed.
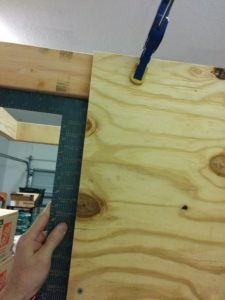
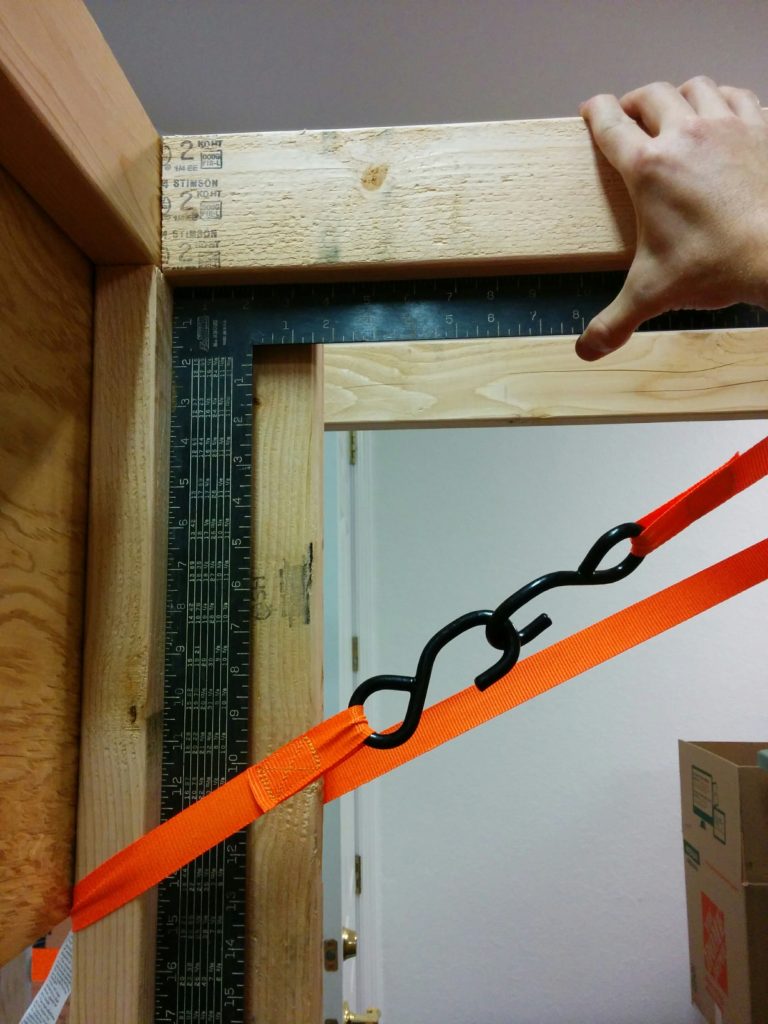
Before installing (or even cutting) your side braces, check the front to back squareness of your posts. Pick a side, and make sure that the post to top frame makes a 90 degree angle. If not (it won’t) I found it useful to use a ratcheting tie strap to hold it in place while mounting the side brace, but if you have a helper two people can just hold and screw.
You should have a leftover piece of plywood that is 18″ x 27+”. Rip it in half to get two 9″x27+” pieces. Then measure the distance inside your posts and cut it as close to that as possible. (Tthe distance between the posts on your left and right sides MAY be the same, if that is the case, you can rip the brace piece to length with a single cut and then divide it into two 9″ pieces…but measure to be sure before assuming!) I got my length cut so close that I had to hammer the piece in with a rubber mallet. As long as you are not forcing the legs apart at the bottom a snug fit is good. I used 2″ deck screws to mount them to the inside of the posts (with the pretty side facing out). If you use a table saw and the cuts on your side support plywood are exactly 90 degrees, you can use it to pull the legs into square instead of a ratcheting tie strap and square, but I was working with a circular saw so I trusted my square more than my cuts. Repeat for the other side. This uses up the last of your 4×8′ sheet of plywood. [If you are willing to pay for a second sheet of plywood, I would use it to make a 4′ tall “back panel” (instead of only 18″) which makes adding shelves later on easier, and to make the side braces wider than 9″. I ended up using some 2×2’s to mount shelf brackets, see the bottom of my post for the finished pictures.]
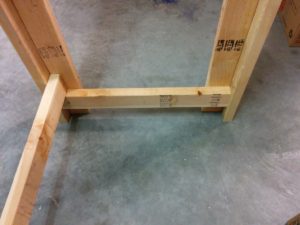
Now you need to brace the bottom of the legs near the floor. I placed the side braces 3.5″ off the floor, as this is the minimum height needed to get a vacuum under it, and also the width of scrap pieces of 2×4. I placed the back brace on top of the side braces, and screwed everything in using 2.5″ deck screws. Note that the only place I used nails was in building the top frame and the posts. If you need to move the shelving unit, you can unscrew the deck screws and transport the top frame, the four posts, and the bracing pieces separately and then re-assemble. If you are never going to do that, you could use nails and glue. As this is an indoor project you also don’t need to use exterior rated deck screws, but that is what I had on hand, and they really don’t add that much to the cost.
The final step before you can use it as a shelf is to add the 30″x96″ piece of plywood to the top frame and screw it down. Now that the bracing is in place, you can just shove the plywood up and crawl around on top of it.
Be sure to square the frame before screwing down the plywood. Because three edges of this sheet came square(ish) from the factory, I used it to align the frame. I screwed down one side, used a ratcheting tie strap to pull the frame into square along the back, screwed down the back, and then checked the final side before screwing the rest down. Most of the screws were along the four edges, about one a foot, but I did place a screw into the center of each stud in the middle of the shelf just to keep it from bowing up.
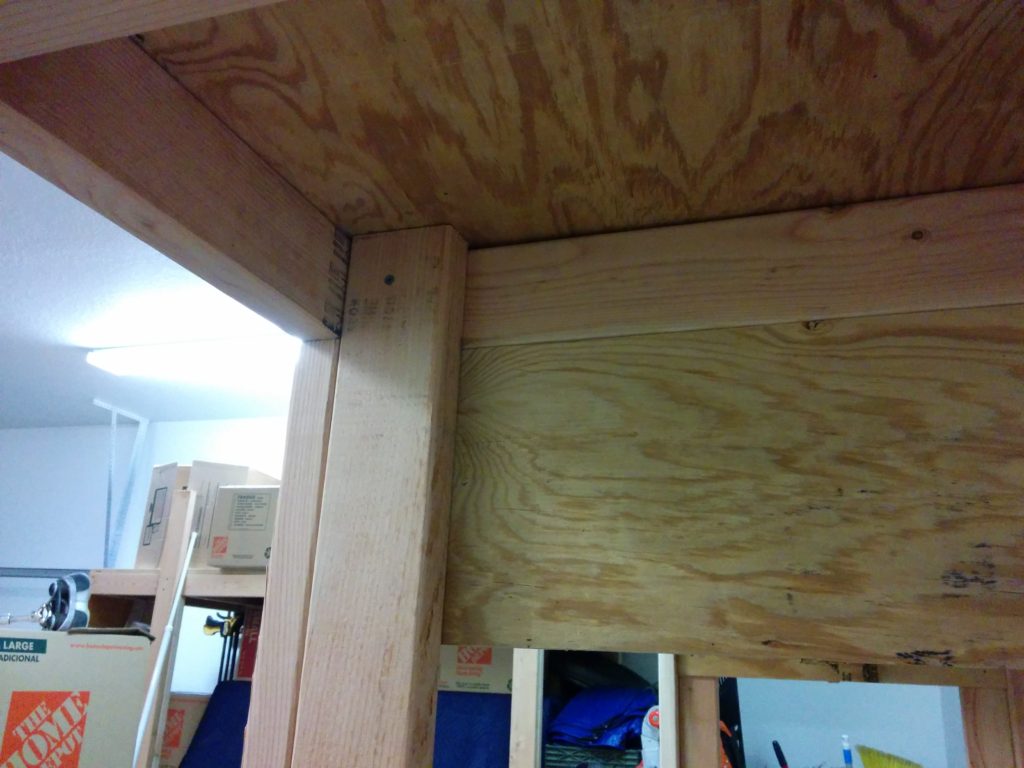
This closeup of a top corner from the outside shows the single deck screw that holds the post to the top frame, how the shorter jack stud supports the frame rail, how the taller 2×4 in the post is mounted at a 90 degree angle to the jack stud and rests in the corner made by the frame rail and first inside stud (almost supporting the top plywood) and is used to mount the side bracing (on the inside). [Not shown is that the rear posts are also held to the top frame via screws through the back sheathing/support.]
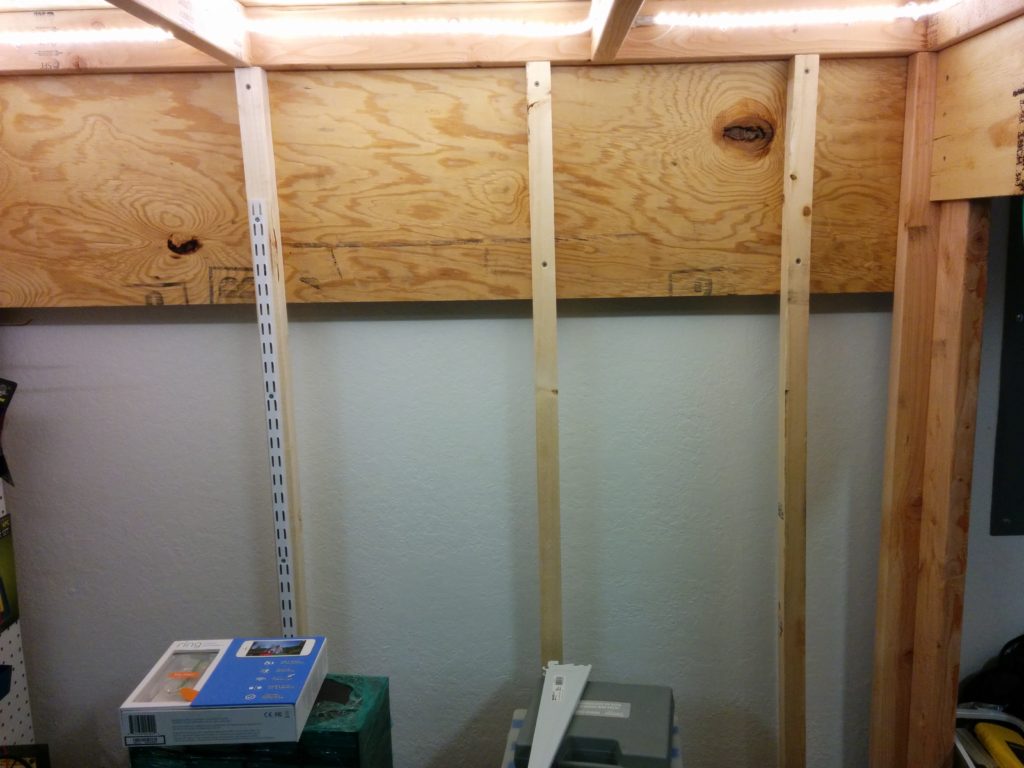
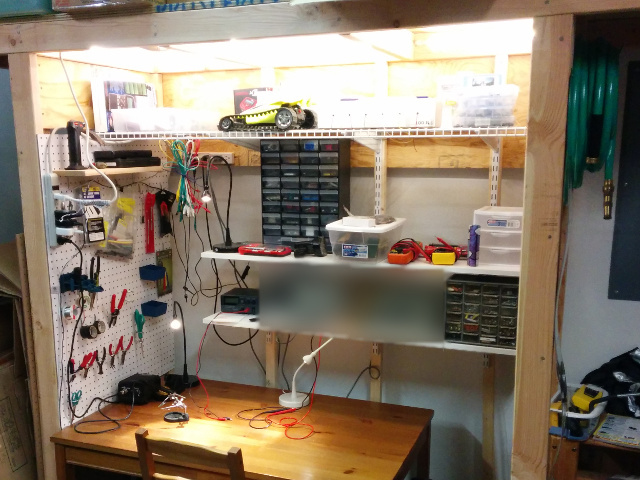
Because I will be using the area under the lofted storage shelf for my electronics work table, I added some rope lighting under the top frame and screwed a piece of pegboard to the left side. For shelving, I ran some 2x2s from the back brace sheet down to the bottom 2×4 brace and mounted shelf brackets on them.
This is what the finished under-loft area looks like with pegboard, lights, table and shelves.


Great advice and tutorial. You’re right about Home Depot not being a lumber yard. It’s part of the reason why I relocated to Ulster County. I’m still slightly picky but definitely not as much as before.
Well done! You seem pretty resourceful. I’m running to my local lumberyard next week for new supplies and will keep these tips in mind.
Thanks for the step-by-step walk-through. I’ll keep this in mind for my next project.