I have completed a few projects using my Maslow CNC “hanging router”. Although I’m not yet an expert on its use, I feel like I have enough experience for a general review. The bottom line is that it provides excellent value for the cost for a hobbyist, but will not replace a professional gantry style CNC router for professional use.
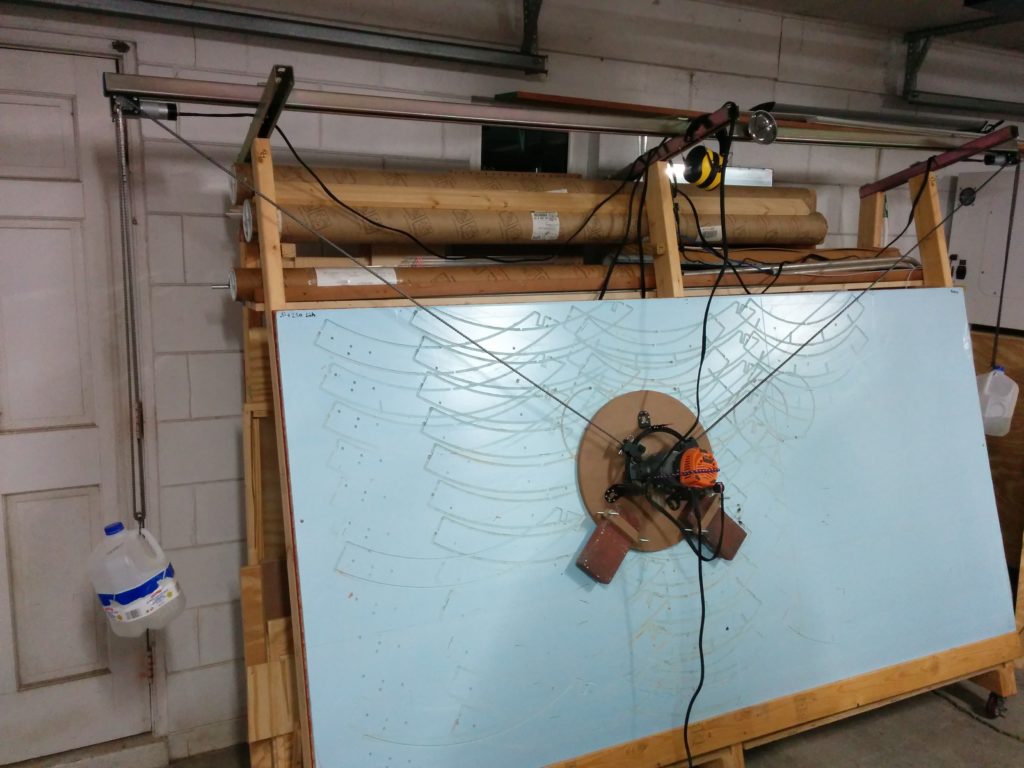
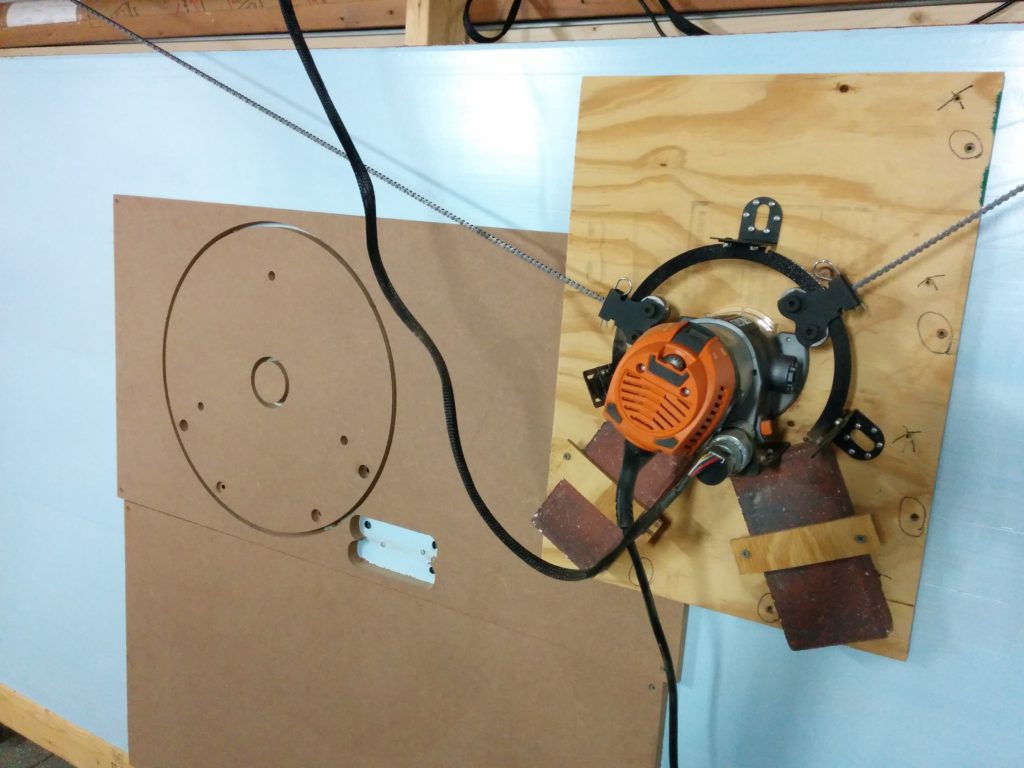
The source of the Maslow’s sub $500 cost is its unique motion system, which relies on gravity working against two variable length chains to position the router sled, which must slide on a flat work piece. Because you provide your own router, build the frame yourself, and cut out the final round sled using a temporary sled that you cut by hand, the electro-mechanical parts of the Maslow can ship in a large USPS priority mail box.
My Maslow is the 2nd generation that includes a ring for two chain carriages to roll along. The rolling chain carriages allow the two support chains to virtually “end” at the center of the sled where the router bit is positioned. This mostly eliminates negative effects of sled rotation and simplifies the kinematics of the machine. Earlier versions tried to model and account for the sled rotation with chains anchored off-center, or used a mechanical linkage system to achieve a similar effect. In my opinion, the ring and carriages is the best solution.
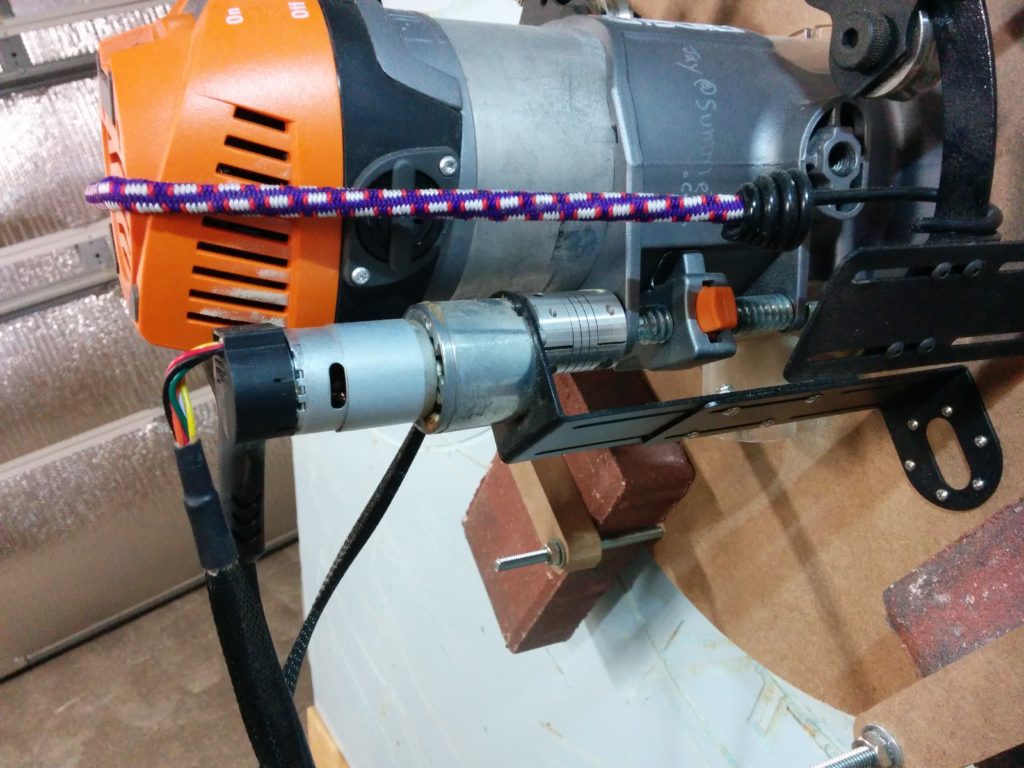
I also bought the optional 3rd motor to control the Z (up and down) axis of my router automatically, which I greatly recommend, as otherwise you will have to adjust the Z height manually every time the machine starts a new pass or you want to add a tab to hold your finished piece.
Because the Maslow’s sled rides on top of your work piece, you are limited to cutting flat sheets, and it is optimal for cutting flat pieces out of these sheets.This is not to say that you can’t cut pockets, or even 3D contours, but your working area has to be small enough that the sled can ride around fully supported on surrounding uncut support material.
In the same way, if you get the sled near the edge of the work piece, it may “fall off the edge” and tilt the router bit unless you are holding one side down manually. So although you can put a 4×8 sheet on the frame, unless you build a skirt of the same thickness around the work piece, you can’t cut all the way to the edge.
I have certainly “overhung” the edge of a sheet, or screwed a scrap piece to one side to act as a skirt so that I could cut right up to the edge of a piece, but if you don’t want to worry about the sled tilting, I’d recommend keeping your design 6 inches away from the edge, which gives an actual work area of 3 feet by 7 feet for a 4×8 sheet, and makes it harder to make use of small scrap pieces.
And even with a skirt, the Maslow suffers from loss of control near the far bottom left and right edges of it’s workspace, as the acute angles on the chains don’t provide enough force to hold the bit stable as the chain angle gets closer to vertical, which can lead to some “wavy” lines in these areas.
The Maslow is not intended to be a performance machine. At a maximum design speed of 48 inches per minute it moves slowly enough that you may need to turn down the RPM’s of your router or choose a bit with fewer flutes to perfectly match feed & speed guidelines. That being said, it is an open source machine, so you can hack the firmware and overdrive the motors if you want, just keep in mind that it does not currently have any acceleration control built in.
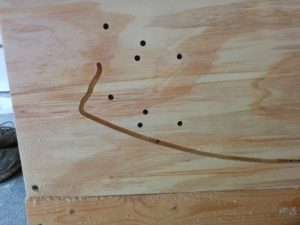
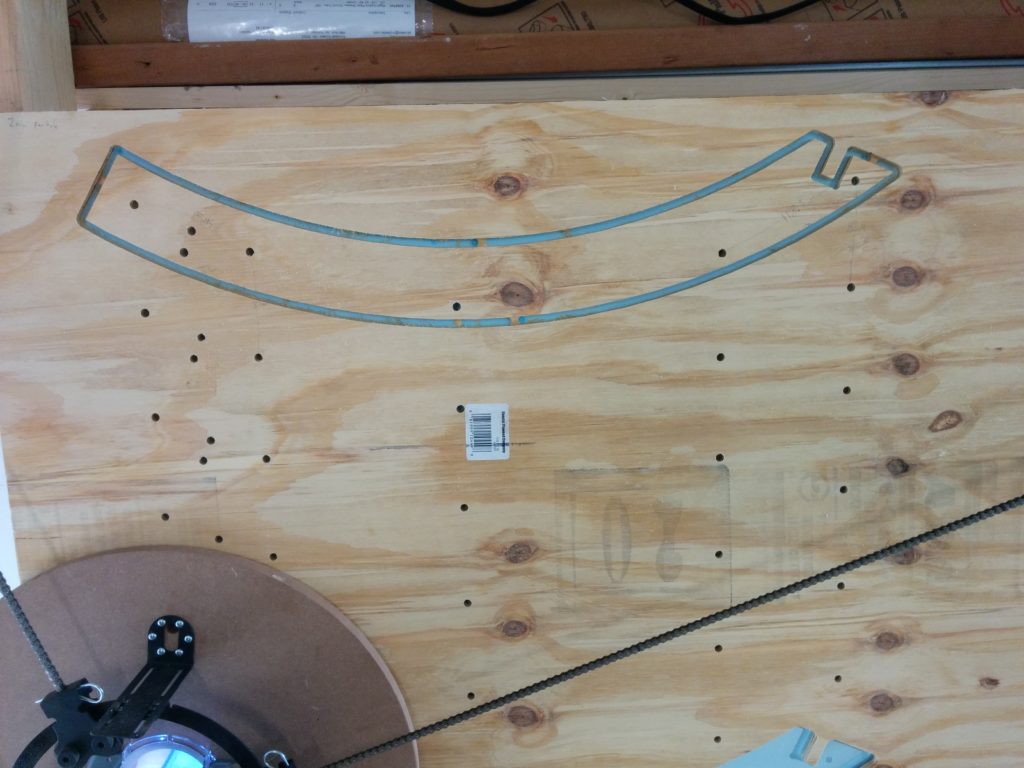
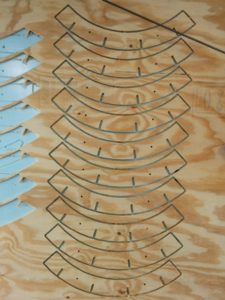
To give you an idea of how long it takes to cut out a part, this piece which is about 26 inches long takes about seven minutes to cut out of 11/32 plywood (with two passes). However, to drill the seven holes in the part takes another 13 minutes due to conservative plunge rate defaults in makercam. So, each of these parts takes a total of 20 minutes, plus the manual time needed to cut the tabs holding it to the base sheet when you are finished. (The advantage of having Maslow drill the holes can also be seen in the above photo, as all of the holes are positioned quite nicely!)
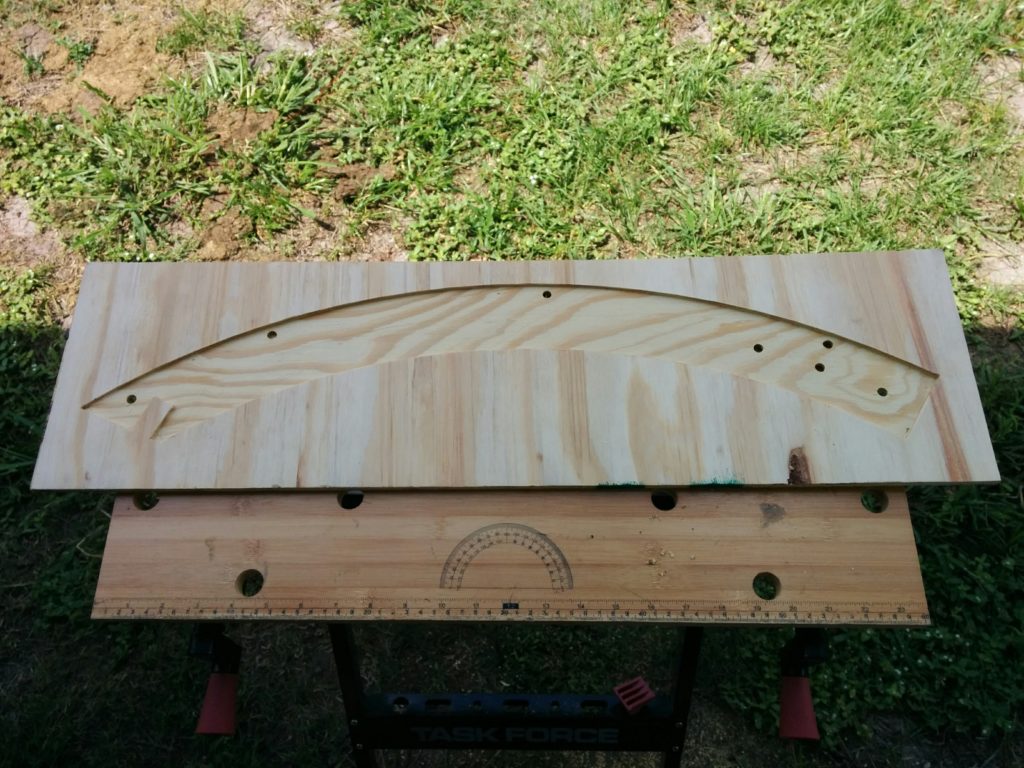
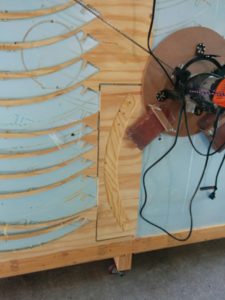
I was making 32 of these pieces, so I decided to use the Maslow to cut them out, but to drill the holes manually using a jig I also created using the Maslow, which was just a pocket the same size as the part with the holes pre-drilled in it.
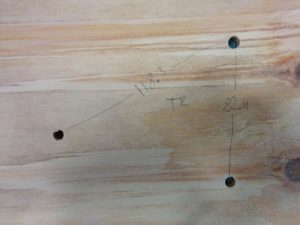
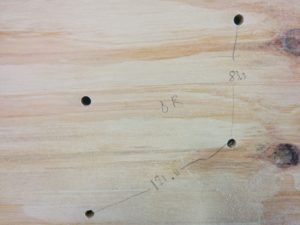
The Maslow can return to the same position very accurately, so I have no complaints about it’s repeatability. However, due to the non-Cartesian movement space, it is quite susceptible to calibration errors, and unless you get it calibrated just perfectly, it has slightly different errors at different locations in the workspace. I calibrated it once and I think I did a relatively good job, but I can measure slight inaccuracies in different parts of the work area. For example, I measured the distance between these sets of holes made in the top and bottom of a sheet, and they were generally within 1-3 millimeters, which is quite good on a percentage basis, but isn’t in the same league as a gantry style machine.
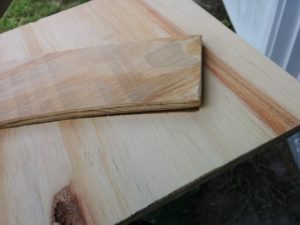
I cut all of these parts facing the same direction, and you can see that they align nicely when stacked up.
When I modeled the hole drilling jig, I did not make it any larger than the part. (I probably should have enlarged it by a mm, but I figured that since I’d be sanding the parts before putting them into the jig it should work.) Of note is that I cut the jig out vertically, while the parts were cut out horizontally. This difference in orientation may have caused some of the issues I had.
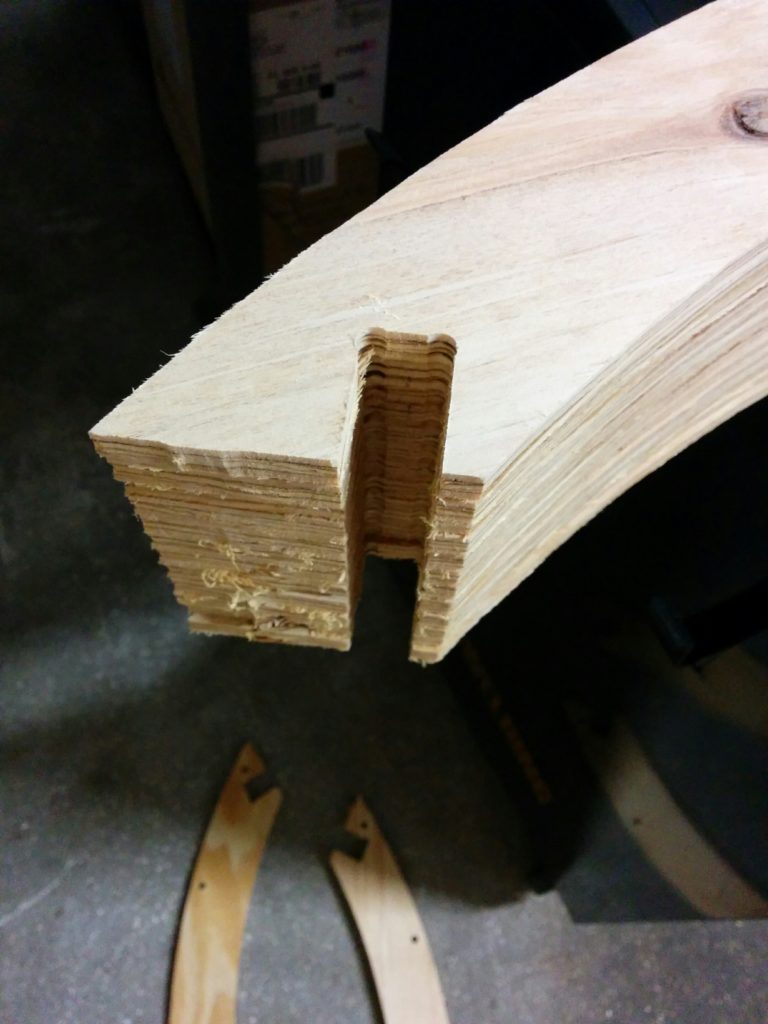
Most of the parts didn’t quite fit in the jig even after sanding, both because the parts were about 1-2 mm too long, and because the curve didn’t quite line up. It was close, and I was able to use each end of the jig individually (with the other end of the part hanging out a bit) to drill the holes I needed, but in the future I’ll try enlarging the outline of any jigs like this before cutting them out, and cutting the jig in the same orientation as the part.
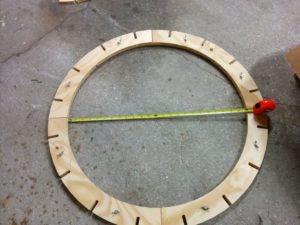
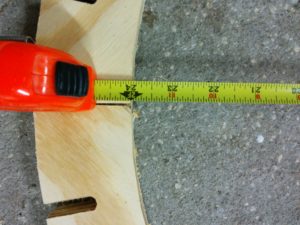
As another example, I cut out these pieces which bolt together into a ring that was designed at a 24″ inside diameter, and the circle was within a 16th of an inch in both dimensions. Because these parts only had two holes, I decided to use the Maslow to drill those holes, so I didn’t try the Jig approach on these parts.
For the price, it’s hard to beat, and for cutting “large scale” pieces I’ve found the accuracy to be good enough for everything I’m doing at this scale.
A few final notes on safety. You MUST attend the machine while it is working. As with any CNC machine, when you have a high speed bit cutting flammable sawdust out of flammable wood, if something goes wrong and the bit stops moving, the friction of the bit can easily start a fire. This has happened to other CNC machines, and has already happened to at least one person’s Maslow (not mine!).
You should also invest in a pair of ear protectors, as being in the same room as a router running for hours and a vacuum or other dust collection system can do some damage to your hearing otherwise.




Pingback: Megatree Ball Topper | Jay's Technical Talk
Any thoughts on the triangulation linkage kit, and how that might improve the accuracy of the cuts? I haven’t purchased a Maslow yet, but am planning to get this kit when I do.
I have the “ring” kit which is supposed to do basically the same thing as the triangulation linkage kit. [I had actually bought the original Maslow with the fixed sled, then bought a 3rd party triangulation linkage kit, then bought the ring kit as an upgrade when Bar made it available before actually assembling my Maslow, so I never tried out the linkage kit, because I felt that the ring kit was more elegant and less prone to catching on things. [It is possible that the linkage kit would work better than the ring, but my feeling is that the accuracy issues are due to the two motor hanging against gravity nature of the sled more than the specific ring or linkage system.]
Just bought and have it on the way. thanks for the review.
Hi! I Saw your post about Maslow, I want yo know how can I buy It.
Can you Tell me the way to buy It.
Thanks!
Christian
I purchased mine directly from the initial developers (Bar et. al.) at maslowcnc.com. However, there is no longer a single “reference” manufacturer, as kits are manufactured and shipped by several different individuals/companies. Doing a google search for “maslow cnc” will find a few of them.
The main Maslow user forums located here is a good place to get reviews about the various kit options available:
https://www.maslowcnc.com/
Would you share (or sell?) the pattern for that sphere fit to the tree? I’m making an egg, which is similar, and it could help me start.
I’m doing a folding, ceiling joist setup and really appreciate your review; much ado about the Z axis and calibration; I’m thinking of how I might make a skirt. Your jugs chain tensioning is popular and interesting, and I’ve noticed earlier versions bring the chain from router over the sprocket and down, newer setups under, around and to the center of the top beam: is the motor direction changed in ground control?
The design files and some details are here: https://www.summet.com/blog/2019/01/06/megatree-ball-topper/
(The files are free, but consulting to modify the files for your application costs money ;>)
I’ve seen a lot of people have problems with the cables going to the center and some type of elastic/bungee cord setup, because the tension is not constant. Gravity tension is constant, and has worked well for me. When you calibrate your system using Ground Control for the first time you just pick “chain over sprocket” instead of “chain under sprocket”. I had to switch to 16oz Dr. Pepper bottles as the cheap plastic in the milk jugs developed leaks over time. So far the plastic Dr. Pepper bottles have held up quite well. I did have to twist wire around the top to hang the s-hooks for the gears on…the milk jugs were nice because they had built in handles.
Hey, nicely done! I have to ask you, what material is that you’re using for your waste board? Looks like a foam of sorts, but I can’t tell
Yes, it’s just a 4×8 foam insulation board from a big box store. (I think it’s polyiso, but didn’t quote me on that….) I have a OSB sheet behind it for rigidity, but found that I needed a 2nd spacer to get the actual working piece past the lip on the lower 2×4 support so the sled wouldn’t catch on it. And the foam also has the advantage that it doesn’t slow the router bit down at all….
What is maxed feed rate machine can handle.
“maximum design speed of 48 inches per minute” You might be able to modify the firmware to get it to go a little bit faster, but it is not designed to tear through work pieces (and doesn’t have the rigidity to force a bit through material faster than it would normally go.)
Does this come with software?
The Maslow has it’s own software (called GroundControl).
https://github.com/MaslowCNC/GroundControl/wiki/Installing-Ground-Control
https://github.com/MaslowCNC/GroundControl