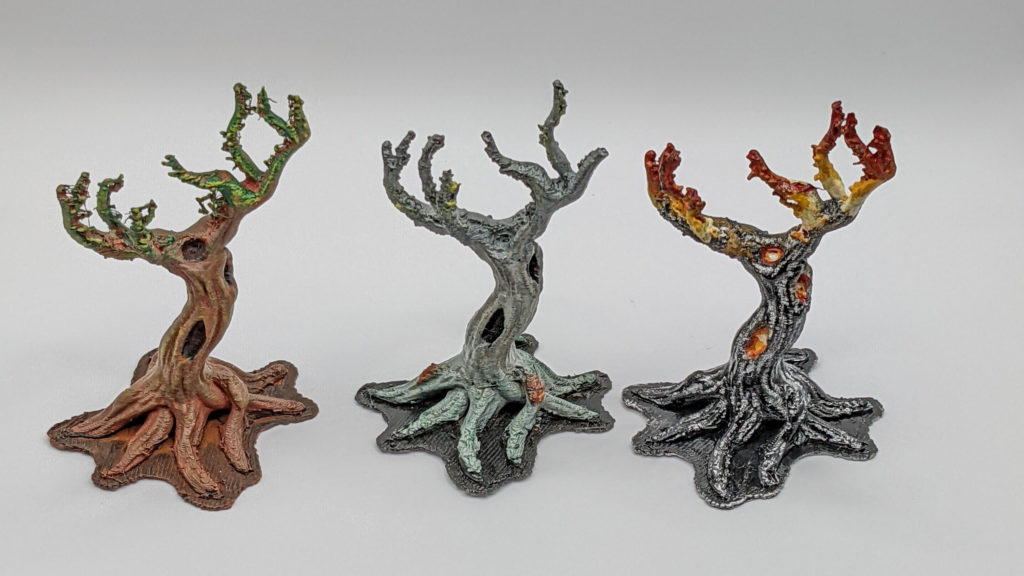
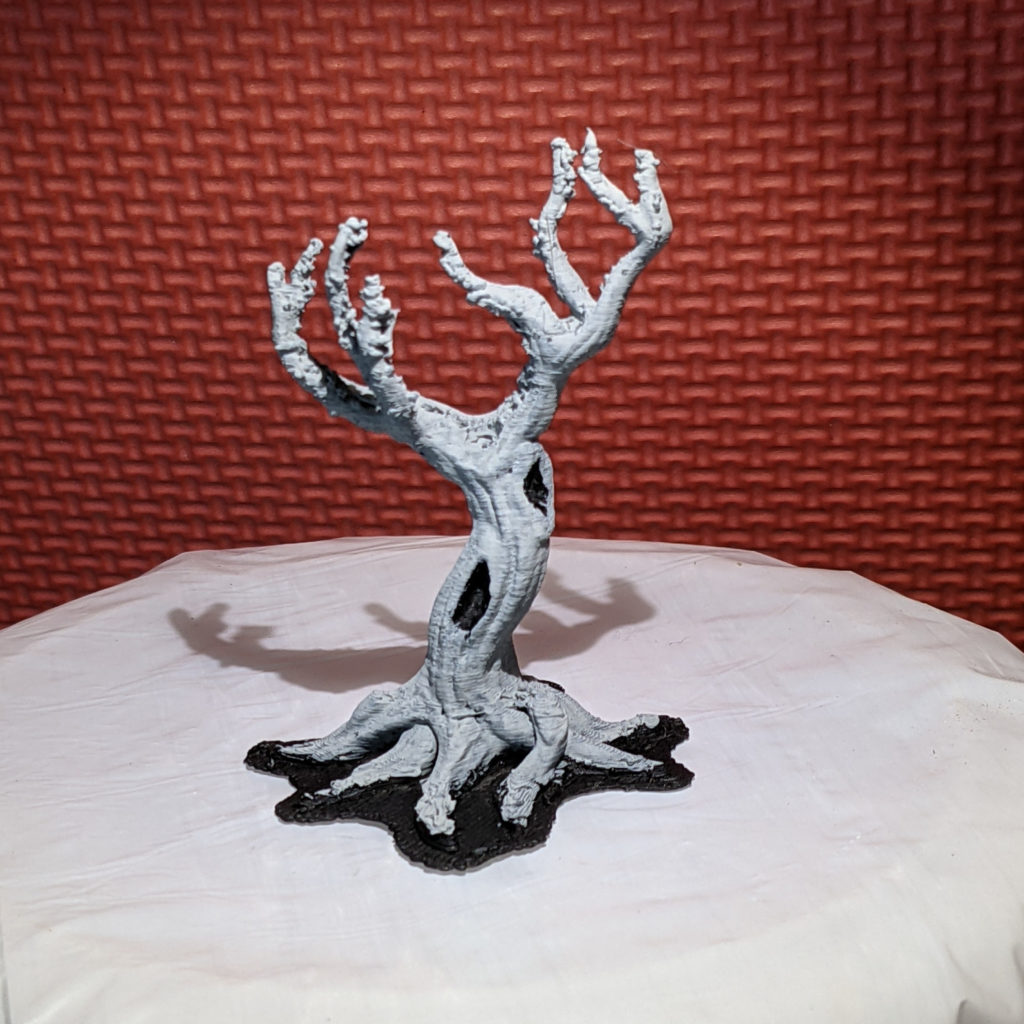
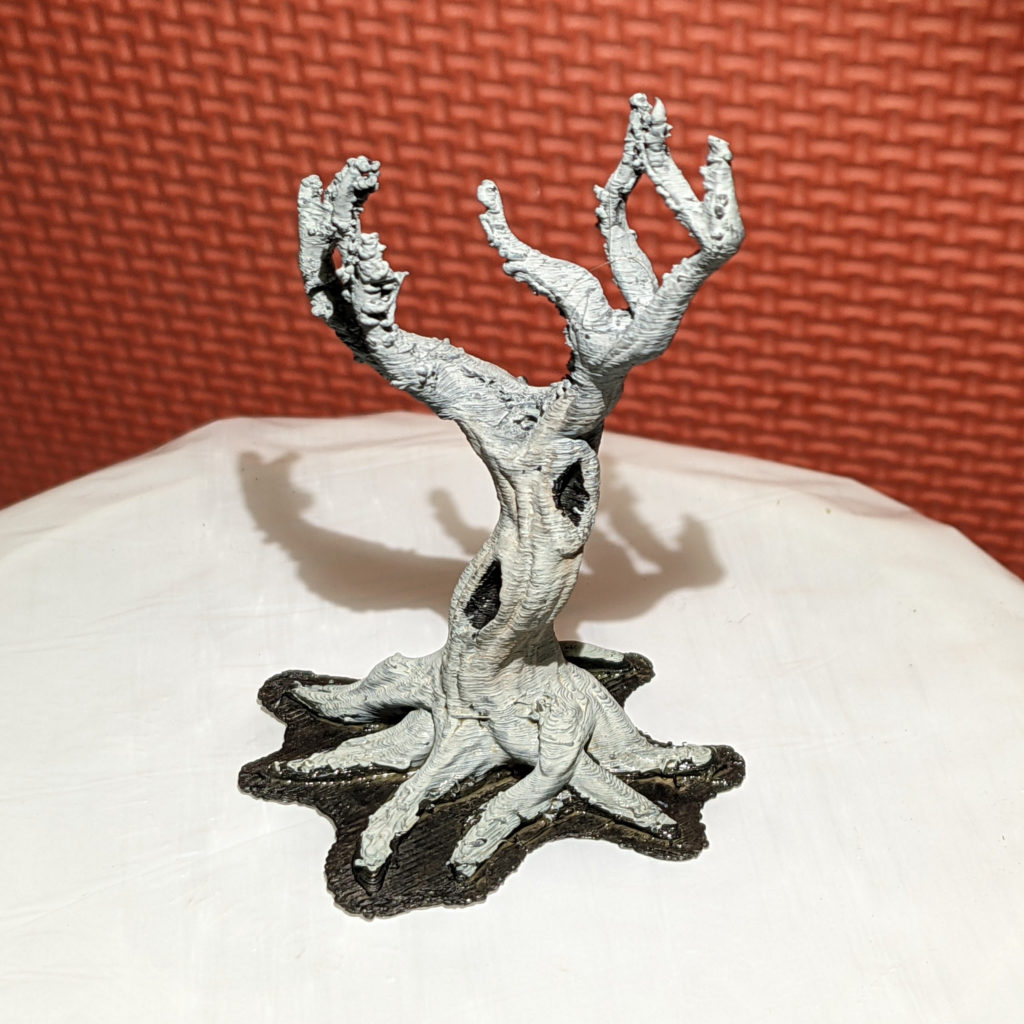
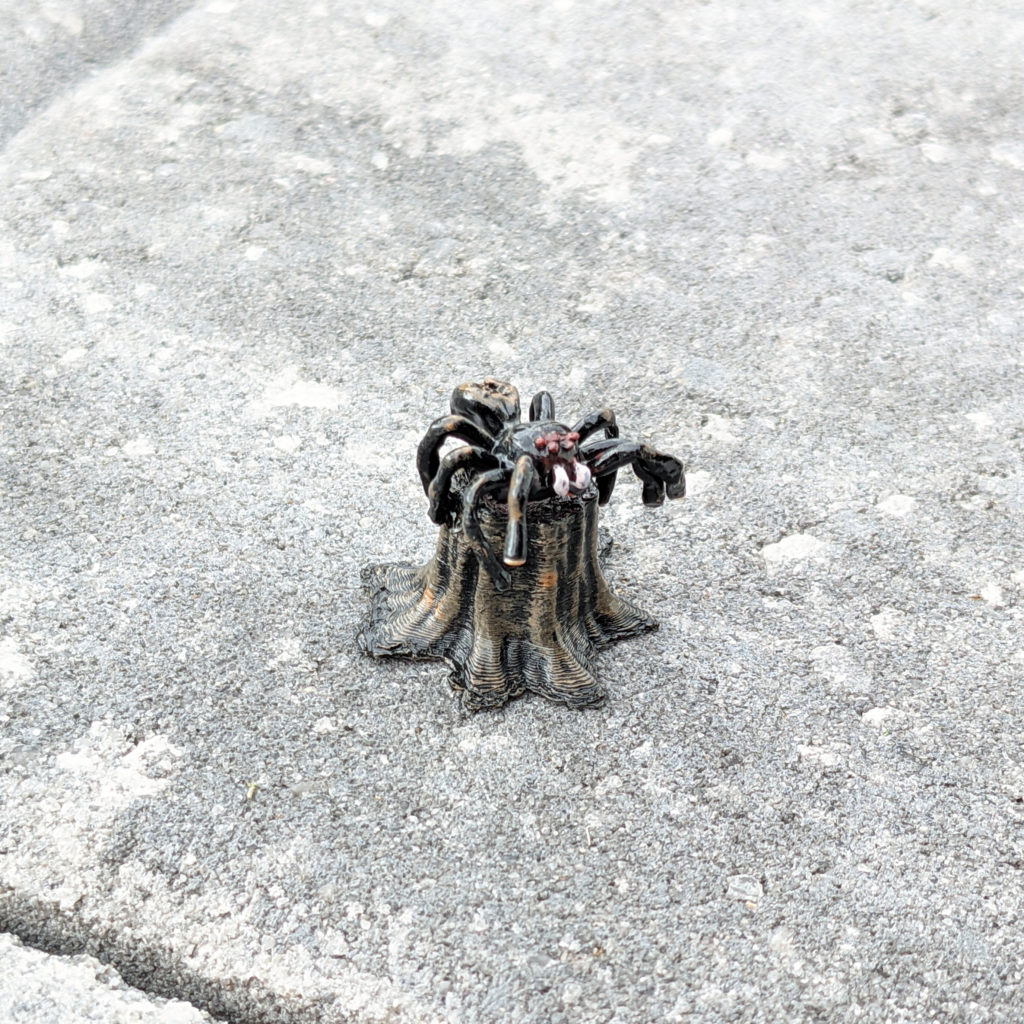
I liked this dead tree model (Thingiverse # 4105303 ) so well that I printed two more and painted them different ways. It prints well even on my inexpensive FDM printer, and the layer lines add detail to the tree.
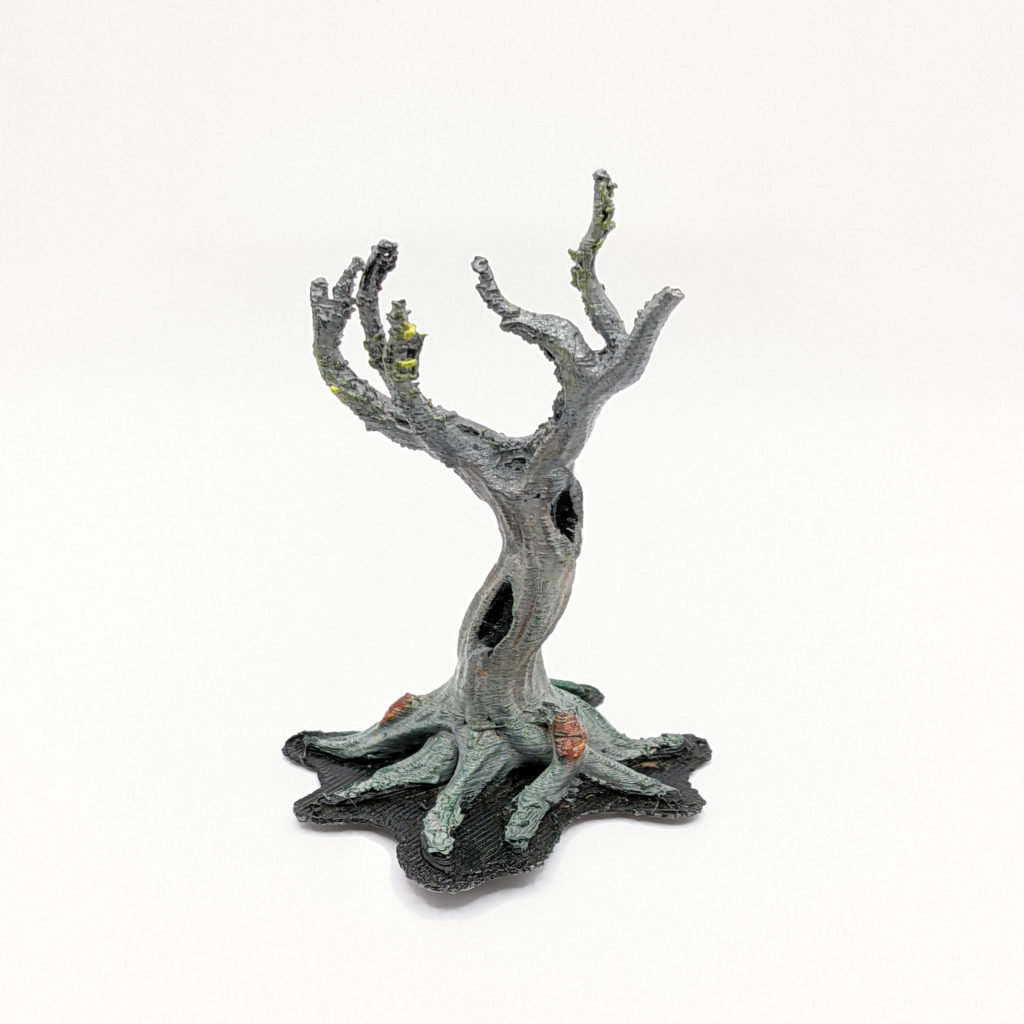
For my first attempt, I stuck with the “dead tree” motif from the model, using a black primer and gray for the base color.
Then I lightly washed it with a brown (putting the wash down heavier the closer I got to the bottom, and repeatedly applied it on the ground around the roots).
Finally I dry brushed some yellow on the branches and hit a few “knobby things” near the base with some brownish red to hint at various types of fungi growing out of the dead wood. A bit of clearcoat to protect everything and it was done.
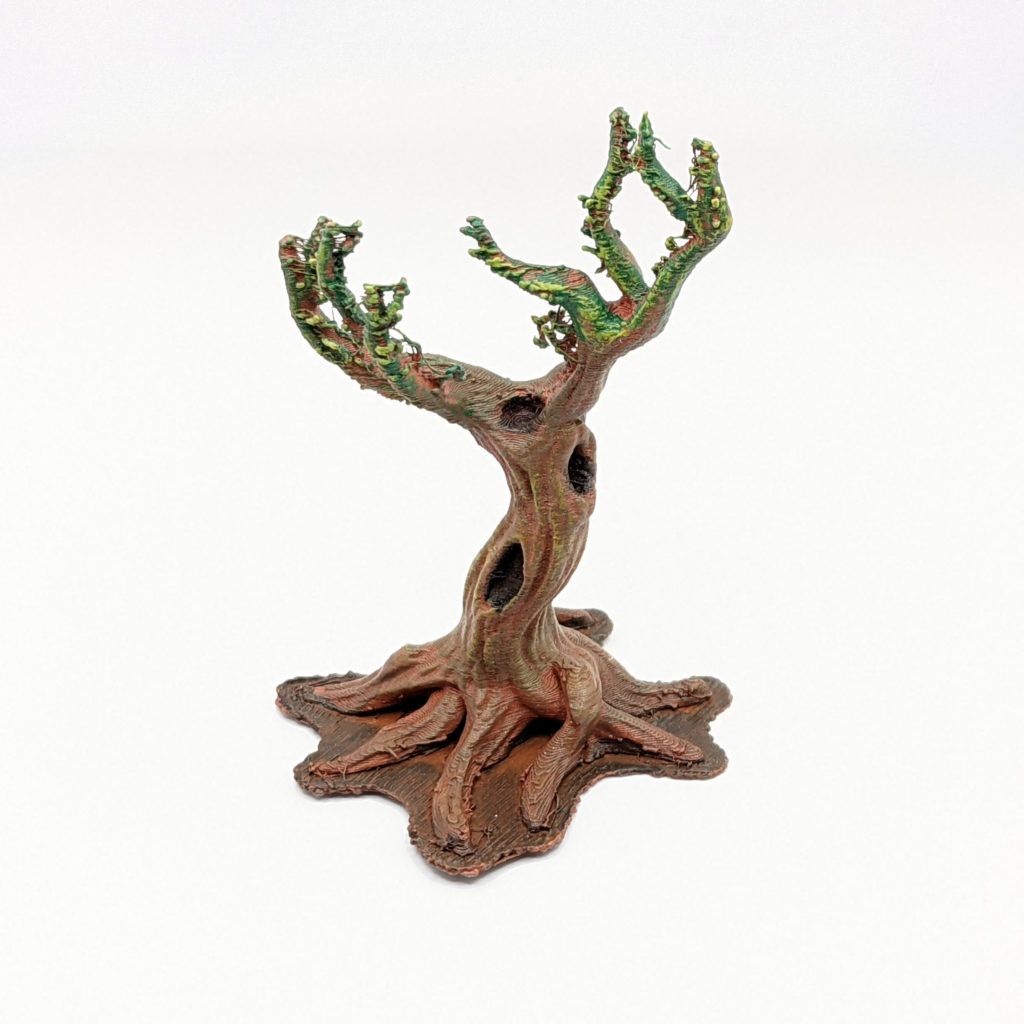
For my second paint, I decided to make a “live” tree (despite the fact that the model doesn’t have any foliage). I could have bought some modelers moss to glue to the branches to make a more realistic tree, but decided to go for a “very early spring” leaves just appearing look using only paint.
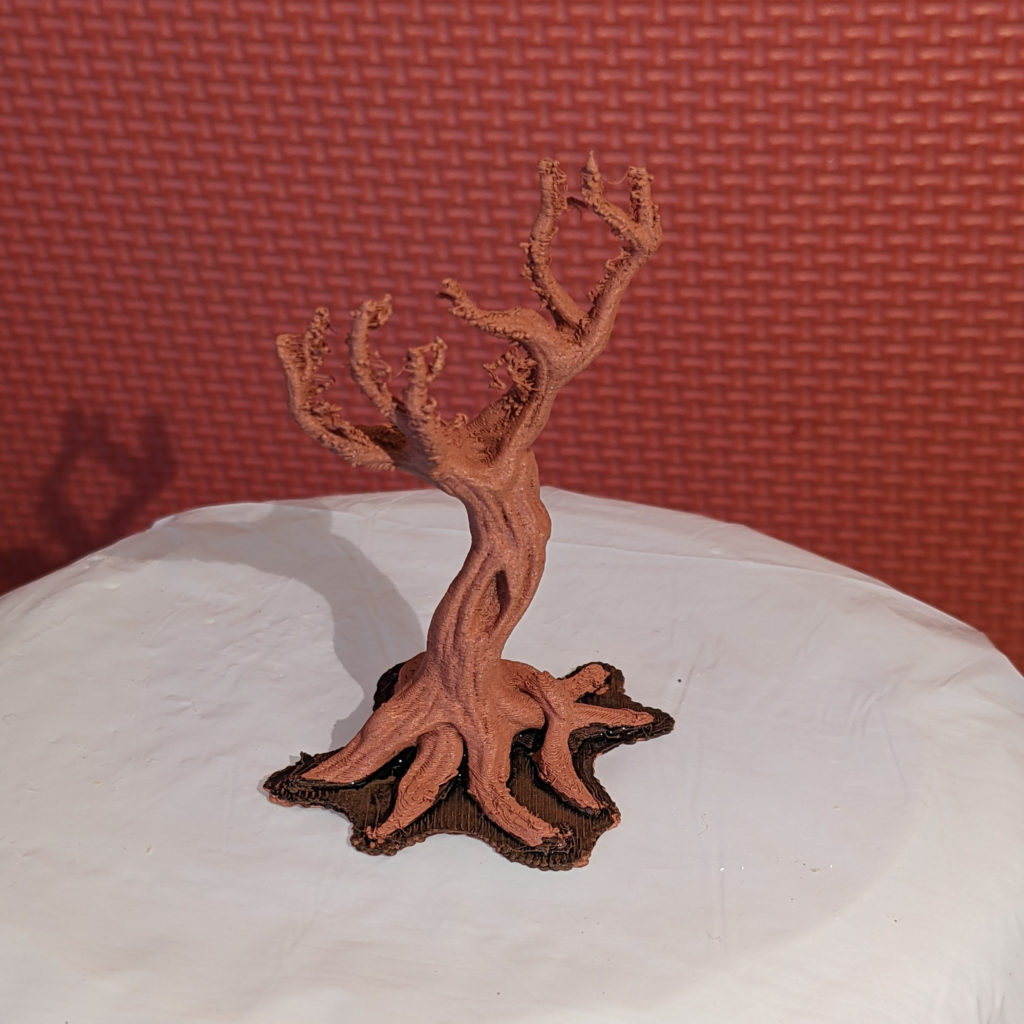
The most interesting/unique part of this model was that I primed it using a terra-cotta! spray paint.
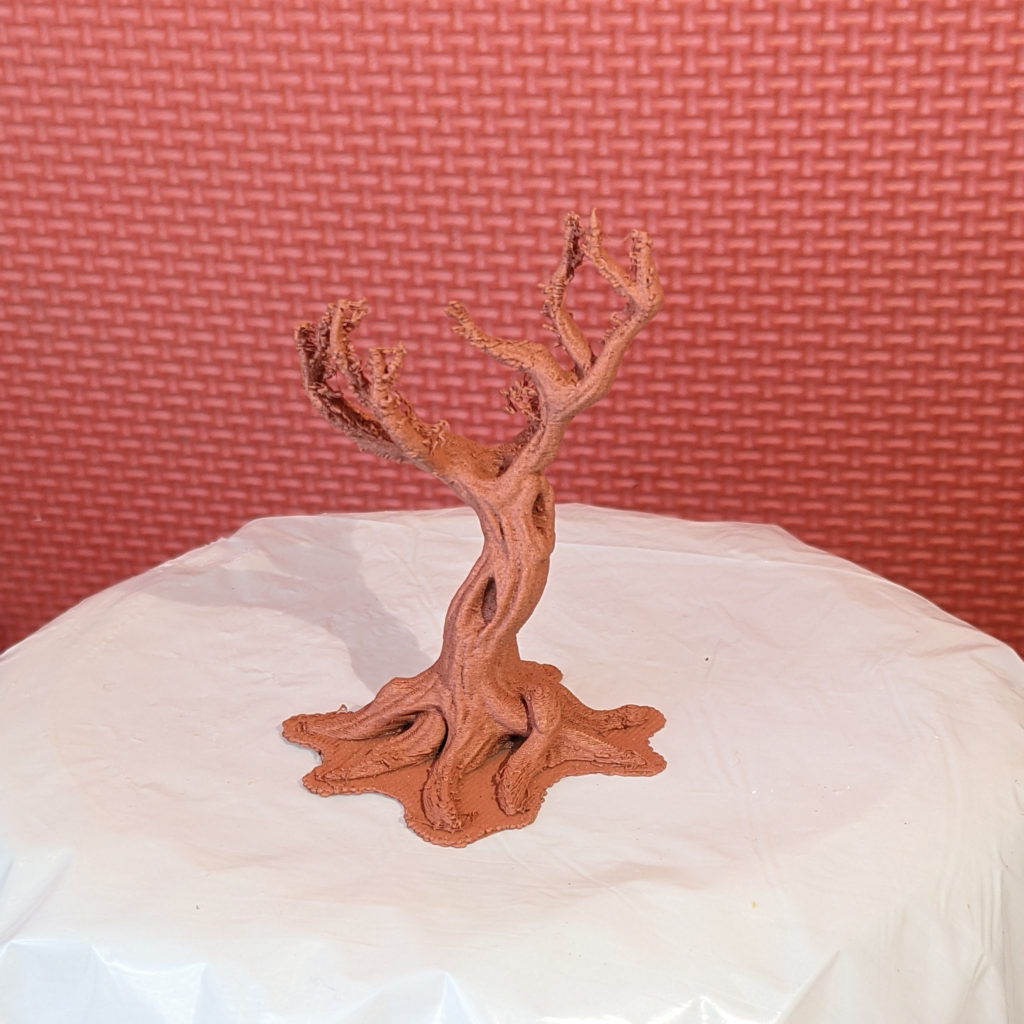
I followed that with a black wash to bring out the details and shadow the low spots. (Again, heavily applying the black to the ground area between the roots of the tree.)
I overbrushed green on the top limbs to suggest emerging foliage, and also washed the trunk with some of the same green watered down.
And finally dry-brushed a little yellow over the foliage to give the “new leaves” some highlights. A light spray of clear-coat and it was finished.
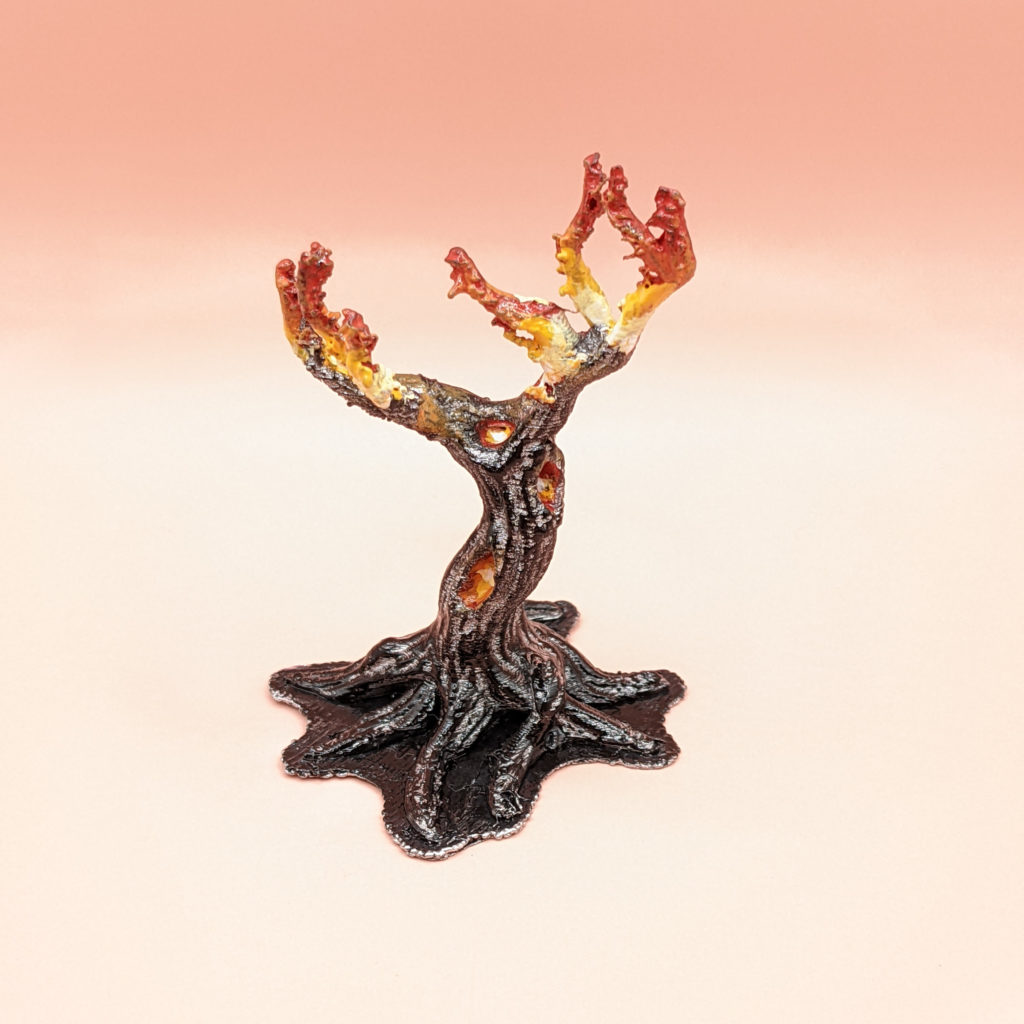
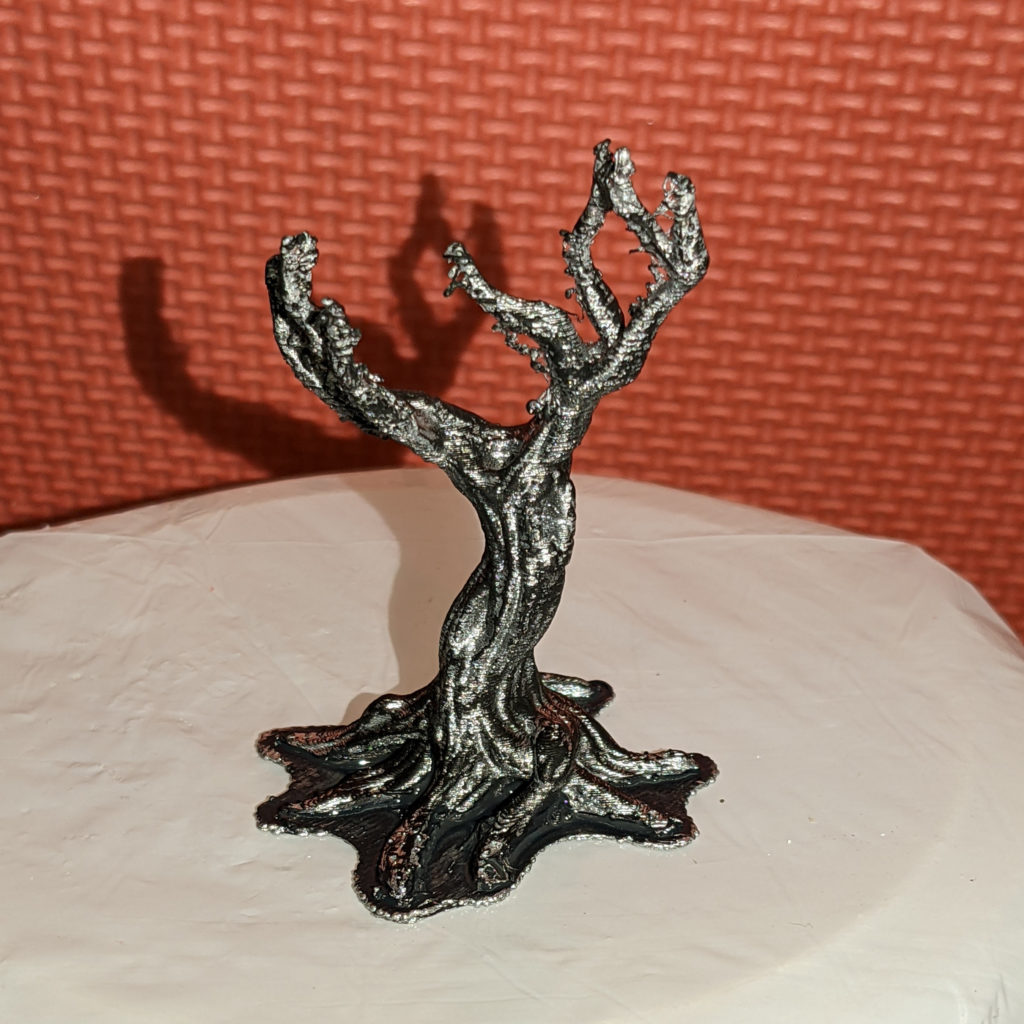
For the “burning tree” version, I started with a silver primer (which will become the light colored “ash” between the charcoal.
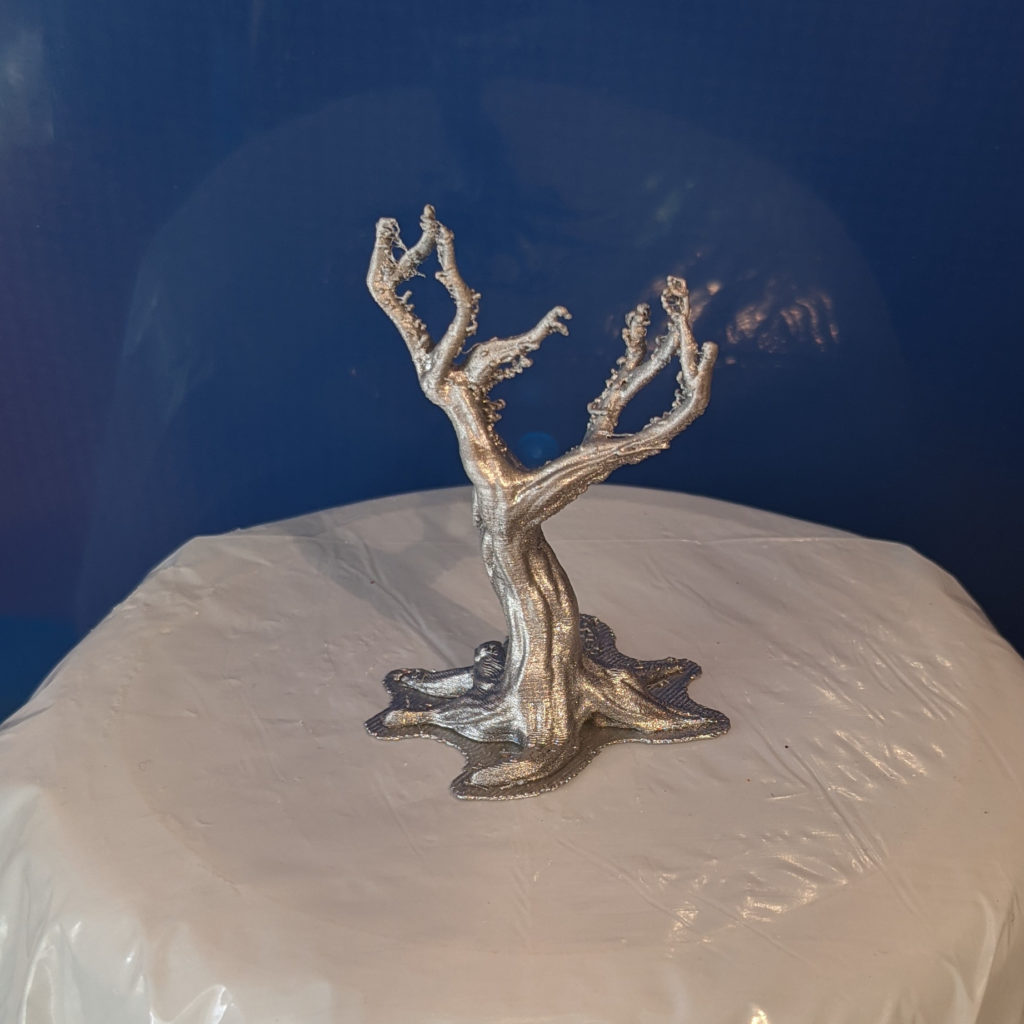
Dry brushing black on relatively heavily gave the whole trunk a charcoal appearance.
I could have stopped here for a “burnt tree”, but I decided to layer on flame effects inside some of the knot holes and on the upper limbs (using the technique I outline in this video), which mostly consists of covering the whole area with red, then smaller and smaller parts of it with orange, yellow and white as you work down (or inward, for the knot holes).
