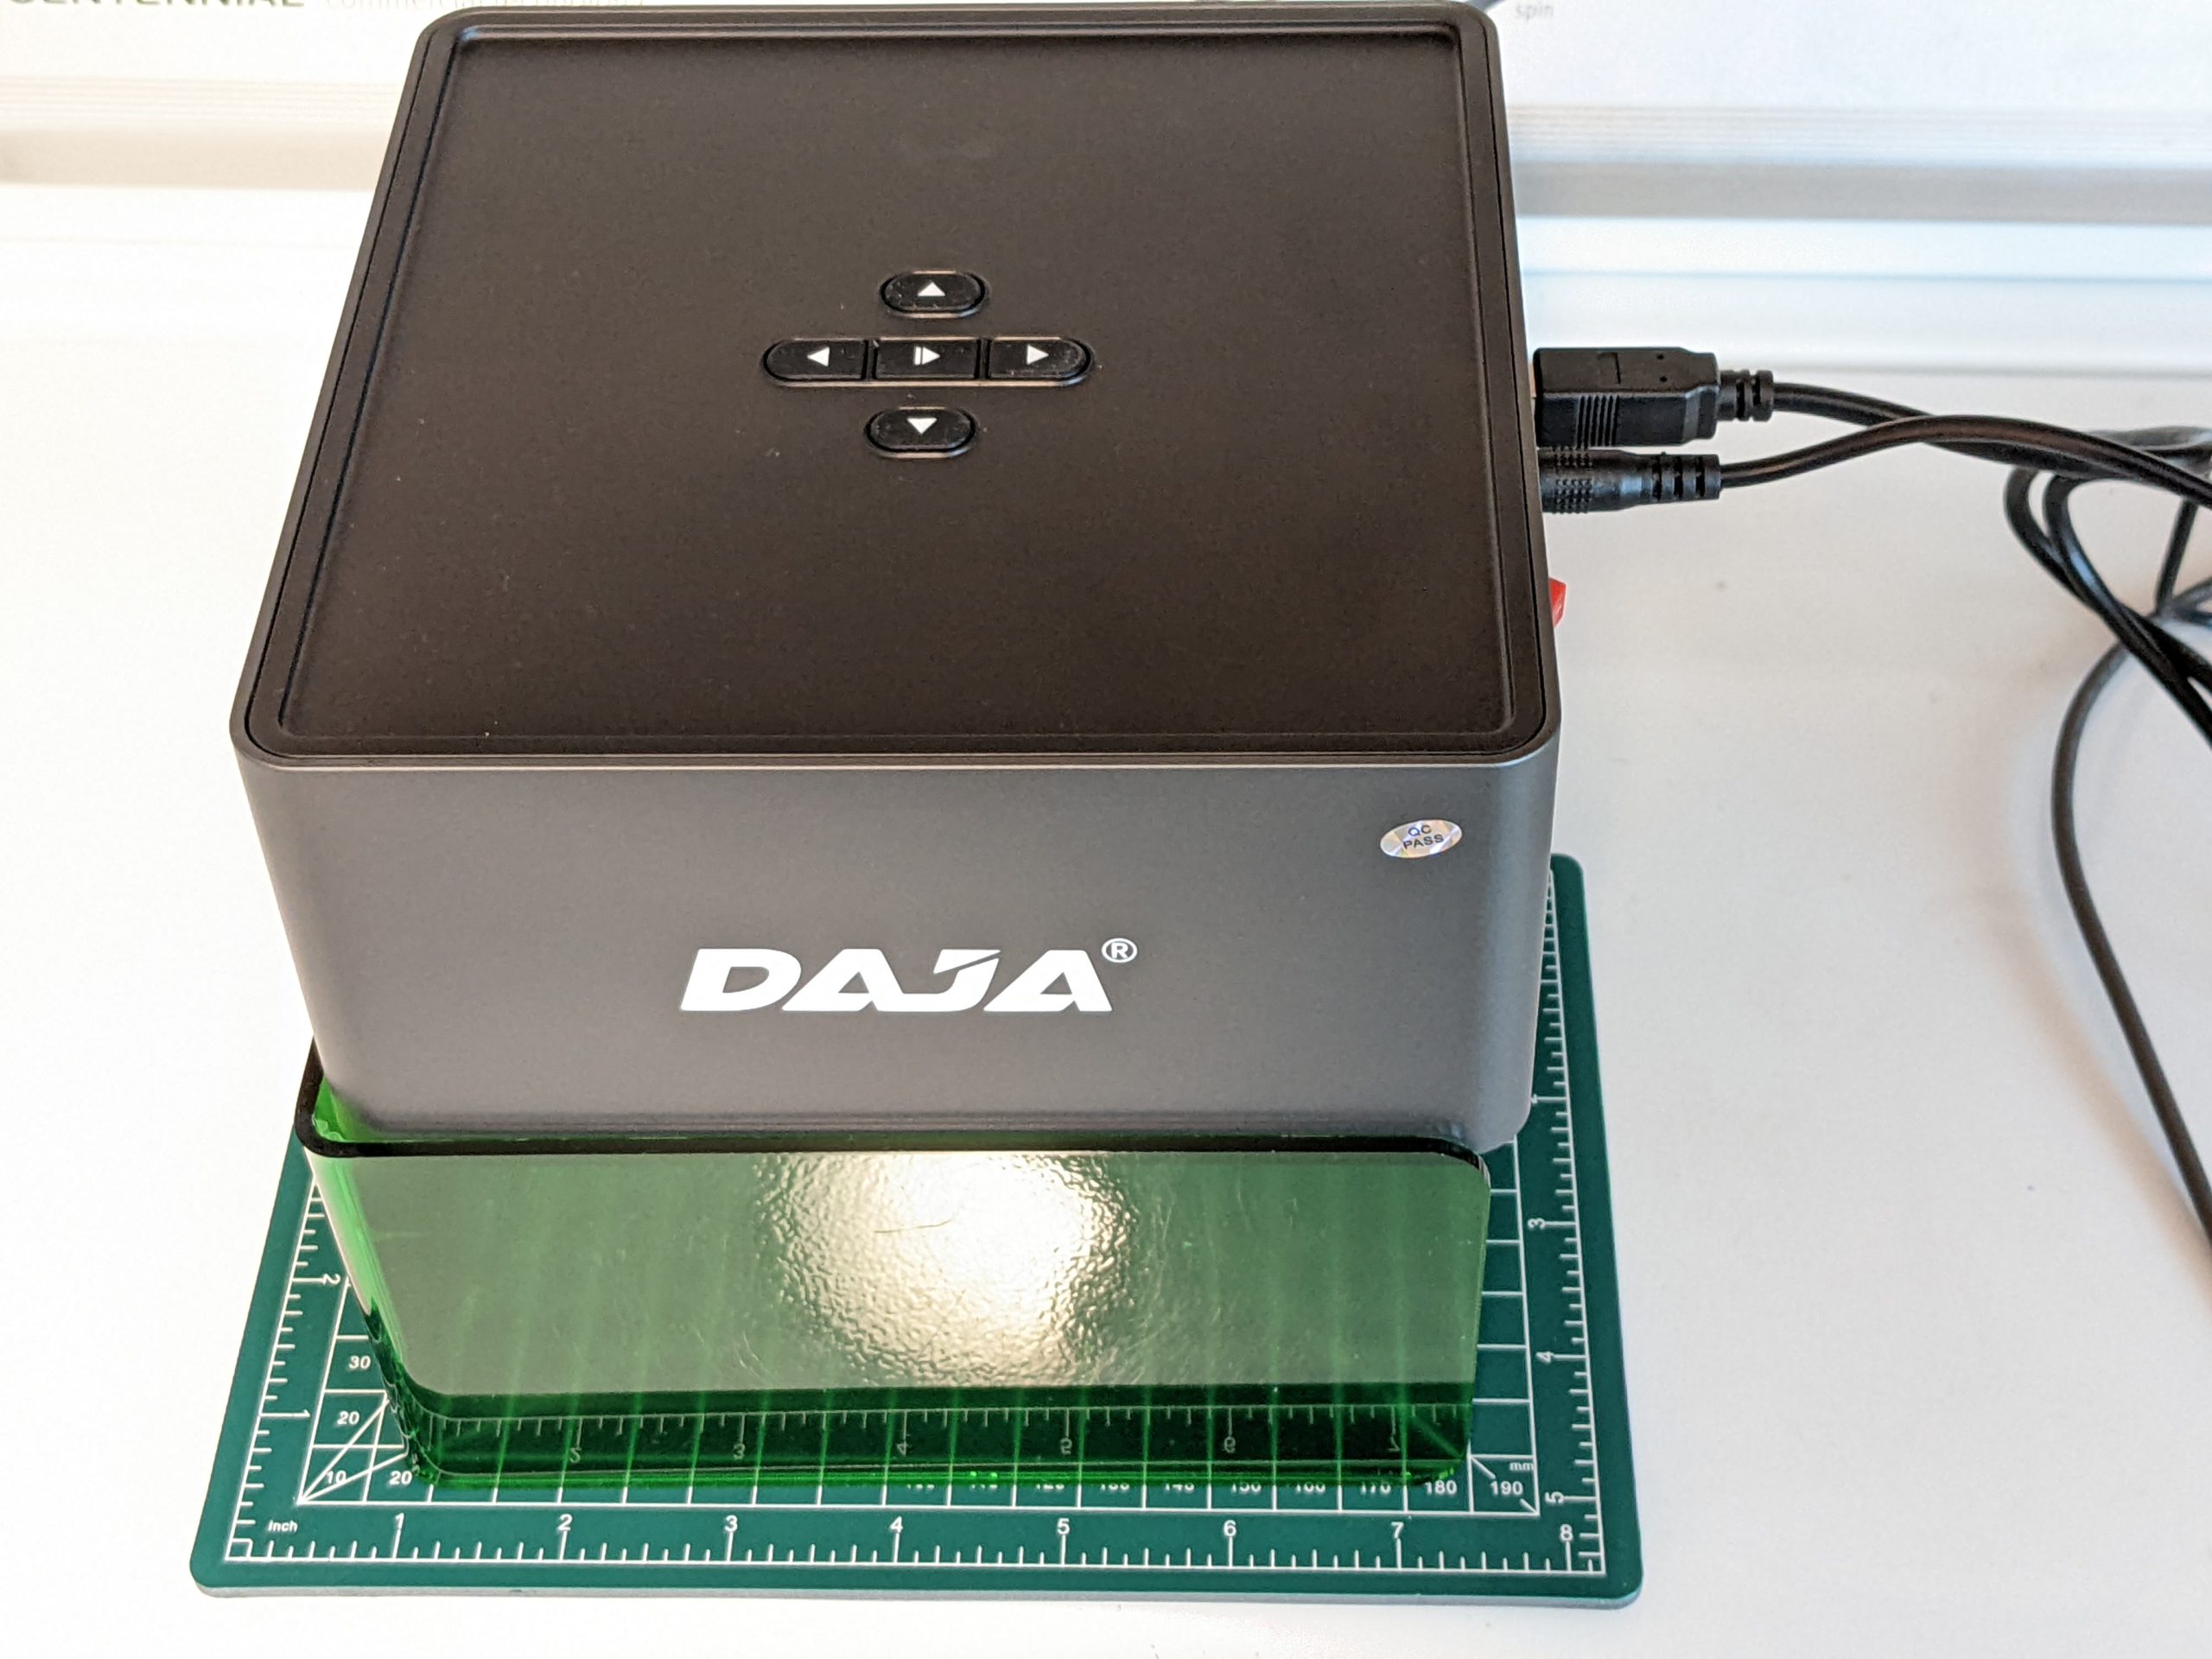
This is the DAJA DJ6 laser engraver. It is basically a 450nm solid state laser diode (3 Watt according to the manual) attached to an X/Y gantry that can do laser engraving.
Although it does not offer Linux software support, you CAN use it with a Linux desktop. Read on for how I got that working.
The (basic) software that it comes with works on Windows and Mac. It also has an Android app (and the manual mentions an iOS app as well). You can connect to it on your computer via a USB-B serial port, and the android app connects via a wifi access point running on the DAJA. (ssid: DAJA, Password: 11112222)
Unfortunately, the software support does not (directly) include Linux, BUT it is written in Java, and you CAN get it to work correctly under Ubuntu. In my limited testing, the software appears to work just as well as in Windows using the built in openjdk 11.0.13 that comes with Ubuntu 21.10.
The laser engraver comes with a 500 MB USB stick including the windows and mac software in a DJ6 EN.zip file. After unzipping it, you can find a DAJA-LASER.exe installer at /DJ6 EN/1.WINDOWS/1.soft/. There may be a piece of software on Linux that will decompress this installer without actually running it (similar to Universal Extractor on Windows) but I couldn’t find one easily, so I installed wine and used it to “install” the DAJA-LASER.exe files into: my .wine/drive_c/diao directory.
You can run the included (windows) java runtime using wine and use it to run the diao.jar file with a command line like: wine-stable C:\\\\diao\\\\bin\\\\javaw.exe -jar\\ diao.jar
However the software runs perfectly fine using openjdk with a command line of “java -jar diao.jar” from within the ~/.wine/drive_c/diao/bin folder. So I just copied that bin folder (you need more than just the .jar file) to my working directory and use it there.
BUT, before you can connect to the laser engraver, you need to grant your user account access to the /dev/ttyUSB0 com port that appears when you plug the USB cable into your computer. To do this on Ubuntu, add yourself to the “dialout” group with the command:
sudo usermod -a -G dialout <your_username>
(If you are on some other Linux version, you may need to join the uucp, lock, or tty groups….)
After you run this command, you will need to log out and then log back in for the change to take effect.
I’d like to give a shout out to http://www.javadecompilers.com which I used to de-compile the JAR file to read the code to see how it accessed the serial port (it is using the jSerialComm package from here: https://fazecast.github.io/jSerialComm/ ). The software iterates through all serial ports (that do not have the word “Bluetooth” in their name) and tries to open/probe them all for the correct device, so the name of the serial port doesn’t matter as long as it is detected/found by the jSerialComm package. [The software installer also has RXTX dll files, but doesn’t appear to use them, just to throw people off the scent….but given the rest of the file structure and code quality, I suspect there is a lot of development cruft left laying around in general….]
I tried this command sudo usermod -a -G dialout
(with my username)., The software opens but it cannot connect to the laser engraver. Do you have any suggestion?
You will have to close out the terminal and then re-open a new one for that change to take effect. Also, depending upon your version of Linux, you may require some other / different permissions for the software to access the USB serial port.
[I don’t recommend running random software as root….but you COULD run the Daja java files as root with the sudo command to test if it is a permissions issue, but just be aware that if the software messes up or is malicious, it could do basically anything to your OS it wanted to with root permissions.]
You can’t run this on Linux reliably as the code is looking to match strings in the SerialPort name/description and the identification code for the CP210x drivers has changed (at least in Ubuntu 24.04).
You can patch the code to look for “cp210x” rather than “CP2102” and it will work however, this is an ugly workaround for some ugly code.
Good to know, thanks!
Quick and ugly patch but this might work…
https://github.com/anonymousweasel23/daja_dj6_engraver