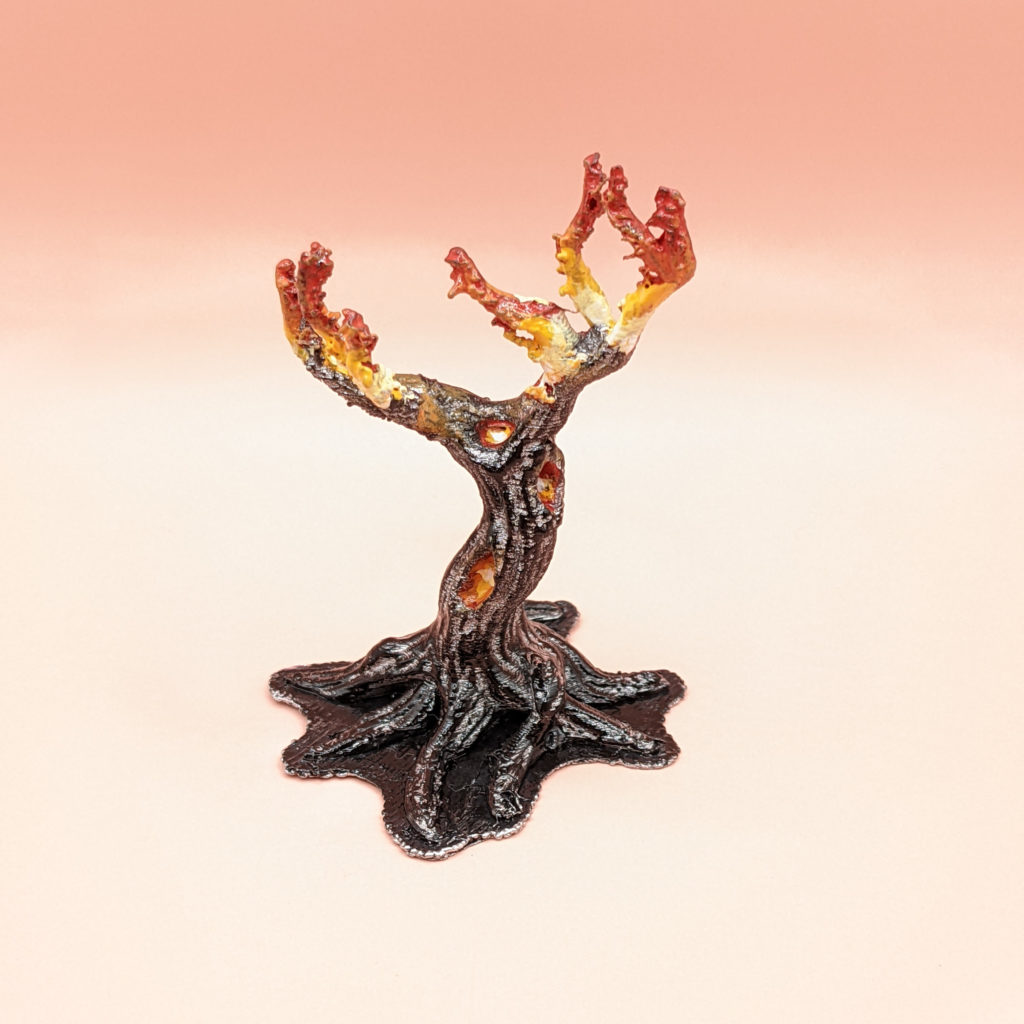
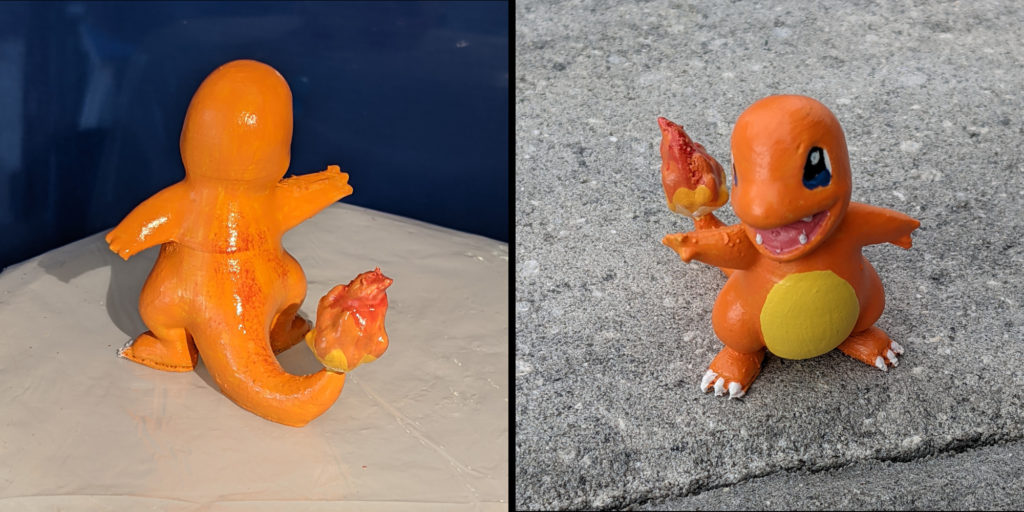
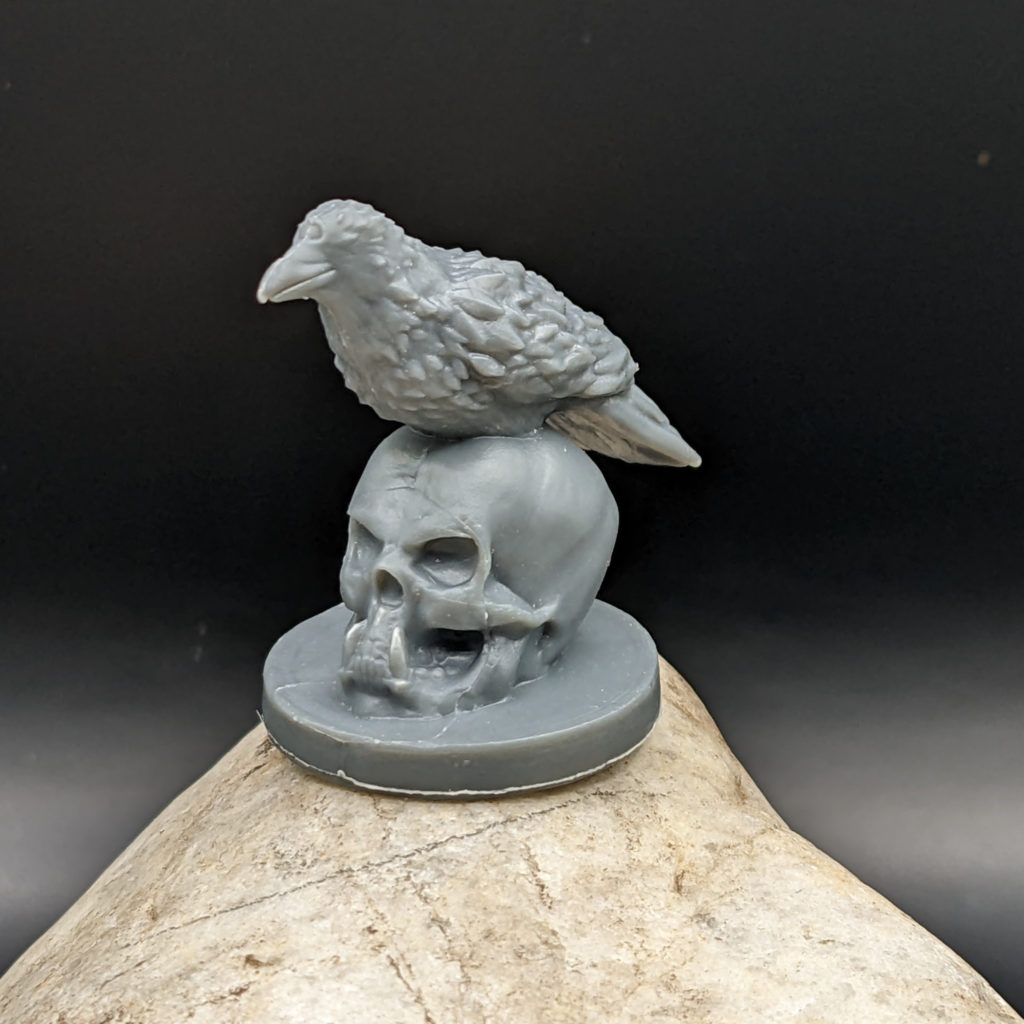
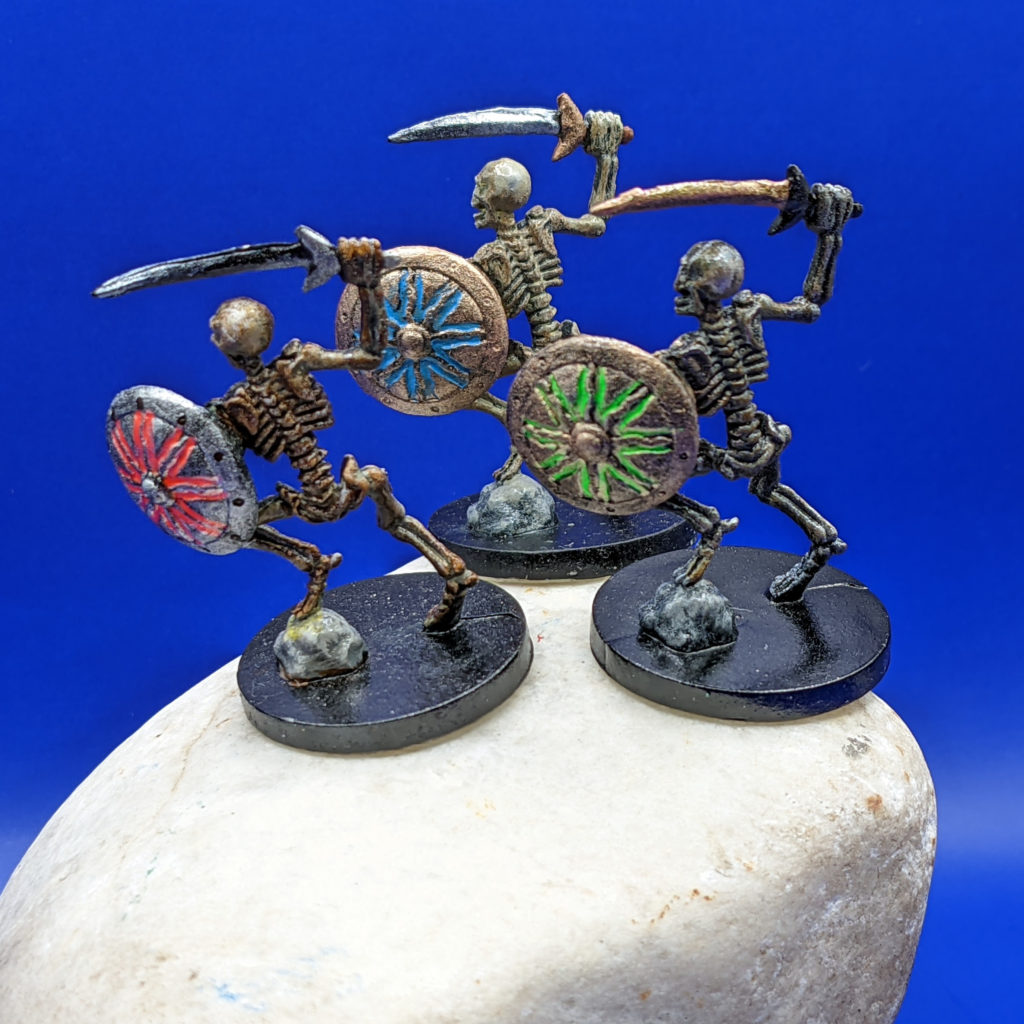
Sometimes you need to paint fire. The color light that fire throws out depends upon it’s temperature, generally ranging from white to red (we will ignore blue flames for the purposes of painting miniatures). Here are a few items I’ve painted with Flame effects.
One technique is to start with the most red color, paint the entire fire area with that, and then paint smaller and smaller areas as you go down with oranges, yellows, and ending with white. This may allow some of the red to show through your other paints as you go down, depending upon their opacity. I demonstrate that in this video:
However, when I painted the “fire shield” spell effect miniature, I went in the opposite direction (starting from the bottom at white and working my way up to red). Regardless of which direction you paint, you’ll mostly be waiting for each color to dry so you can begin the next layer/level. I suggest having a hair drier on hand to speed up the drying process, unless you like taking breaks.
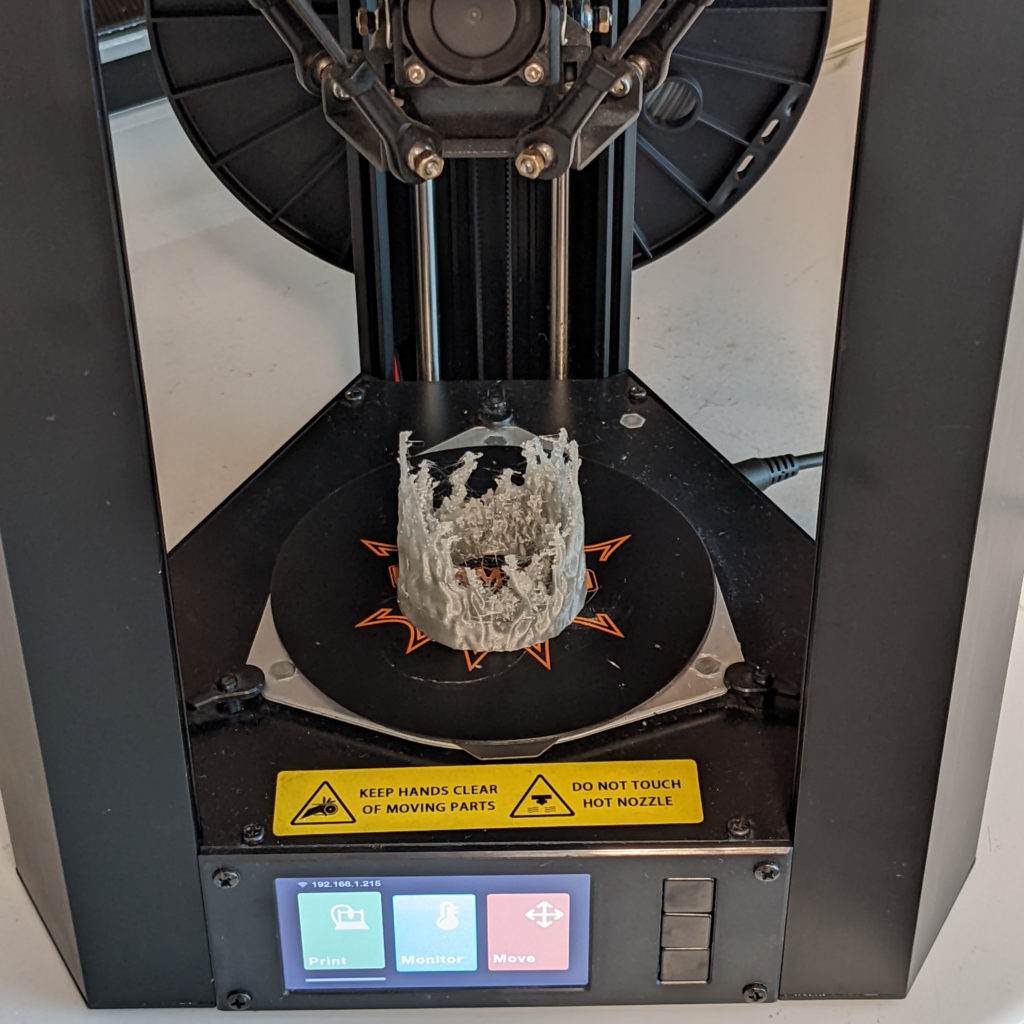
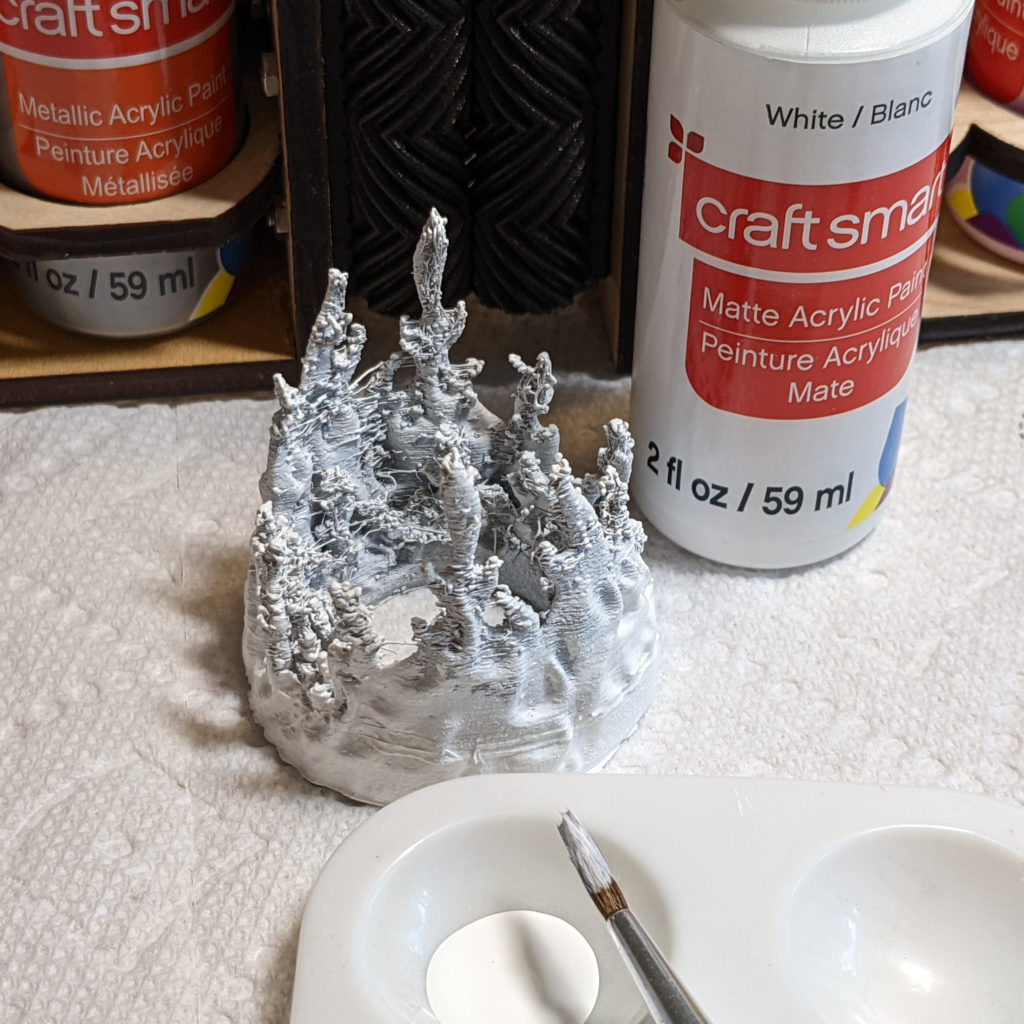
I printed the fire shield on my Delta Mini FDM printer, which left a lot of PLA strands in place, so I hit it with a hot air gun to melt most of those before priming the entire model white.
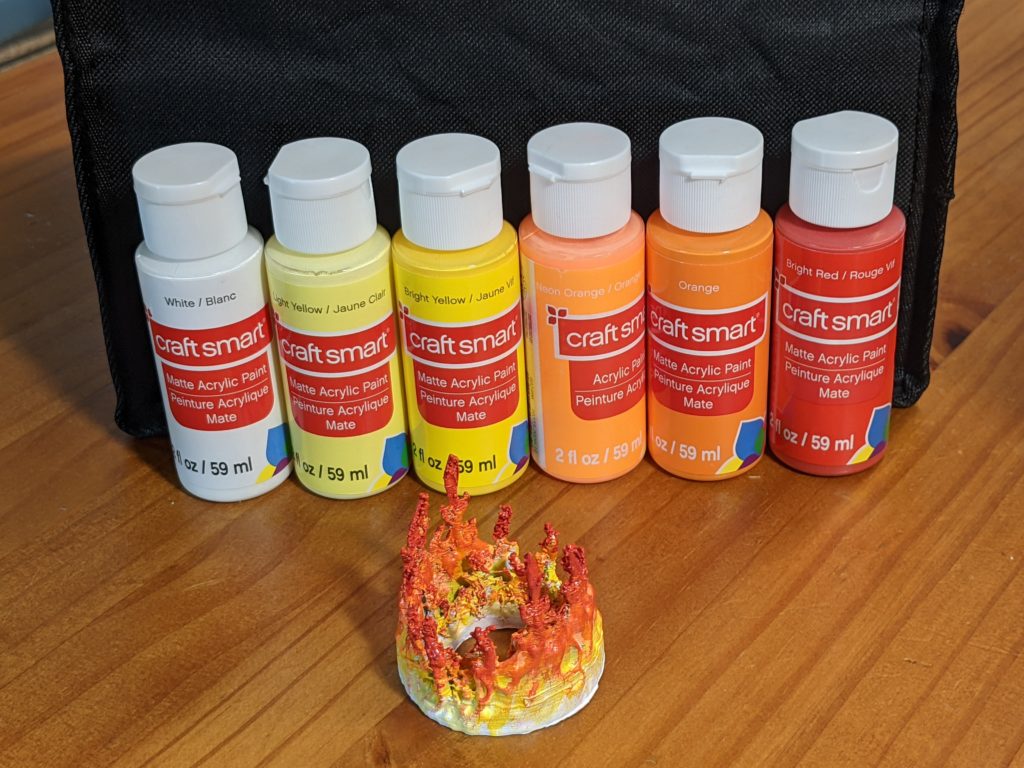
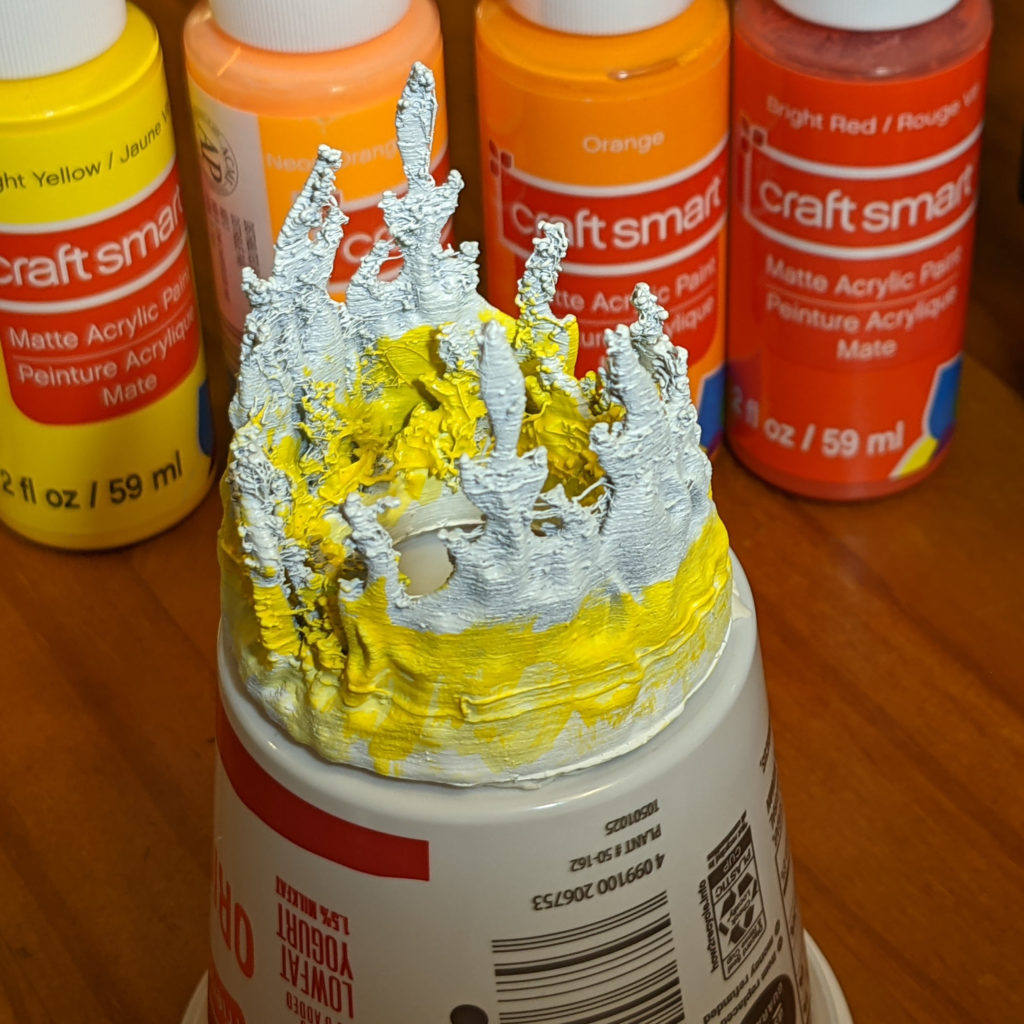
Then I started to paint each layer (light yellow, bright yellow, neon orange, orange, red) as I went up.
When moving upwards, layer each color on top of the previous color, and paint enough extra space to have the next color layer upon the current color. It’s also important to NOT just paint rings of colors. Take advantage of the texture on the flame model to have each color go a little above and below it’s own “ring” to mix and blend the transitions between colors.
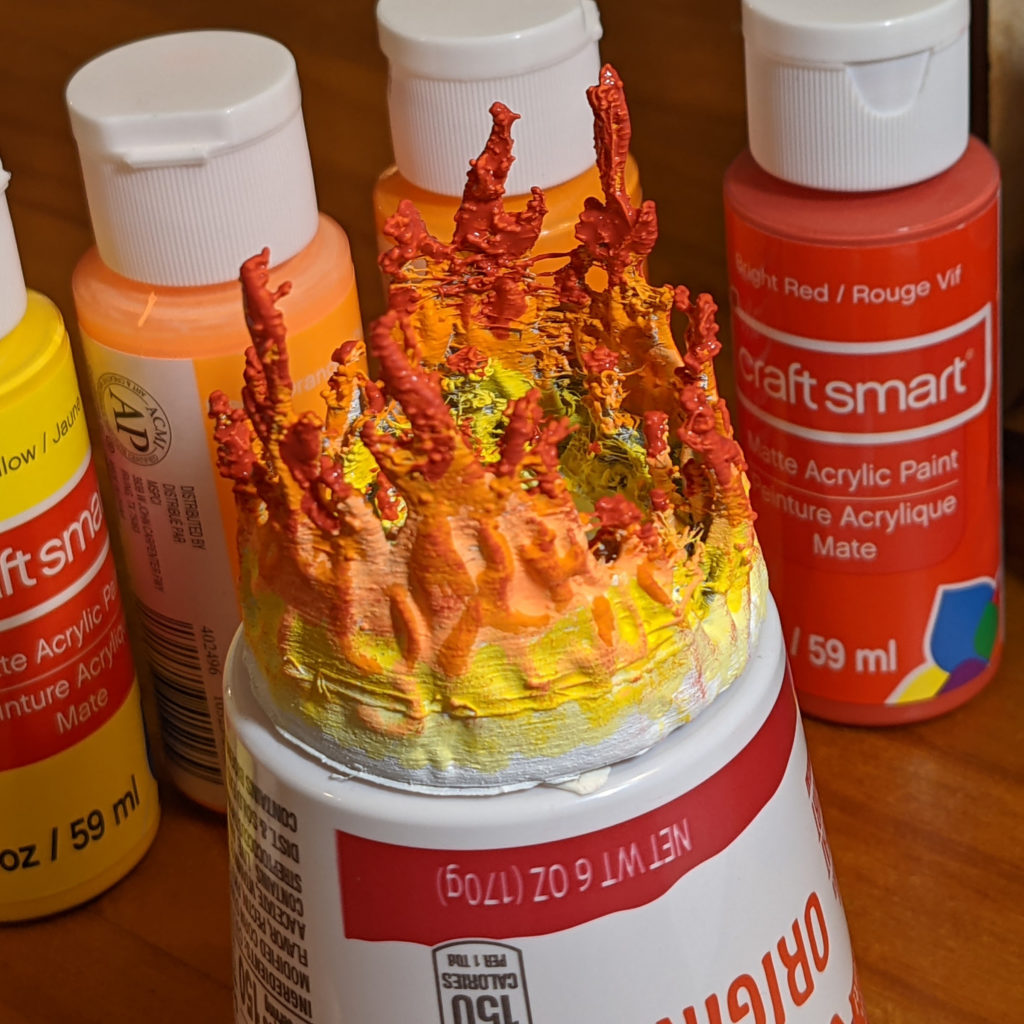
In the image above, you can see how I used overbrushing to put dark orange on the high points in the lighter neon orange areas, and the neon orange also appears in the high points of the bright yellow areas. Keep in mind that different flames may be of different heights, so shorter flames will need to progress through the full gamut of colors more quickly than taller flames.
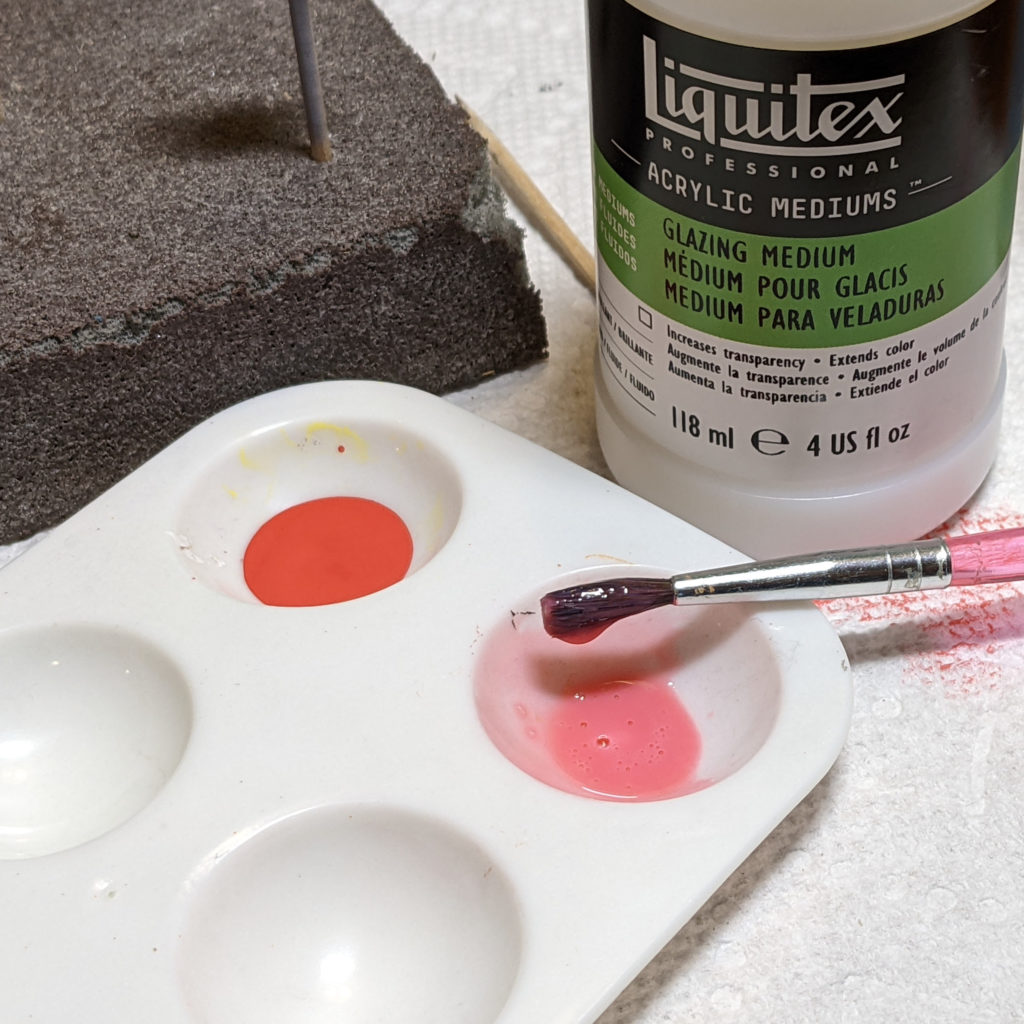
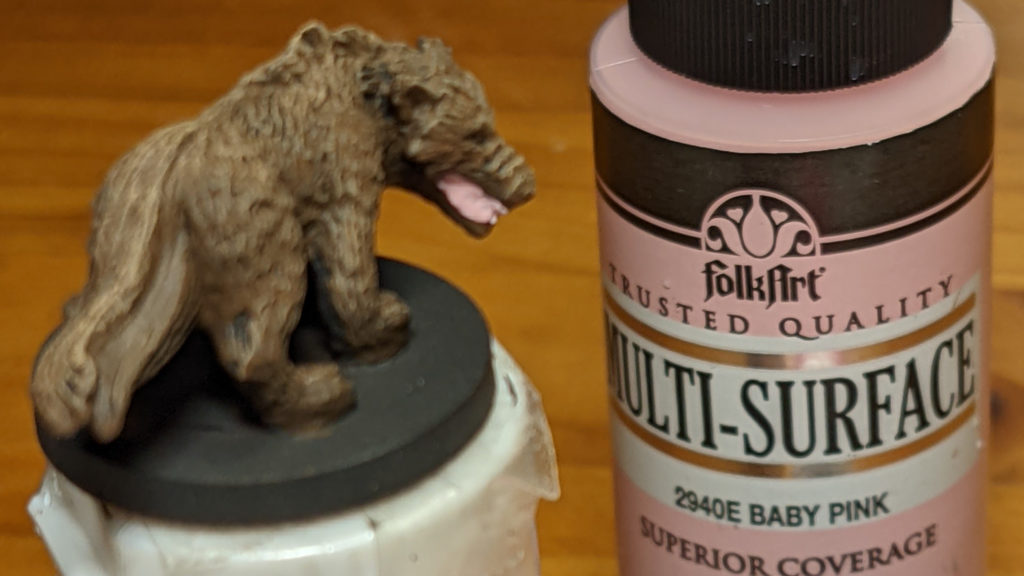
I like to drybrush a bit of the deepest red over the entire flame surface when I’m done, as well as use a glaze of dark red over the top red/orange area, and a thinned down version over the yellow/white areas when I finish things up. This adds a hint of red or pink to the entire flame area and ties things together.
