Nexus 7 (2013) QI charging frame

I bought this inductive QI charger which is designed for cell phones, but also charges my Nexus 7 tablet. The only problem is that the tablet needs to be precisely centered to be charged, which takes a bit of effort to get exactly right, and if it’s bumped off center it stops charging. So I built this frame that sits over the top of the charger and holds my tablet exactly centered over the charging coil.

It’s made up of 3 layers of laser cut plywood, one around the charger, and two identical ones to frame the tablet. It even has nice finger slots to make it easy to remove, a feature I identified as necessary in my cardboard prototyping stage….

You can download the files from Thingiverse @ https://www.thingiverse.com/thing:2734516


Garage Door Insulation part 3 – Window Openings

I used fiberglass batt and reflectix to insulate the non-window panels of my garage doors, and the process was relatively quick and easy.I decided to use two layers of 3/4″ PolyIso insulation boards with aluminum facing to insulate the window opening panels. The process of cutting out two panels to fit around each window opening was labor intensive.


First, I made cardboard templates sized to fit around the windows and cut out my first layer of insulation. On the first layer, I placed the reflective layer “outwards” facing the door, as there is a small air gap between the panel and most of the steel door material due to a decorative “indent”. This first layer goes around the window frame. I would mark each piece of foam with a template, then use a carpenters square to cut straight (and mostly perpendicular) lines.

In the case of the 2nd layer, I had to freehand trace the curves with my razer knife. To keep the reflective side looking nice on the 2nd layer, I would mark and cut from the back, and then finish off the corners of the cuts from the reflective side.

The second layer fits over the window frame, so the openings are cut smaller, allowing light to enter, but covering up any opaque portions of the window or frame.This comes into play more on the front of my garage, which has decorative coverings over part of the square windows.

I faced the reflective side inward to reduce radiant heat transfer to the interior, and to match the reflectix aesthetically.

Two layers of this PolyIso 3/4″ insulation has an R value of 10, although there are some gaps between the layers, along with large openings cut out for the windows, but I prefer the natural light over thermal benefits of covering the windows entirely.

The take-away message here is if you have the choice, always pay extra to buy the insulated garage doors from the factory, as retro-fitting insulation takes time and money.

Wifi Printing to HP Envy 4500 printer chops off top of page

If you are printing from Ubuntu Linux to an HP Envy 4500 printer and try to print a document with a very small top border, you may find that the printer chops off the very top quarter inch of the page.

The fix I found was to change the paper size from “US Letter (11 x 8.5)” to US Letter Borderless (11.14 x 8.72)” in the print drivers.

I have read several places online where other users with Mac’s and Windows machines have the same issue when printing over wifi, so I feel the issue is with the printer itself (and it’s wifi to printing bridge) as opposed to the Linux drivers.

Easy 4″ exhaust vent outlet

I needed to add an exhaust vent to my workshop that would allow me to quickly attach and detach a 4″ exhaust hose. I decided to use an inexpensive   ($3.18) PVC 4″ snap in drain to go through the board I had in my window for the portable AC unit.   The nice thing about these 4″ snap in drains is that they will tightly fit inside of a 4″ hole, or a 4″ exhaust hose.


Plus, I already had the 4″ hole saw from using the same hardware to vent my truck’s battery chargers.

One hole and a bit of epoxy later, I had a way to vent a 4″ hose out my window.

The drain has a large plastic “grid” to keep out larger creatures, and in this particular application, I have the board mounted inside the normal window screen, so I don’t have to worry too much about bugs.   I also purchased a 90 degree aluminum elbow for $4.28 which makes it very easy for me to plug the flexible dryer hose over the plastic drain piece, and makes the 90 degree turn to go out the window.

It currently sits over the plastic with a friction fit just fine, although I may buy another spring clip to make the connection a bit tighter.   NOTE: This 90 degree elbow is “adjustable” in that you can rotate the different sections around to change the amount of bending. Unfortunately, this let some smoke smell escape into the room from the elbow until I covered all of the seams with aluminum foil duct tape.

Because I only leave the hose attached while venting, I also needed a way to plug the hole when I wasn’t using it. Again, the plumbing section provided the perfect fit with this 4″ PVC DWV to Sewer and Drain Bushing ($2.48), which fits over the outside of the snap in drain very tightly.

I cut a circle of 3/4″ poly iso insulation I had left over from insulating my garage doors to seal the inside of the bushing, and affixed it with hot glue.

Now, whenever I’m not using the Exhaust vent port, I just slip the bushing over the snap in drain and it blocks drafts and provides more insulation value than the plywood board I have mounted in my window for the AC unit in the first place.


My total cost for this solution was under $10 (assuming you have 2 part epoxy and poly-iso insulation just laying around…).


FB1-4001A motor brush photos

Here are some photos of the brushes installed on my DC FB1-4001A series wound motor, rated at 72-144 VDC, (19kW) 25HP continuous ( 100 ft/lb of torque / 48hp @ 500 amps ) which is   9.1″ in diameter.

My motor has a curved protective metal sheet that wraps around the front of the motor (the aluminum with diamond cutouts that has a cutout for the A2 post in this photo). It has a spring catch that releases it (not shown) on the other side of the motor.

I use the metal sheet to hold down fiberglass screen material underneath the diamond cutouts to provide extra protection from road debris. The brushes are accessed after removing the sheet.

The brushes are mounted in pairs, and each brush is held against the commutator by a metal spring and has two copper pigtails to transfer the current.

Here is a closeup of two brushes where you can see the commutator which rotates under them.


Ego 21″ Self Propelled 56 volt Power plus lawnmower review

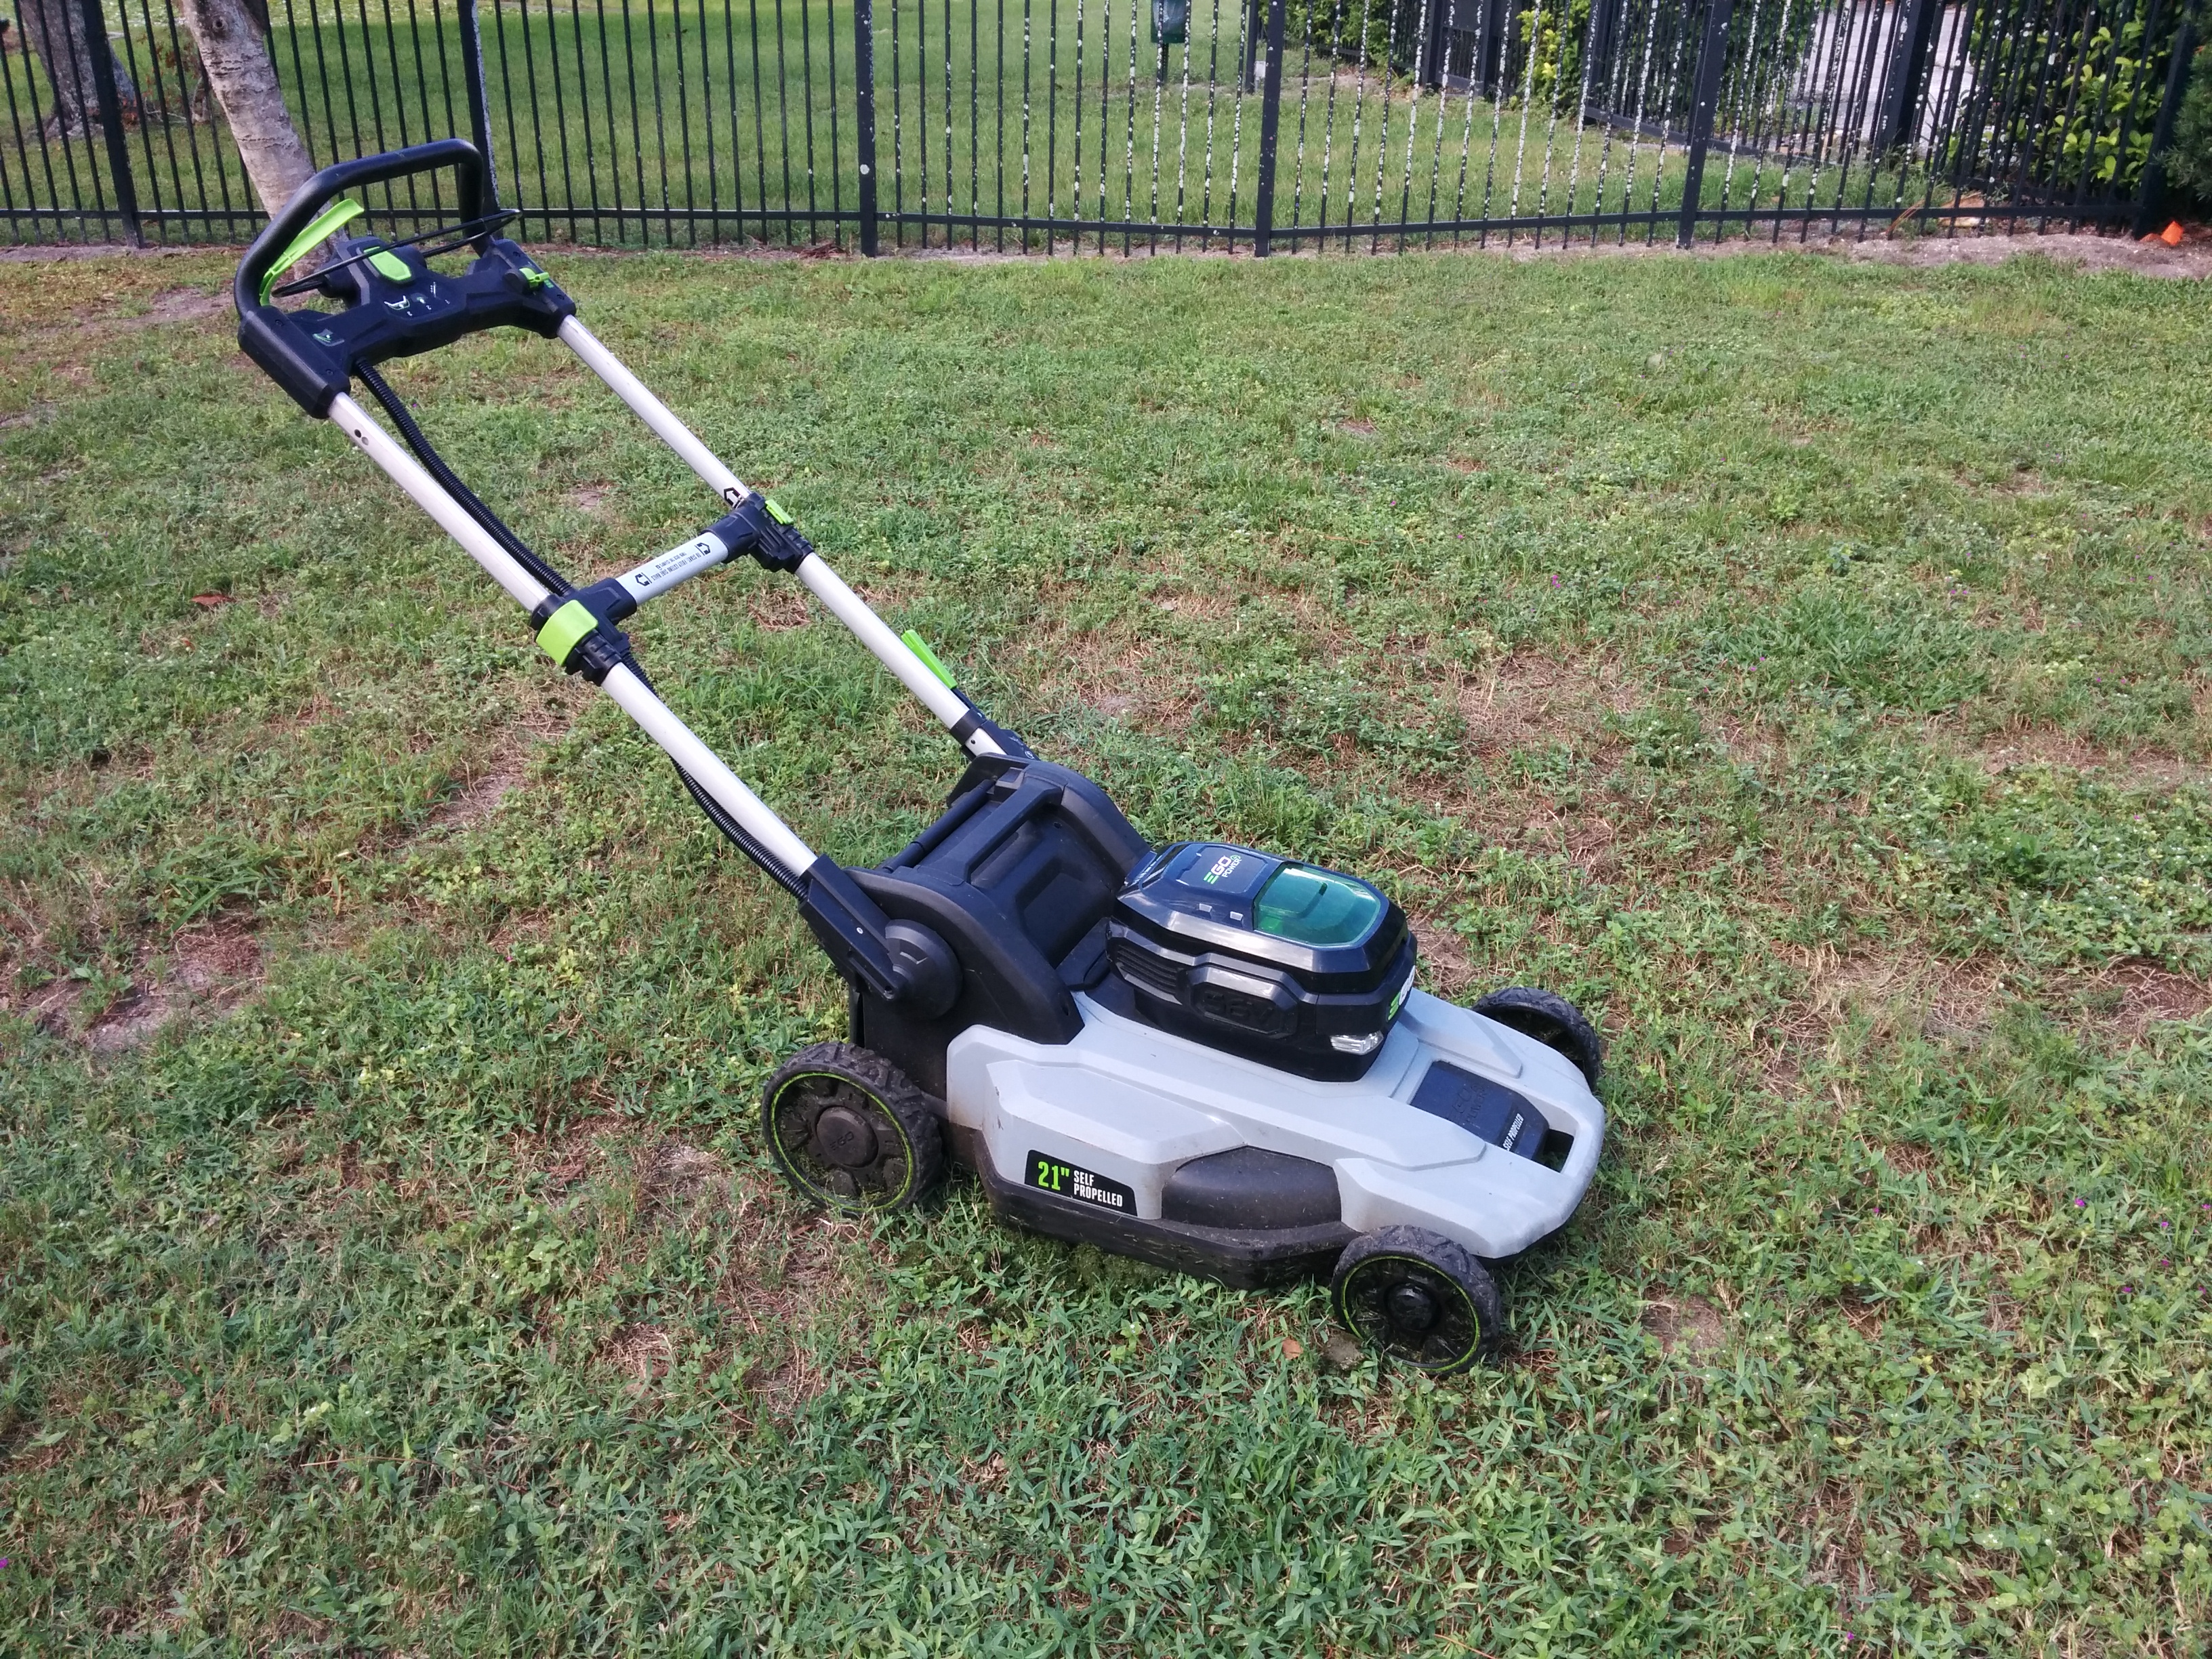
In April of 2017 I purchased an Ego 21″ Self-propelled electric lawnmower (Model LM2100SP), and I have been somewhat happy with it despite two failures of the self propel drive unit that were both repaired/replaced under warranty.

I still believe that an EGO mower is the best option if you are going to be buying a cordless electric mower, but there are a lot of caveats you should know about if you are trying to decide between it and a traditional gas model.

Performance and “Range”:
The Ego has comparable performance (cutting power) to a gas mower (and an impressive ability to automatically ramp up the torque if needed), but it can’t compete on range with the energy density of gasoline. My mower came with the largest 7.5 Amp Hour (AH) battery, and I need to re-charge it once (winter) or twice (summer) to mow my 3/5 acre yard in two or three sections. I can usually mow for between 30-60 minutes at a charge depending upon conditions (cutting thick wet grass with a dull blade takes a lot more energy than cutting thin dry grass with a sharp blade).

As an example, I was able to mow this section of my lawn (from the foreground to just past the pine tree to the right of center) on a single charge (until the status light on the mower turned from green to red, leaving just enough power in the battery to use it in the leafblower to clean off the lawnmower and a short sidewalk). The section was 66′ long by 130′ wide, (8,500 sq ft, or just under 1/5 – 0.195 acres ). This was grass that needed mowing (mowed last about 9 days ago) but wasn’t quite overgrown yet. Time wise, this took me around 45 minutes running with the self propel set to maximum speed. As another data point, in the middle of summer, mowing thick overgrown grass, I was able to mow a 5,200 sq ft section ( 130′ x 40′) on a single charge of a new 7.5 AH battery.

With a gas mower you could mow my entire lawn with thick wet grass and a very dull blade and only notice that you needed to re-fill the gas can slightly more frequently. With an electric mower, you learn to keep your blade sharp, and to never mow wet grass (which is good for the lawnmower and your lawn) because it makes a significant difference in your mowers “range”.

My lawn is large, and most homeowners would probably buy a riding mower with a wide deck to mow it, so I don’t mind getting a break between each section. [Electric riding mowers were prohibitively expensive when I purchased my walk-behind Ego.] Recharging the battery takes an hour with the included fast charger, so I can mow one section, recharge while taking a lunch break and then knock out a second section. Usually though, I just mow 1/3 of it each day, so the battery charging speed doesn’t really matter. If you wanted to be able to mow almost continuously, you should buy two batteries so that one can be charging while you are using the other.

Cost:
The mower will cost more up-front than a comparable gas mower, due to the cost of the rechargeable battery (The battery and charger is warranted for 3 years, while the mower itself has a 5 year warranty). If the battery lasts a full 5 years, your total cost of ownership will probably be very similar to a gas mower + fuel and maintenance. However, if you were to purchase a used gas mower, you can save a significant amount of money. Purchasing a used electric mower was not yet a viable option for my lawn, as most used electric mowers on the market still make use of lead acid batteries and do not have the comparable performance to the Ego’s 56 volt lithium battery pack. If you have a very small yard (1/10th acre or less), an older used electric mower may still work for you.

Benefits of electrification

Once you accept that the energy density of a LiIon battery is significantly lower than gas, there are many benefits to an electric mower. First, it costs me about 5 cents to fully charge the battery (15 cents to mow my entire lawn), and I never have to travel to a gas station to purchase fuel. I will have to purchase a new battery at some point in the future. Currently, it is unclear exactly how quickly the battery will degrade over time. I have detected no degradation after the first four months. It is warranted for 3 years, and I hope it will actually last 5-10 years before I need a new one, but only time will tell. New batteries are expensive, but if technology improves and costs reduce over the next five years, I may just buy an electric riding mower once my Ego walk behind is 5 years old and the warranty expires.

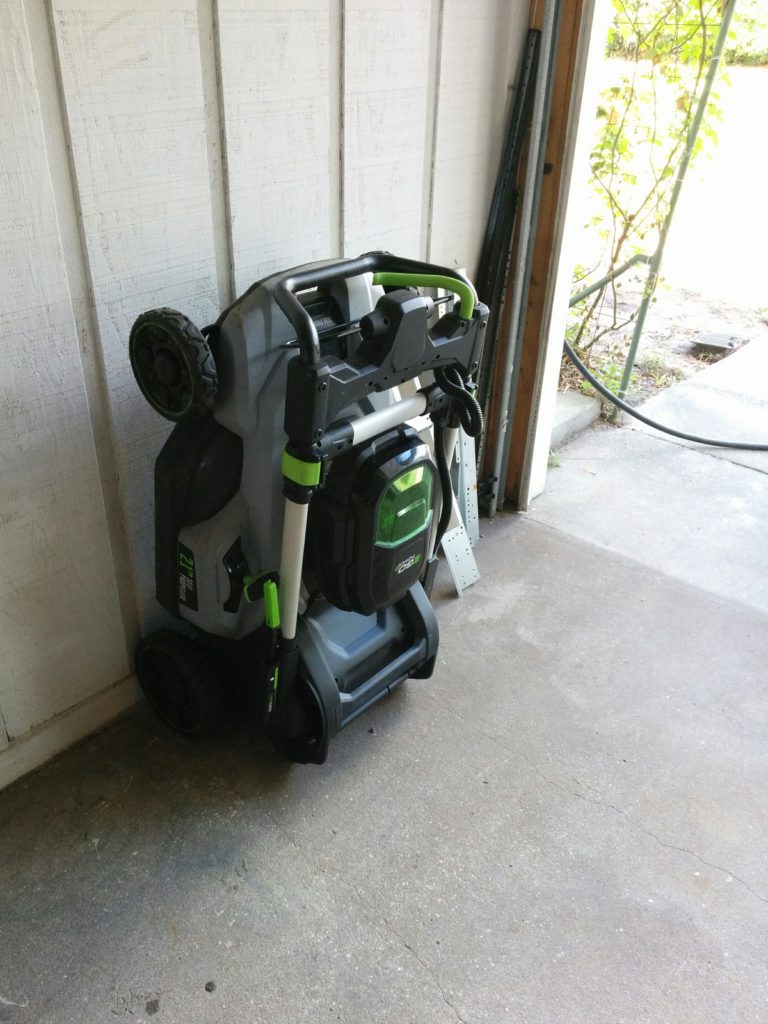
Because the mower has no gas or oil, you can turn it to change the blade or fold the handle and stand it upright for storage without worrying about leaks or damage. This is a prime space saving benefit that I feel is one of the main benefits.

Because the motor is electric, starting and stopping the mower is as easy as pushing the start button and pulling the bail bar in.   No more pull starts, or dealing with a dead starter battery on an electric start model.

The mower is MUCH quieter than most gas mowers. Although it makes noise, it is much less disruptive than even a four stroke engine with a good muffler. And of course, you never have to walk through fumes or smoke from an internal combustion engine.

It also comes with headlights. This may sound like a gimmicky feature, but since the electric motor is so quiet, you can mow later in the evening without worrying about annoying your neighbors. Because the headlights are down low shining across your lawn, they do a very good job of highlighting the mowed/not-yet mowed division, making it even easier to overlap your tracks slightly than in the daytime.

Common Gripes

Reading the Ego community forums (after purchasing the mower) I found several common complaints.   First, it can leave   tufts of uncut grass near the edge of the mower, which can mostly be rectified by overlapping your passes a bit extra. So instead of a 21″ deck, you are really getting the performance of a 19-20″ deck. This may be related to the second common complaint, a lack of suction. Some people complain that it doesn’t always lift leaves or grass upwards enough to cut/mulch. Many of these complaints are from people who bag their clippings and want absolutely everything off of the lawn when they are finished. I use it almost exclusively in the mulching configuration, and am happy with it’s mulching performance. Ego does sell a “high-lift” blade that has more “uplift” specifically designed for bagging operation, which does improve the suction, but at the expense of extra energy usage (shorter runtime). I have the high lift blade and can confirm it does a good job increasing “pickup” when bagging, but I was happy enough with the mulching performance with the standard blade that I don’t use the high-lift blade and bag frequently.

Hardware failures

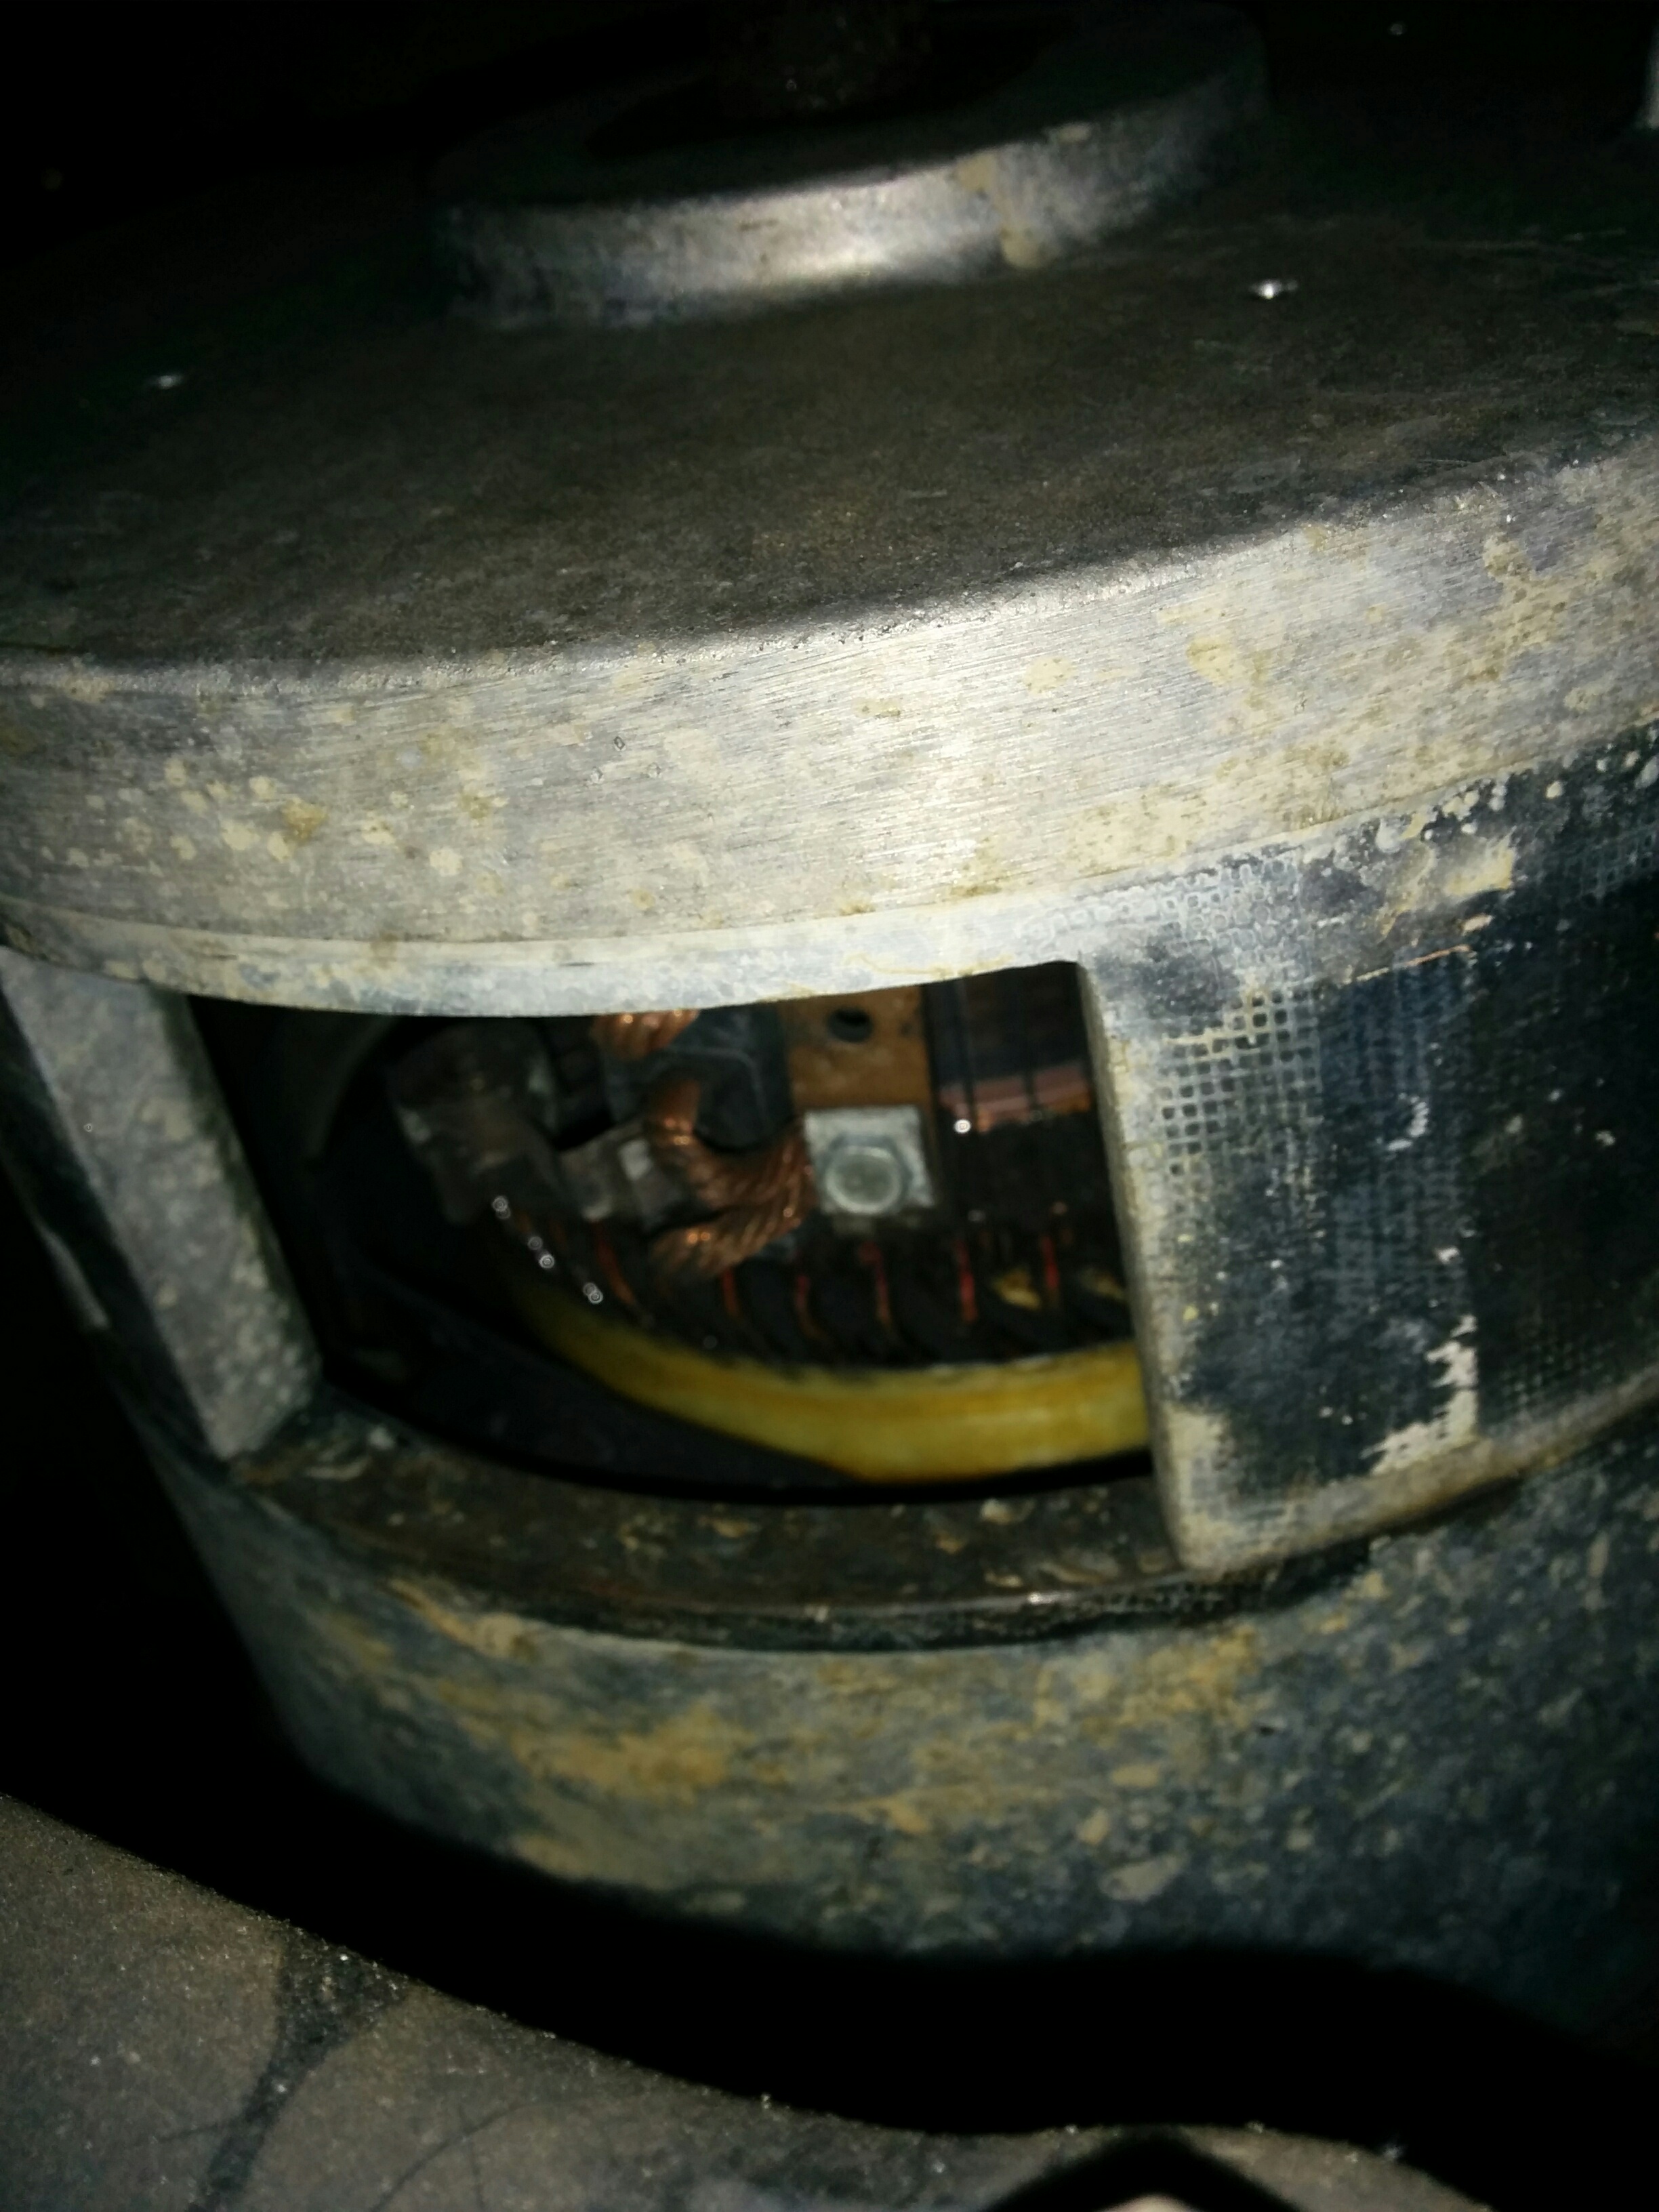
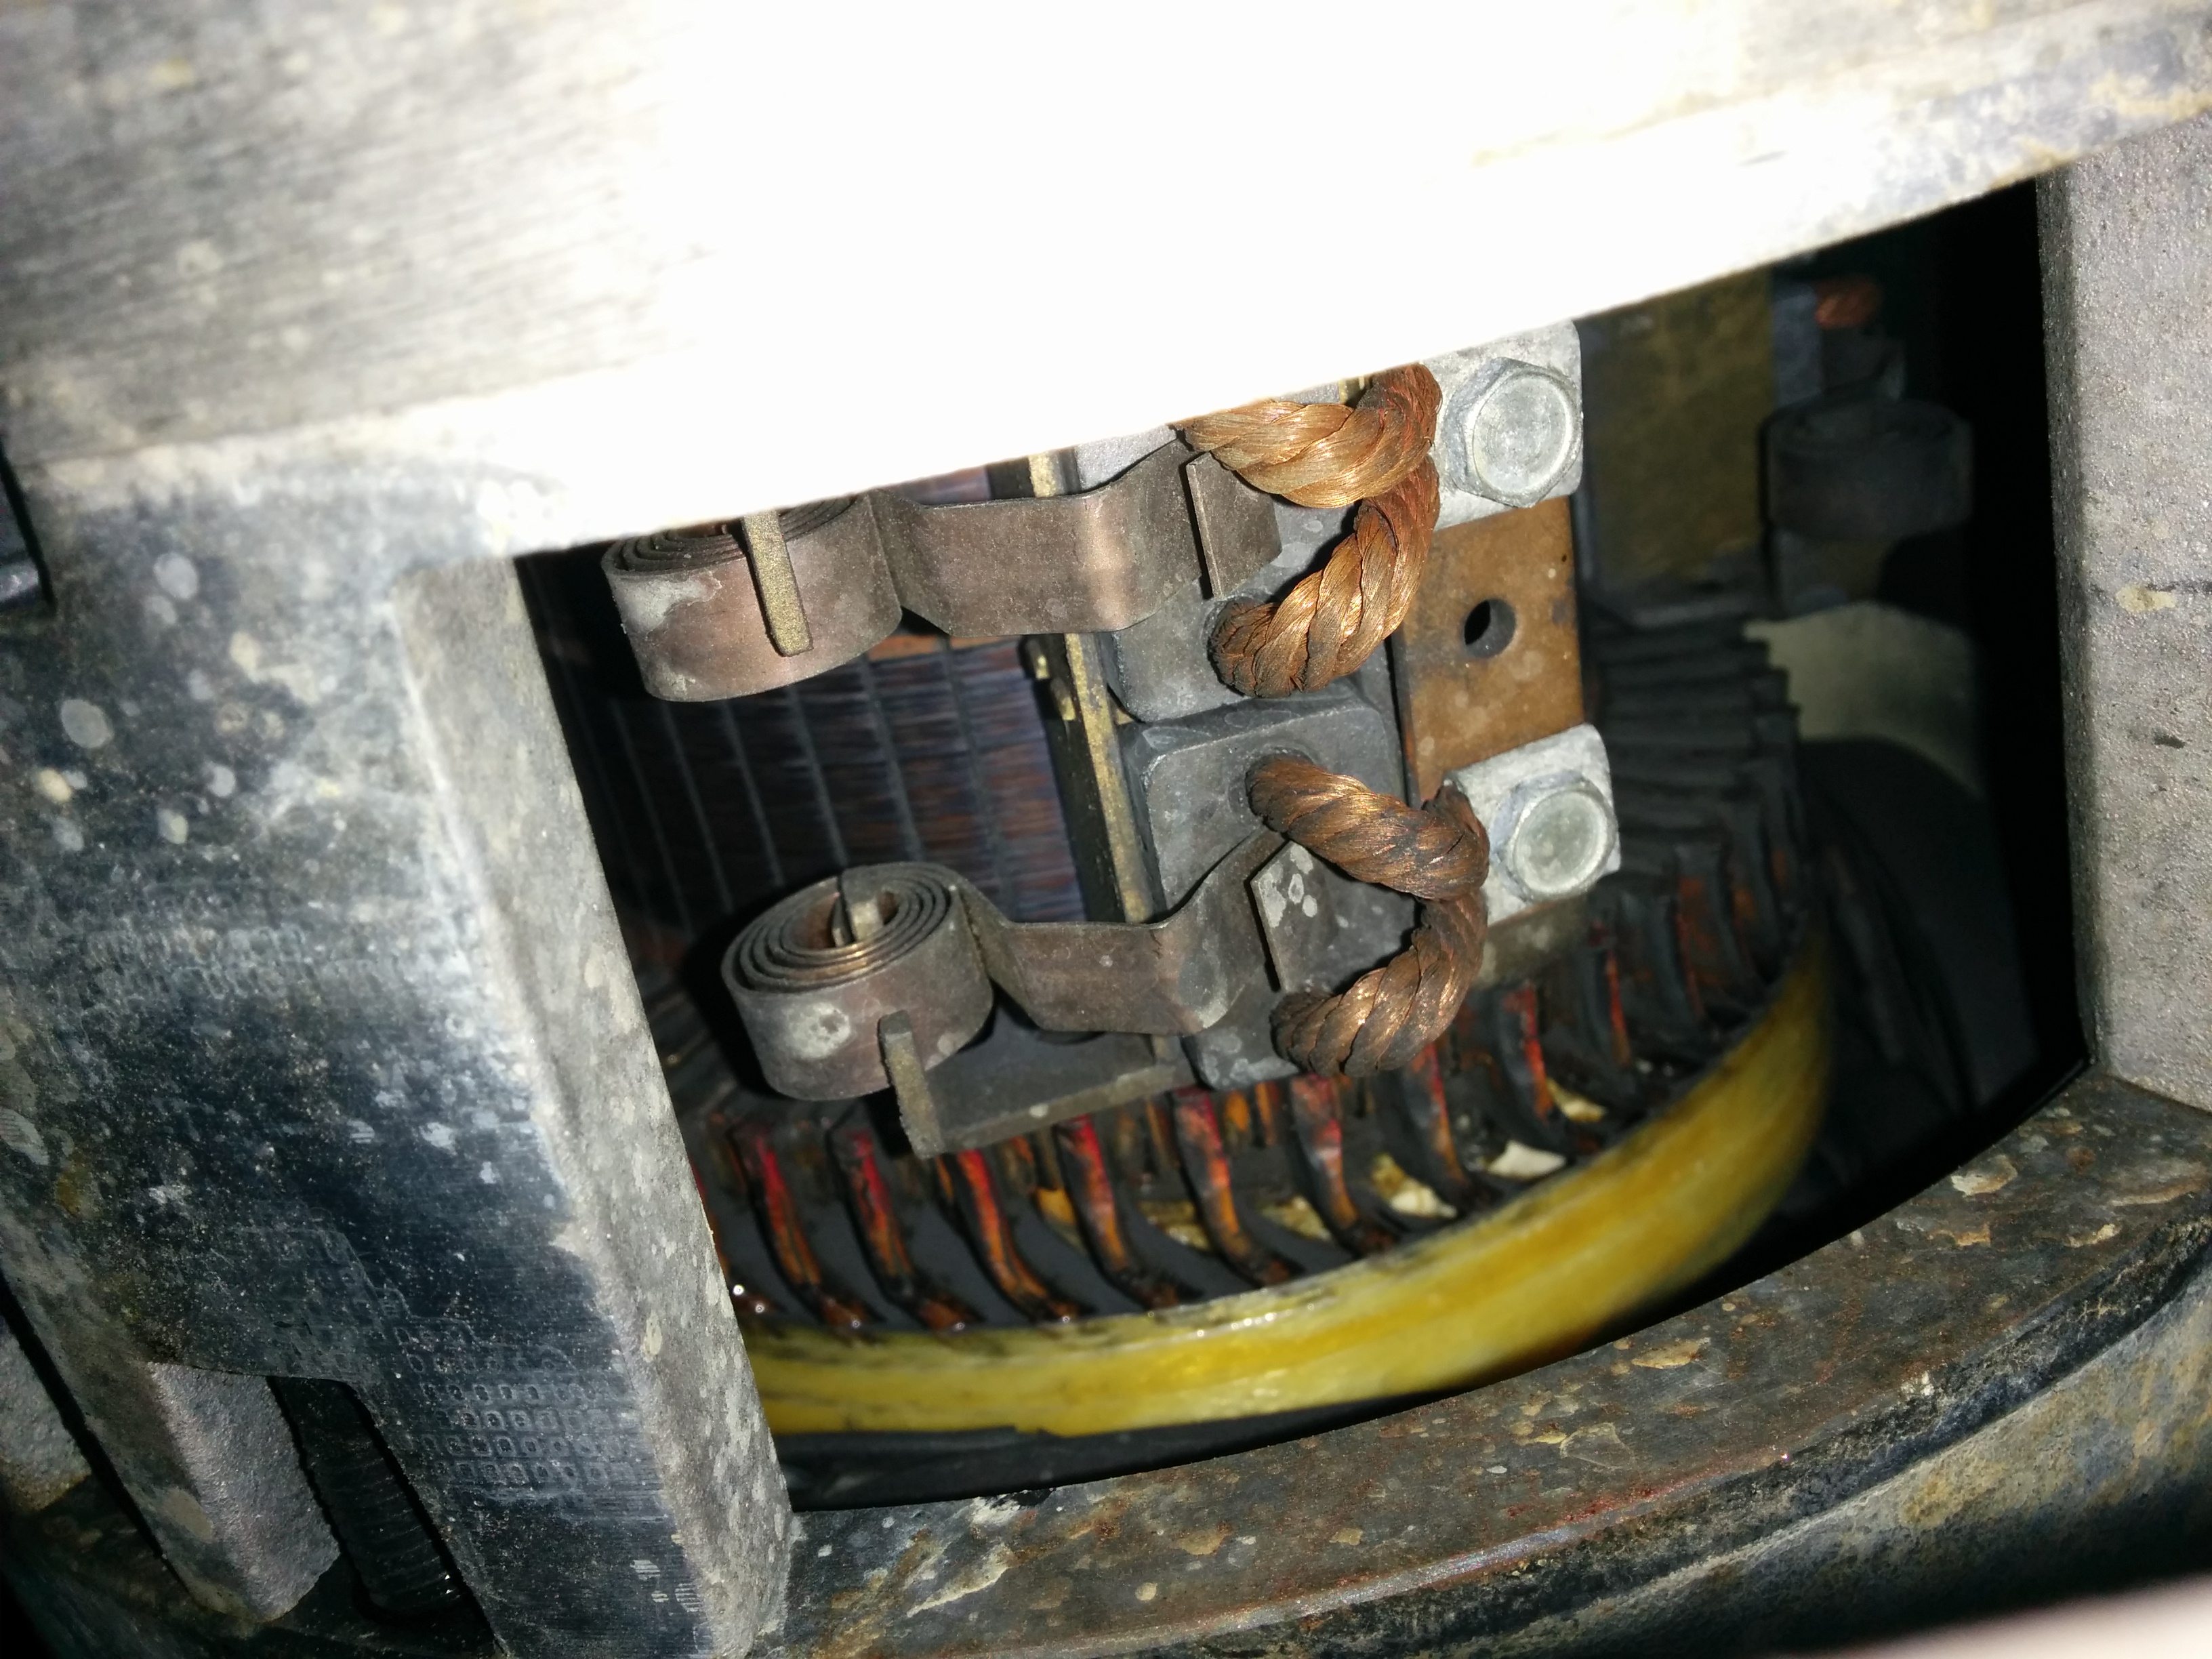
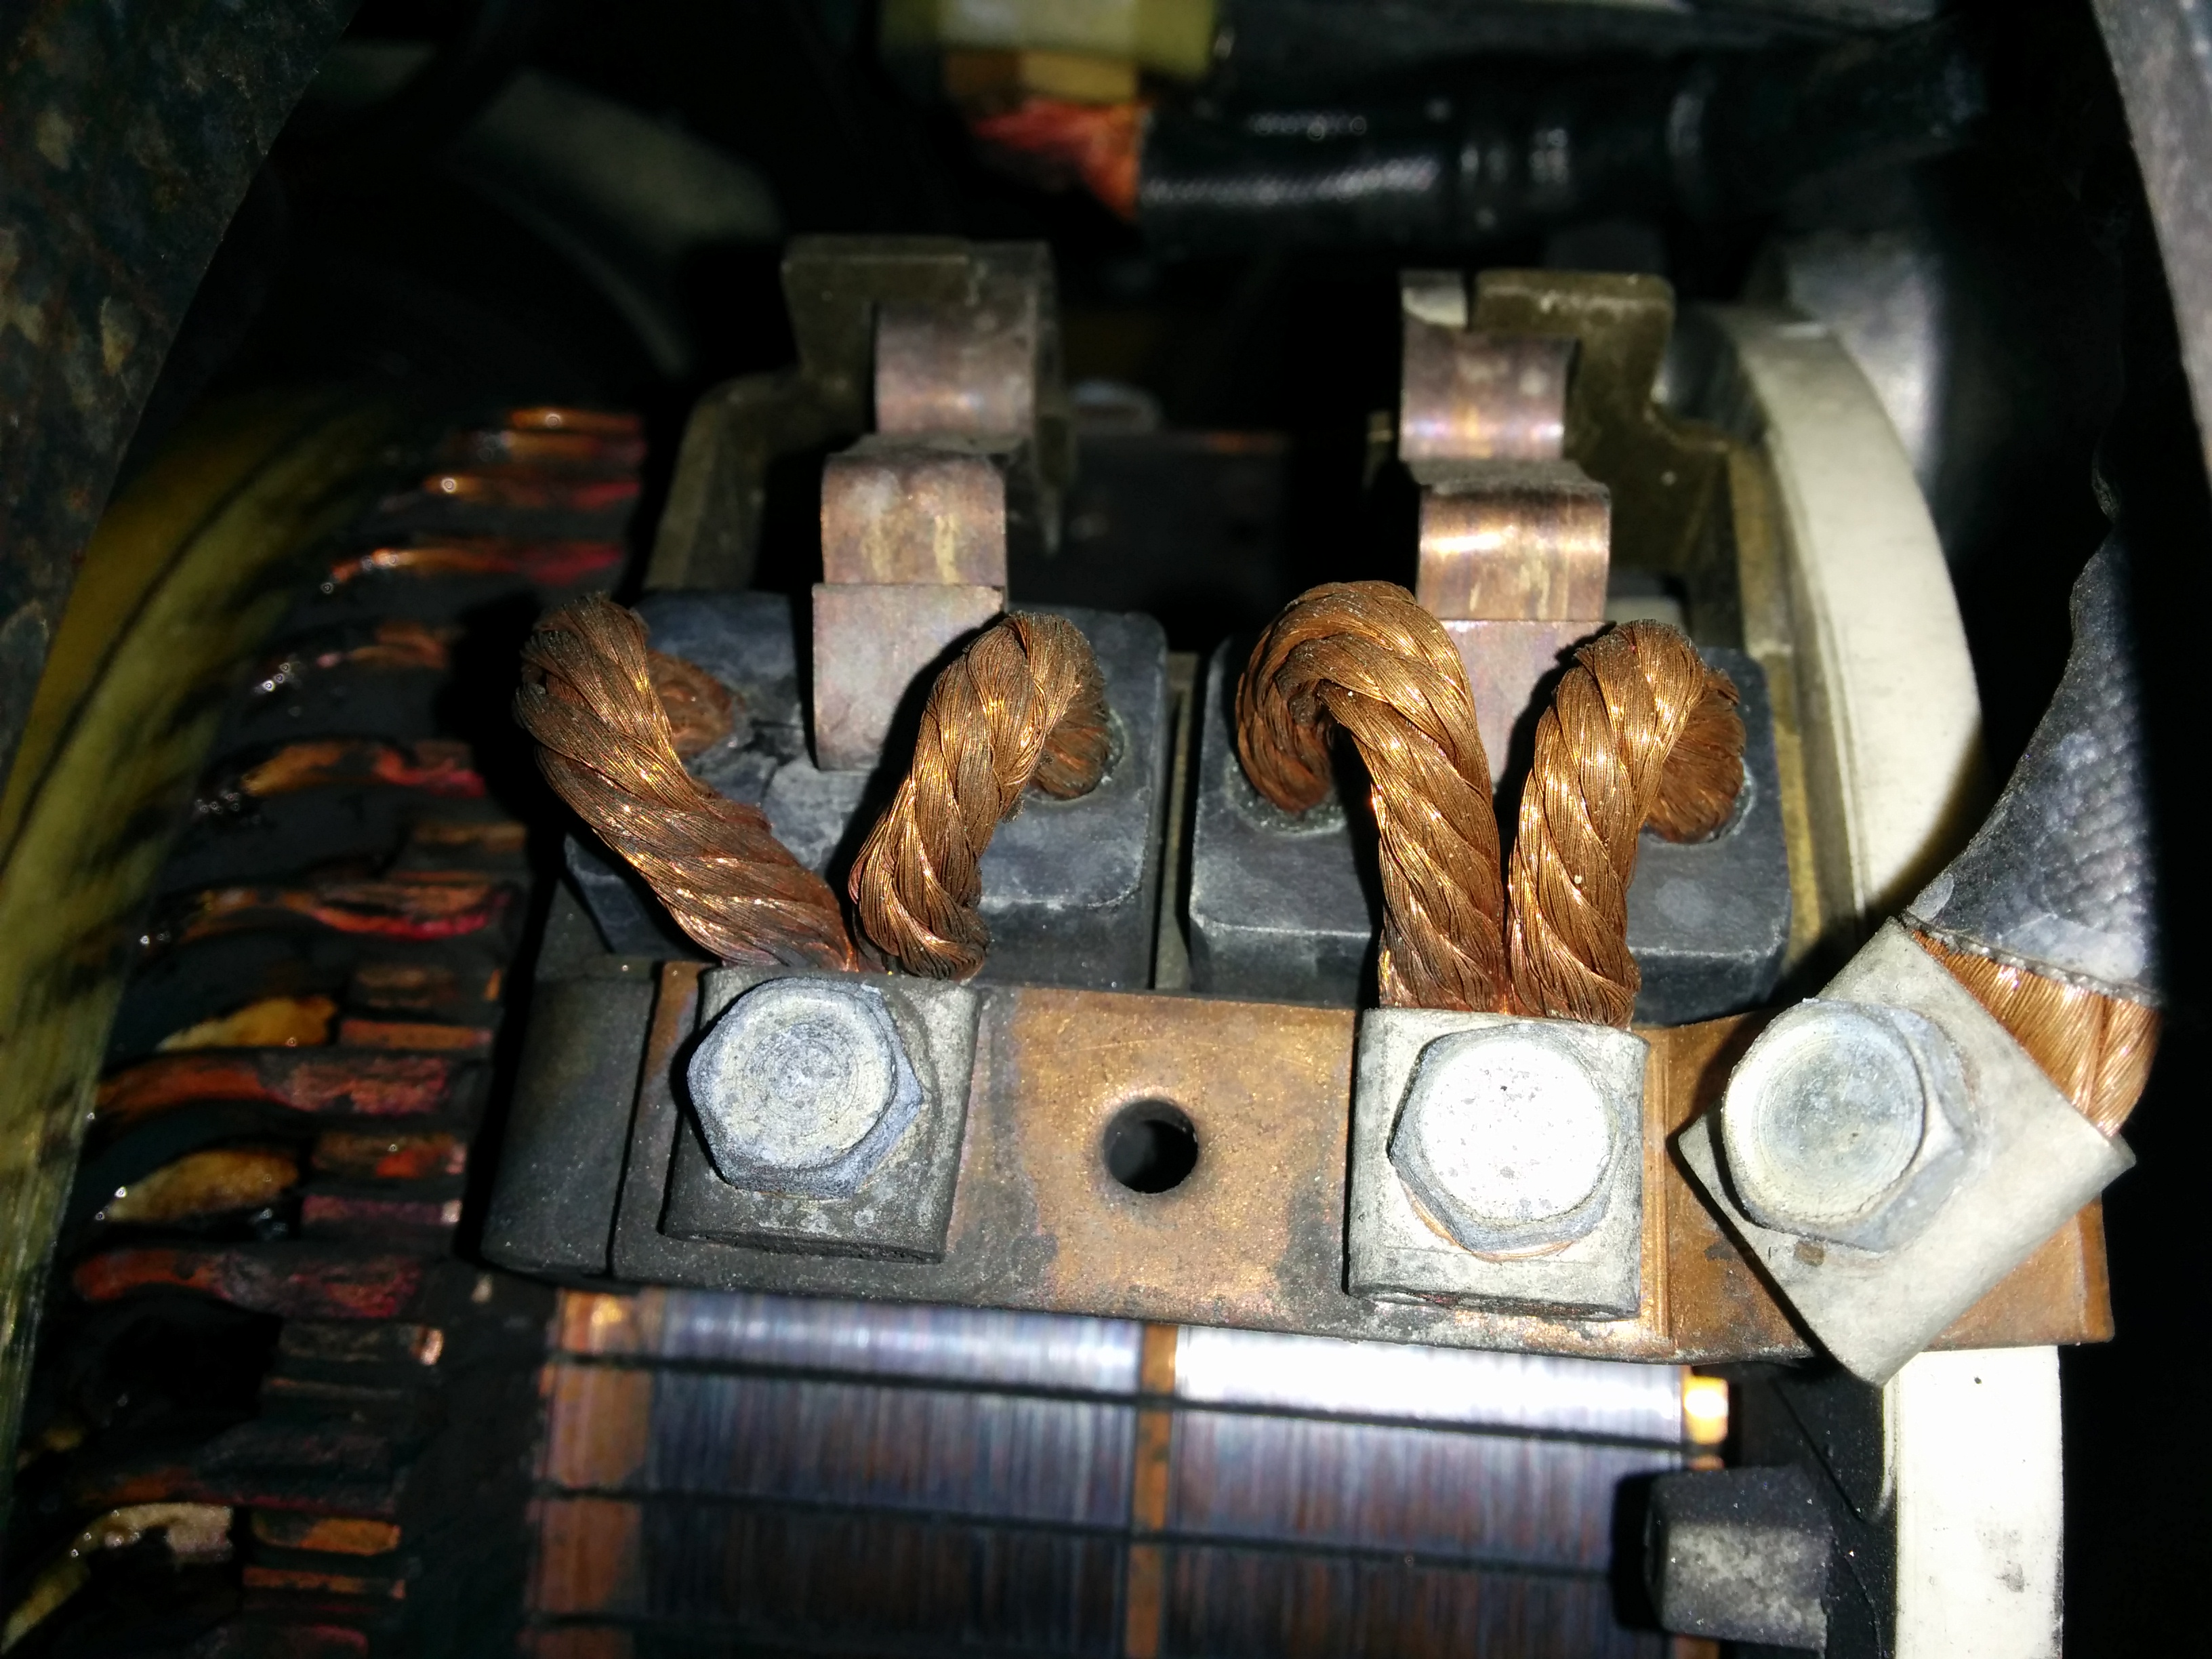
The third, and most concerning complaint I see on the community forums is failures of the hardware, combined with difficulty contacting customer support and a poor dealer network for repairs (of the mower). I have seen many posts by people who have had motor failures, battery failures, and charger failures. Without knowing how many units have been sold overall, I can’t estimate a failure rate, but they are happening often enough to show up in the community forums as a seriously sour note.   [It doesn’t help that EGO, and their system of Home Depot authorized repair centers some issues, keep reading.]

Repair Difficulties

To be clear, EGO stands behind their products and will replace batteries and chargers if they fail by sending out a new unit. However, their call center is very busy, and hold times of over an hour are reported frequently (and bitterly). The best advice seems to be to call early in the morning to reach a real person, and to never expect them to return a voice-mail. I have talked with two different customer support representatives (to register my mower, and to initiate a warranty repair on the self propel motor) and they were always very helpful (once you got through to them.)

If your battery or charger goes out under warranty, they will ship you a new one relatively quickly. However, if a piece of equipment needs repair, instead of outright replacement, you must take it to an authorized repair center. For most people, this will be the closest Home Depot that has a tool rental / repair center. [If you are lucky enough to have a local lawnmower dealer that is an authorized repair site for Ego anywhere near you, DRIVE YOUR MOWER TO THEM INSTEAD.] Unfortunately, the time to repair a piece of equipment at the home depot repair center is 3-4 weeks if they can do the repair in the store, and 6-10 weeks if they have to ship it to the repair depot in Atlanta.   Think about that, two months without your lawn mower!   (You can read about my repair experience at this other post…)

Update:   The self propel unit failed on my mower a second time after 9 more months of ownership, but I was much happier with how Ego handled the failure, as they shipped me a replacement mower so that I was quickly back in business. You can read about the 2nd failure and replacement at this post.

2nd update: The self propel unit stopped working on my replacement mower after about 11 more months of ownership, and Ego again offered to ship me a replacement mower so that I’ll be back to mowing in only 10-15 days.   However, when I went back out to push-mow the rest of my lawn, the self propel unit was again working (I assume it was some type of self resetting thermal fuse or circuit breaker) and the self propel unit was working again! (So I had to call Ego back and cancel the replacement shipment.)

So far I’m happy with Ego’s 5 year tool warranty (they only offer 3 years on the batteries/chargers), but there are some very important restrictions you must know about.

Important Warranty Restrictions

This isn’t a craftsman hand tool where you can buy a broken one at a garage sale and get it replaced. For warranty service, you need to be the original owner, have proof of purchase (if you have not already registered the product), and you MUST have bought the product new, from an Ego certified dealer (Mostly Home Depot, although they do sell on Amazon as well as through some local lawnmower shops.) Note that if you buy an EGO product on Amazon, you MUST make sure that it is “Sold by and shipped from Amazon” to be covered by Ego’s warranty. Many other sellers will sell via the Amazon Marketplace, but they are not Ego authorized dealers, only products purchased directly from Amazon itself are covered by the warranty.


Ego 21″ mower (LM2100SP) self propel motor failure & repair report

After four months of ownership, around 40 hours of usage, the self propel motor unit on my Ego 21″ Self-propelled electric lawnmower (Model LM2100SP) failed. Before this failure I was very happy with its performance, and although it was repaired under warranty, the procedure took longer than I think was reasonable.

Ever since I purchased the mower, I have been monitoring the Ego community forums, and I knew that reaching a customer support representative would sometimes take extended hold times, and I had heard that taking a mower to Home Depot for repair could be an extended procedure, so when my self propel motor failed, I was relatively well prepared on how to handle the situation.

August 29th, 2017 – The self propel motor fails. I finish mowing my front lawn pushing the mower by hand (which makes me realize that paying extra for the model with the self propel motor was the right choice.)

August 30th, 2017 Time to call customer support. After re-charging the battery, and letting the mower sit overnight to cool, I tested it again (yep, still no motion) and then called Ego customer support early in the morning (to avoid a long wait on hold.). I only had to wait a few minutes on hold, and then a helpful customer support representative walked me through a few simple questions (yes, my mower blade would turn on and spin, so the battery was good, and the folding handle interlocks were correctly latched, etc…) to verify that the drive motor had actually failed.   After that, she “made a note in my file” and told me to take it to Home Depot.

What I wish she had told me: 1. Home depot will charge you a $20 deposit, just to look at the mower (and you authorize up to $150 worth of repairs upon drop-off). They will refund this deposit to you if the work is covered under warranty (mine was).   2. You can only take the mower to a Home Depot that has a tool rental / repair clinic (call first to check). 3. The Home Depot repair clinic doesn’t have their own EGO batteries for testing, so be sure to leave your battery in the mower. [This makes sense in hindsight, but I was hesitant to leave 7.5 AH battery that costs $400 to replace at HD, so this required me to make a second trip back to HD with the battery a few days later.]

Also, after talking with her I received an email from Ego that stated my “case had been closed” (this is the case associated with the phone call to Ego only…but the wording of the message didn’t inspire confidence.)

Because I had heard horror stories about the Home Depot repair clinic taking a long time to repair EGO mowers, I made sure I called them every week to check on the status of my mower, just to make sure it hadn’t fallen into any cracks. I also posted an update every Monday on the ego customer forums, which may have also helped things behind the scenes.

Sep 18th 2017: They are still checking on the mower, but the HD technician felt that they could repair it locally instead of shipping the mower to Atlanta.

Sep 25th 2017: In progress, waiting on a part which usually takes a week or two (presumably the motor/gearbox unit).

October 2nd 2017: HD is still waiting on the part.   [After this update to the Ego community forum, April from EGO said that they were tracking the shipment and that the part should be arriving at the HD store within a few days.]

October 9th 2017: HD claims to still be waiting on the part.   [I mentioned this on the Ego community forum.]

Finally, on Thursday night (Oct 11th), Home Depot calls me to tell me the mower is ready for pickup. Because the home depot with the repair clinic   is 12 miles away from me, I delay pickup until Saturday.

So, it took Home Depot / Ego about five weeks to get my mower repaired, and this was with me keeping on top of Home Depot and making sure that Ego knew what was happening at each step. Reading several other reports on the ego community forum makes me believe that my experience was actually on the faster side of things, as 8-10 week delays are not unheard of if the mower gets shipped to Atlanta for repairs.   I paid $180 to a lawncare company and took a break from mowing my yard, but there are at least three other options to keep mowing if you find yourself in this situation.

Take advantage of Home Depot’s 90 day return policy

Many others in the Ego forums have bought another Ego lawnmower and used it while theirs was in for repair, returning it under HD’s 90 day return policy once their mower was repaired. I felt that this action would be ethically questionable, but after waiting five weeks for HD to repair my mower, my ethical resolve is beginning to weaken, and should the mower fail again, I will seriously consider this option.

Buy a second mower

I did consider buying a second Ego mower (and keeping it), mostly as a way to purchase a second 7.5 Ah battery (it is almost as cheap to buy the battery and mower together as to buy just the battery, plus you get a “hot spare” mower). Other than the fact that you have to store the 2nd mower, this does have certain advantages. If one mower fails, you can just switch over to using the second mower while the first is in for repair. And, you get the advantage of having twice as many batteries and chargers.   Unfortunately,   at the time Home Depot was not offering the same $50 discount on the mower as when I initially purchased mine, otherwise I may have done this.   [My wife points out the questionable logic of using the failure of a product to justify the purchase of a duplicate of the same product…]

Burn hydrocarbons

Of course, you could also buy a cheap used gas mower and several gallons of gas for less than the $180 that I paid for lawn care service, and probably be able to resell it at almost the same price you paid when finished.

Final Recommendation

Due to the fact that my self propel motor failed after 4 months of ownership, combined with a 5 week repair time, I can’t recommend the EGO electric mower to everyone. At least with a gas mower your options for repair are numerous and much faster. However, if you have decided that you will be going with an electric mower, I still think that the Ego line has the best performance. (I have also posted a review of the mower.) I also own the hand-held leaf blower and chainsaw from their Power+ line, and have been quite happy with them.

Update:
The new self propel unit installed by Home Depot   failed again (after 9 more months of usage) but I’m much happier with how Ego handled the warranty repair (via a direct replacement), which you can read about here.

2nd Update: Ego has started to produce updated 21″ SP models that have a new self propel unit that matches the one found in their dual battery (premium) mowers. Look for a picture of a phone on the box (see this video for details: https://www.youtube.com/watch?v=JtLkT5X4MQw )

3rd Update: My self propel unit failed a 3rd time, but this time the replacement I got looks different, so I think I may have the new model now!

Howto: Trim pegboard to exactly match a framed opening

I have this window in the wall I’m putting pegboard up on. Because of the holes, pegboard does let some air and light in, but I decided to cut out the window opening so that I could operate it.

You could carefully measure the opening, cut a big section out of your pegboard panel, and then install it. But, because this opening would make my pegboard panel into a giant “C” shape, it would make installing it by myself excessively difficult. (Also, you have to measure and cut very accurately.)

I found it much easier to just install the full panel and then cut out the opening. I’m using a trim router with a following bit. After I cut out along the top, I hung it up with wire so that the panel I was cutting out wouldn’t fall down later on.

And then I cut out the other two sides. The downside of this technique is of course the copious amounts of hardboard sawdust, which does require a shopvac to clean up.
And of course, depending upon how you install the pegboard your cutouts may go through a series of holes. But, the edges are very close to the edge of your framing members.

Garage Door Insulation — Part 2 (Reflectix radiant heat barrier)

After installing the R-8 fiberglass batt with white vinyl backing, my garage doors were relatively well insulated, but I decided to add a layer of reflectix as a radiant heat barrier.

In this situation, with one side facing the open air of the garage, it adds about a 3 to the R factor. I also like the aesthetics of the silver bubblewrap more than the white puffy vinyl.

Unfortunately, unlike the Dow Corning fiberglass batt which is designed for garage doors and comes pre-cut at the factory to the correct height, I had to measure and cut the reflectix down from a 24 inch roll.

If you don’t have support bars, it’s relatively easy to install. Just make a few cuts to go around the upright bars and tuck the top and bottom inside the lips of the door panels. I was going to move the white plastic clips that hold the fiberglass in to outside the reflectix, but so far, a pure friction fit is holding it just fine.

The panels with support bars require more work. I guess it would be possible to remove the support bars and then re-install them on top of the reflectix, but I chose to measure and mark each bar location by cutting the edge of the reflectix, then taking it down and cutting the proper length. I installed the reflectix panel under the horizontal support bar, and made sure that the top lined up just under the height of the panel. Then I notched around the vertical bars so that I could get the top in place.

So far, they all stay in place with nothing more than a friction fit. The bottom panels that don’t have a horizontal support bar holding the reflectix bow the most when overhead and may pose a problem as they age, but if I run into issues, I’ll just take the plastic clips that hold the fiberglass on and move them to the outside of the reflectix to help hold it in place as well.

Next, I’m going to cut aluminum faced polyiso foam insulation for the spaces around the windows in the top panels.