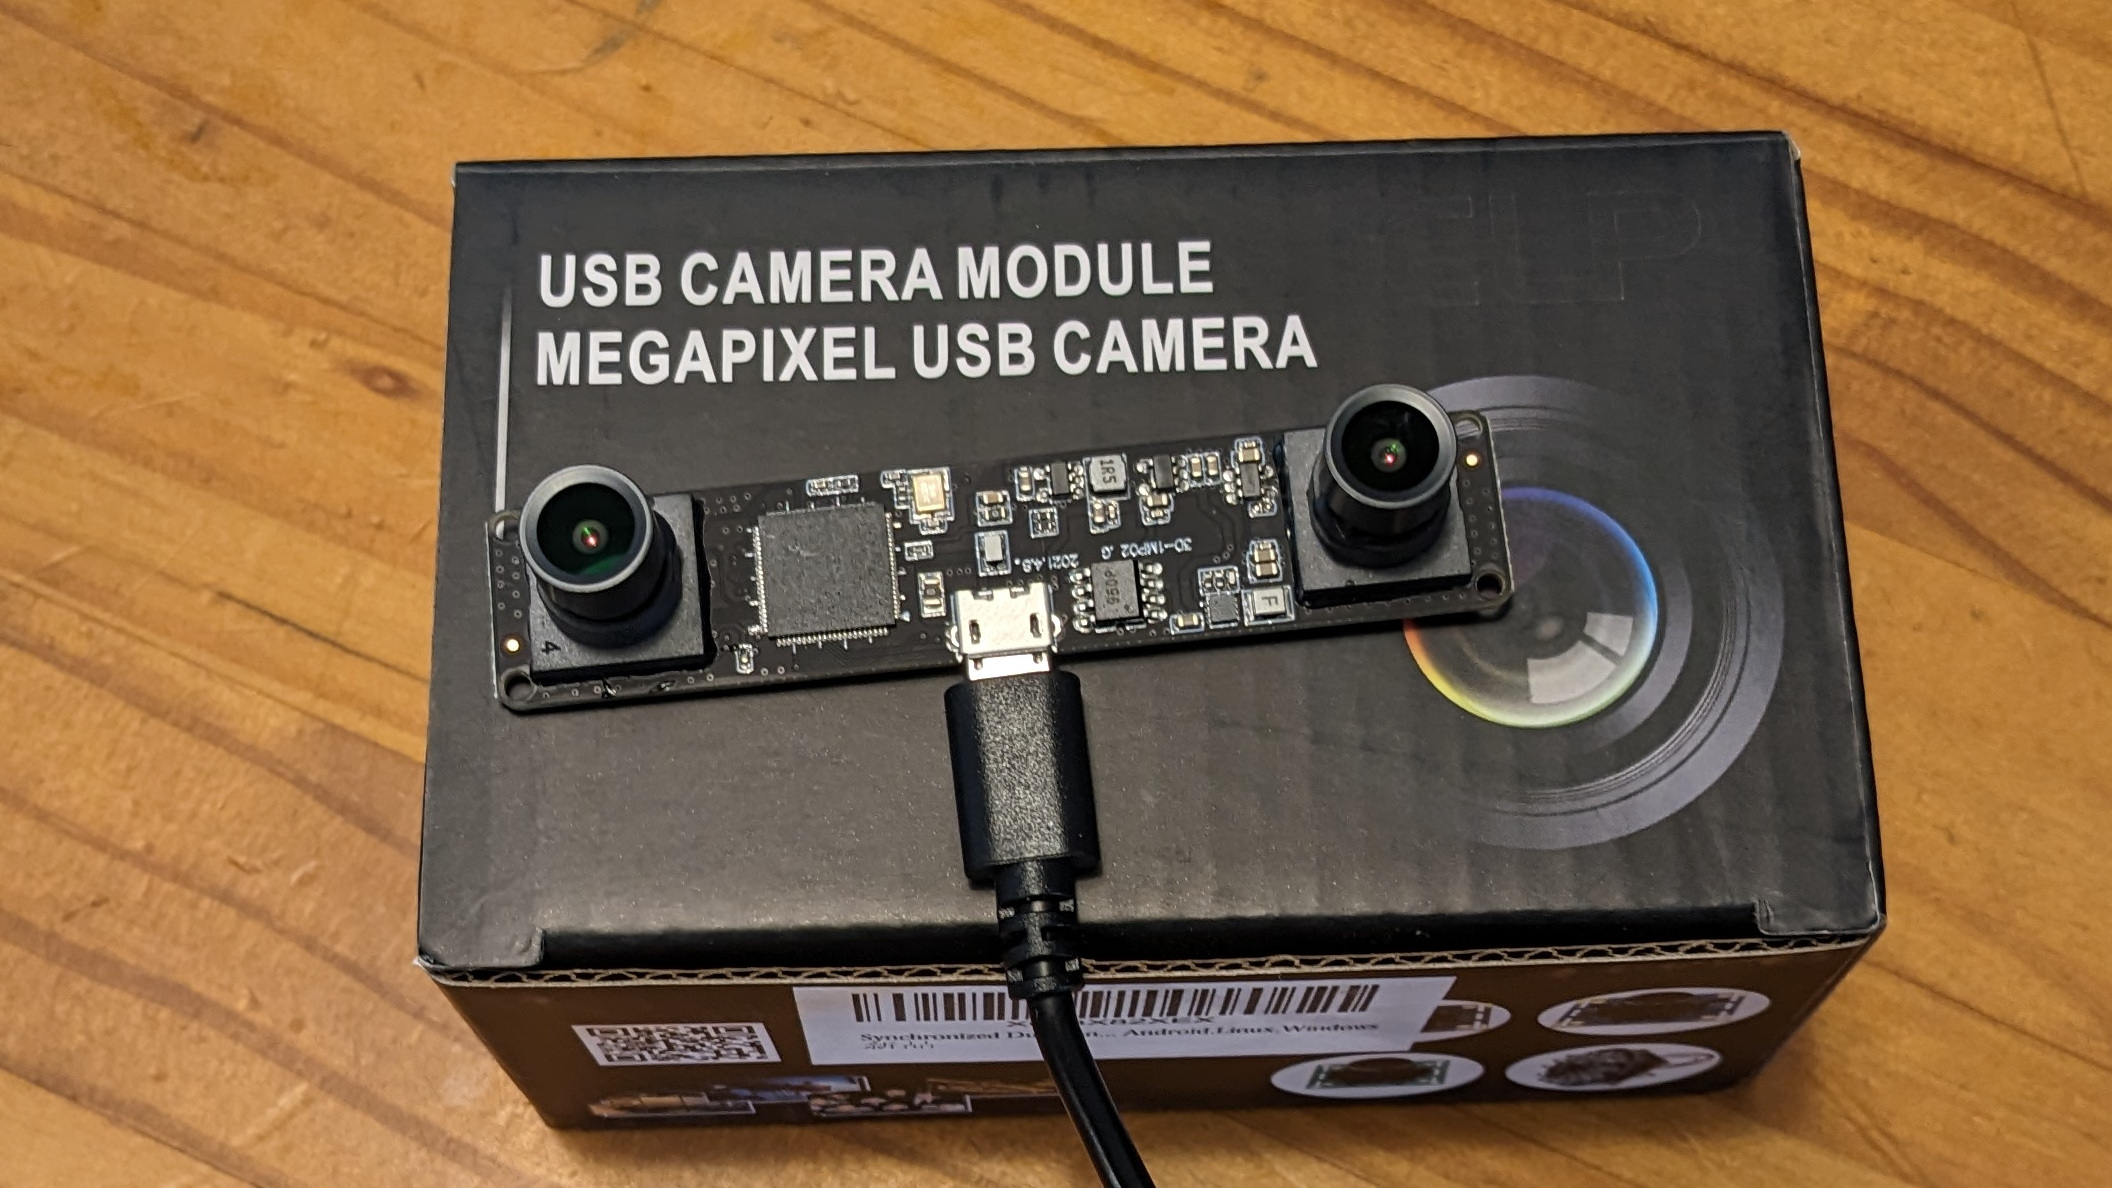
This is the ELP-USB960P2CAM-V90, a dual camera with synchronized shutters on a single board. It streams side-by-side stereo pair images at maximum resolution of 2560 x 960 pixels [1280×960 for each image]. It is amazing what you can get for $80 on Amazon. This module and a few hours of calibration and programming with OpenCV will get you a reasonable depth math / 3D vision setup.
It enumerated on my Linux system as a UVC 1.0 camera as follows:
usb 1-2: New USB device found, idVendor=32e4, idProduct=9750, bcdDevice=21.03
usb 1-2: New USB device strings: Mfr=1, Product=2, SerialNumber=0
usb 1-2: Product: 3D USB Camera
usb 1-2: Manufacturer: 3D USB Camera
usb 1-2: Found UVC 1.00 device 3D USB Camera (32e4:9750)
Albert Armea walks you through the basics, including calibration using an older version of this module that was basically two different cameras on a USB hub (so they were not well synchronized and you had to open each camera independently) here:
https://albertarmea.com/post/opencv-stereo-camera/
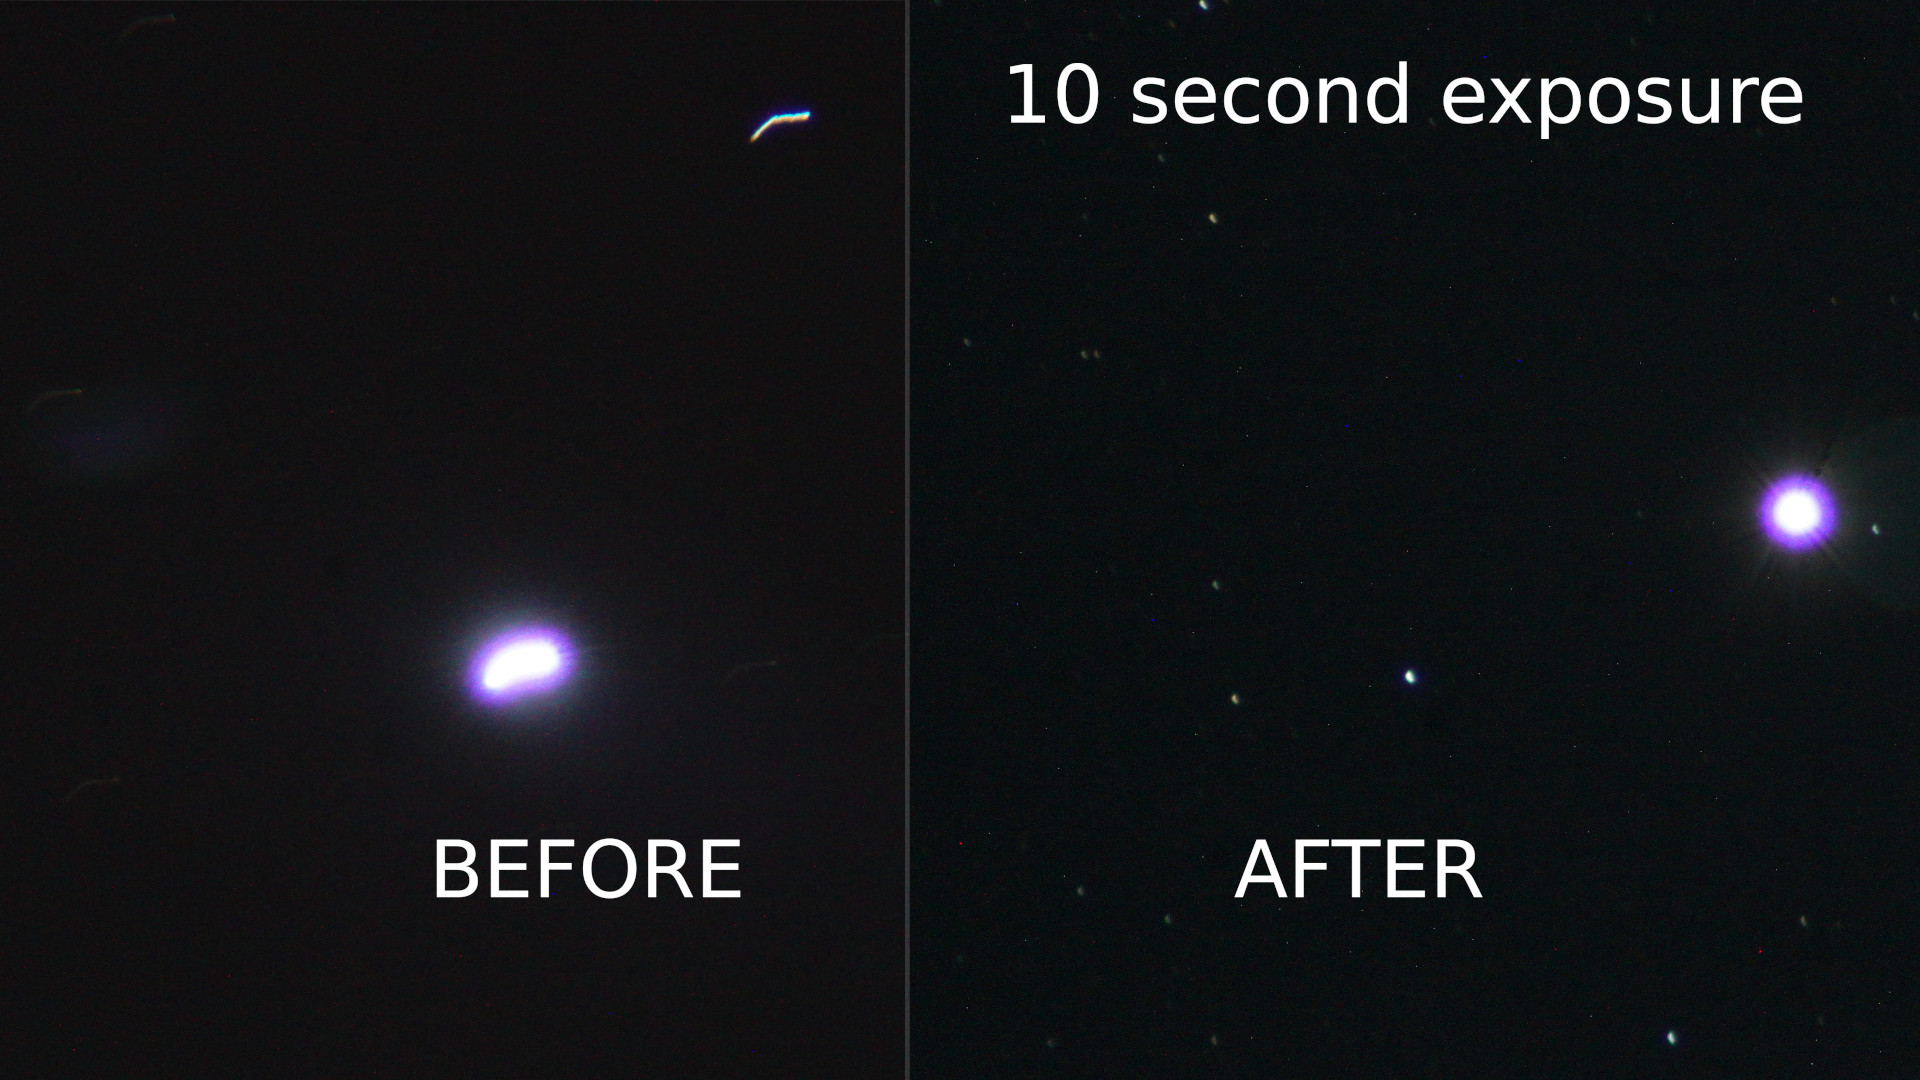
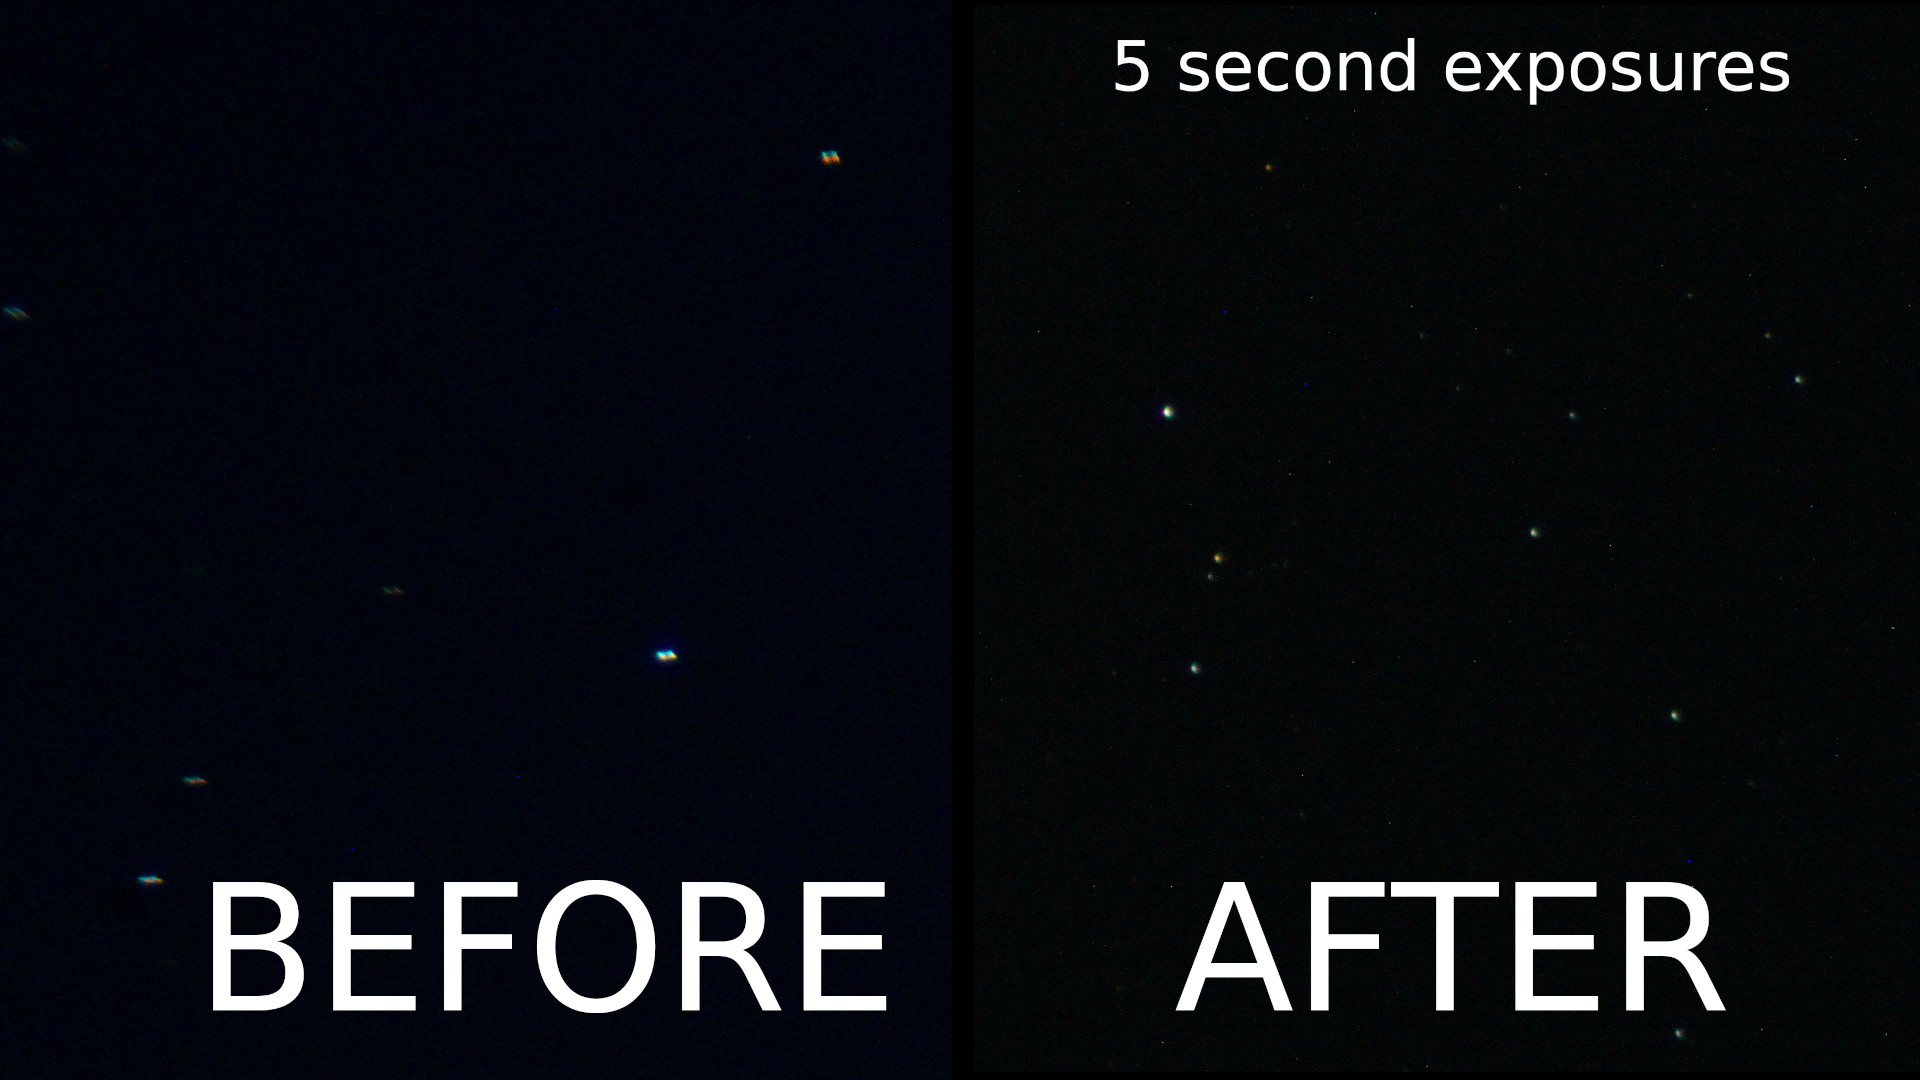
For testing purposes, I didn’t even bother to calibrate the cameras, I just opened the stream, chopped it down the middle to get a left and right image, and passed that right into the SterioBM object. sterio_camera_demo_code.zip