16 volt Nissan Leaf Battery Management System (BMS) information

In a previous post I have shown how to physically mount six Nissan Leaf battery modules in two series groups of 3 parallel modules to build a 180 Ah by 16 volt Lithium (LiNMC) battery.

The batteries are covered by these very cool laser cut acrylic protective covers (which obscure the BMS wiring).
cover_with_bms_topview

Anthony Felix asked for more information about the BMS units I’m using on my batteries, so here it is! (Jump down to the last picture if you just want to see where the BMS units are attached….all of the text between here and there is an explanation of WHY they are attached there…)
Continue reading

S-10 EV New J1772 and 120 Volt Charging Inlets

My Chevy S-10 electric truck is about to get a new charger, and the upgrade will also include a new set of charging inlets hiding behind this J1772 novelty front license plate.
IMG_20151129_201443

When you flip the license plate up, it reveals a J1772 inlet, as well as a 15 amp 120 volt RV inlet that any standard extension cord can plug into. I also have a rotary switch to select different charging modes, and a push button with LED indicator light to enable the charger and flash status messages.
IMG_20151129_201401

Here is a video overview of the setup:

YouTube Video

To prevent both inlets from being energized at the same time, I will be routing them through a power relay to the charger. The J1772 inlet will be connected by default. This will make sure that the exposed plugs on the 120 volt inlet are never energized by the 240 volt J1772 source.

If 120 VAC is present on the 15 amp RV inlet, the relay will connect it to the charger (and disconnect the J1772 inlet). I’m not terribly worried about people reaching into the J1772 inlet, as the plugs there are designed to be finger safe, but I don’t want some idiot plugging the J1772 inlet AND an extension cord into the truck at the same time and accidentally connecting 240 volts to a 120 volt circuit.

The rotary switch will allow me to switch between four modes on my charger.
Continue reading

Ubuntu 14.04 Zoneminder PPA not showing images or videos in the web console

When you use the Ubuntu package manager to install Zoneminder on Ubuntu 14.04 using the PPA, one configuration line defaults to the wrong path. This prevents the web console from showing you videos or events, although if you configure a camera it will capture pictures from it correctly and show you them in the Zone editing tools.

Specifically, under Options->Paths you need to change PATH_ZMS to:
/zm/cgi-bin/nph-zms

(adding the /zm to the front).

Error log messages look like the following:

ERR [socket_sendto( /var/run/zm/zms-299592s.sock ) failed: No such file or directory]

One other issue that could cause similar behavior is not having mod-cgi enabled in apache.

New S-10 front Air Dam / Air Deflector / Lower Valance Panel

I am getting ready to add a J1772 electric vehicle charger inlet (salvaged from a Nissan Leaf) to the front of my truck. I decided to hide it behind a fold up license plate. [In Georgia, we only need rear license plates, but many vehicles have novelty plates on the front.]

However, the stock front air dam / deflector / lower valance panel that was under the front bumper had a lot of air and foglamp holes molded into it, didn’t really have a good spot to mount the inlet or a fold up license plate bracket, and had a few pieces of plastic cut out where somebody had tried to mount something previously. (Note, the pictures below show the air dams resting upside down on the concrete, the side facing down bolts to the bottom of the bumper.)

Original part

Looking around online, I found an online distributor (getallparts.com) that was apparently closing out their supply of an after-market smooth front air dam that replaces the stock one. (OE # 15658455, Partslink GM1092157)

What really sealed the deal was the fact that they were charging only $9.42 (plus $18 S/H). (Other websites were selling a similar part for $80-90, so this was quite a deal. At that price, I almost ordered two of them…except that the shipping costs were not combined and also doubled…)

A few days later this really large (72″x12″x12″) box arrived:
Really Large Box

The aftermarket air dam is nice and solid, with no holes. It slopes inward at the bottom a bit and has a slightly concavity, but it will be much easier to work with than the previous one, and may even help my aerodynamics slightly.
New Part

As a side note, getting the original part off was a real pain. Access to the bolt heads is inside the bumper, and you really want a ratcheting box wrench, as there isn’t enough room to get a real rachet inside, and various steel pieces keep you from moving a wrench more than 10 degrees at a time on a few of them. I eventually just got out my sawsall and cut through all of the bolts (melting the top of the old part a little in the process). The main problem is that the plastic clip nuts couldn’t be turned, and the bolt heads were the only part that could be turned. I will be replacing them with stainless steel bolts, nuts and fender washers, making it much easier to install/remove by tightening the nuts on from the bottom, and counting on a generous application of Loctite to hold things in place.

Illuminated Garage Shelves

regular_shelvesilluminated_shelves

Sometimes it’s hard to find what you are looking for on garage shelves. Sometimes you just need a little more light over in that corner of the garage. Sometimes you find a good buy on LED rope lights and have a lot of zip-ties just laying around….

(LED rope Lights can also be useful in storage attics….)

Economies of harvesting Nissan Leaf battery modules

rear_of_car_smushed

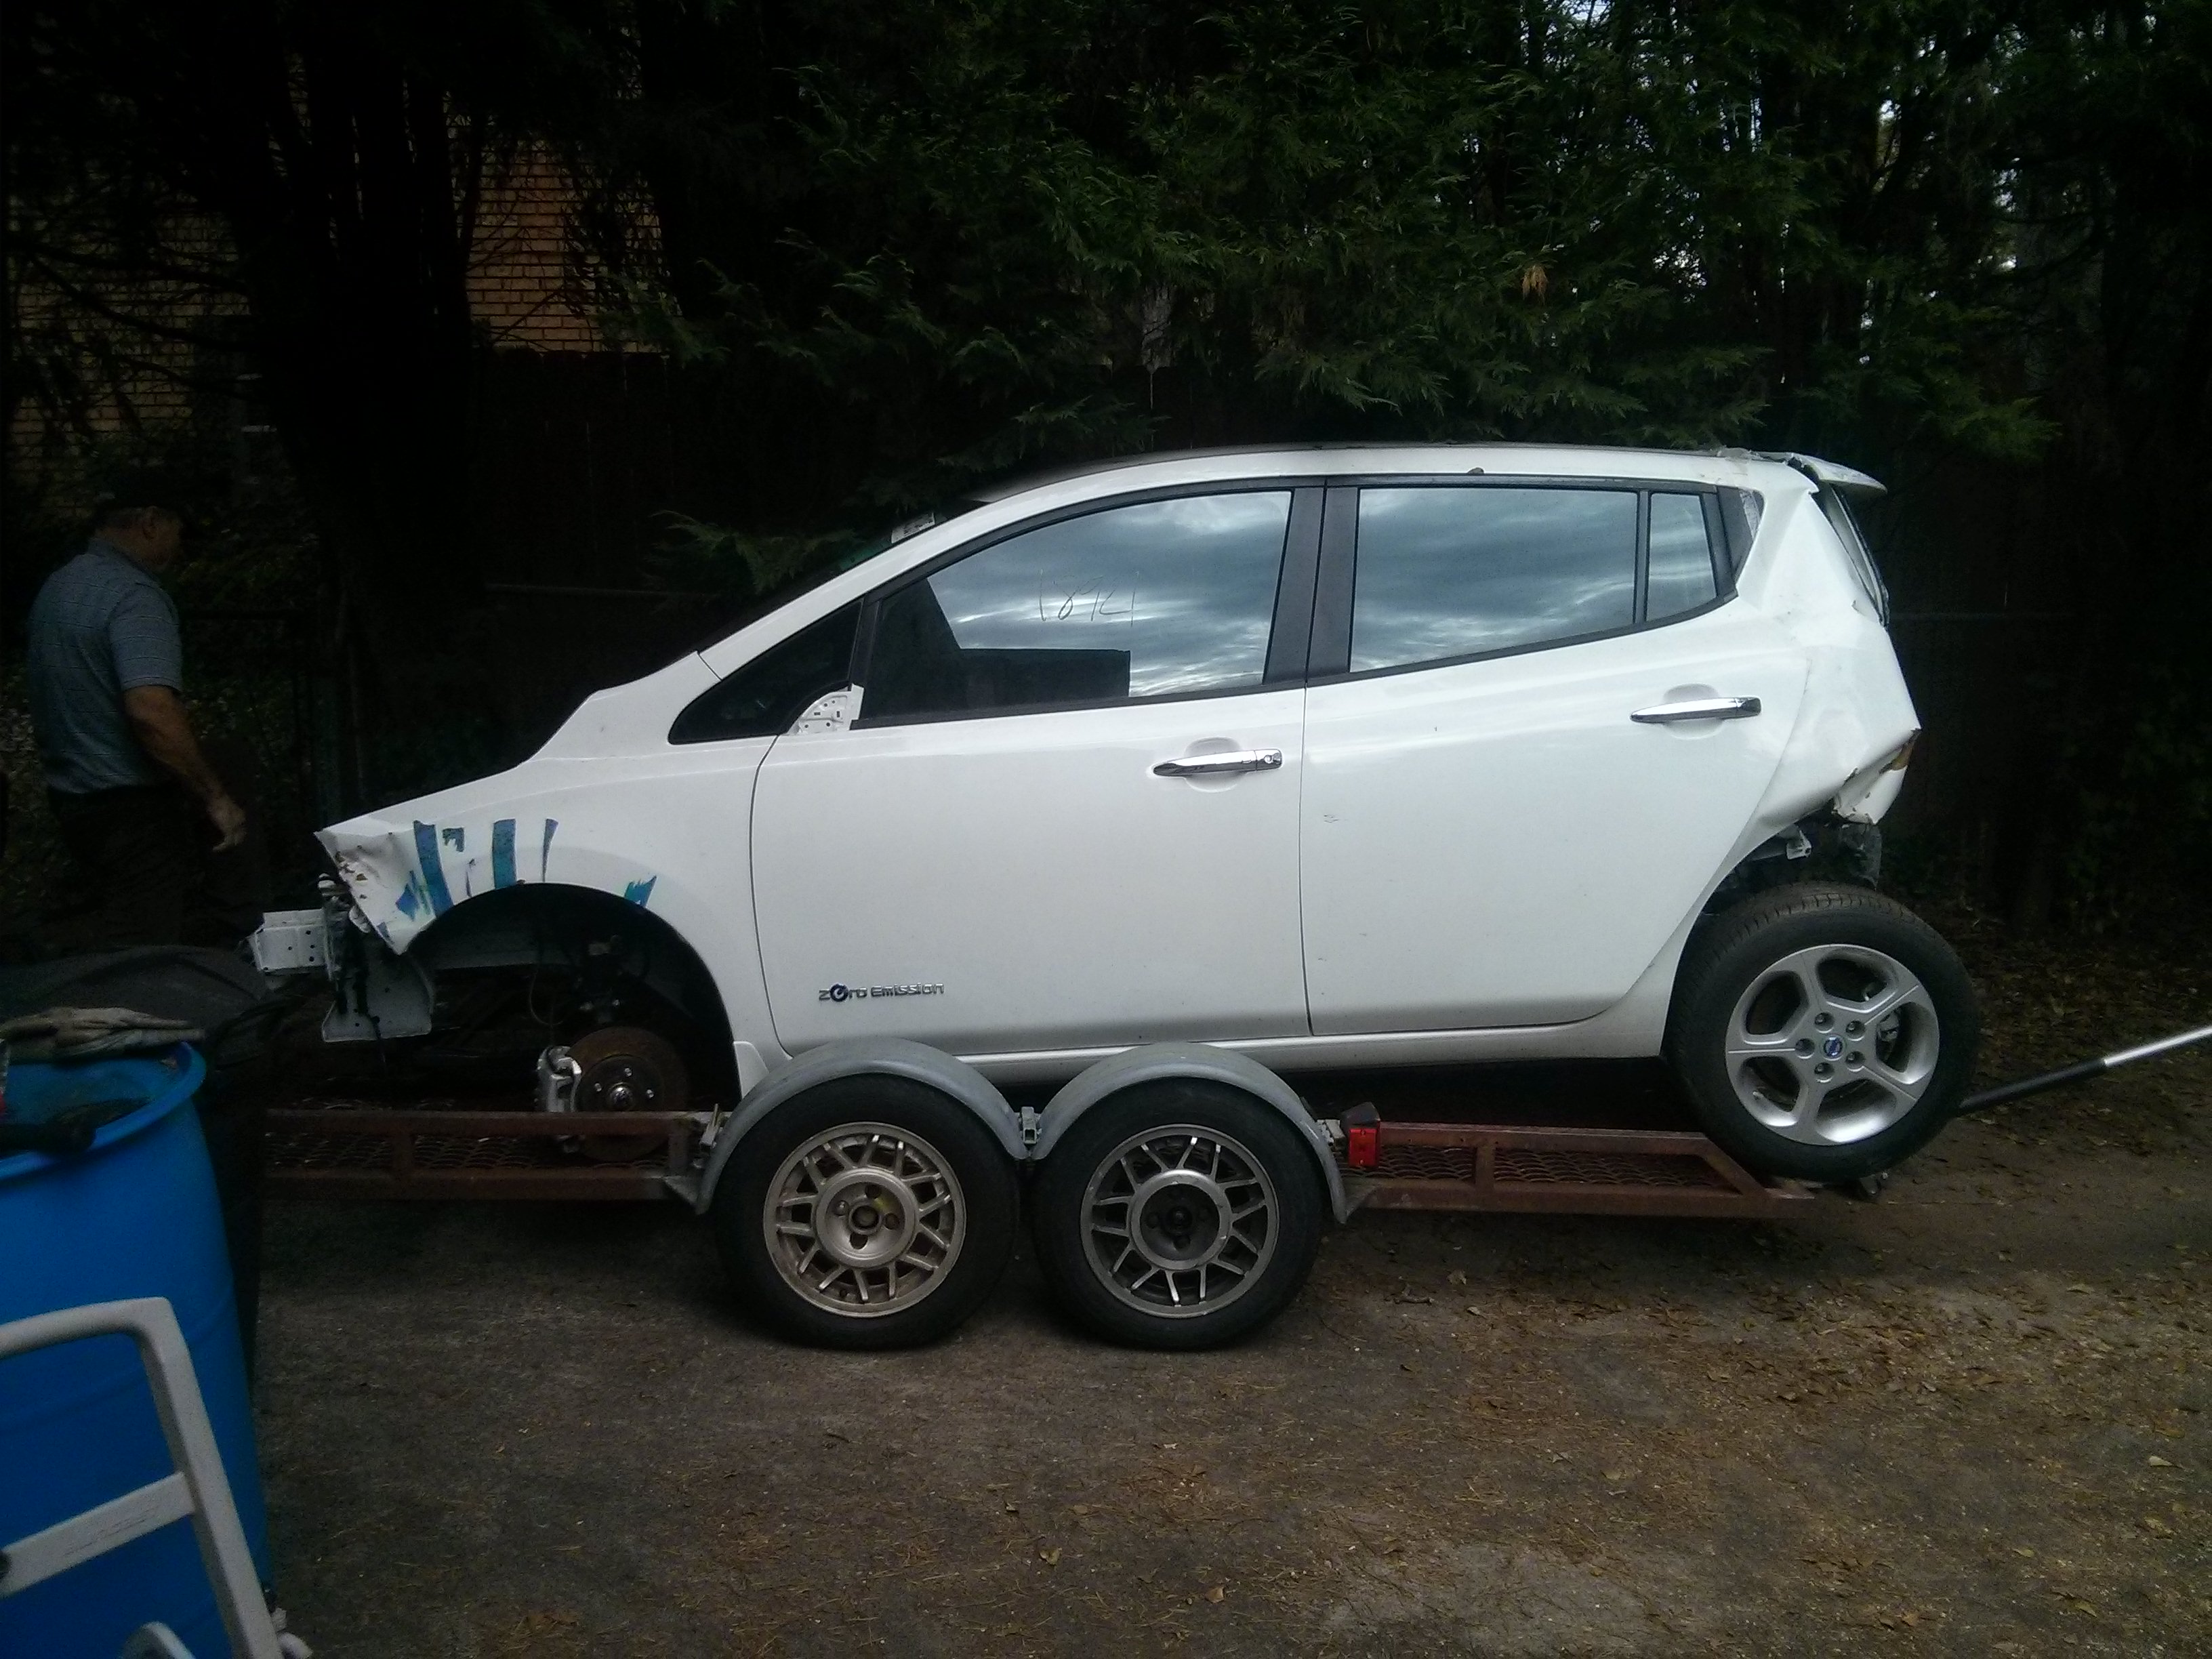
I purchased a 2013 salvage (wrecked) Nissan Leaf from the CoPart auto auction house for $4081 (including delivery and fees). I consider this to be a very good price for a wrecked Leaf, but if you stalk a lot of auctions and bid on Leafs that have the most damage you can probably get a similar deal with enough patience.

Then I spent 439$ on the following tools that I needed to move the car around and extract the battery (the largest amount was for jacks and wheel dollies…)

Car Cover (Keep the neighbors happy) 37.1
Wheel dollies & Jacks 243
Bluetooth OBD II scanner 9.98
Leaf Spy Pro android app (to check battery) 14.99
500V gloves   (Safety first!) 21
2 Jackstands (already had 2) 25
Air Impact Wrench & Sockets 46.5
18mm wrench 12.4
13mm deep socket 8.99
21 mm combination wrench 20.69

This puts my total costs at 4520.75 ($94.18 per module) for a 24 kWh battery pack, which is less expensive than if I bought large format prismatic cells.

Of course, with a lot of time and effort, you can sell all of the other parts from the car. Over the course of six months I made back $3180.46 (including the sale of the smallest of the three jacks I had purchased and 0.46 in change I found in the car.) I’m posting this after selling the main body of the car, leaving me with just a few small items listed on ebay. I may earn a few hundred extra dollars over the course of the next several months, but the overall cost recovery is finished.
final_sale

My current total out of pocket expenses (not including lots of labor!) is 1340.29 (or $27.92 per module) which is quite a significant savings over other options for purchasing large format Lithium Ion batteries.

I’ve seen Nissan Leaf modules selling on Ebay for around $130 each with shipping (in larger quantities), so my ~ $30 per module cost is around 21% of the cost of purchasing them on the used market.

To put this cost savings in perspective, purchasing 20 lead acid golf cart batteries to replace my current pack would probably cost me around $2000-$2200, so the Lithium Ion Nissan leaf battery pack was actually less expensive than a replacement lead acid pack!

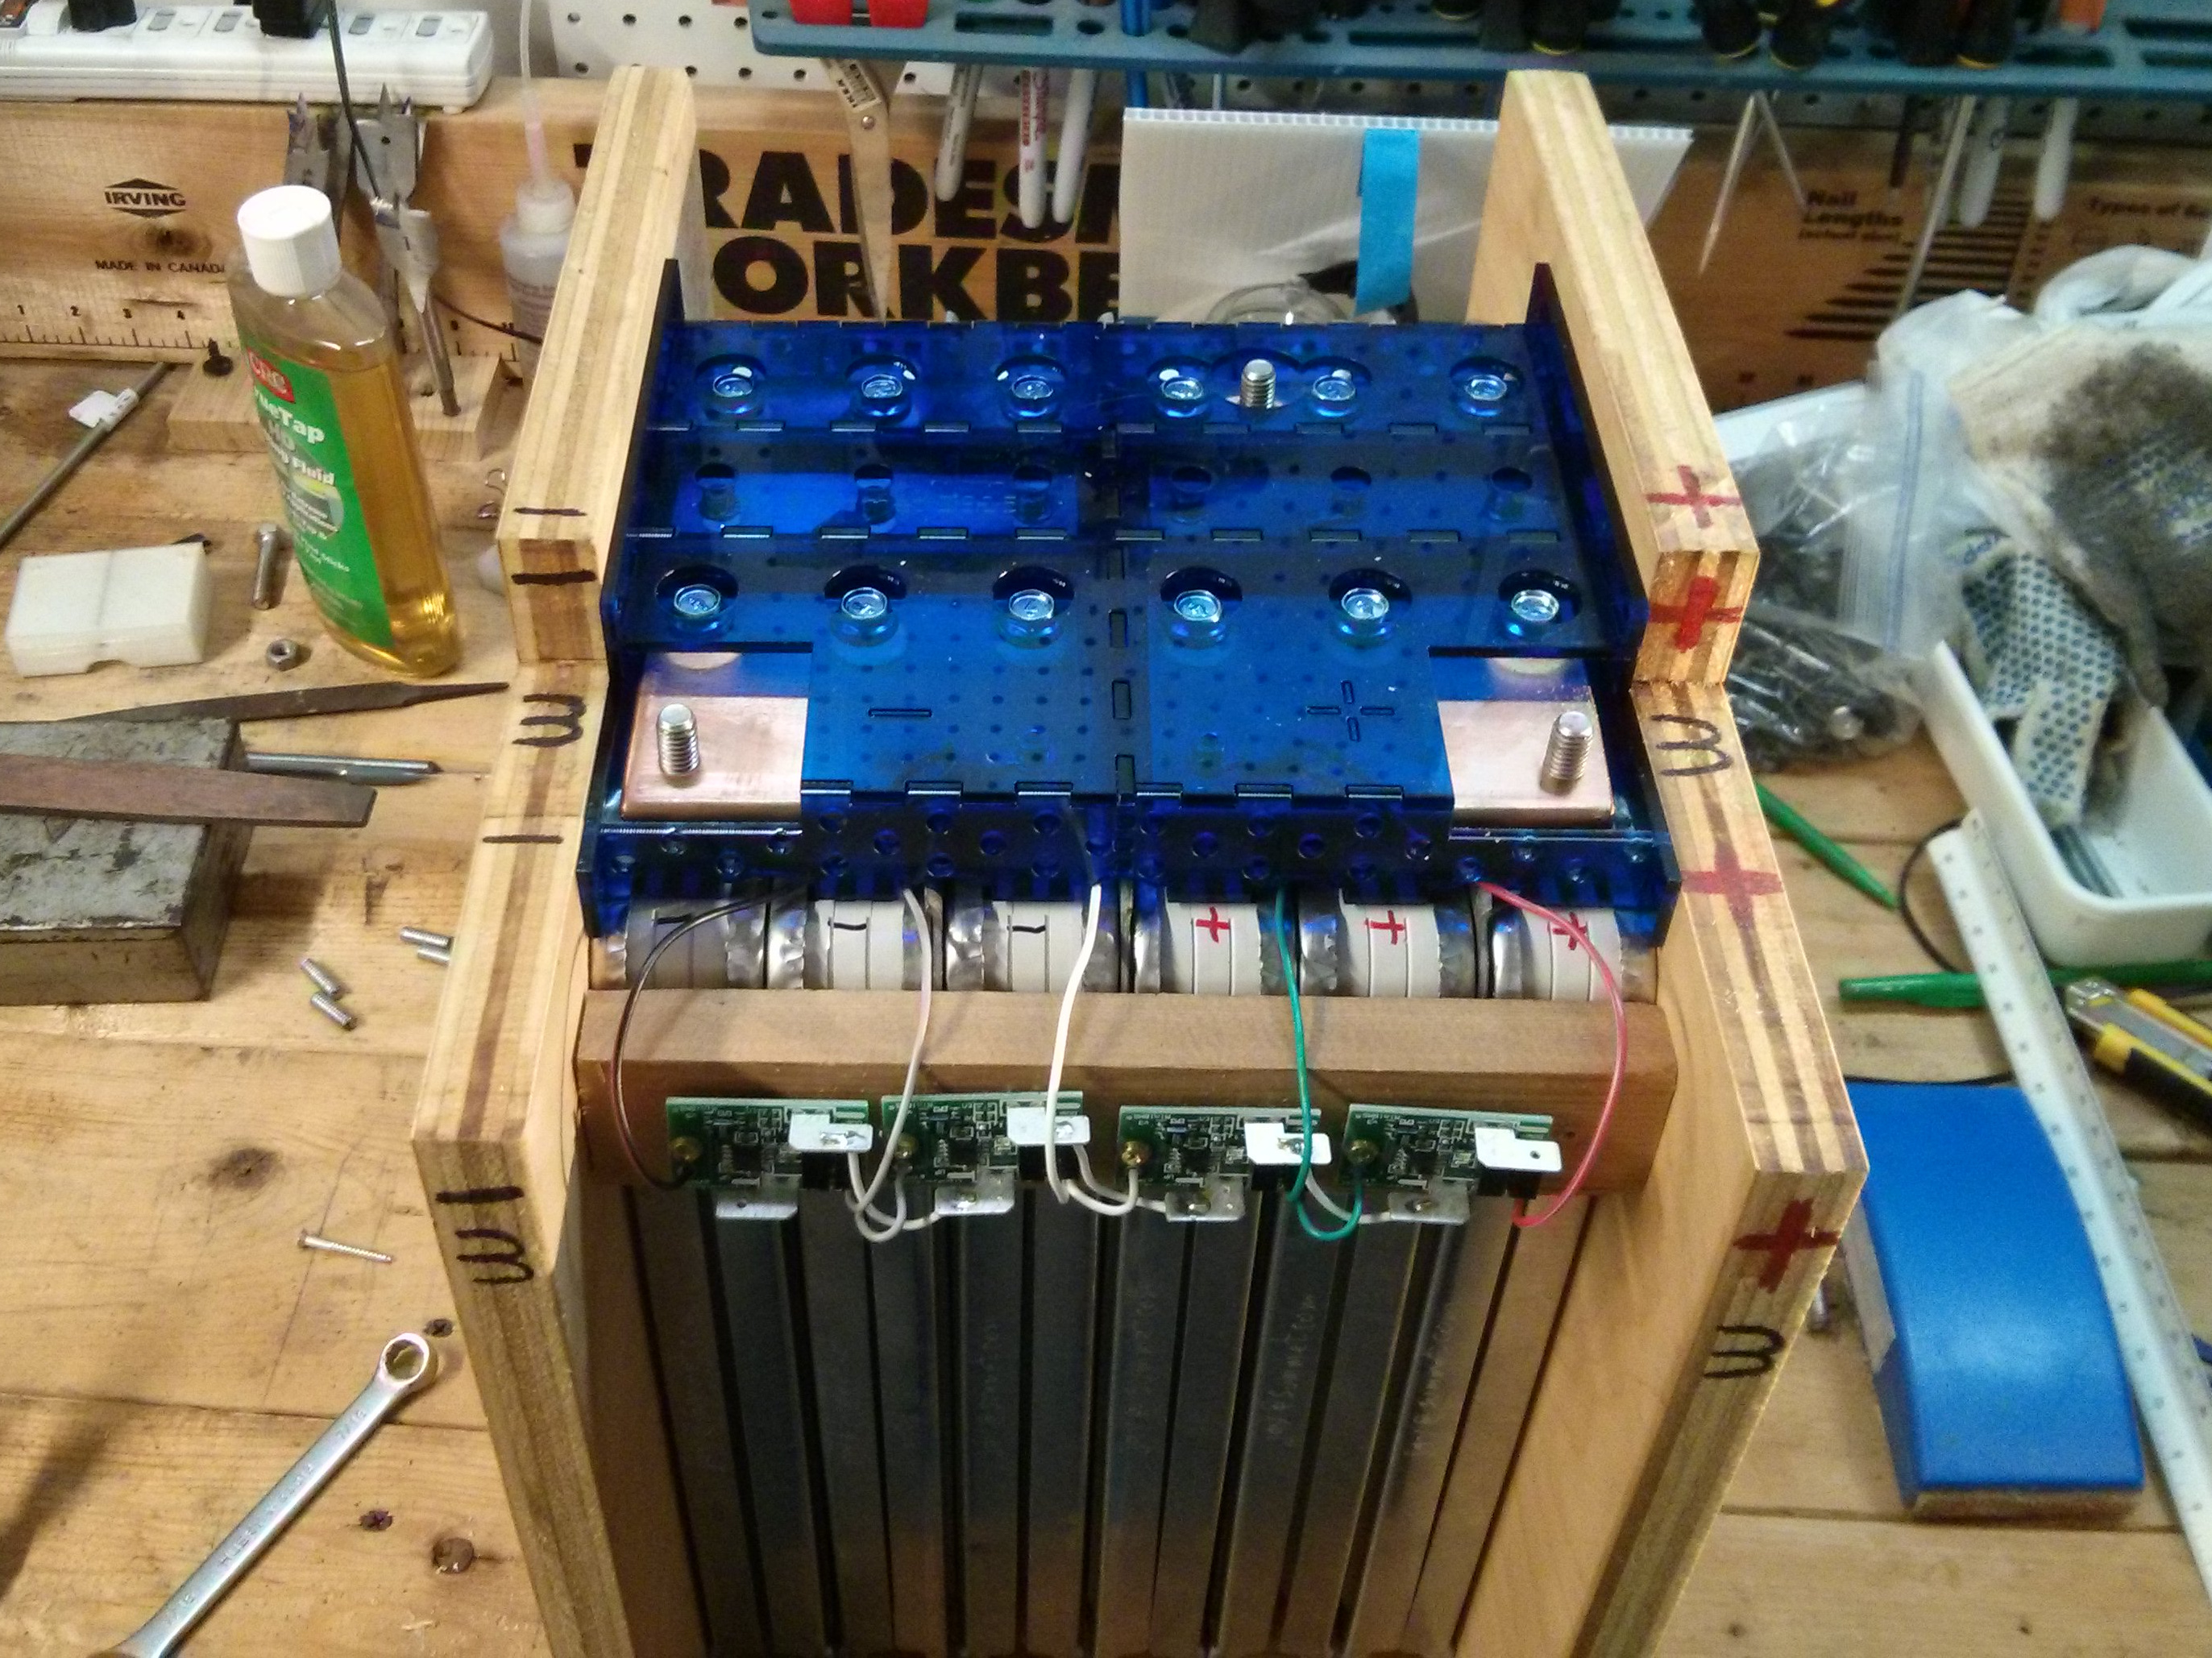
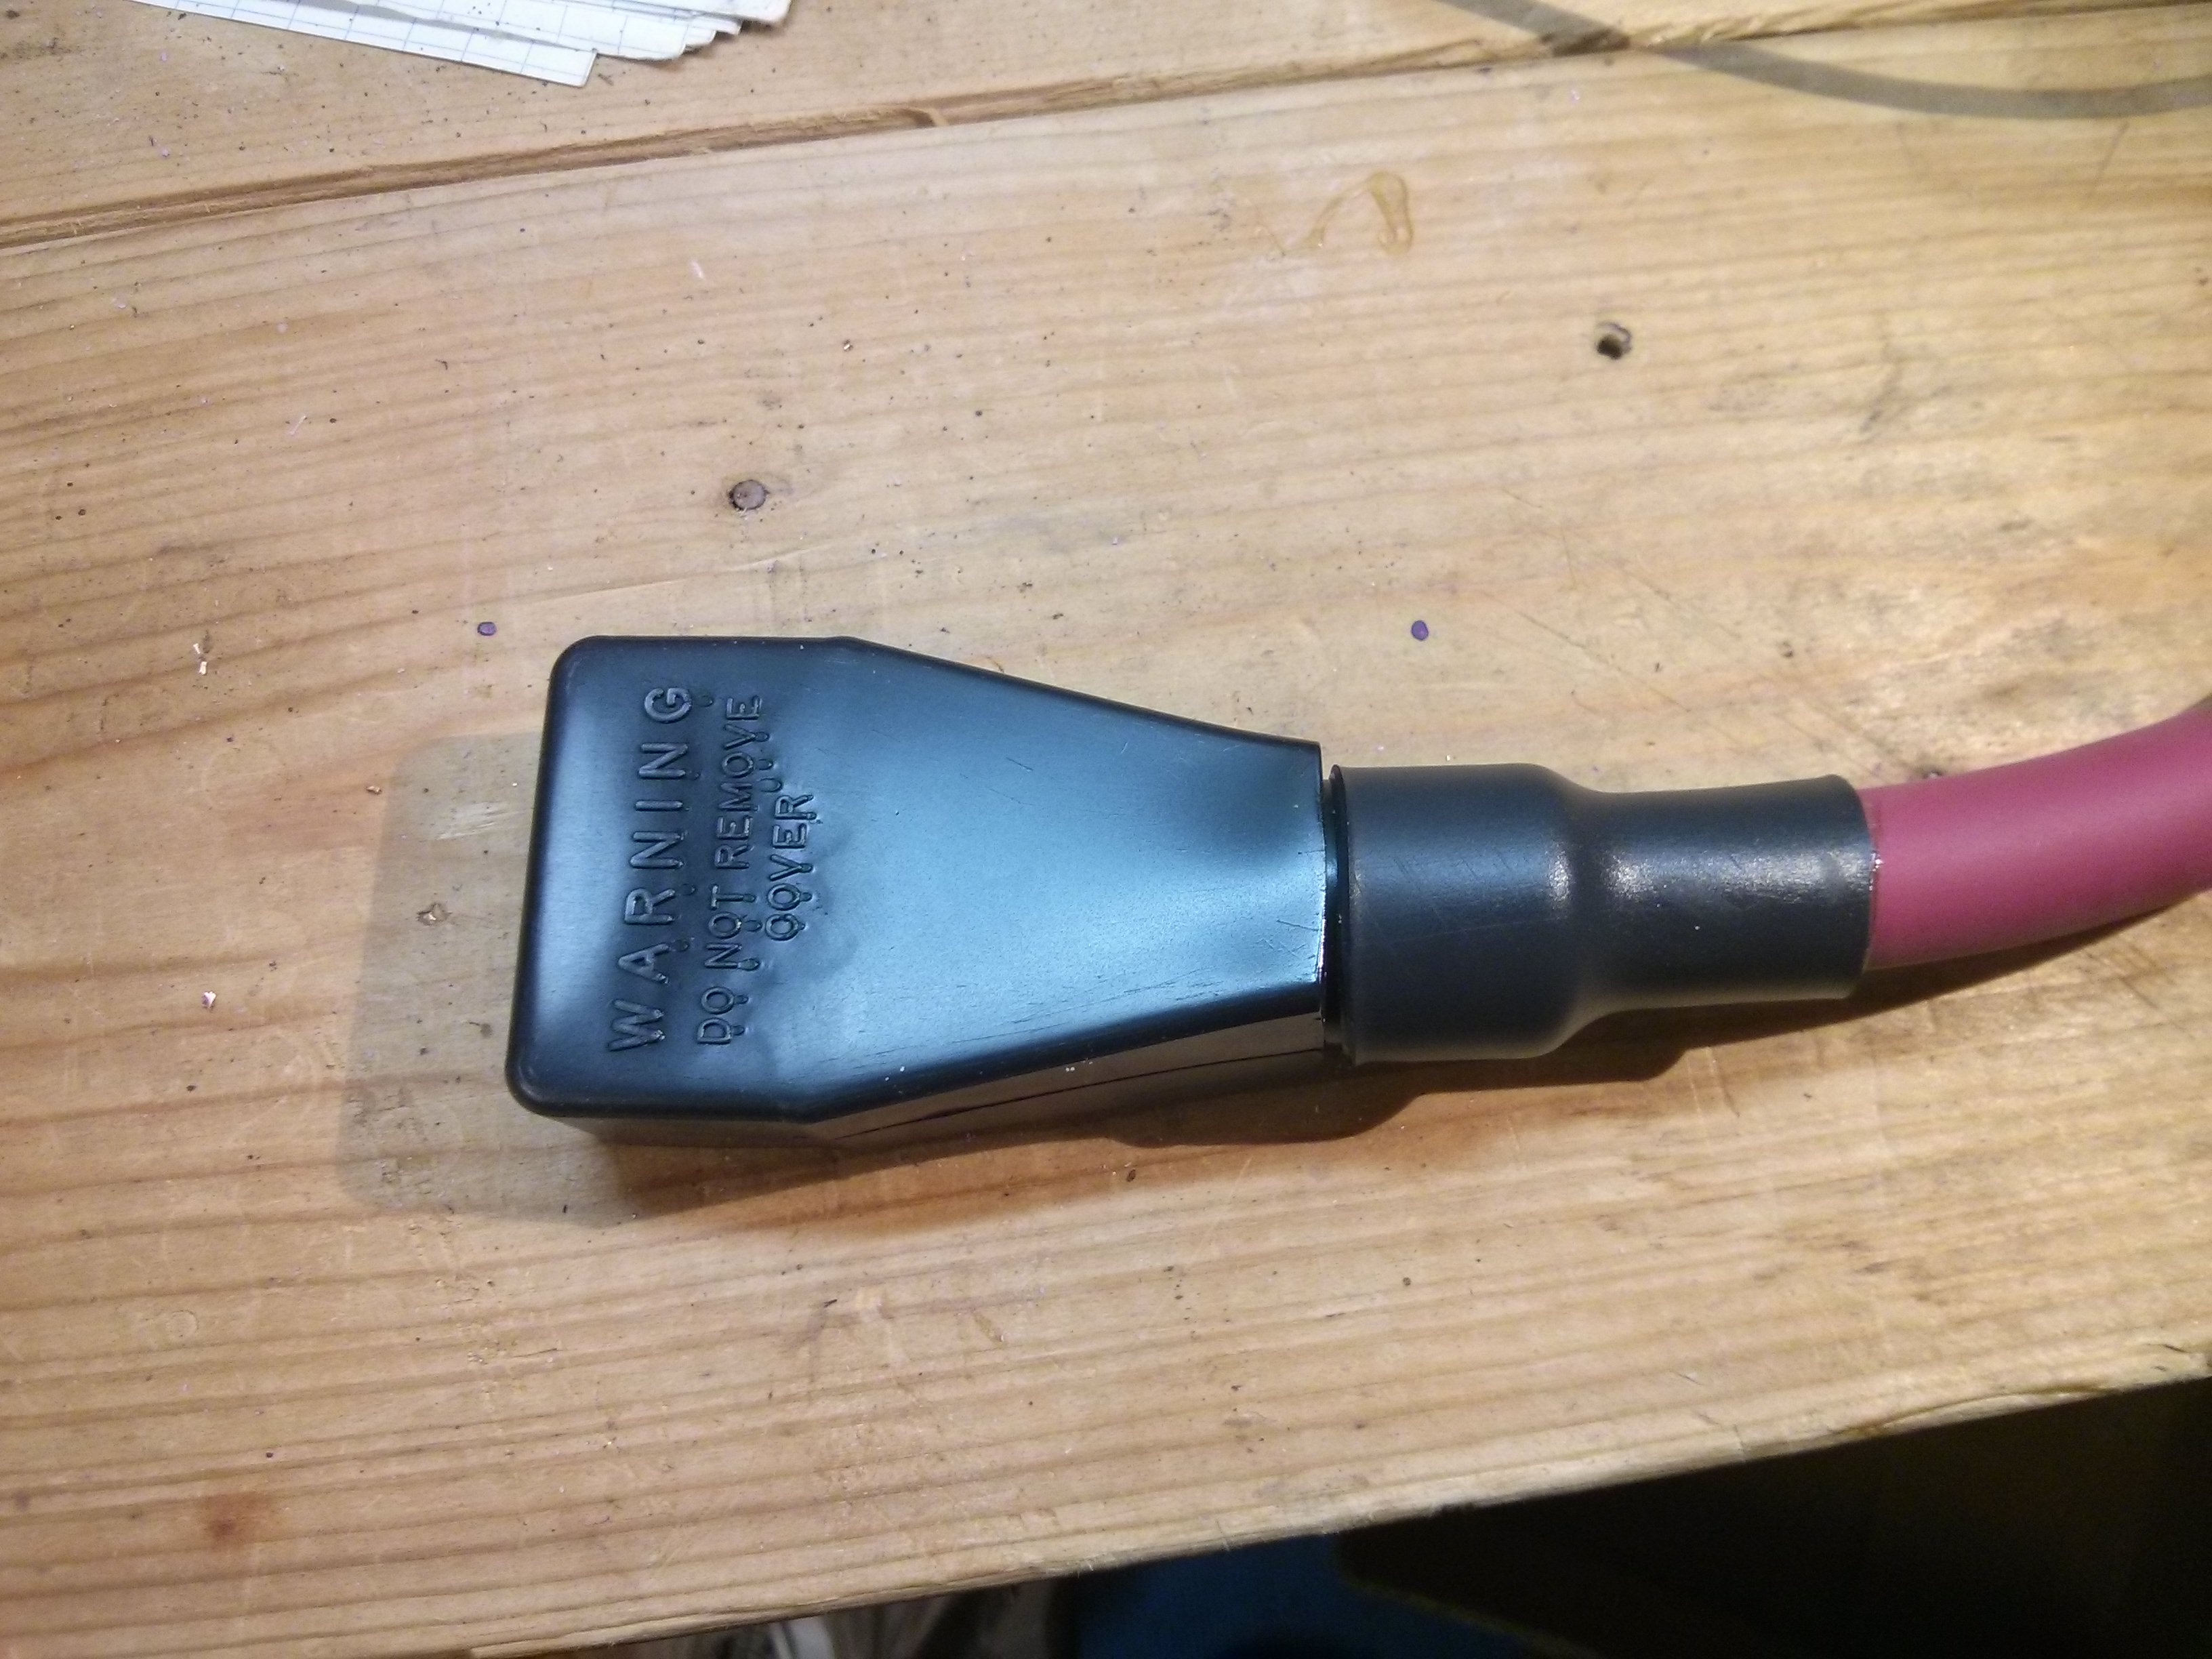
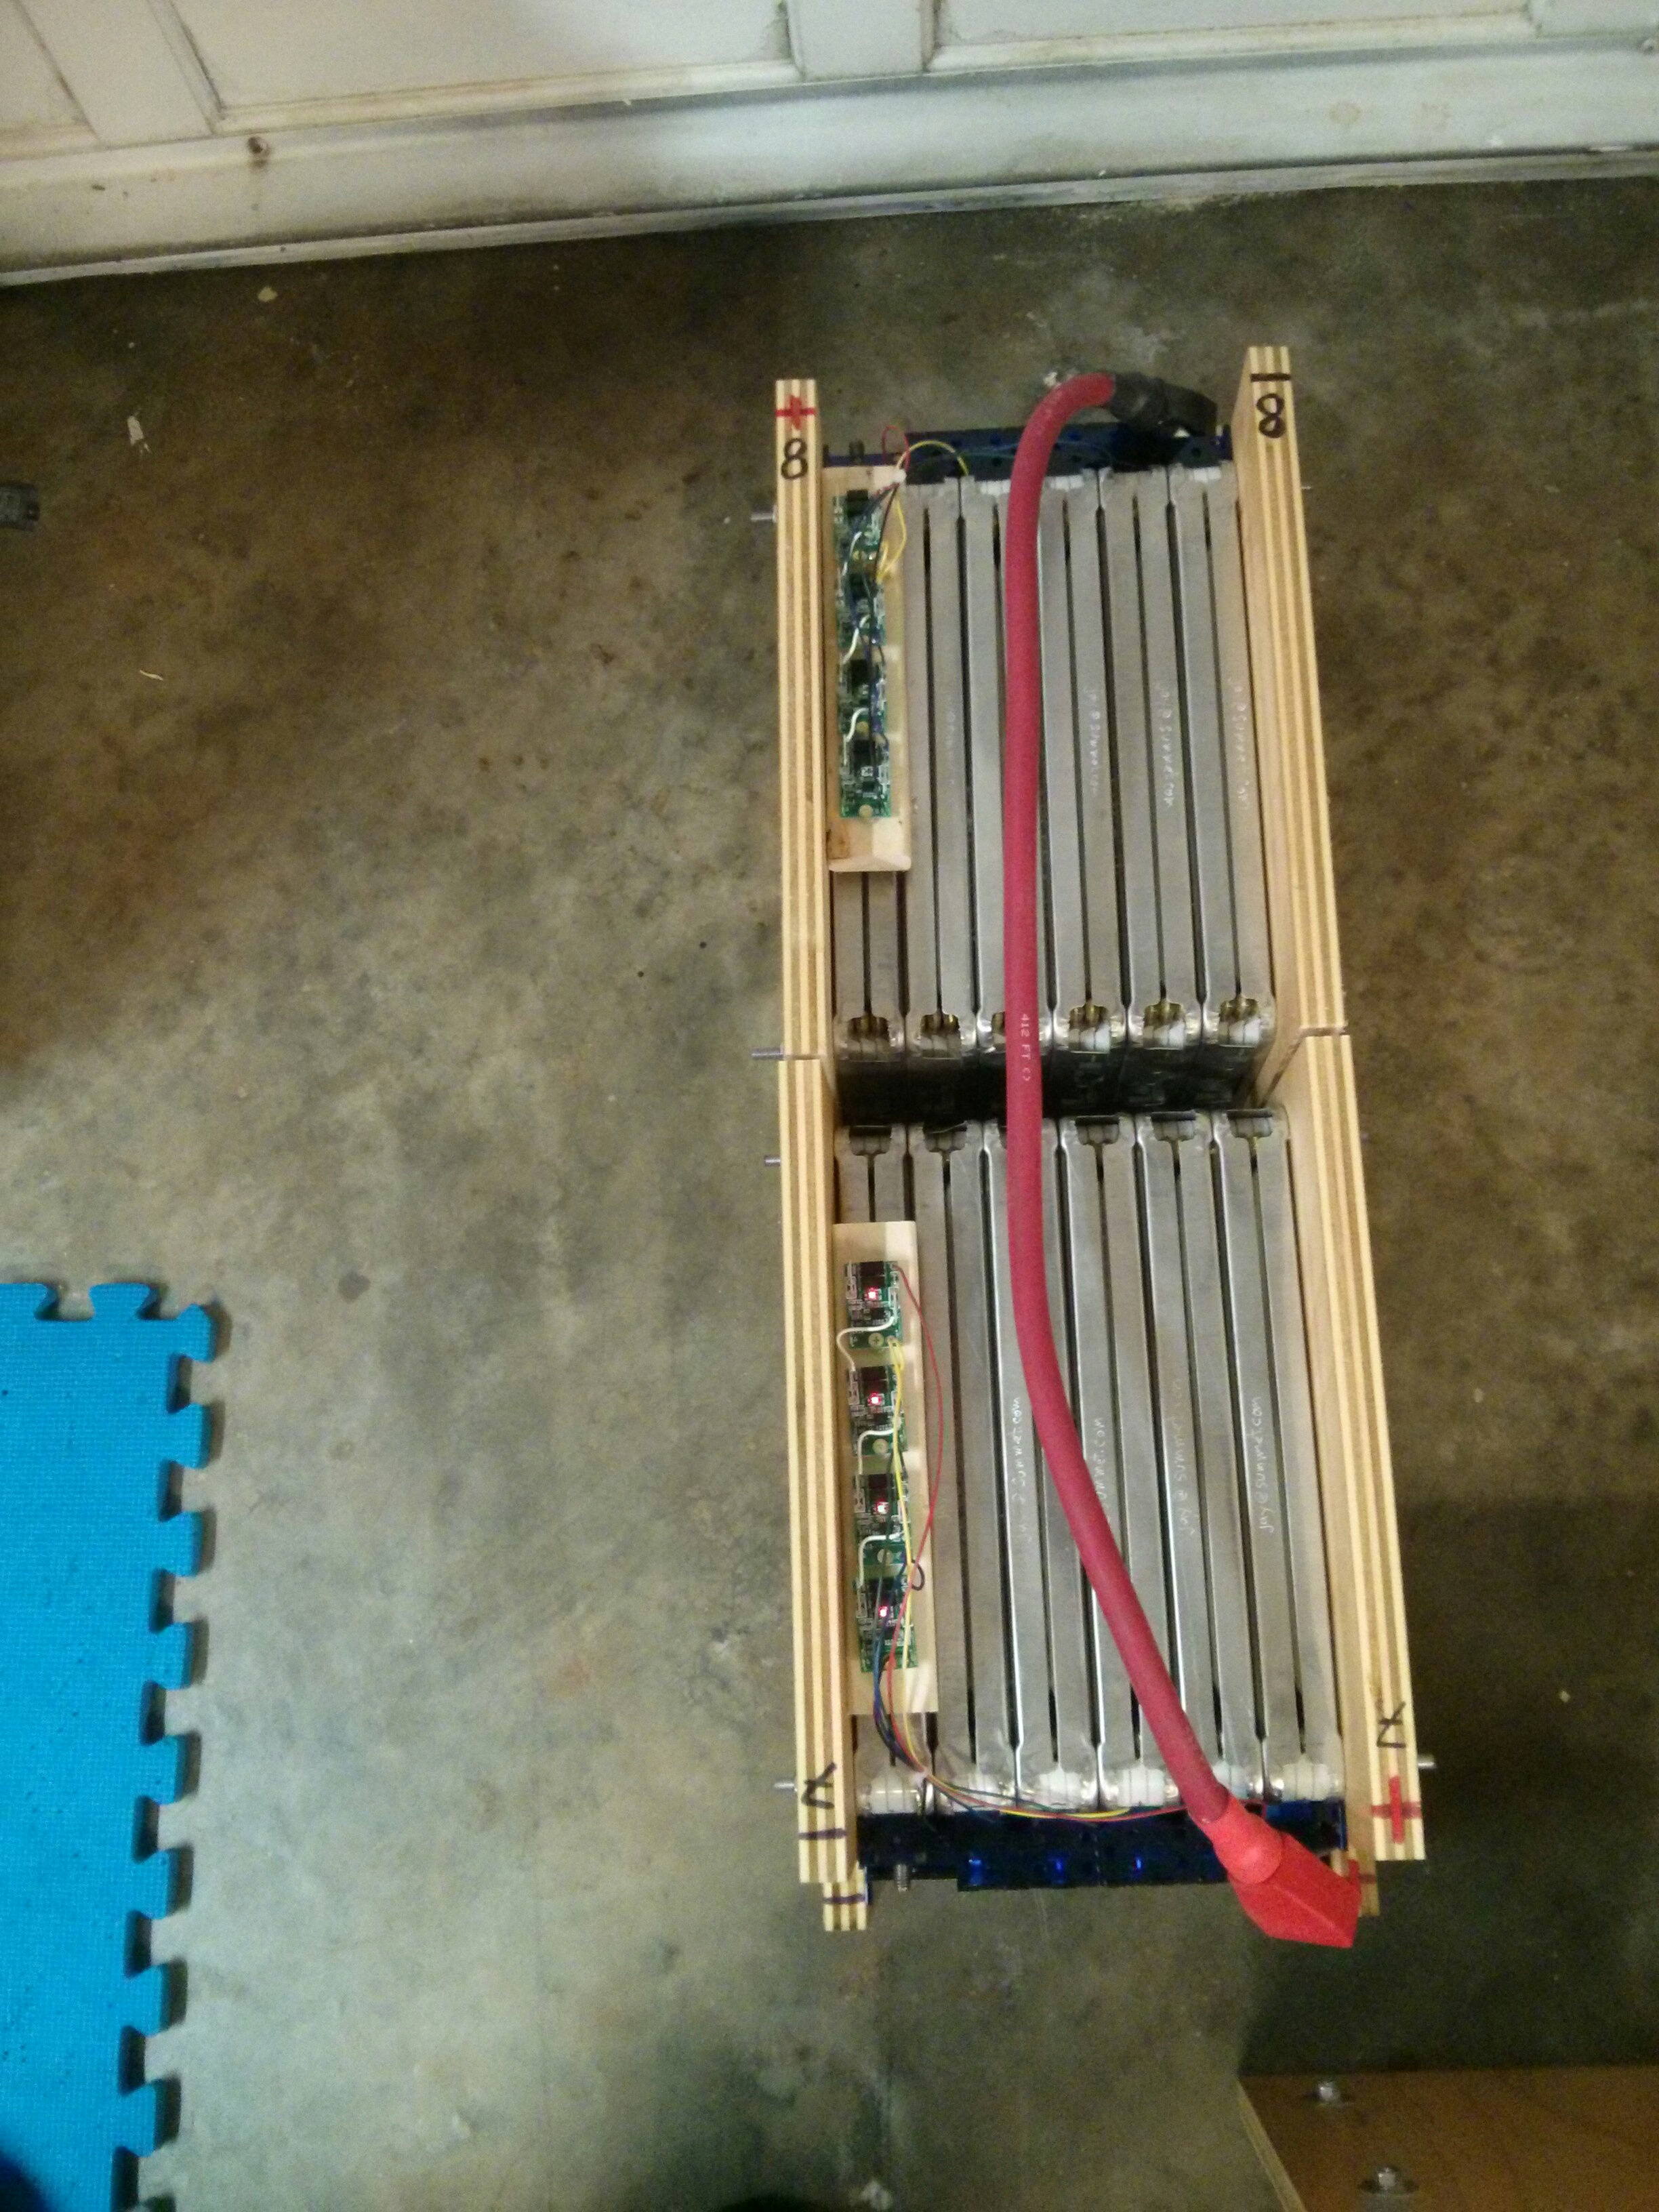
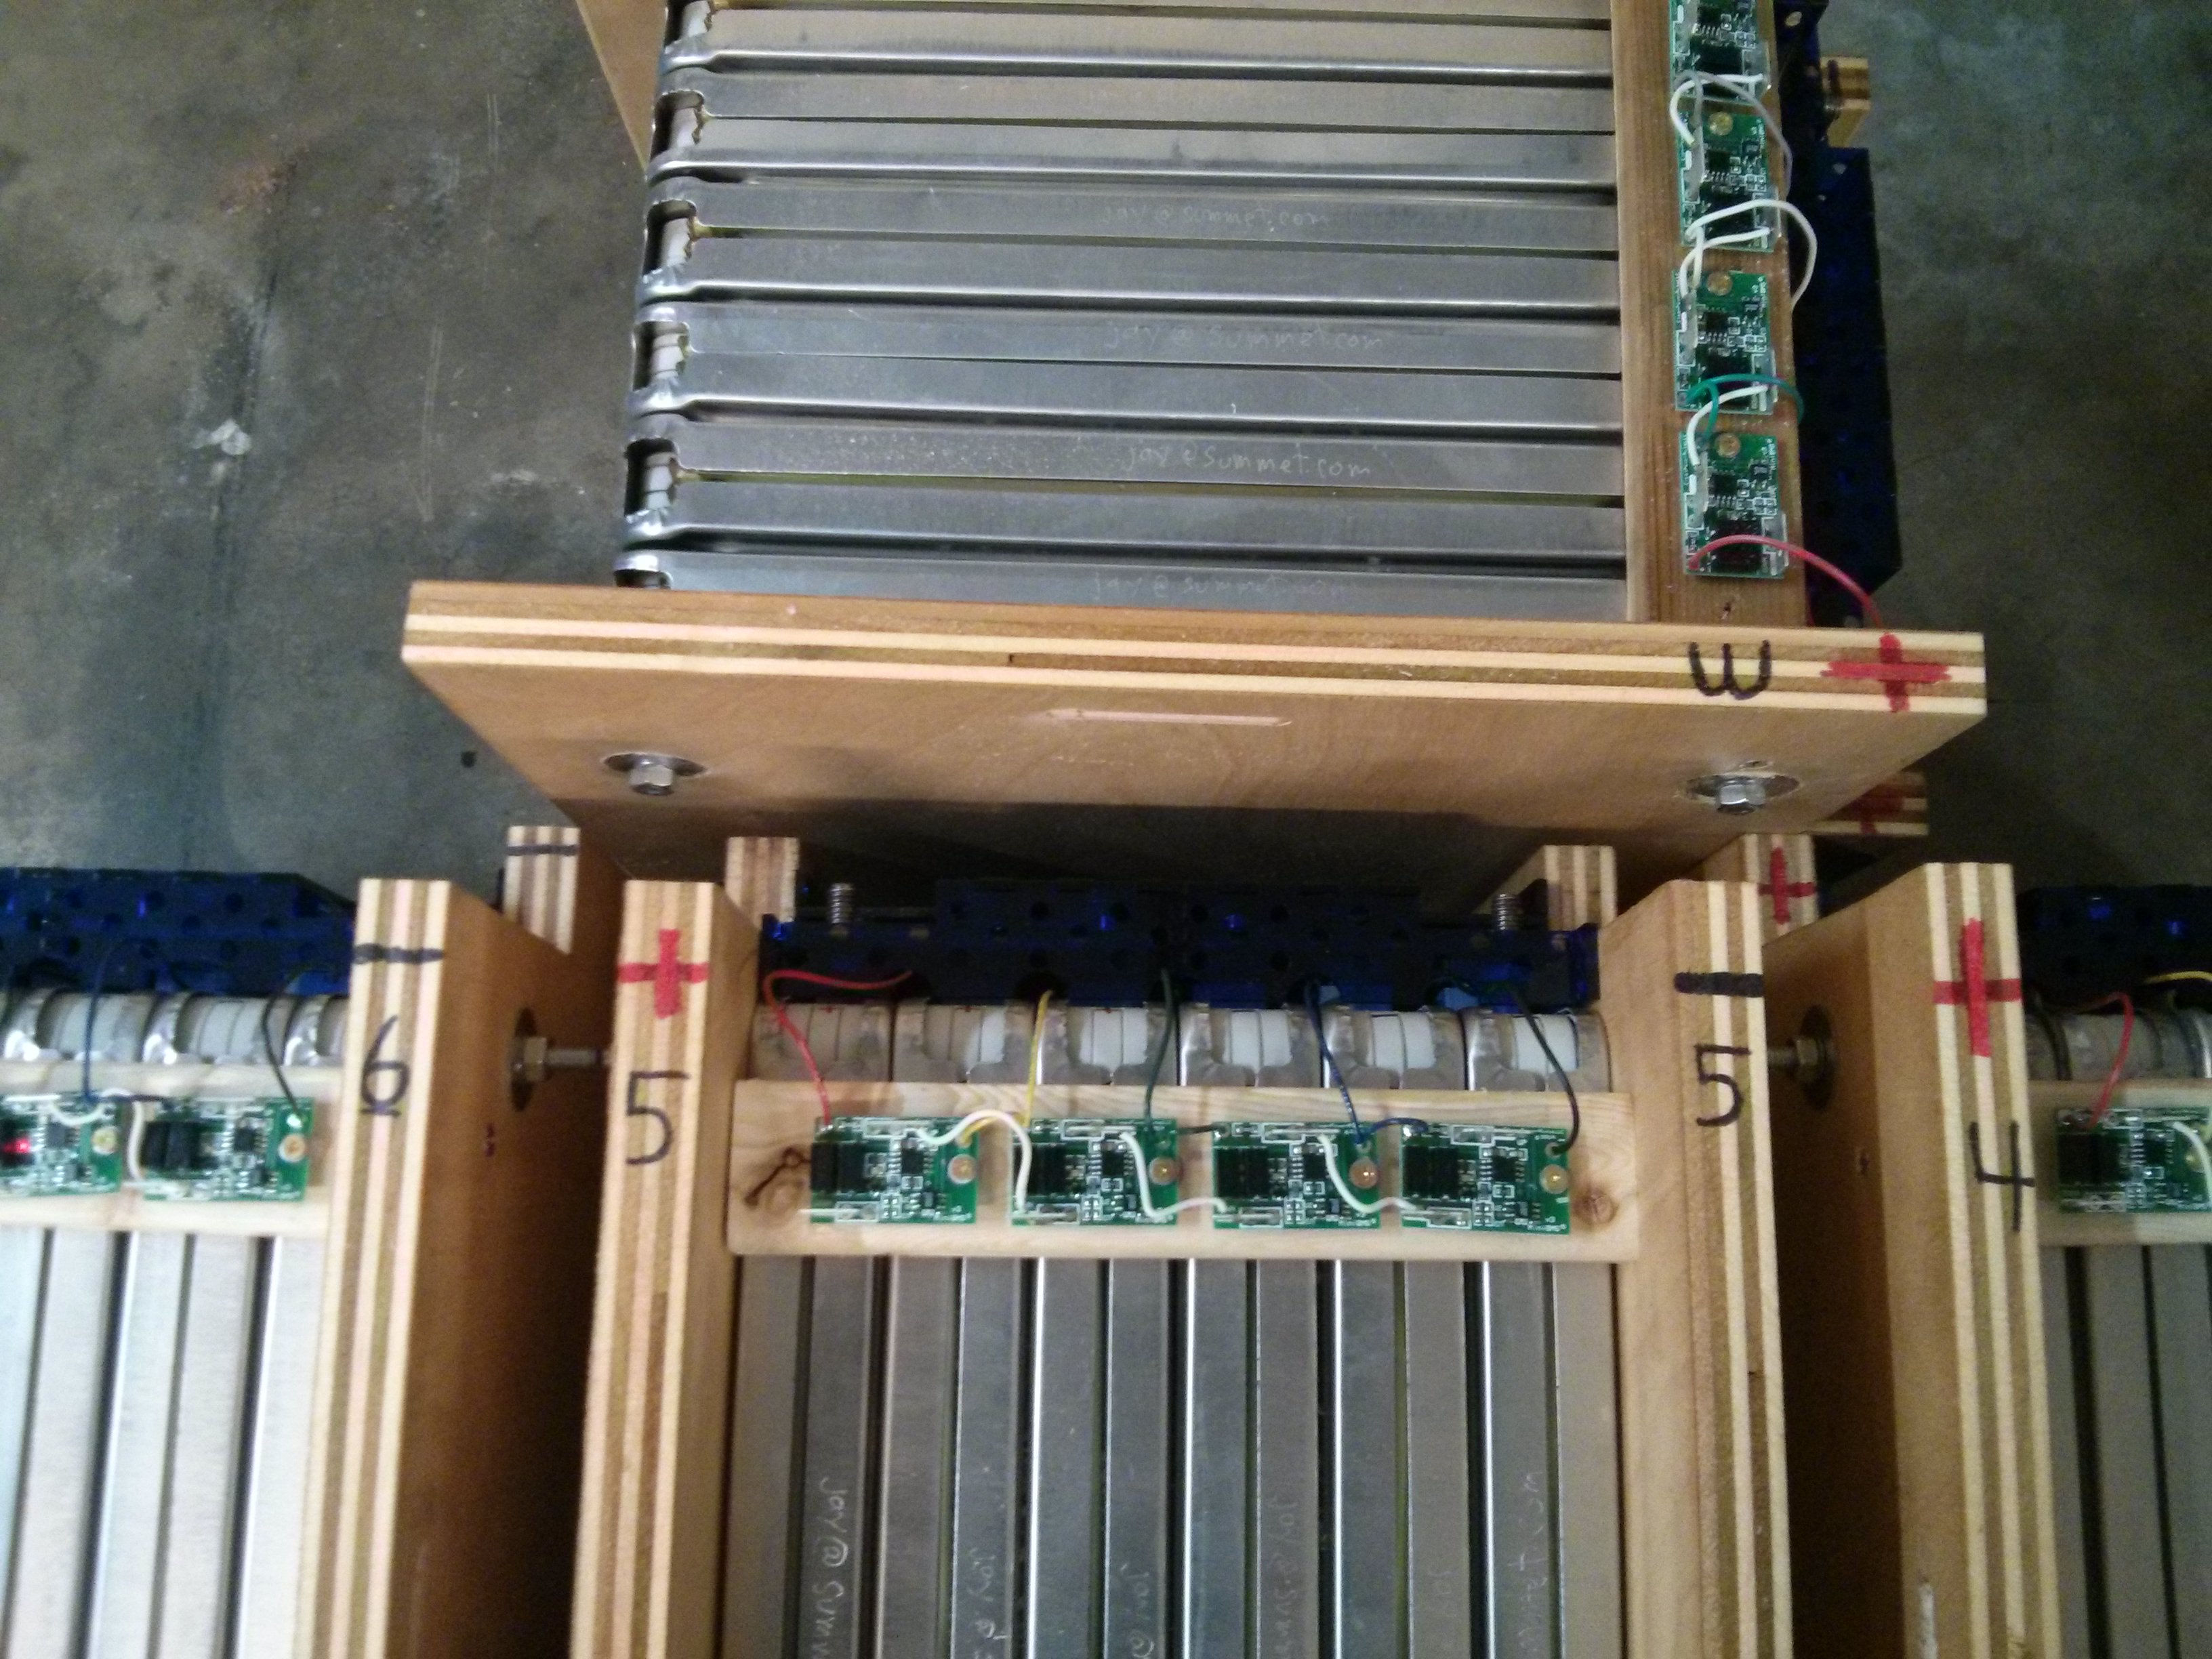
However, the process of parting out the wrecked car takes a lot of time and effort. If you are just after the battery and can find one for sale at a salvage/junk yard for less than $2500 it would probably be easier to buy the battery alone without the rest of the car. The one advantage of purchasing the whole car is that you can (sometimes) find out how many miles are on the battery pack. In my case, I was able to use an OBDII scanner with the Leaf Spy Pro application to find out that my battery pack health was still at 98% before I removed it from the car.

If I were to buy a whole car again, I would try much harder to sell the entire car (minus battery) in the $2000-2500 range before parting it out and trade some money for my time.

The Nissan Leaf pack weighs about 650 lbs less than the lead acid batteries currently in my truck. They are capable of providing more amps with less voltage sag due to lower internal resistance, and more of the pack capacity is usable as they don’t suffer from the Peukert effect as much as lead acid batteries.

The overall performance of the truck should be much improved. Also the battery life should be much longer than 2 years. (Cycle life for lithium ion batteries is measured in thousands of charge cycles, instead of hundreds of charge cycles for lead acid batteries.)

However, because I am changing battery chemistries, I am also upgrading my trucks’ charging system (and home EVSE) and those costs are actually more than the battery pack, so the total upgrade cost will be more than just getting another lead acid battery pack. (I will talk more about charger upgrade costs in a later post).

Making Thunderbird send messages in the background (like Outlook)

My work recently changed over to using Office365.com for their email. As long as Office365 supports IMAP and SMTP (it does) I don’t mind so much, as I can continue to use Thunderbird on my desktop to access my email.

However, because the mail servers are no longer located “on-campus” the lag to the SMTP server is much more noticeable than before. When I pressed the “Send” button, Thunderbird would sit there for 20 seconds with a progress bar sending the mail, interrupting my flow of email processing much more noticeably than when the server was hosted on the same network.

So I tweaked a few advanced settings in Thunderbird by going into Thunderbird Preferences (Edit->Preferences), clicking the “Advanced” tab, then selecting the “config editor” button and promising to be careful. [Newer versions of Thunderbird have these options under the tools -> Options menu. ]

mailnews.show_send_progress false
mailnews.sendInBackground true
offline.send.unsent_messages 1

Telling thunderbird to not show the progress indicator only hides the dialog, but the compose window still sits up on your screen (with no visible indicator of what it’s doing) until the mail is sent, so you also need to turn on “sendInBackground” to make the compose window disapear immediately after you press send.

This makes the message go immediately to your Local Folders -> Outbox, but DOES NOT SEND IT, until you select File -> Send Unsent Messages. Hence the “offline.send.unsent_messages 1” which tells Thunderbird to send unsent messages (from Folders -> Outbox) whenever it can. It still takes 20-30 seconds for the message to be sent, but it is done in the background now.

Rivaling mill accuracy with a printed template and centerpunch

Using a printed template you can center punch drill pilot holes and rival the accuracy of a milling machine. It’s faster than using a mill, and a lot cheaper as well!

While making the busbars for my Nissan Leaf batteries, I needed to precisely drill holes with 1.3333″ centers. I’m fortunate enough to own a small mill, which I used to drill small pilot holes, allowing me to drill the main holes on a drillpress very accurately.

But what if you don’t have a mill? You can actually get similar accuracy by using a
printed template and careful application of a centerpunch. Just create a template in
a drawing program such as InkScape, Corell Draw, or any other tool that allows you to
lay out lines in a dimensionally accurate way. Print it out on a standard printer, and
then use a center punch to mark the drill starting point on your metal.

center_punch_results

Here you can see me comparing the holes in my milled busbar with the center-punched busbar by passing some bolts through two of the three holes and shooting a picture of the third hole.

center_punch_to_mill_hole_aligment

How to build custom length high current cables

IMG_20151025_203133

IMG_20151025_202930

When wiring up an electric vehicle traction pack battery, an off-grid battery backup bank, or other high current power systems, you sometimes need a cable capable of handling high-current with a custom length. If you have a few tools, it is easy to make your own by crimping terminals onto welding cable. This video shows a time-lapse overview of making such a cable:

Here is a set of links to the tools and materials I used:
Continue reading

Battery carrier compatibility, location specific modifications

battery_pickup_tool

This is a Battery Carrier tool designed for picking up and carrying around lead acid batteries (golf cart or starter batteries). I own one because it’s very useful when removing 20 golf cart batteries from my S-10 electric pickup truck and replacing them with 20 new batteries. While manhandling my Nissan Leaf batteries around my garage, I though “Boy, it sure would be nice to be able to use my battery carrier on these guys.” A few minutes spent rigging up a jig for my trim router and vacuuming up a lot of saw dust later, each of my batteries has a small slot cut in both sides…

plunge_router_with_guide

slots_in_battery

I had thought that I would have to sell my battery carrier and battery filler now that I am upgrading to Lithium Ion…I guess only the battery filler will be obsoleted.

I also modified a few of the batteries to better fit in my existing battery bays. Specifically, I decided that batteries 1&2 and 7&8 would be mounted “back to back” and I didn’t need each of them to have a full 1″ of space at the bottom, so I cut a 1/2″ off the bottom of each, giving me an extra inch of room, and leaving them a shared 1″ air vent.
batteries_7_8_back2back

On battery 3, which will be mounted “sideways” with respect to batteries 4,5 & 6, I used a spade bit to sink the washer in a little, and cut off the ends of the threaded rod to make sure they wouldn’t interfere with cables.

battery_3_shortrods

one_inch_indentation

extra_long_rods_cutoff