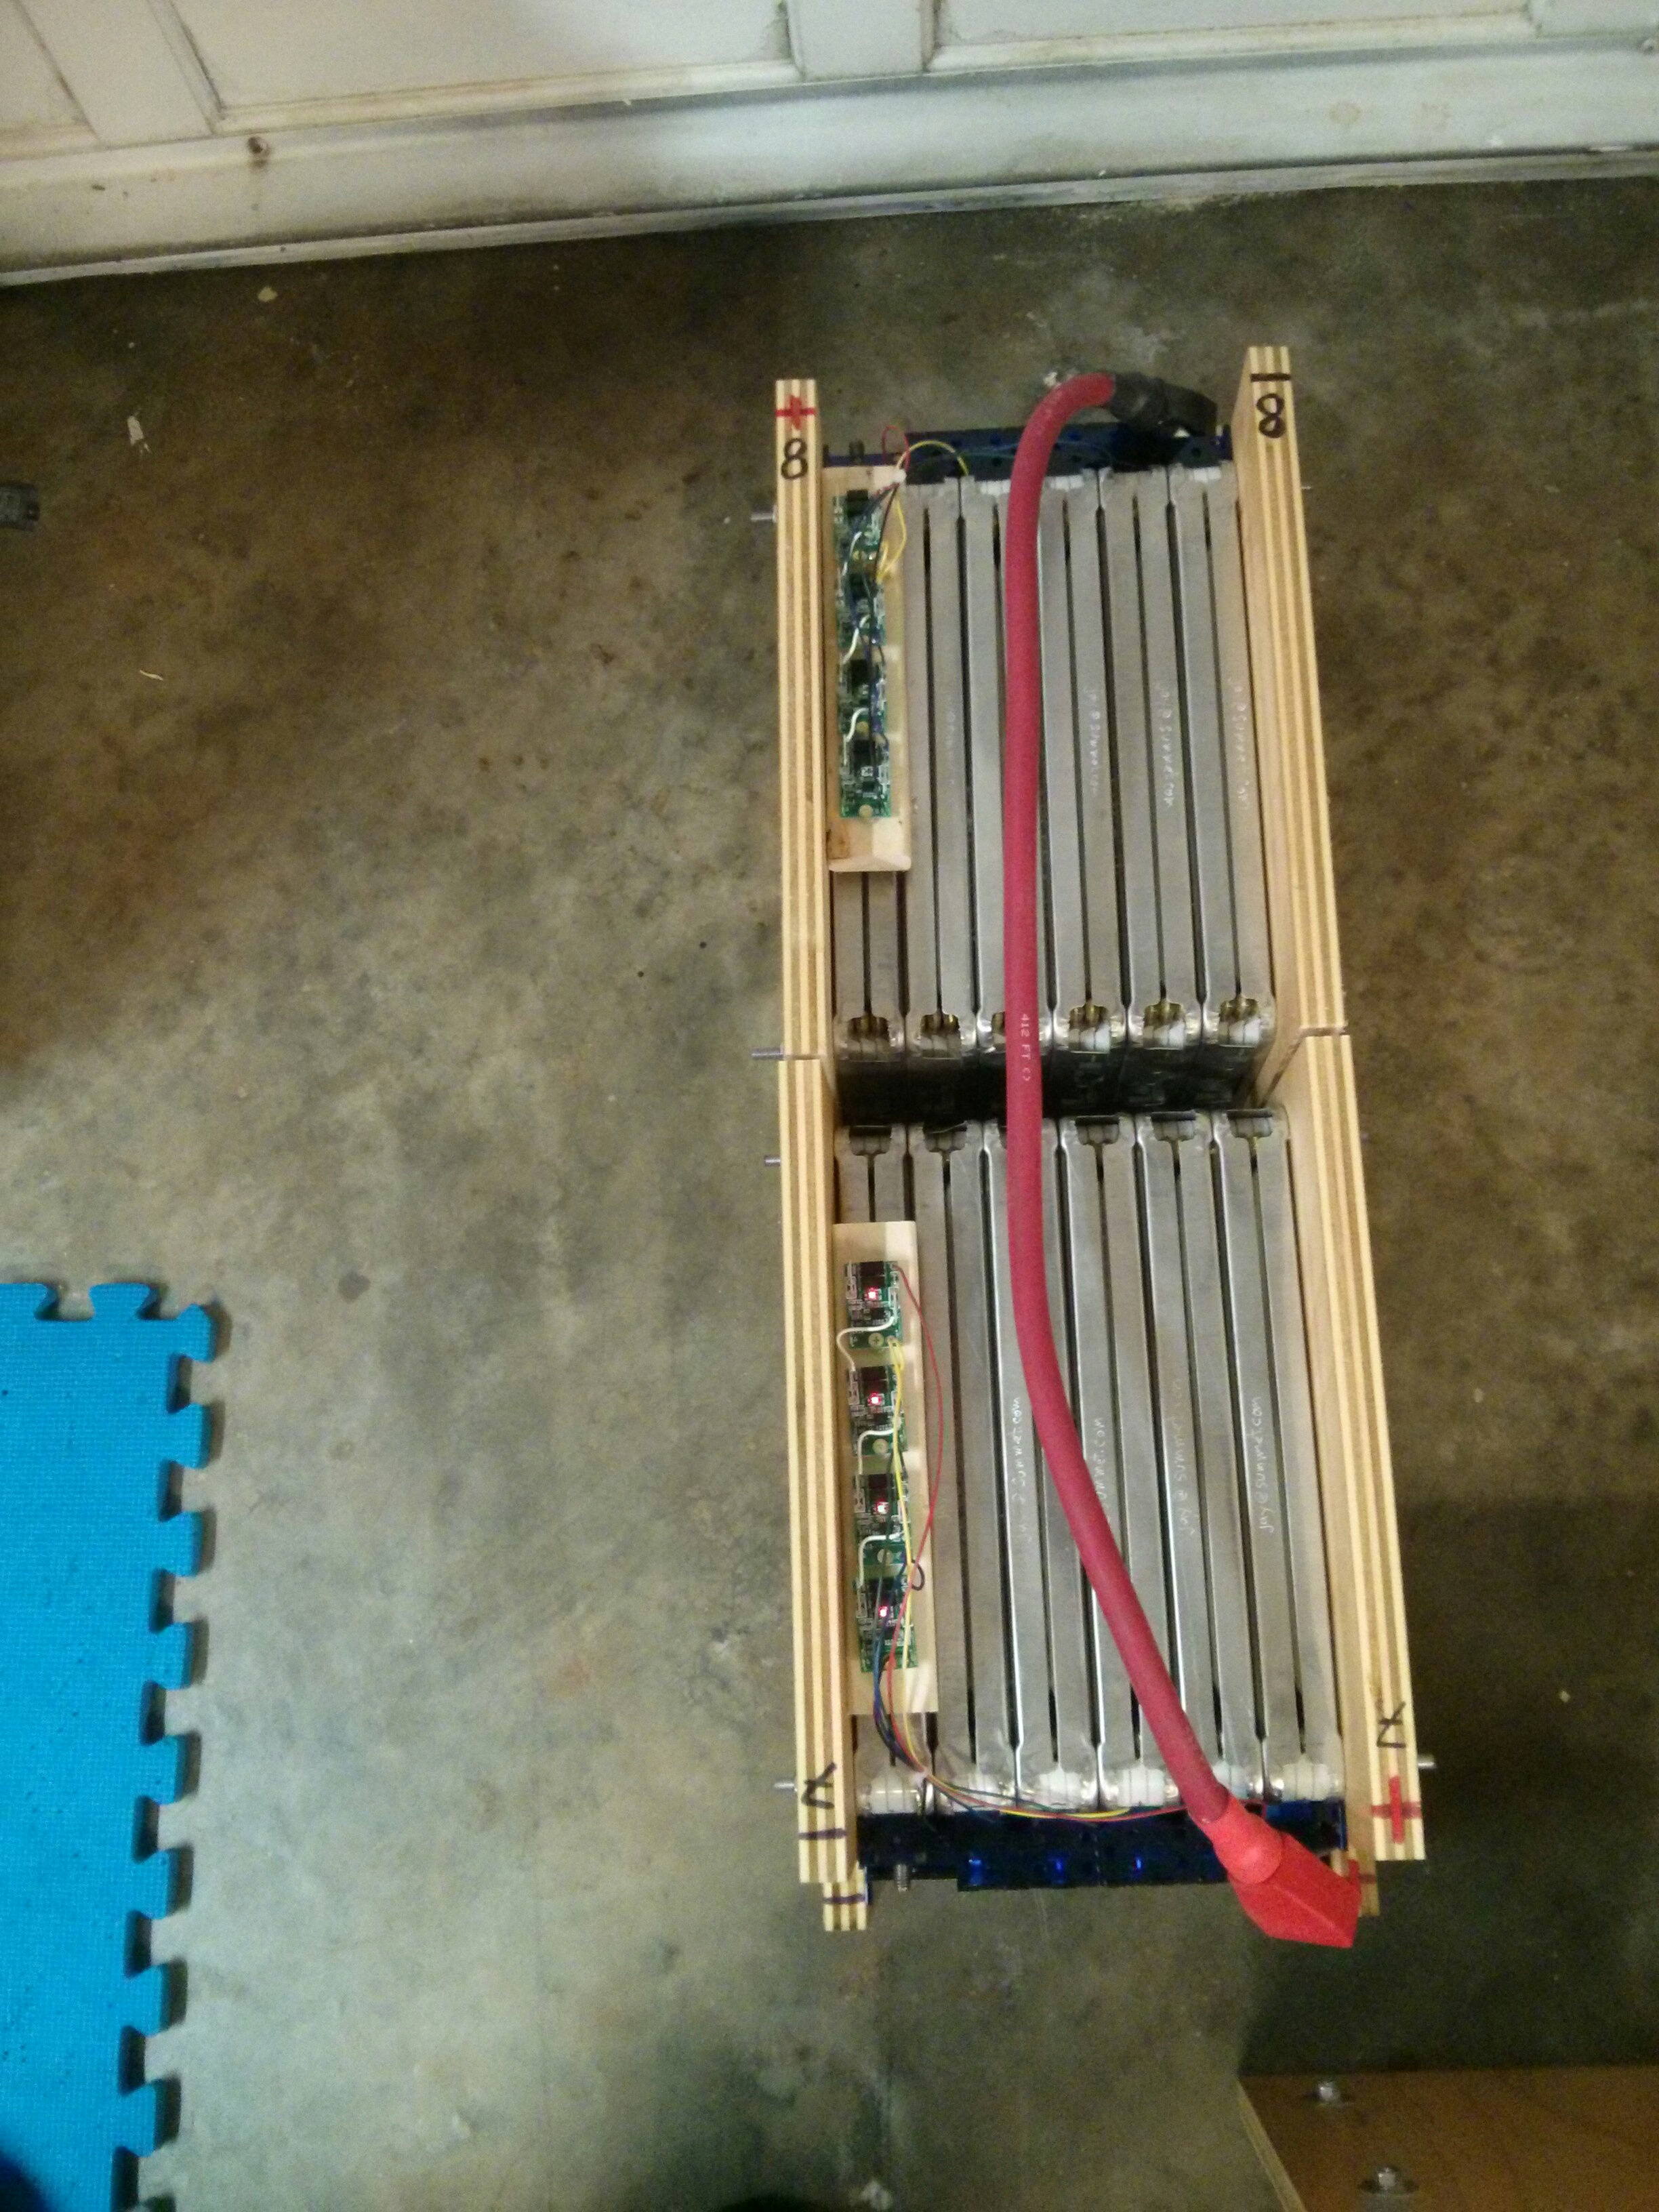
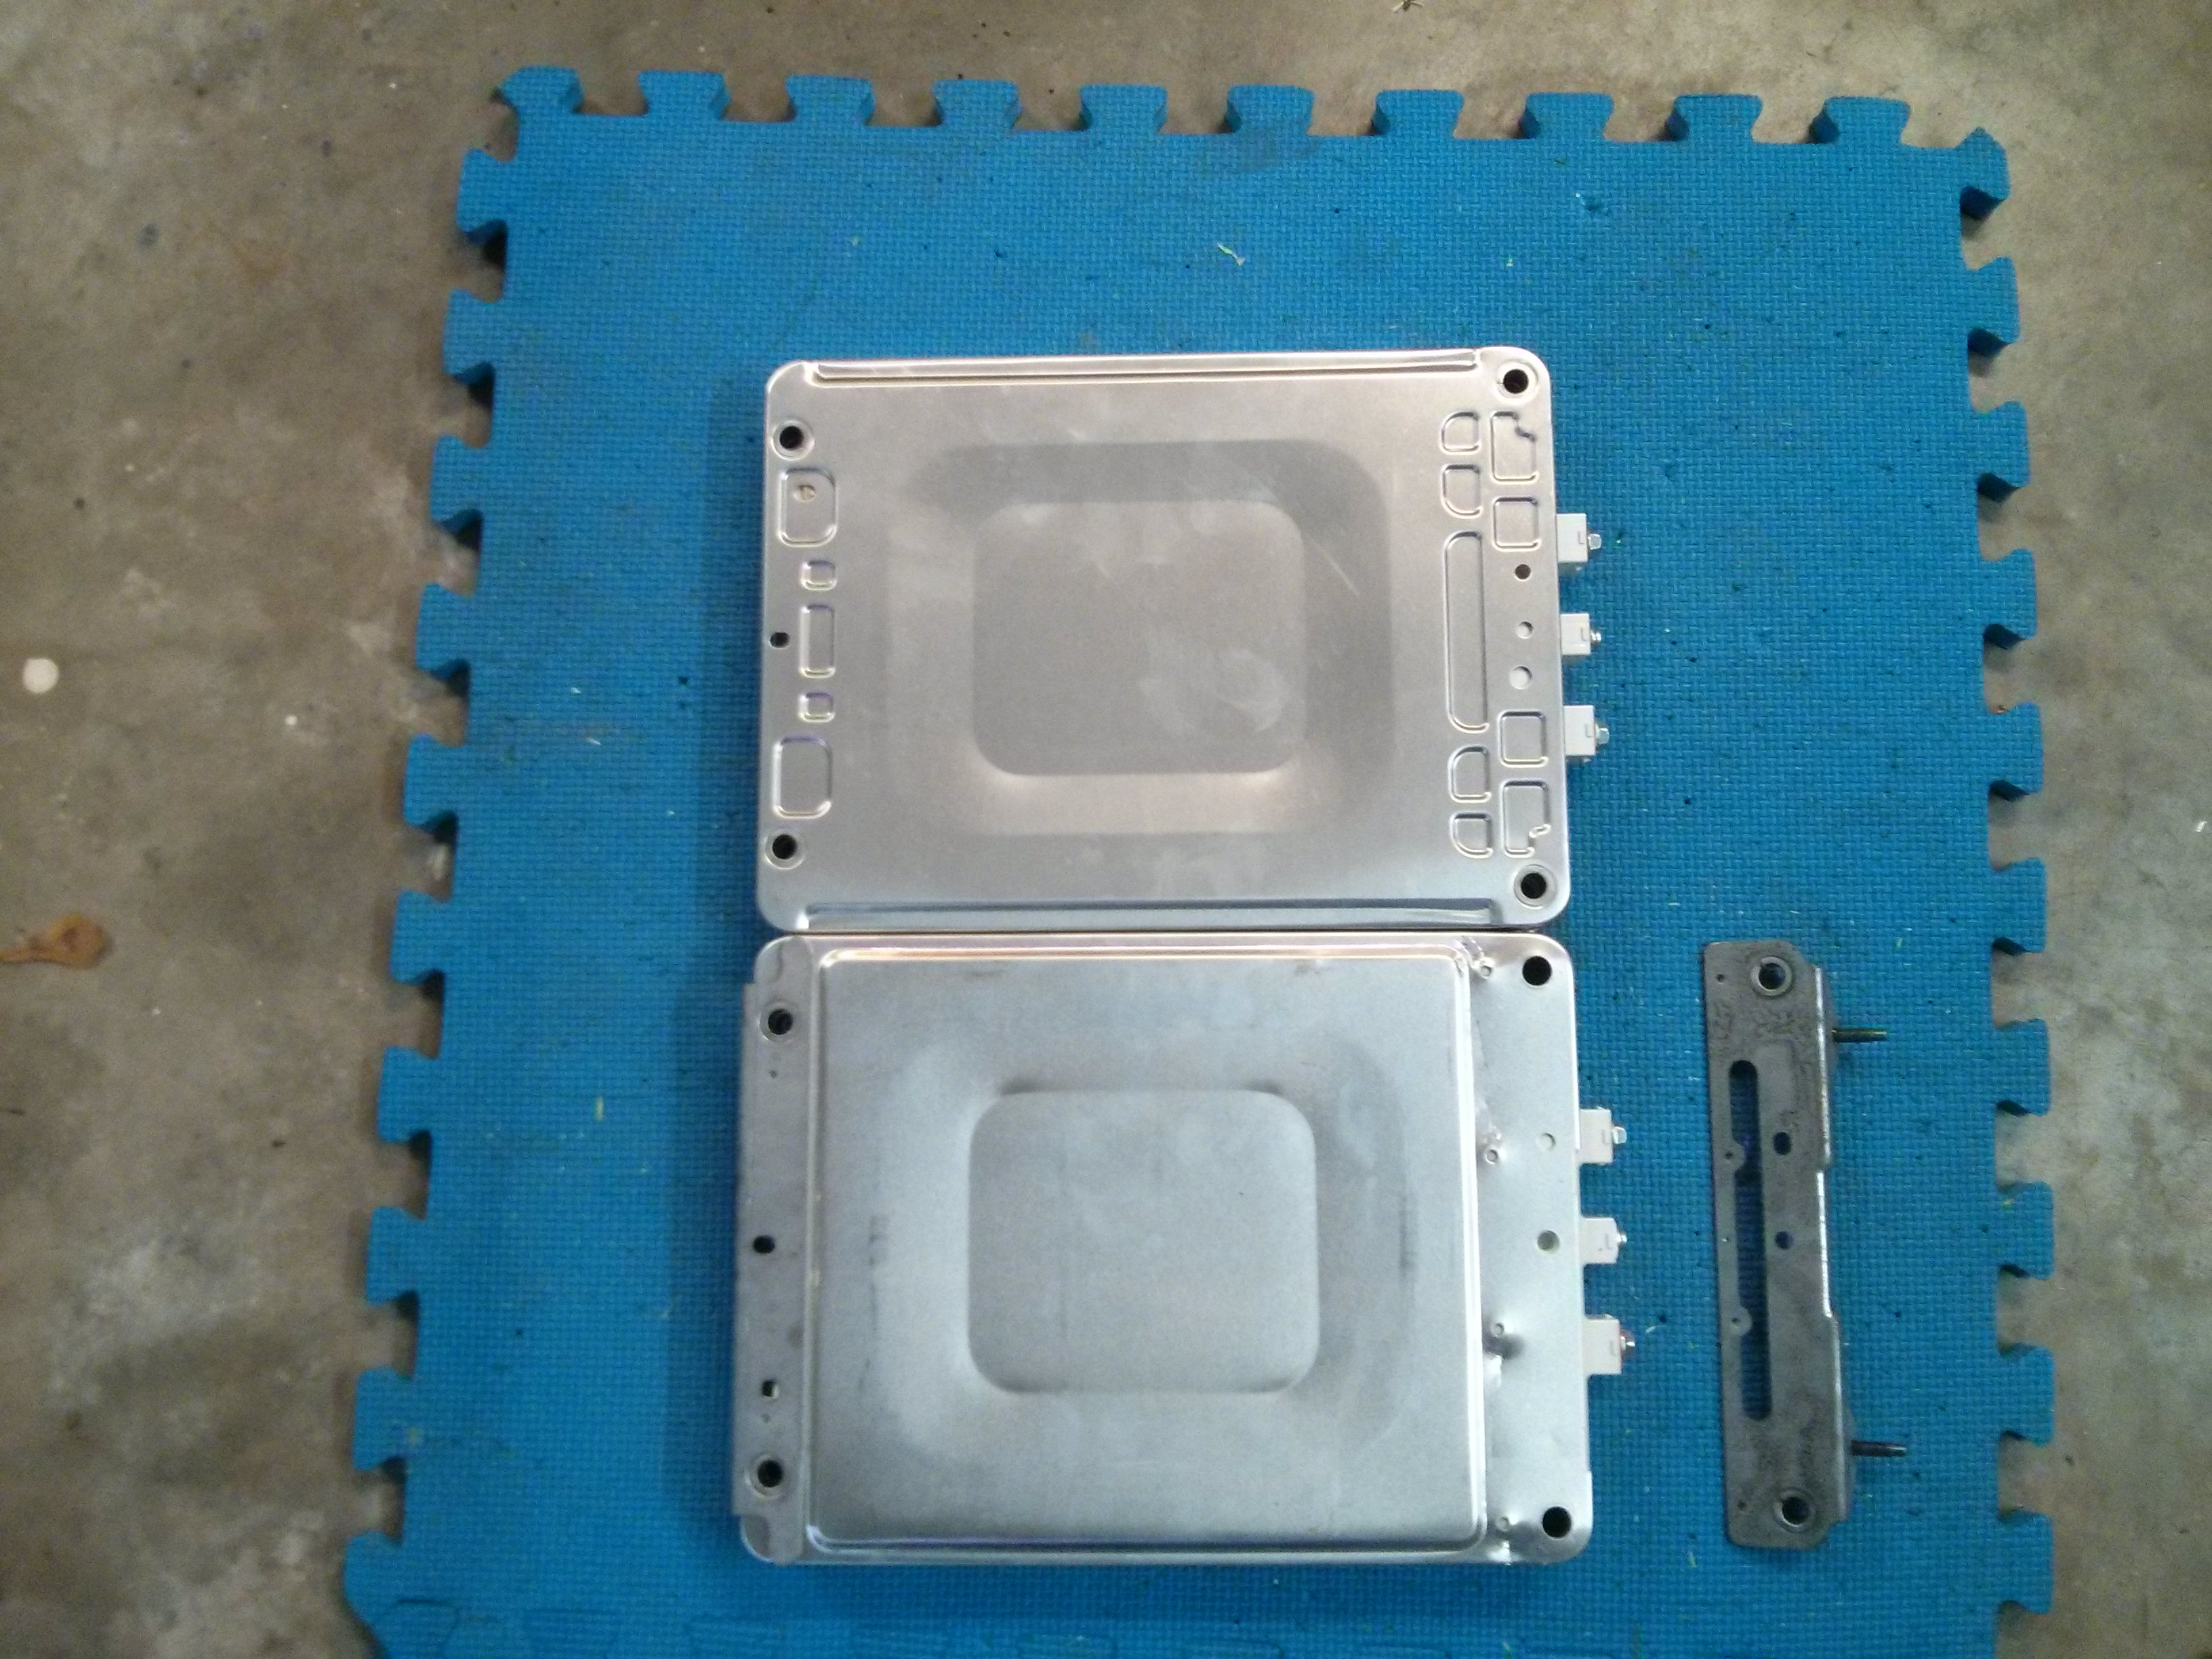
The 2013 Nissan Leaf battery pack that I disassembled had 48 battery modules in it. Previously, I had separated the modules that were in the front half of the pack, packed in stacks of 2 or 4 “flat packed”. However, I had only removed the 24 modules are located in the back of the pack (under the passenger seat) as a unit, and had not unpacked them yet. When I unpacked them, I discovered that 12 of the modules (every other one) had some differences from what I consider to be the “normal” modules (the other 36).

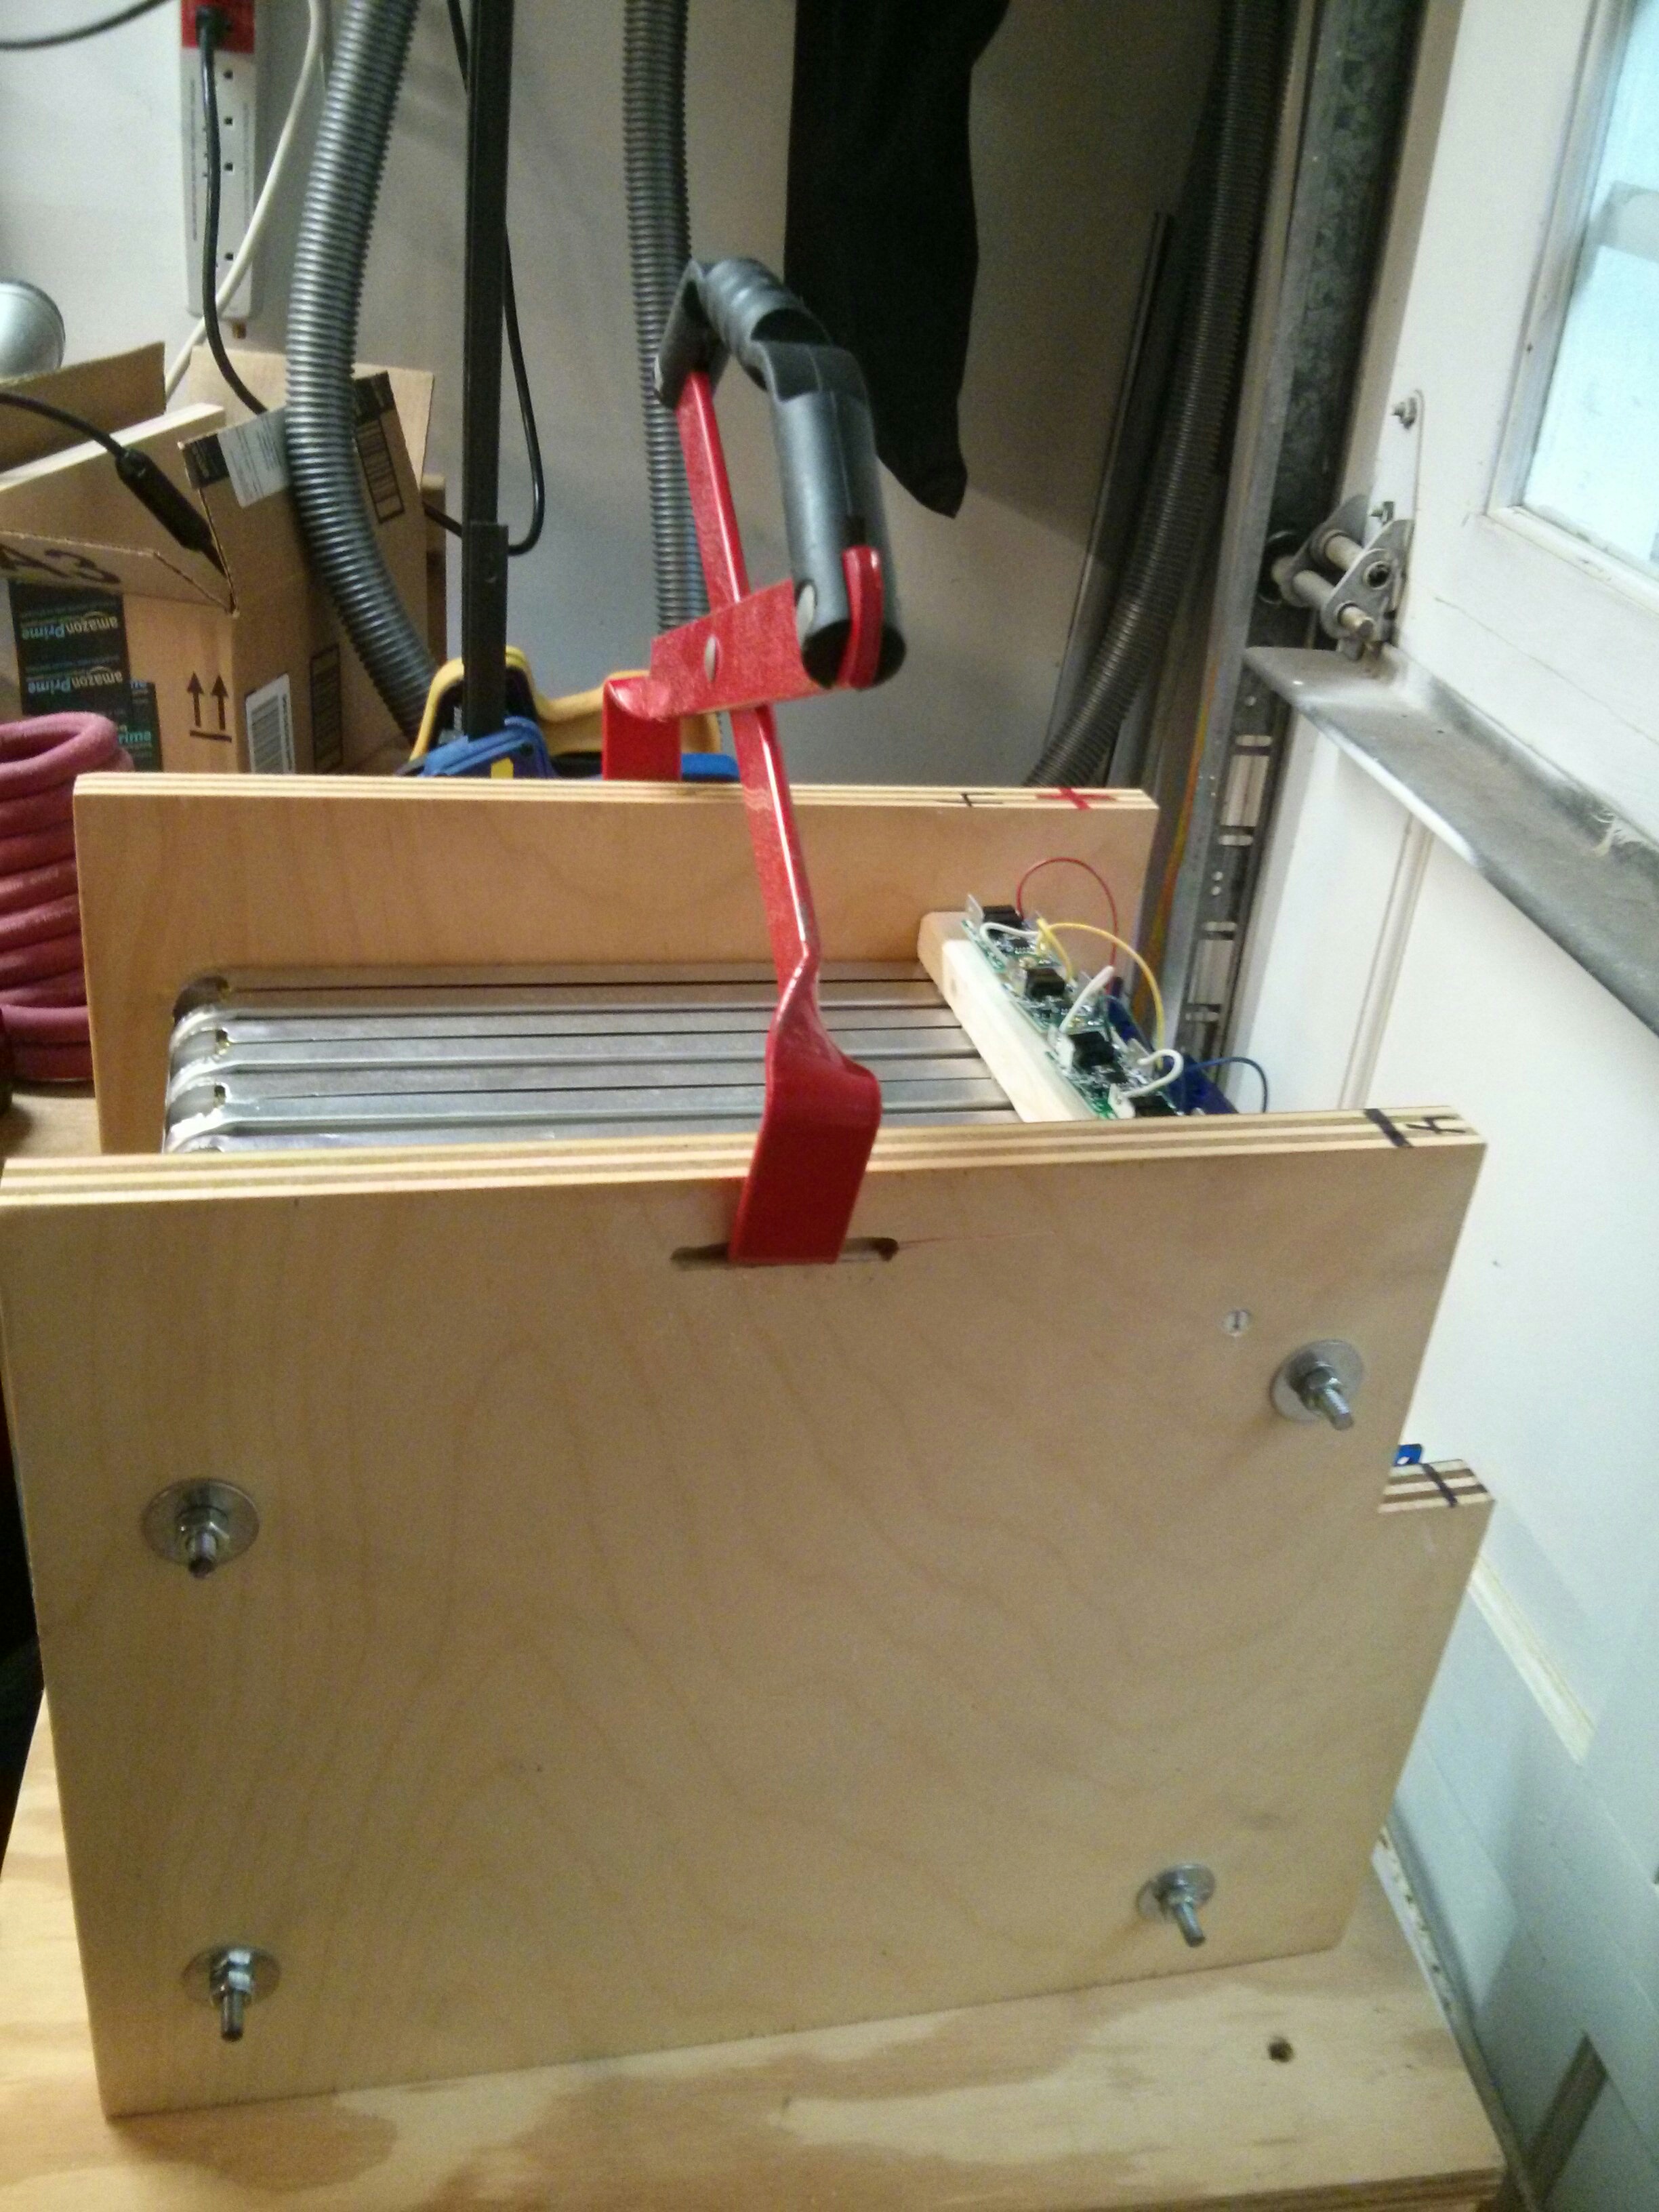
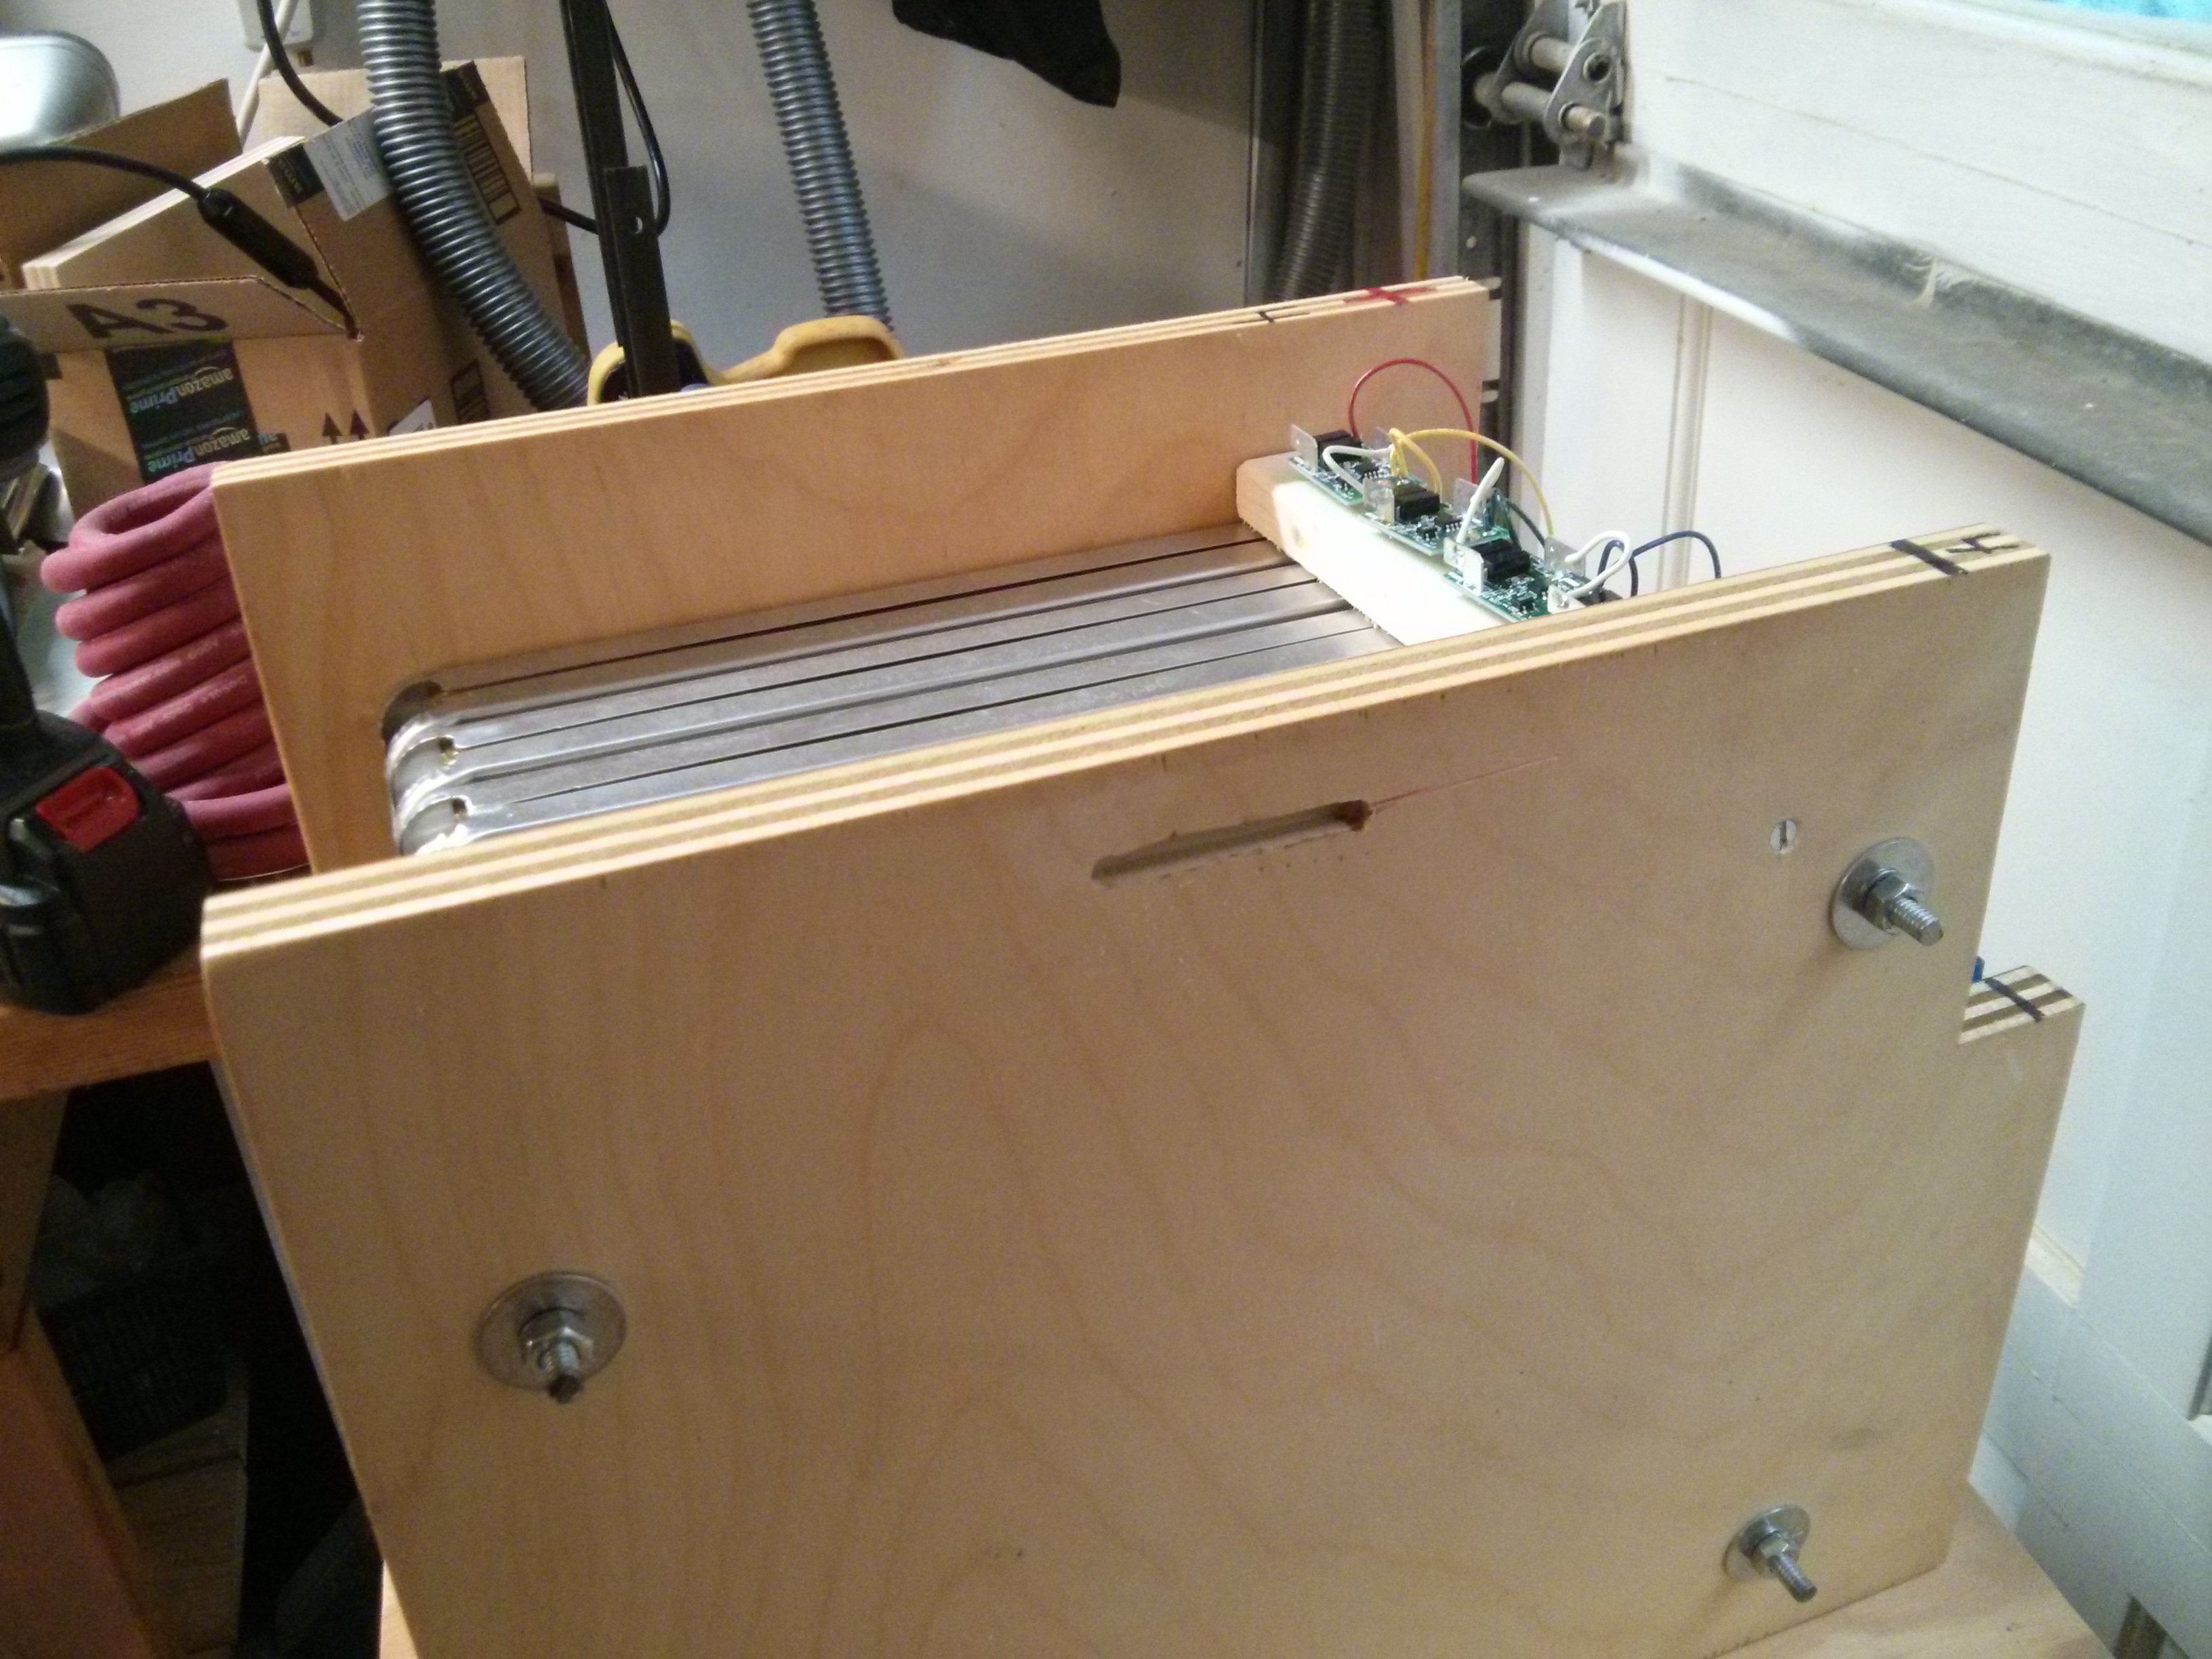
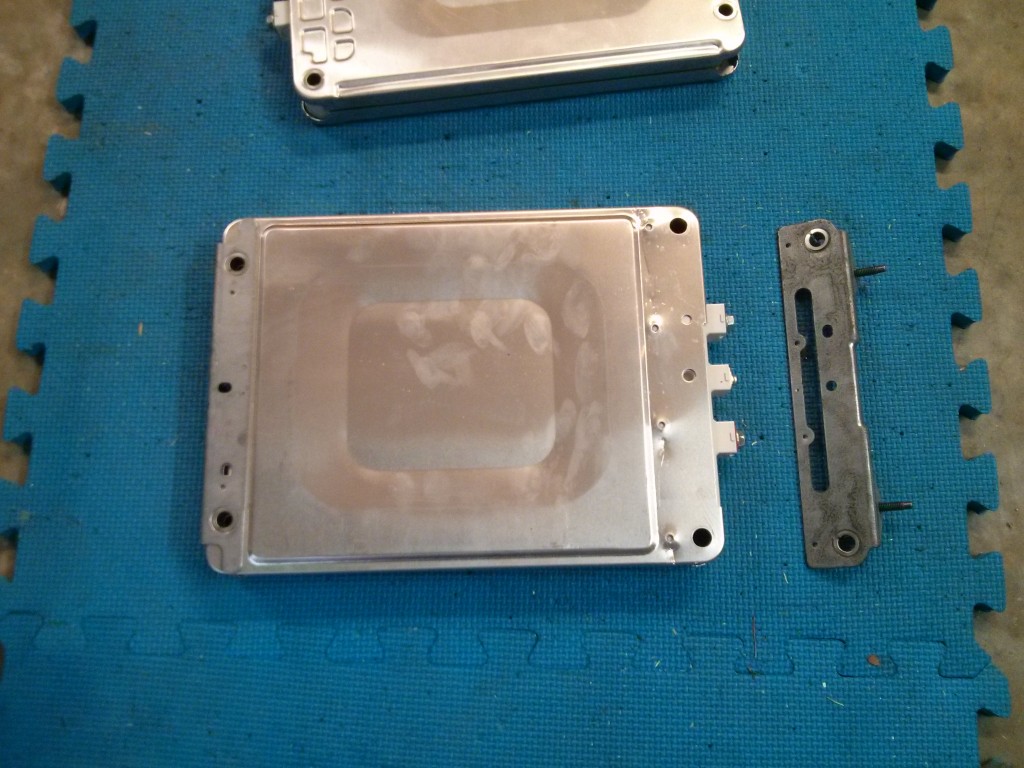
In the picture above, a “normal” module is at the top, while one of the 12 “special” modules that supports the mounting brackets is on the bottom, with the removed mounting bracket. Note how the tin plate sticks out a little bit more on the “normal” module, taking up the same amount of space as the steel mounting bracket on the “special” module.
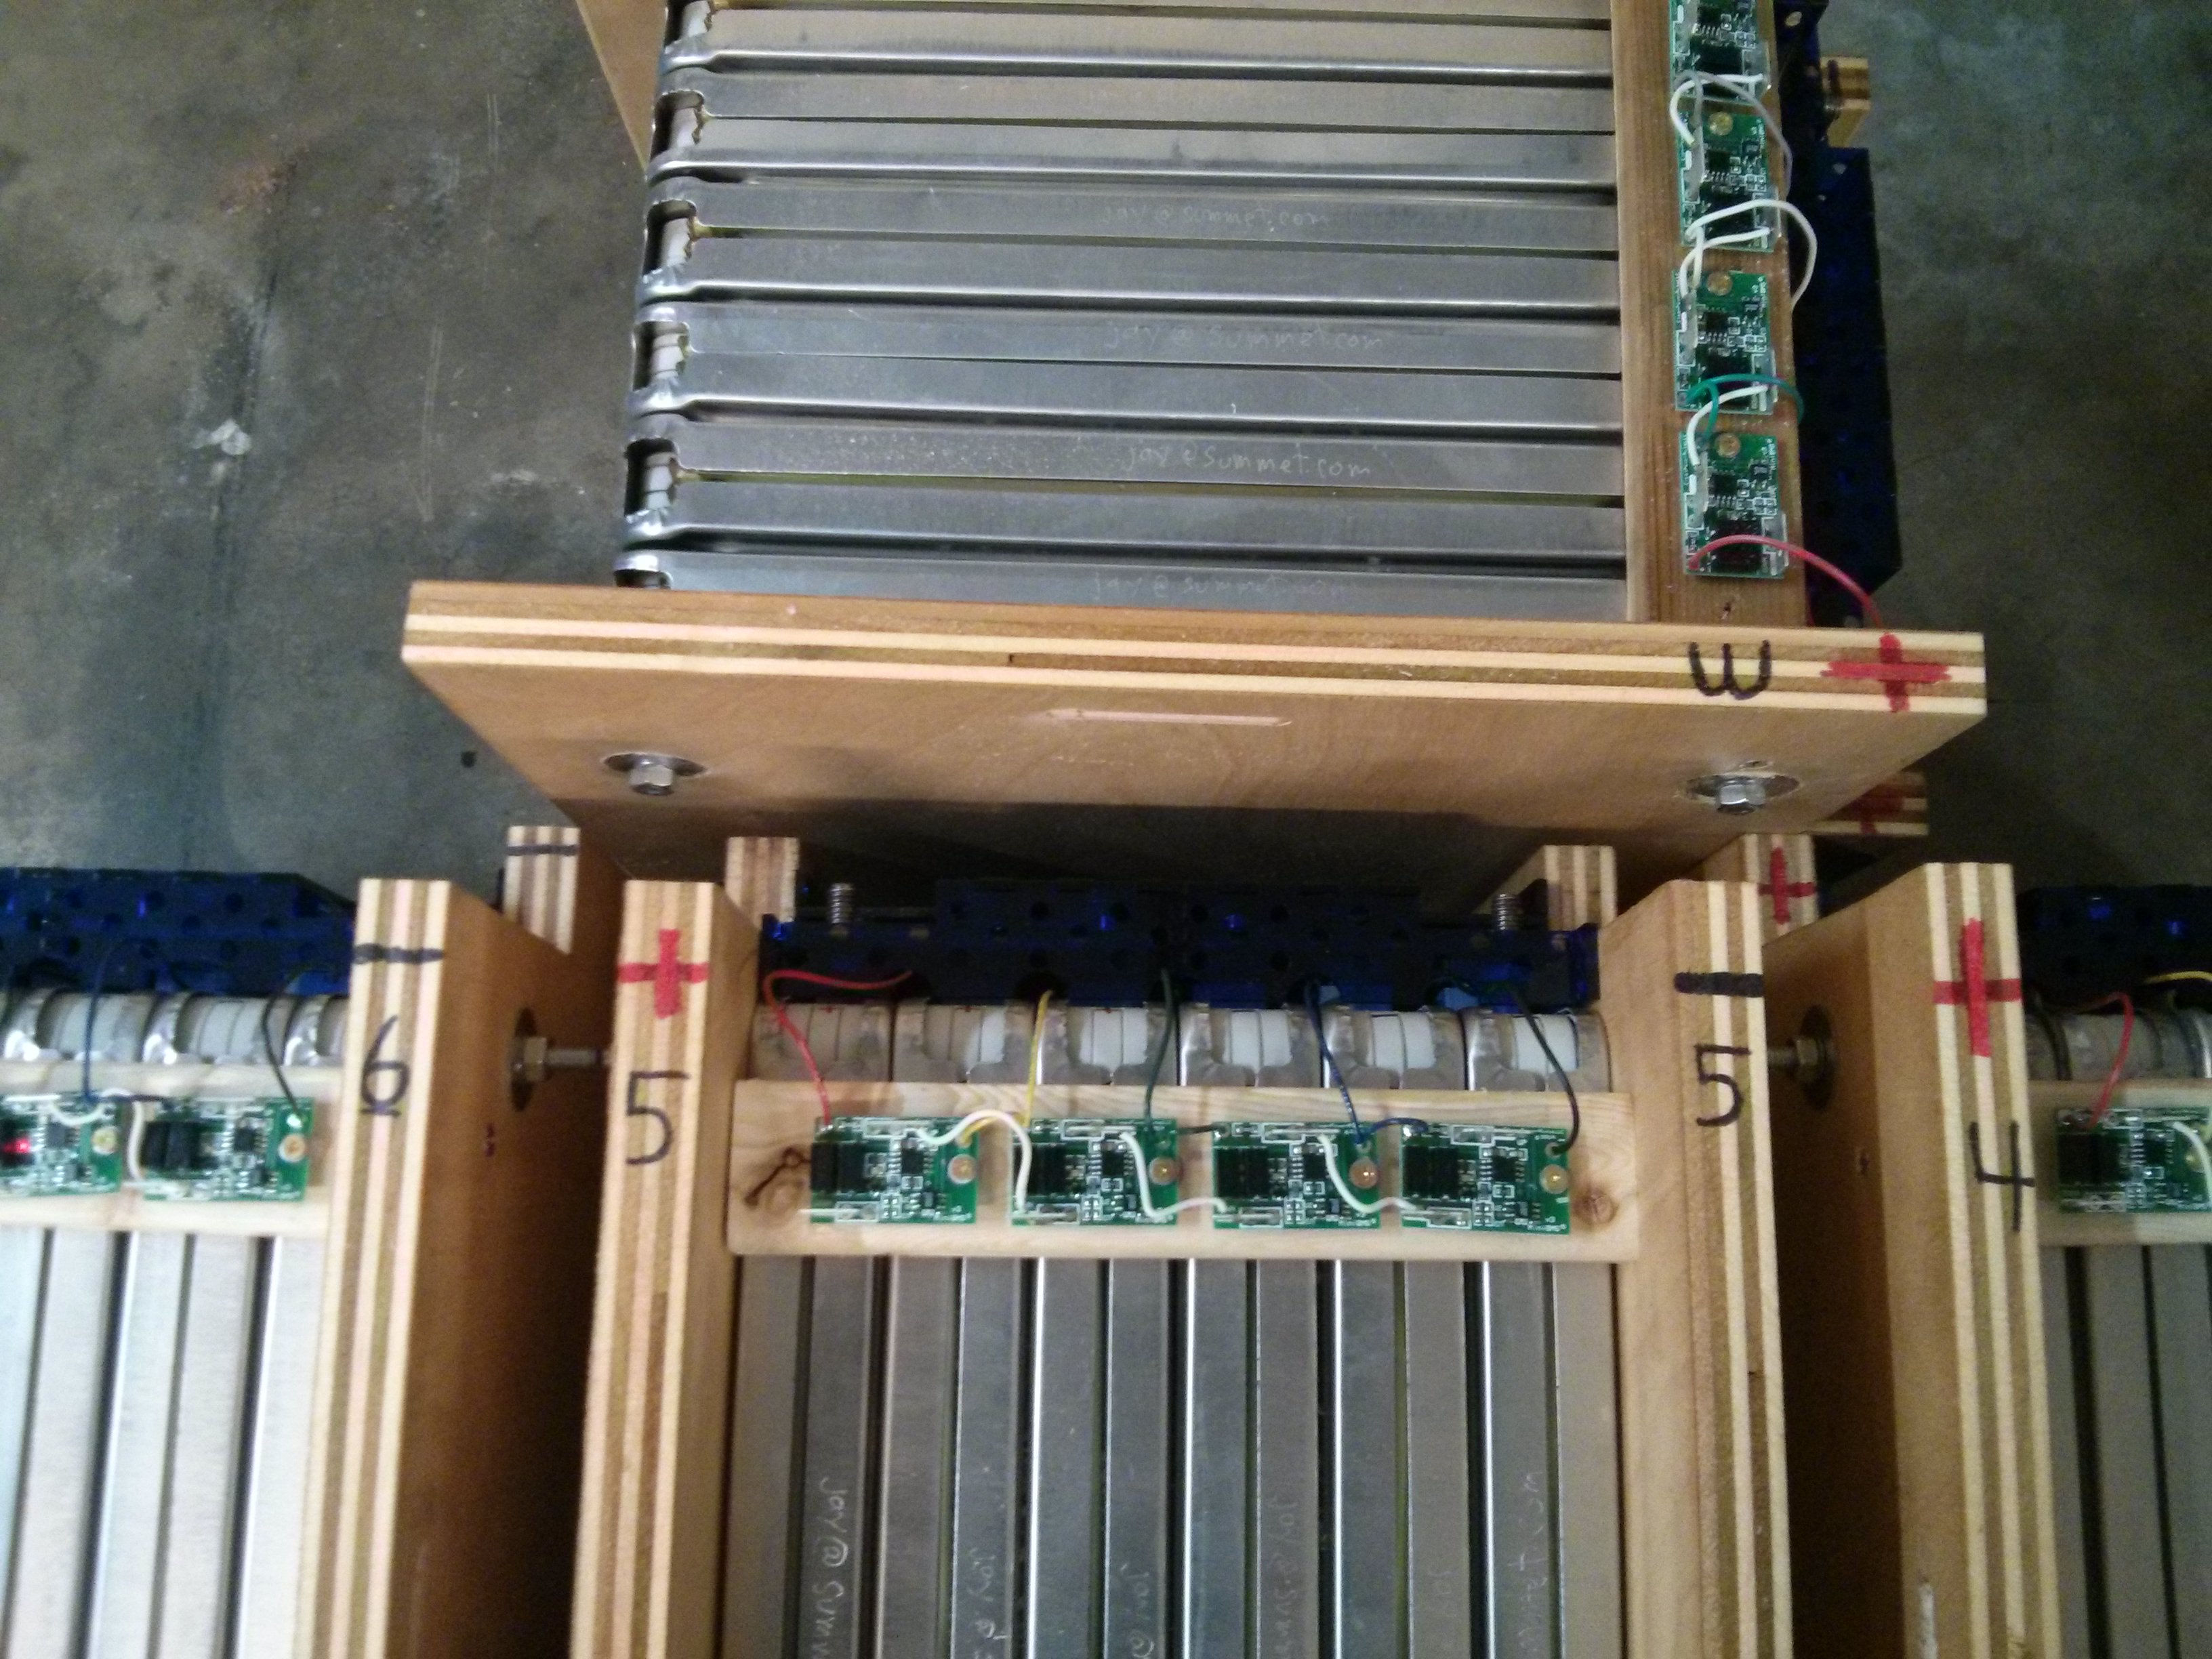
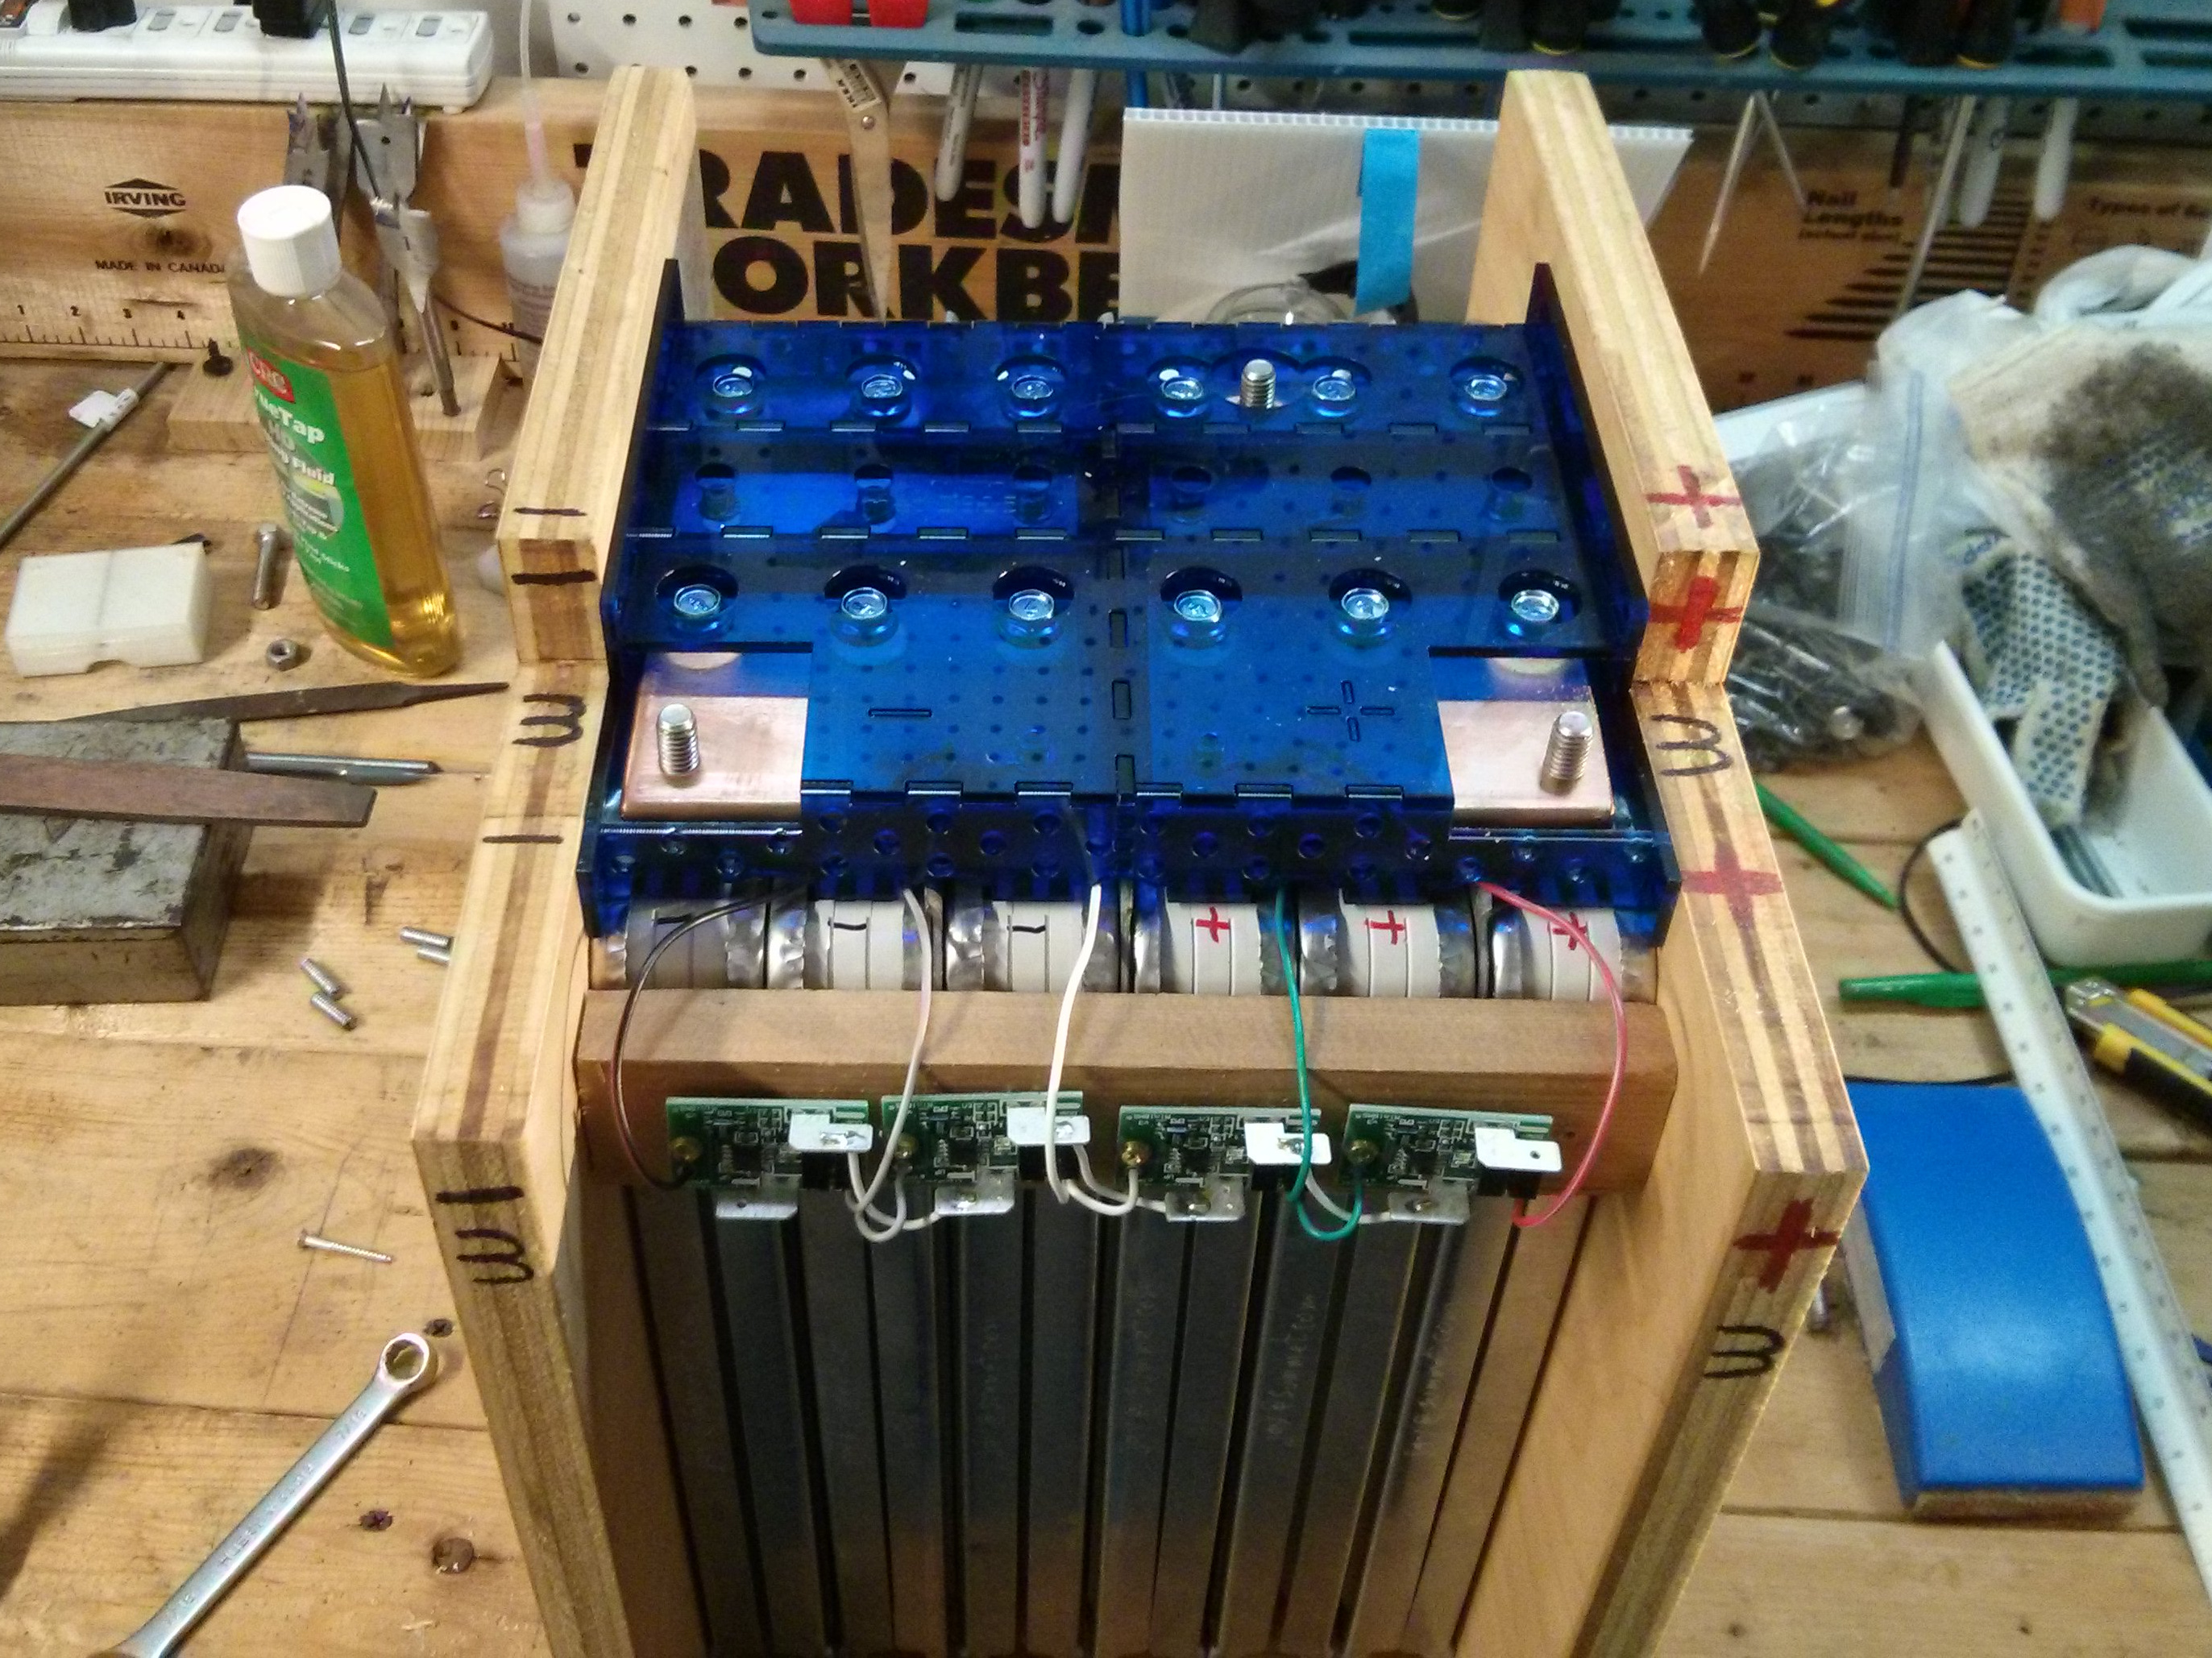
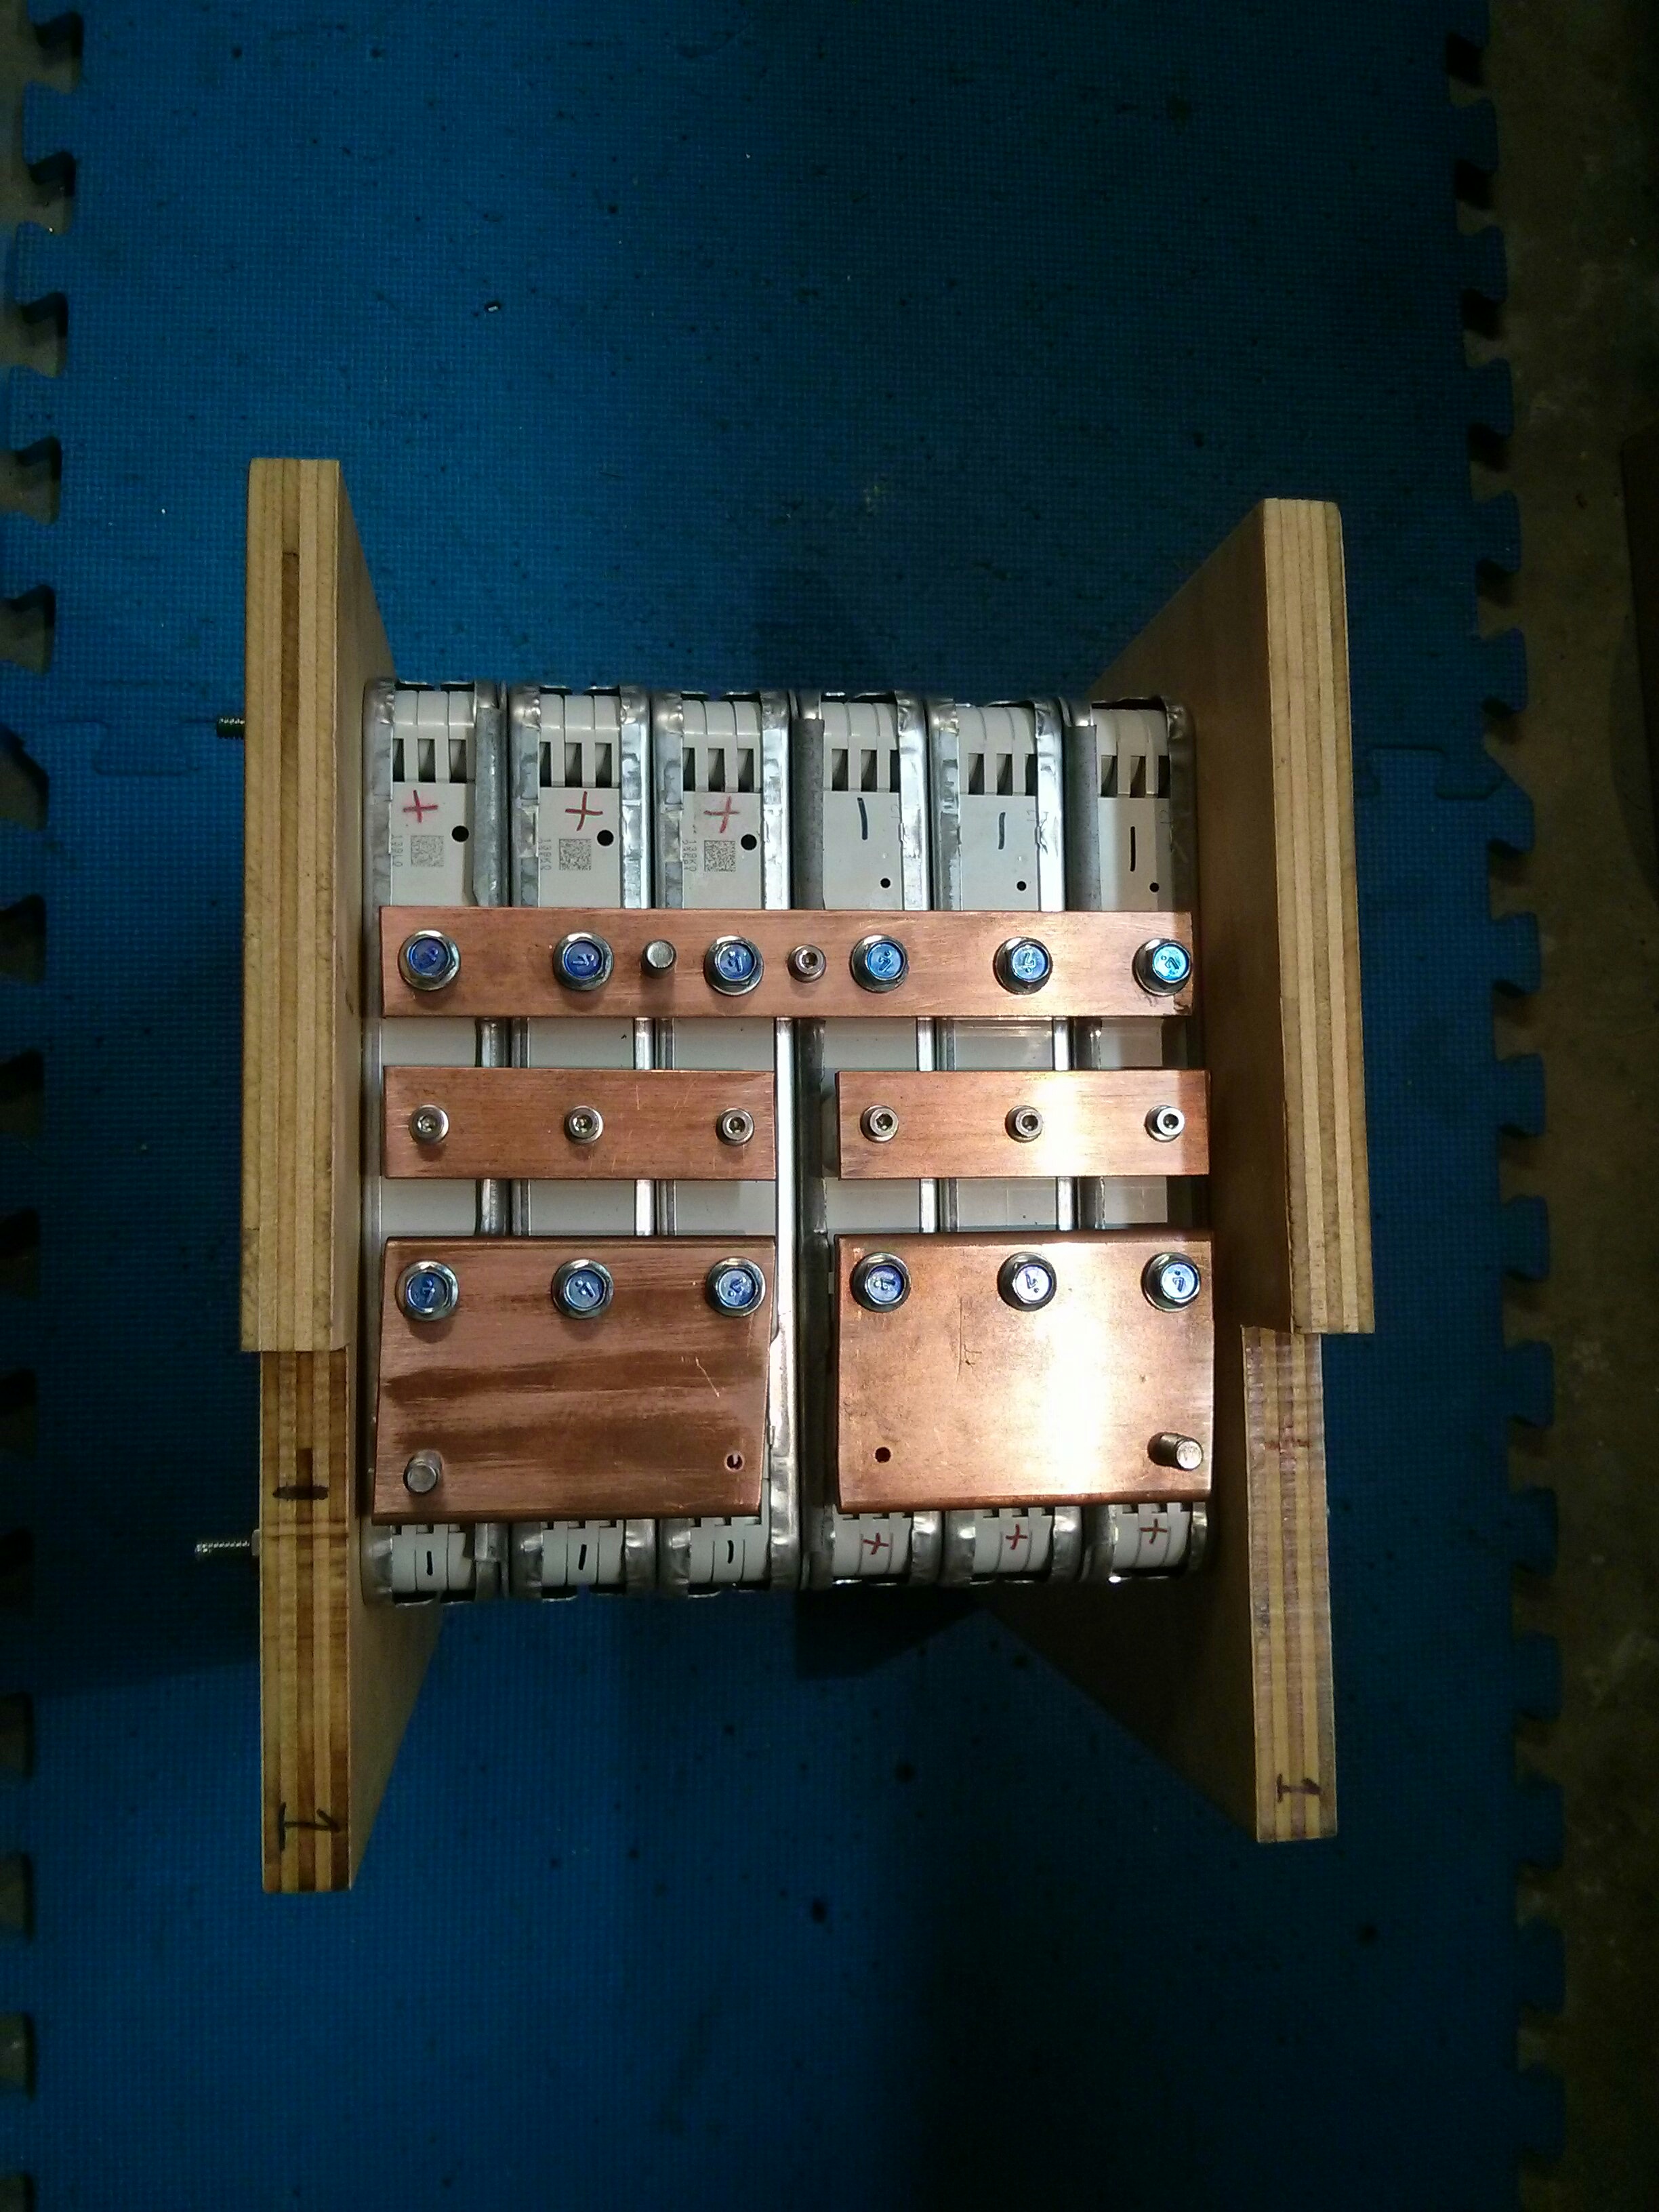
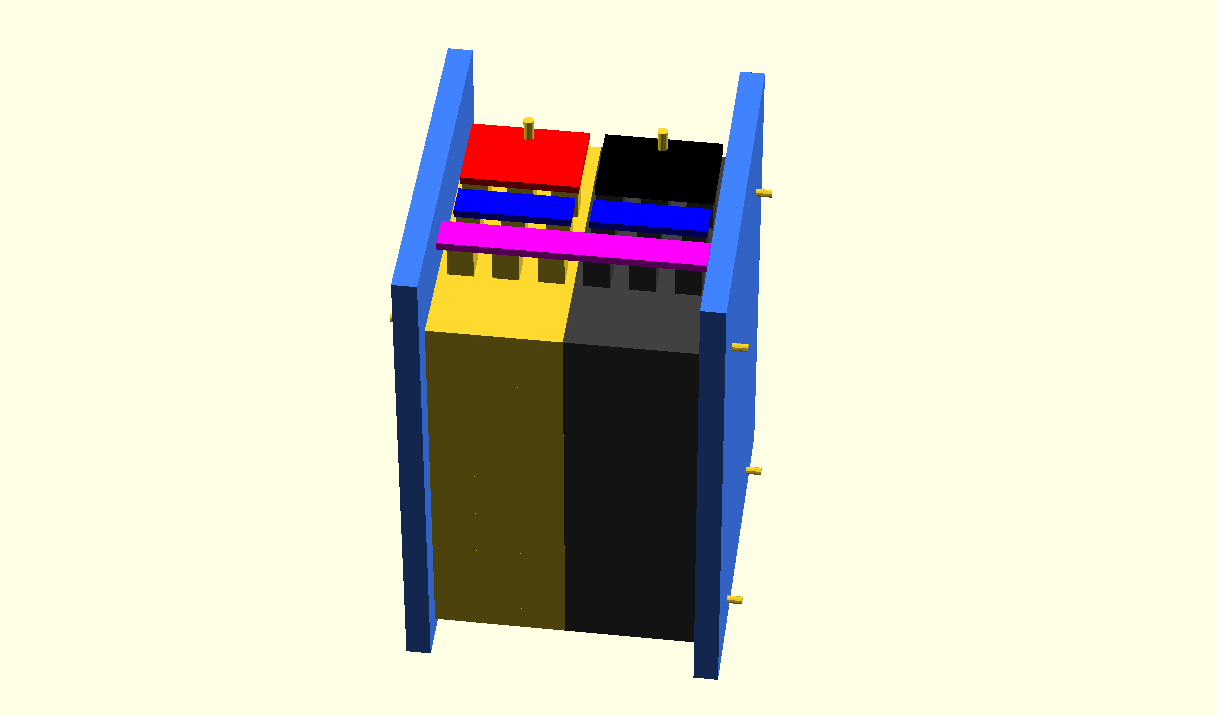
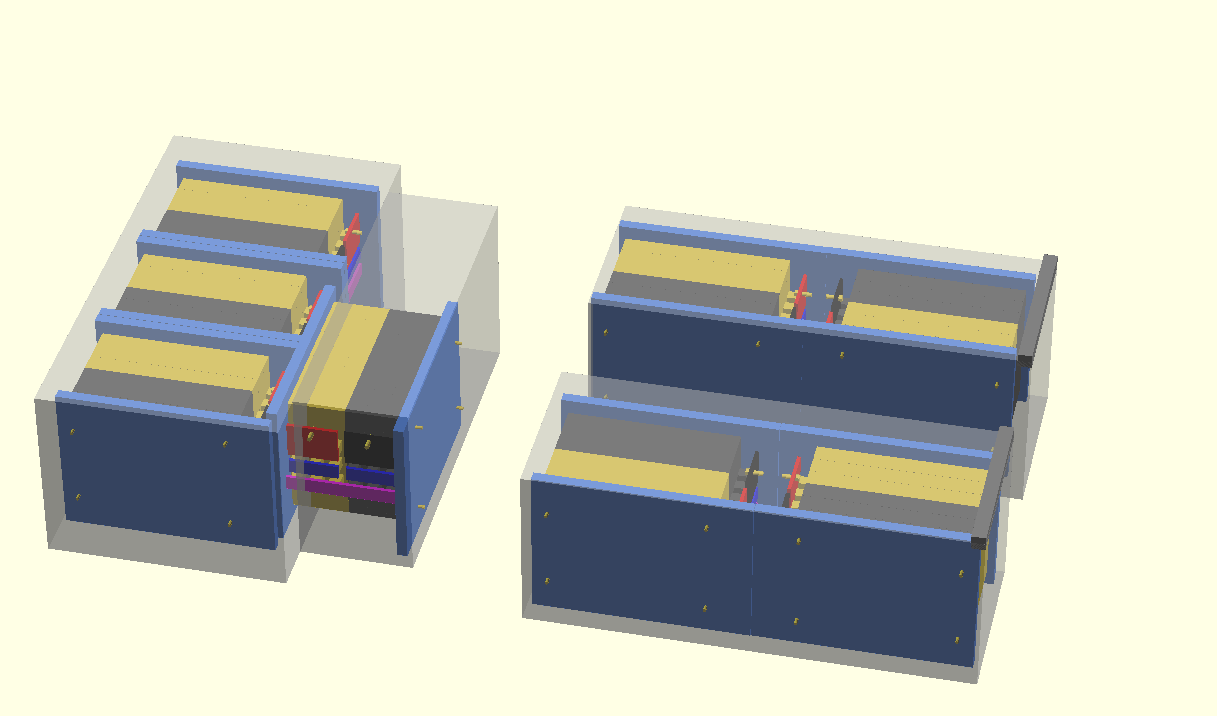
The “special” modules have small metal plates that mount to the top and bottom of the modules. These metal plates then bolt into support brackets, which allows this set of 24 modules to be supported “sideways”. I started to worry that these extra pieces of metal would change the spacing of the modules (from my previously measured 1.3333 inches per module), but as it turns out they don’t. The modules themselves are shaped slightly differently (just a bit narrower at the top and bottom) to allow for the extra width of the steel mounting brackets. The main body of the modules should still be compressed to 1.333 inches in size.
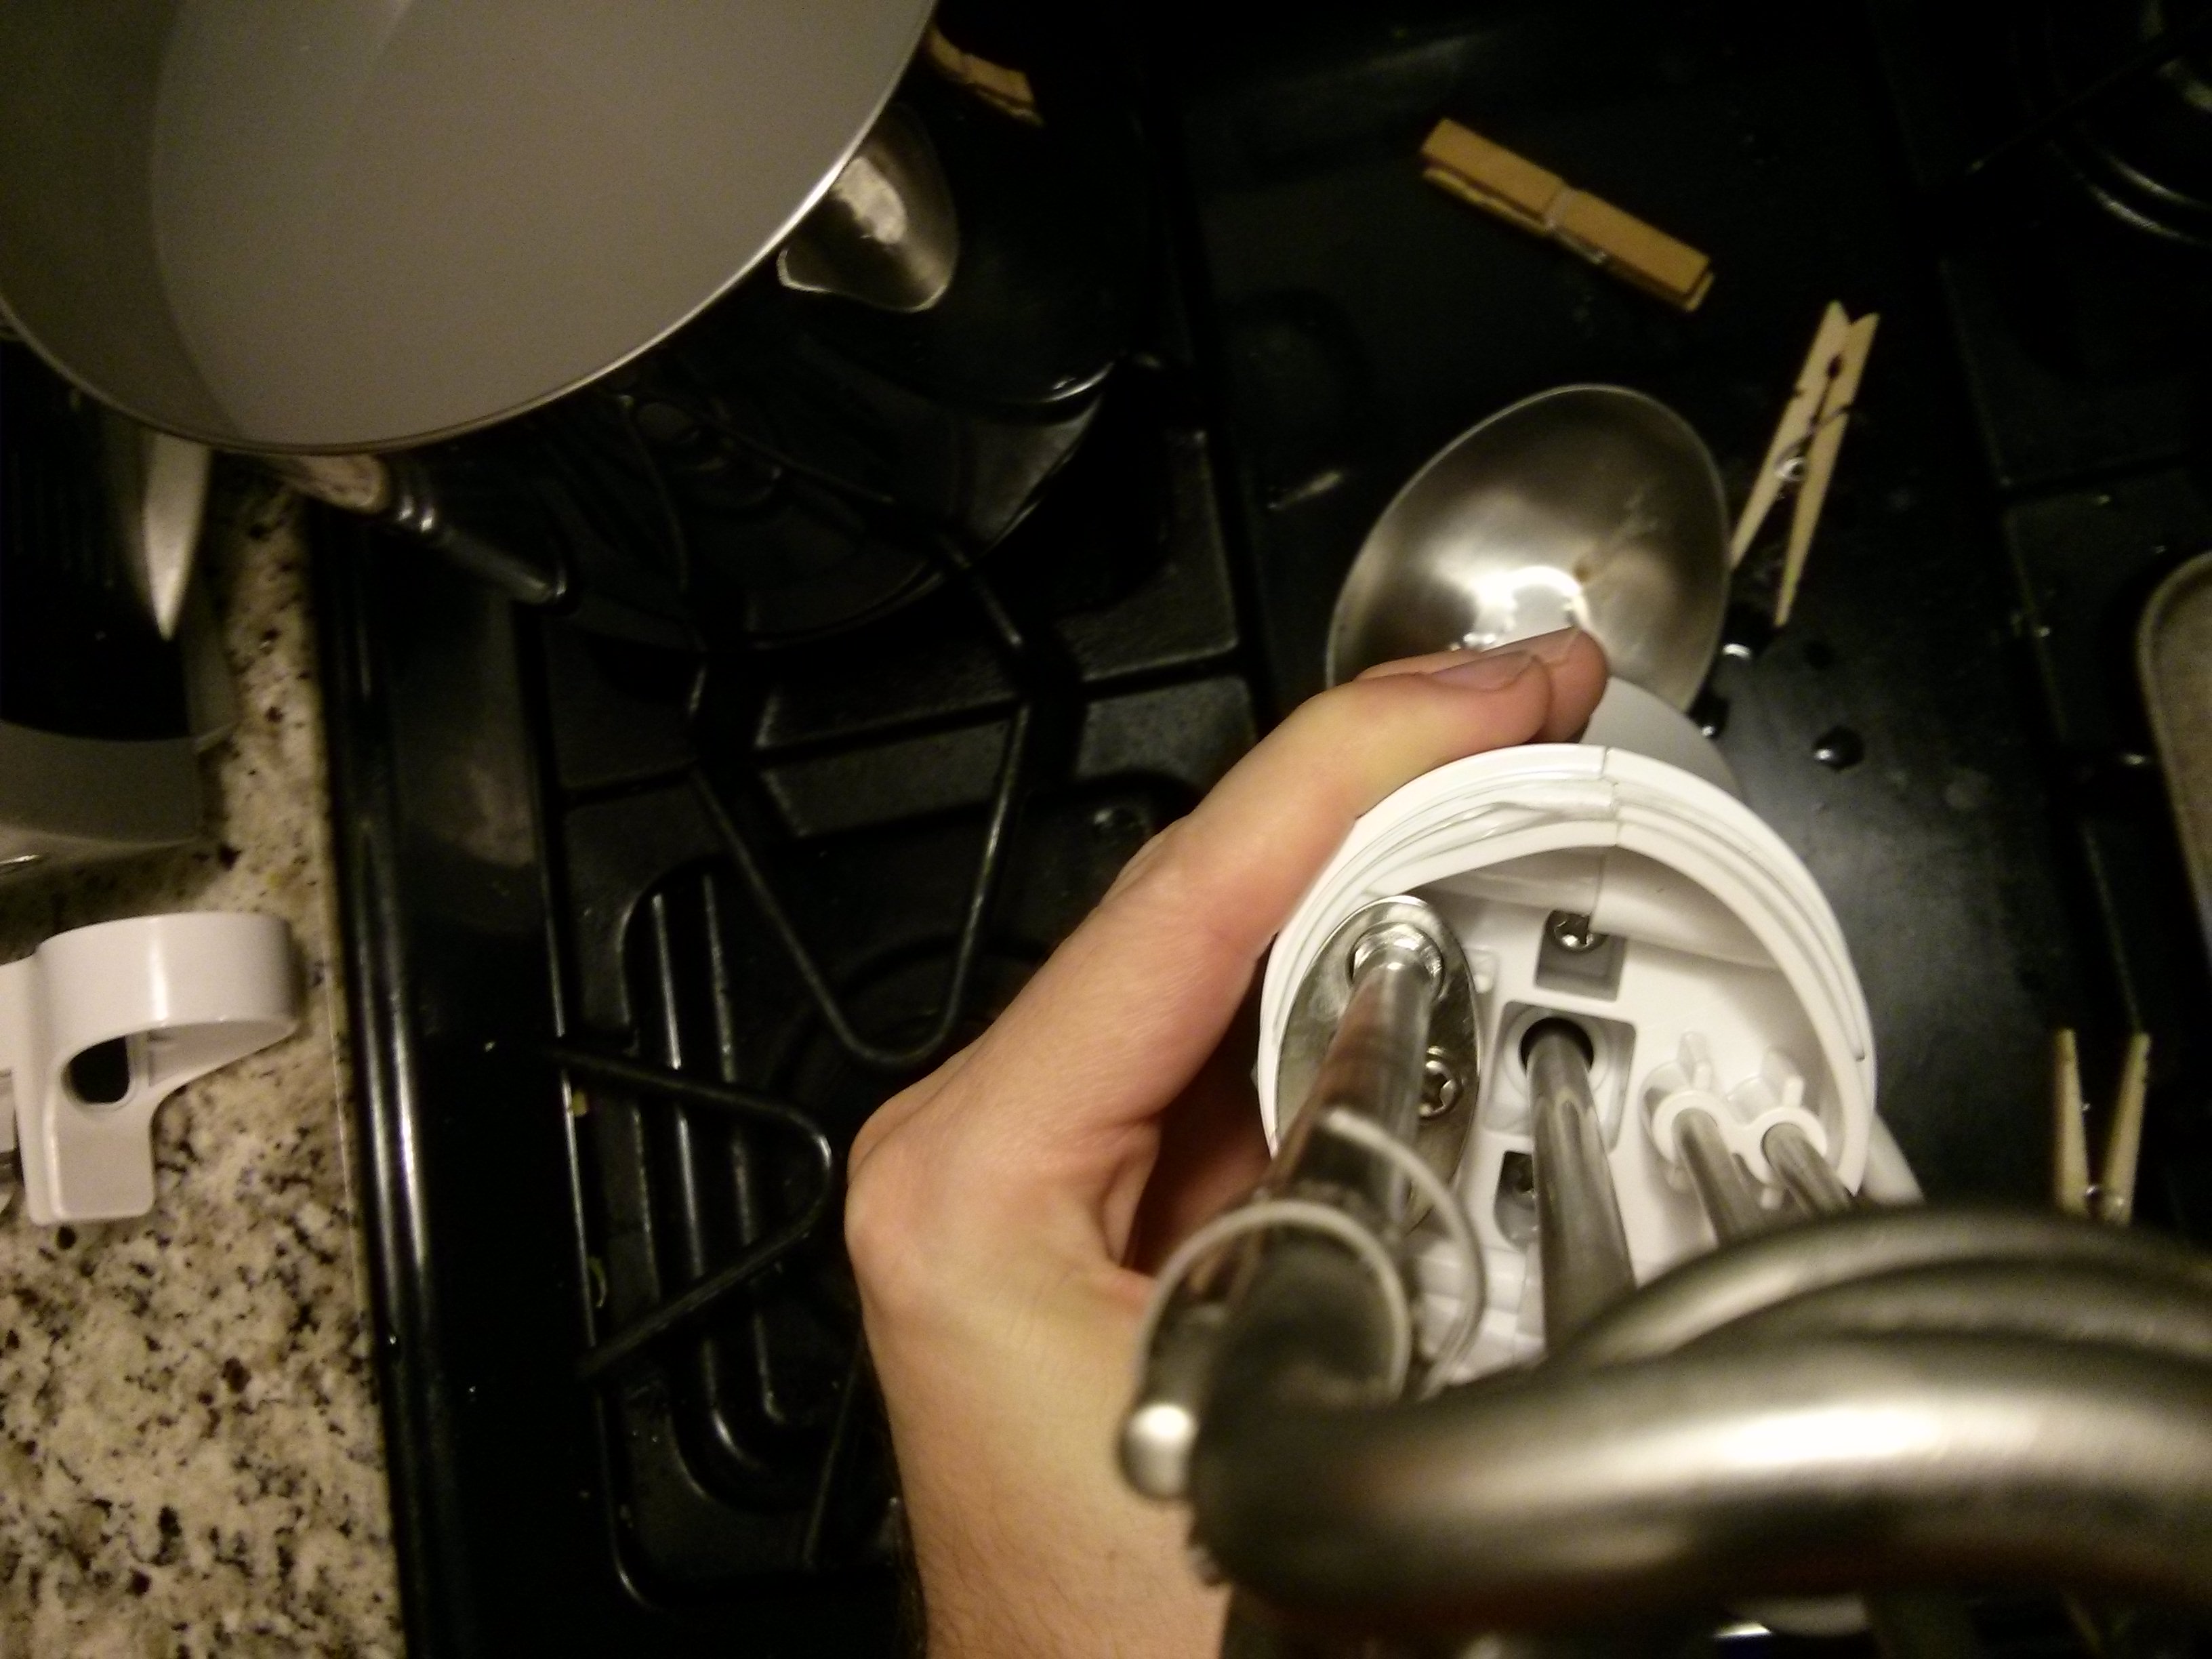
Looking inside, the pouch cells extend up past the main body just slightly, so I decided to leave the steel plates on as shims, but cut off the bolts as they would get in the way of my busbars. The bottom of the pouch cells don’t extend appreciably past the main body on the bottom, so I’ll be leaving the bottom steel plates off.
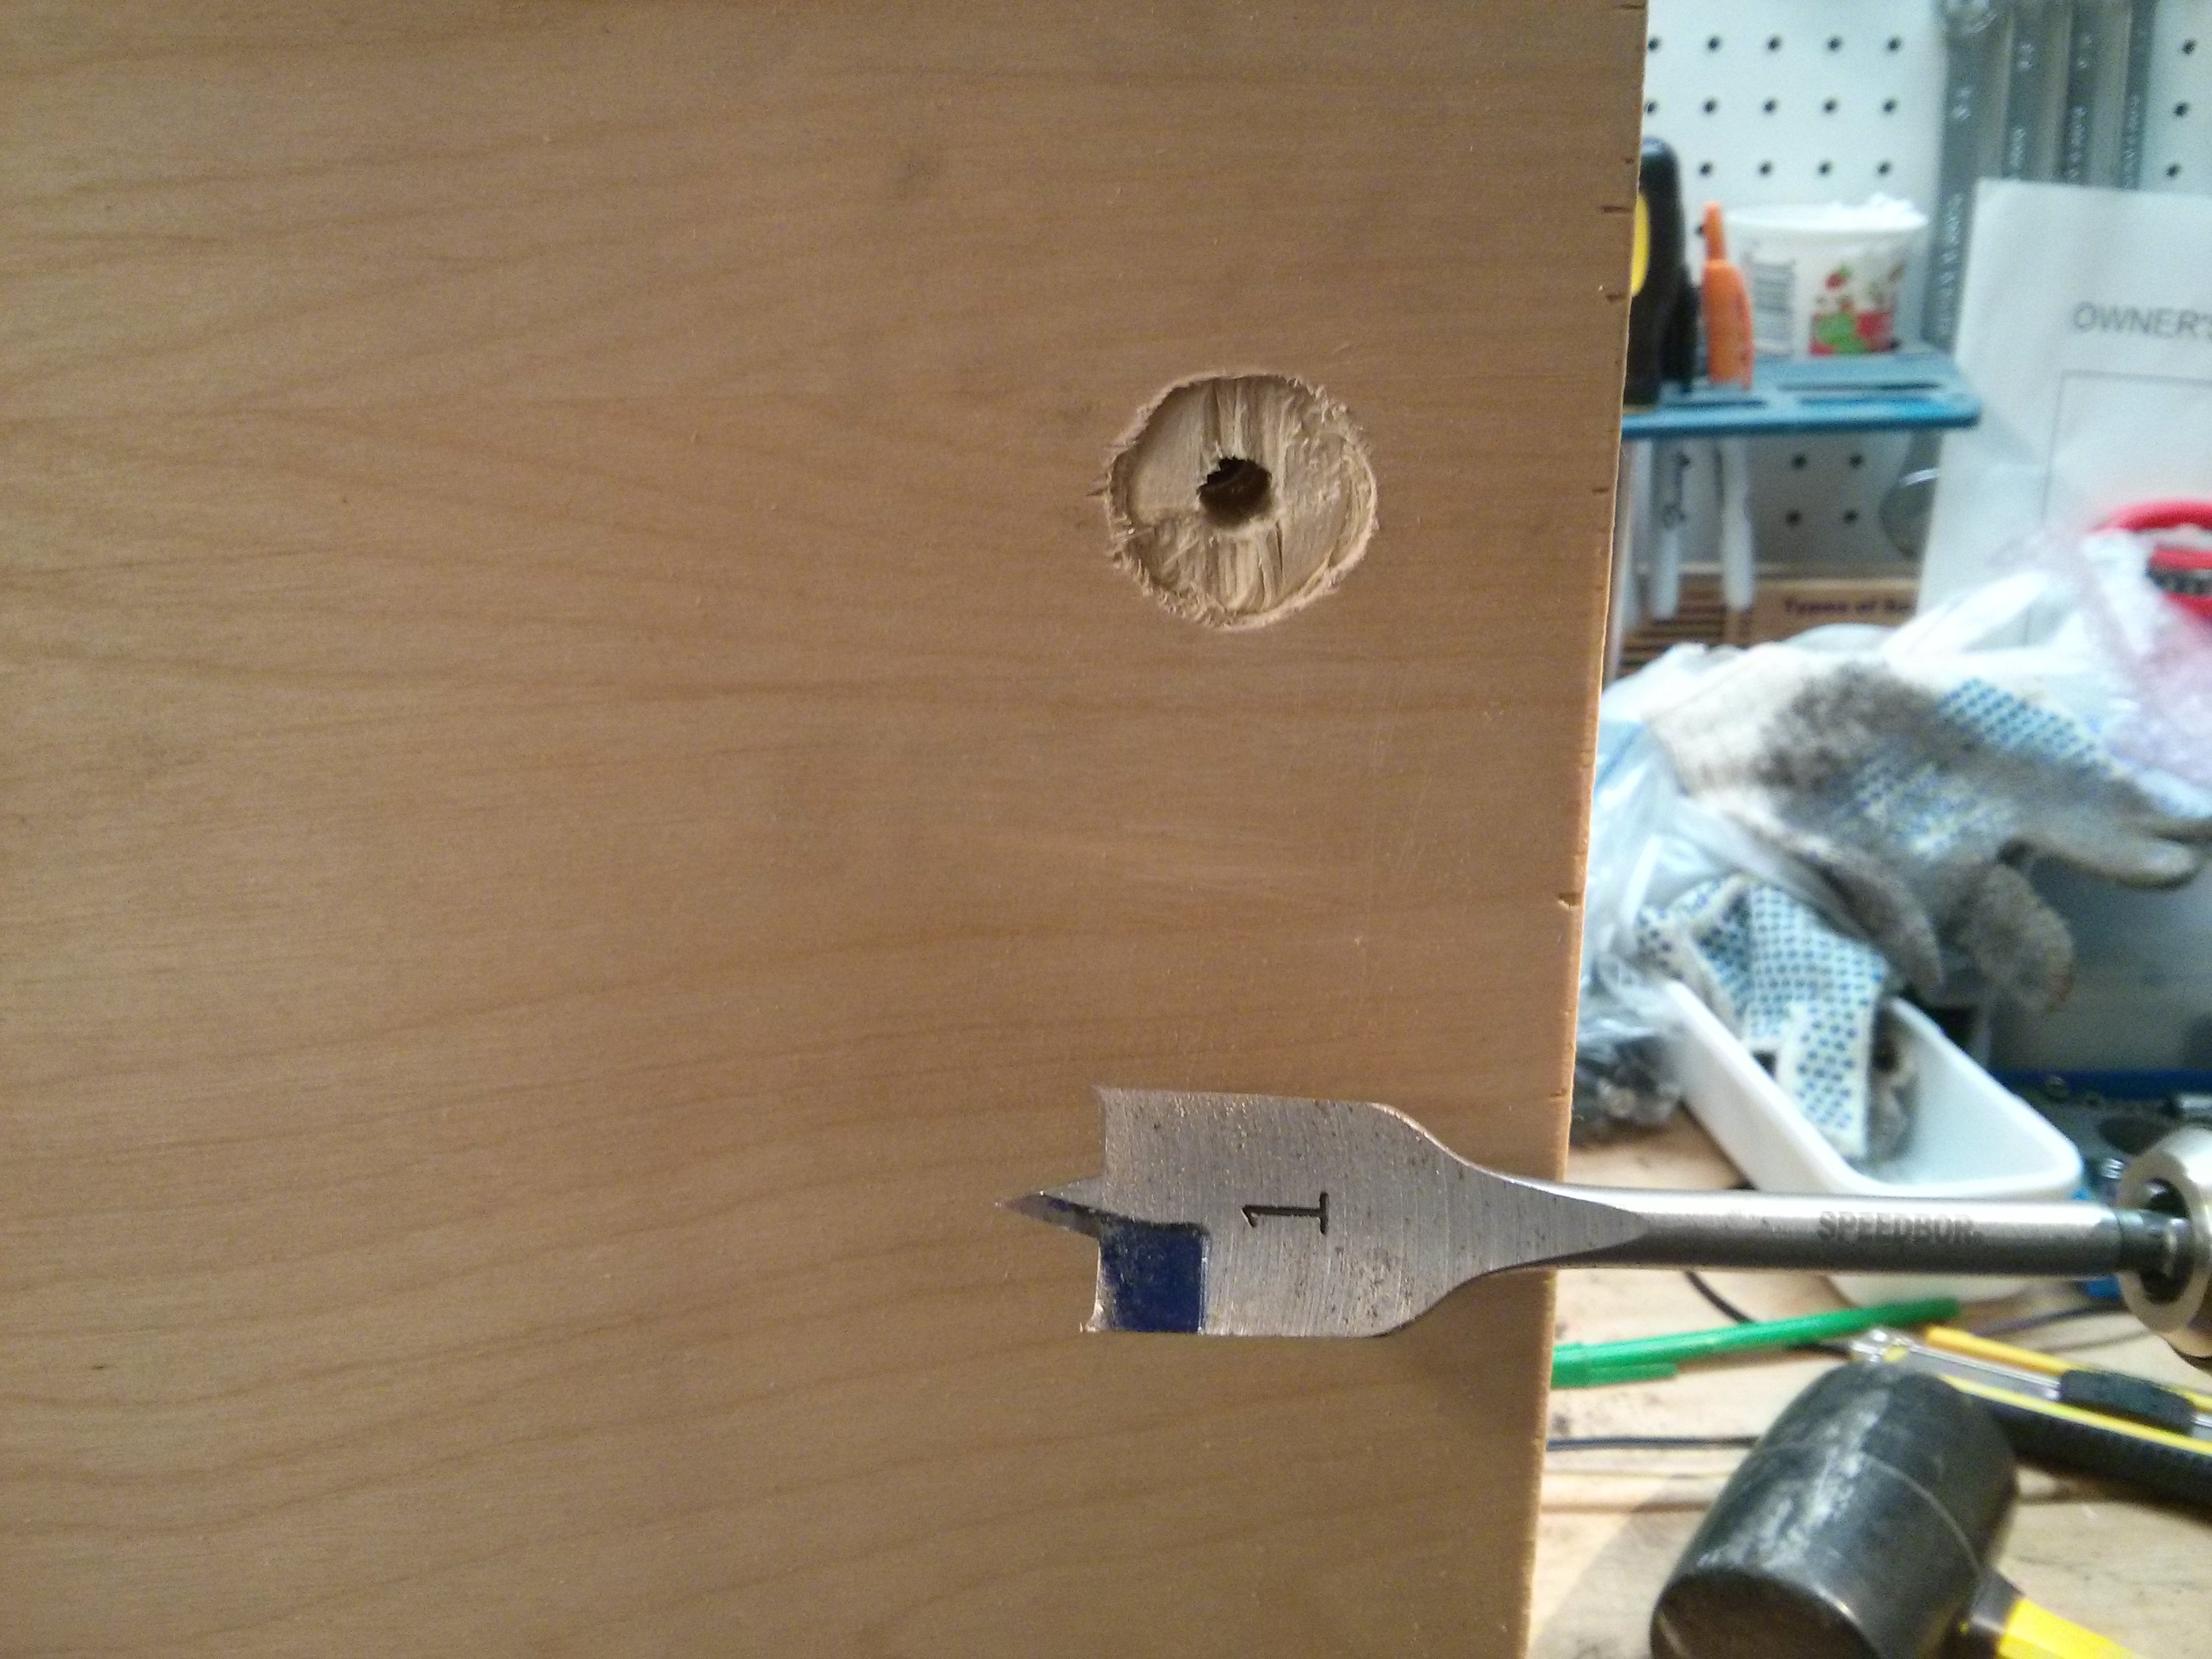
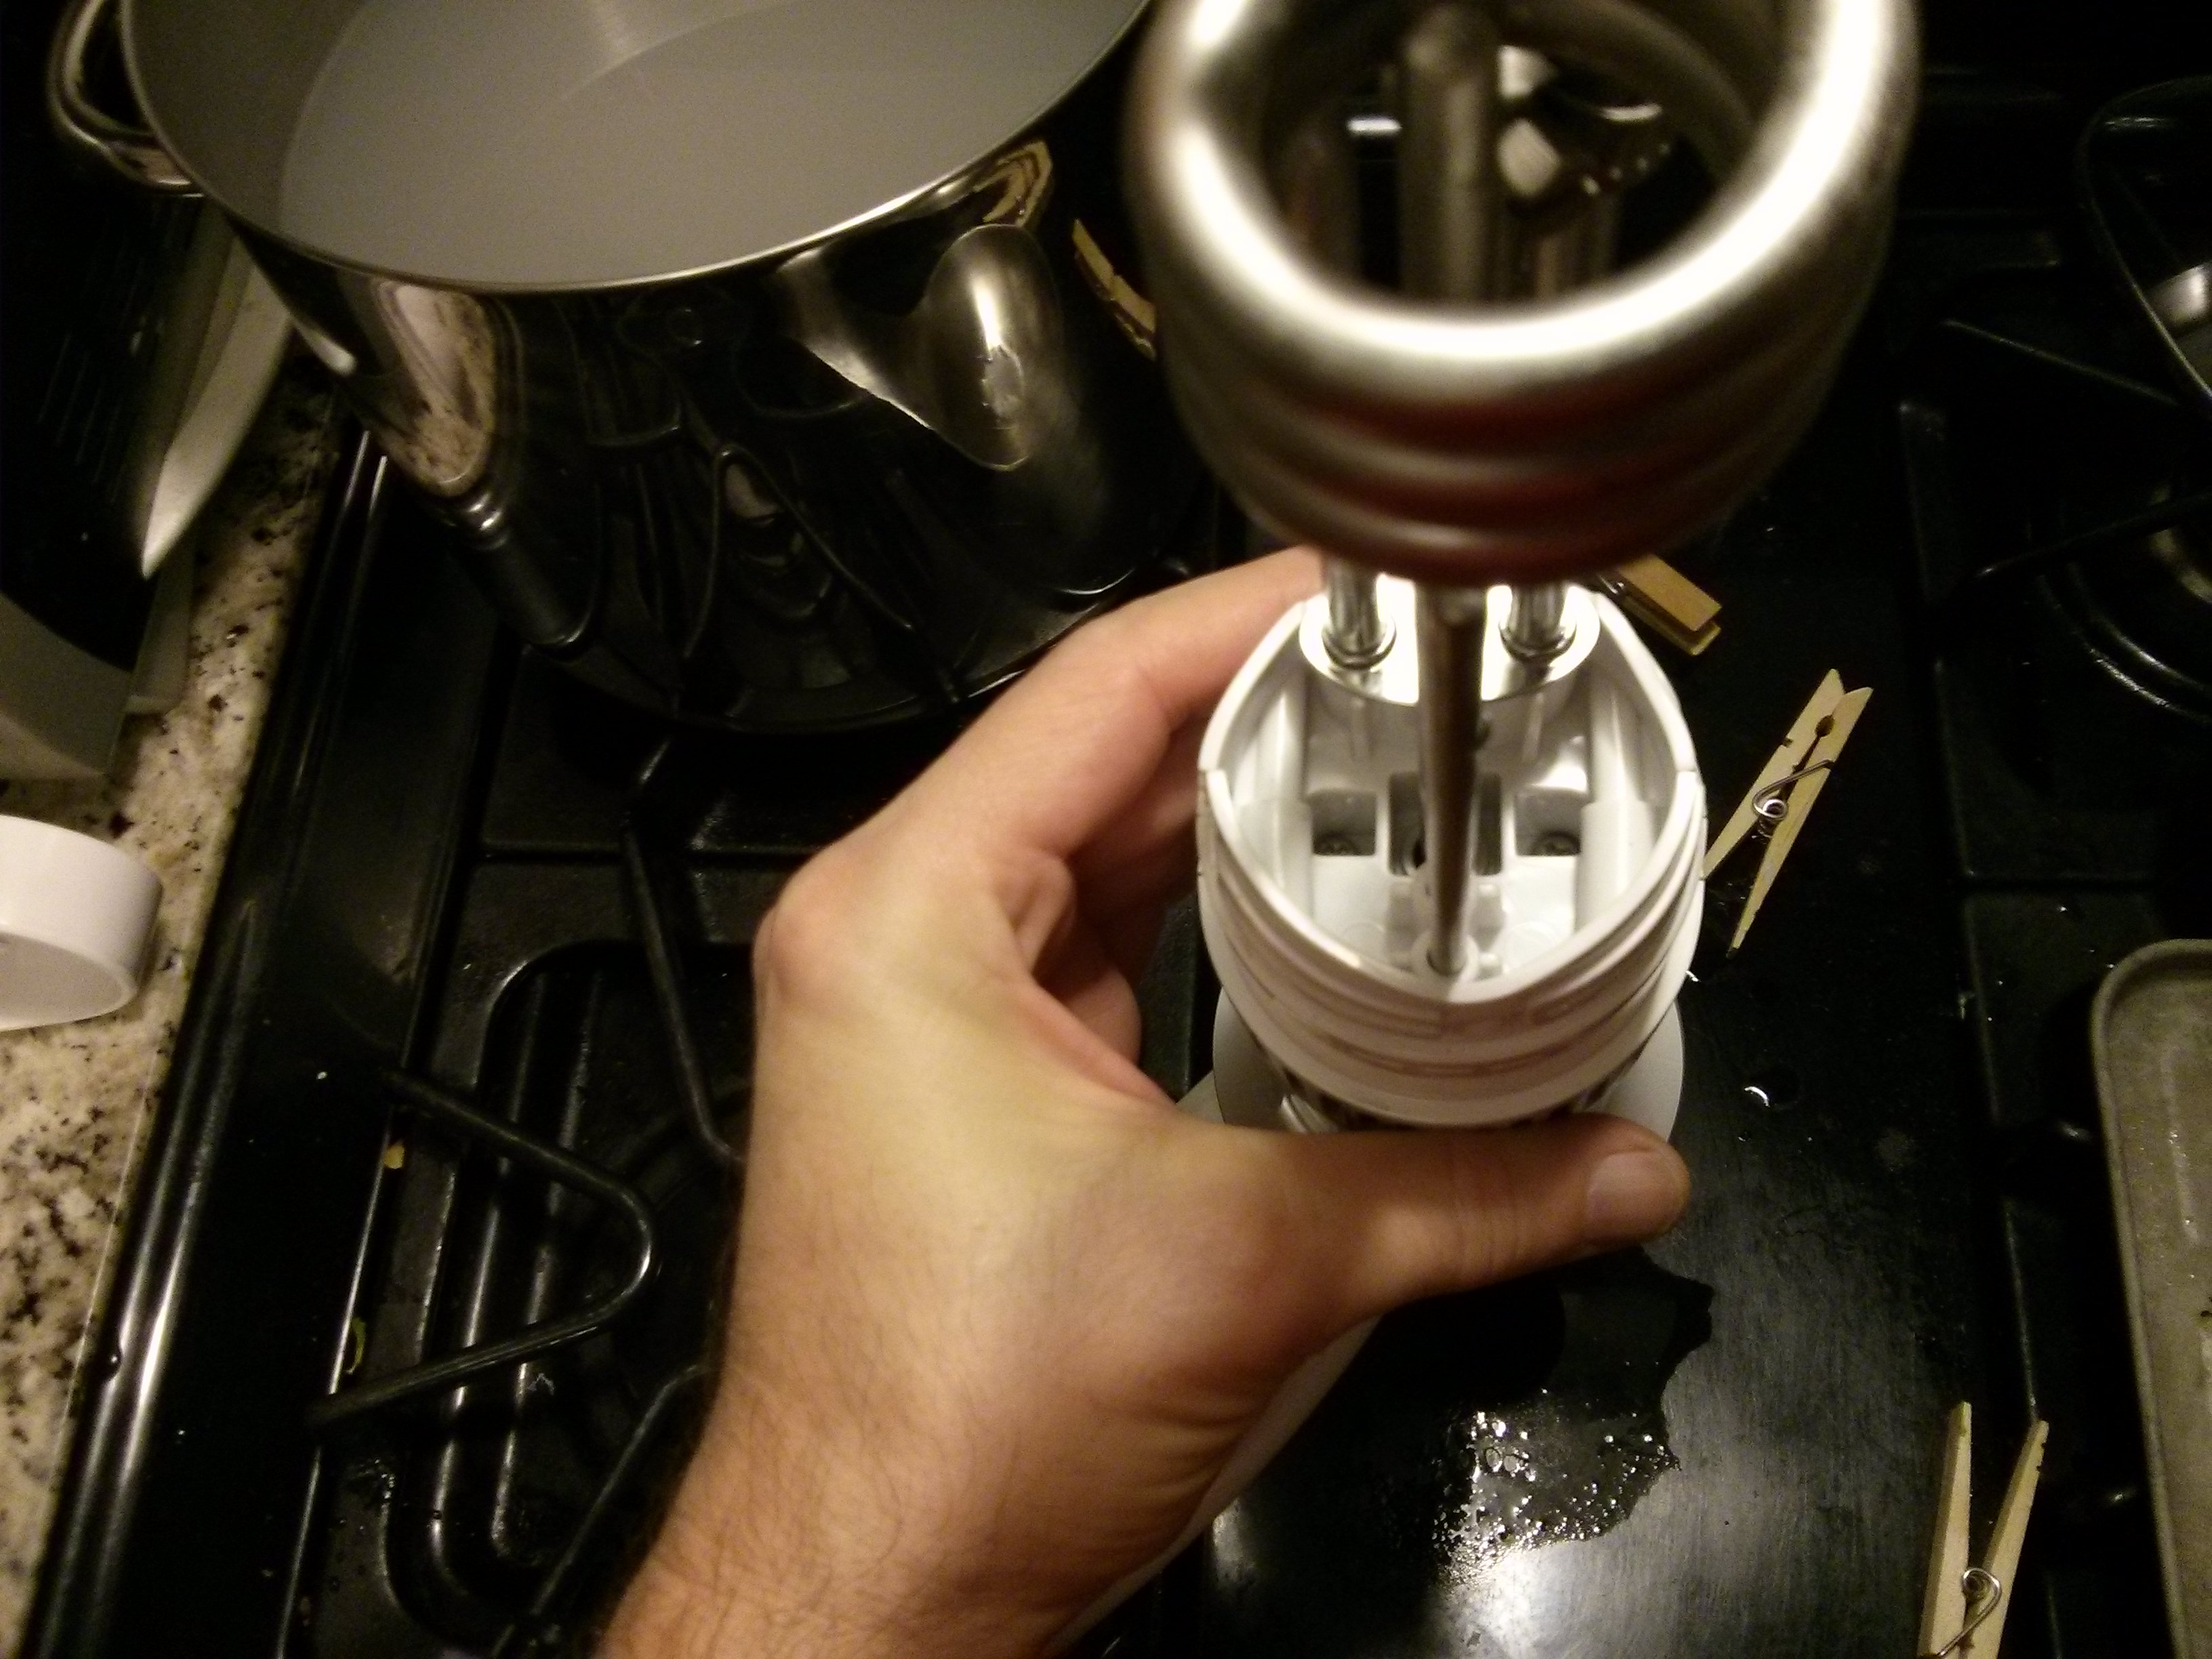
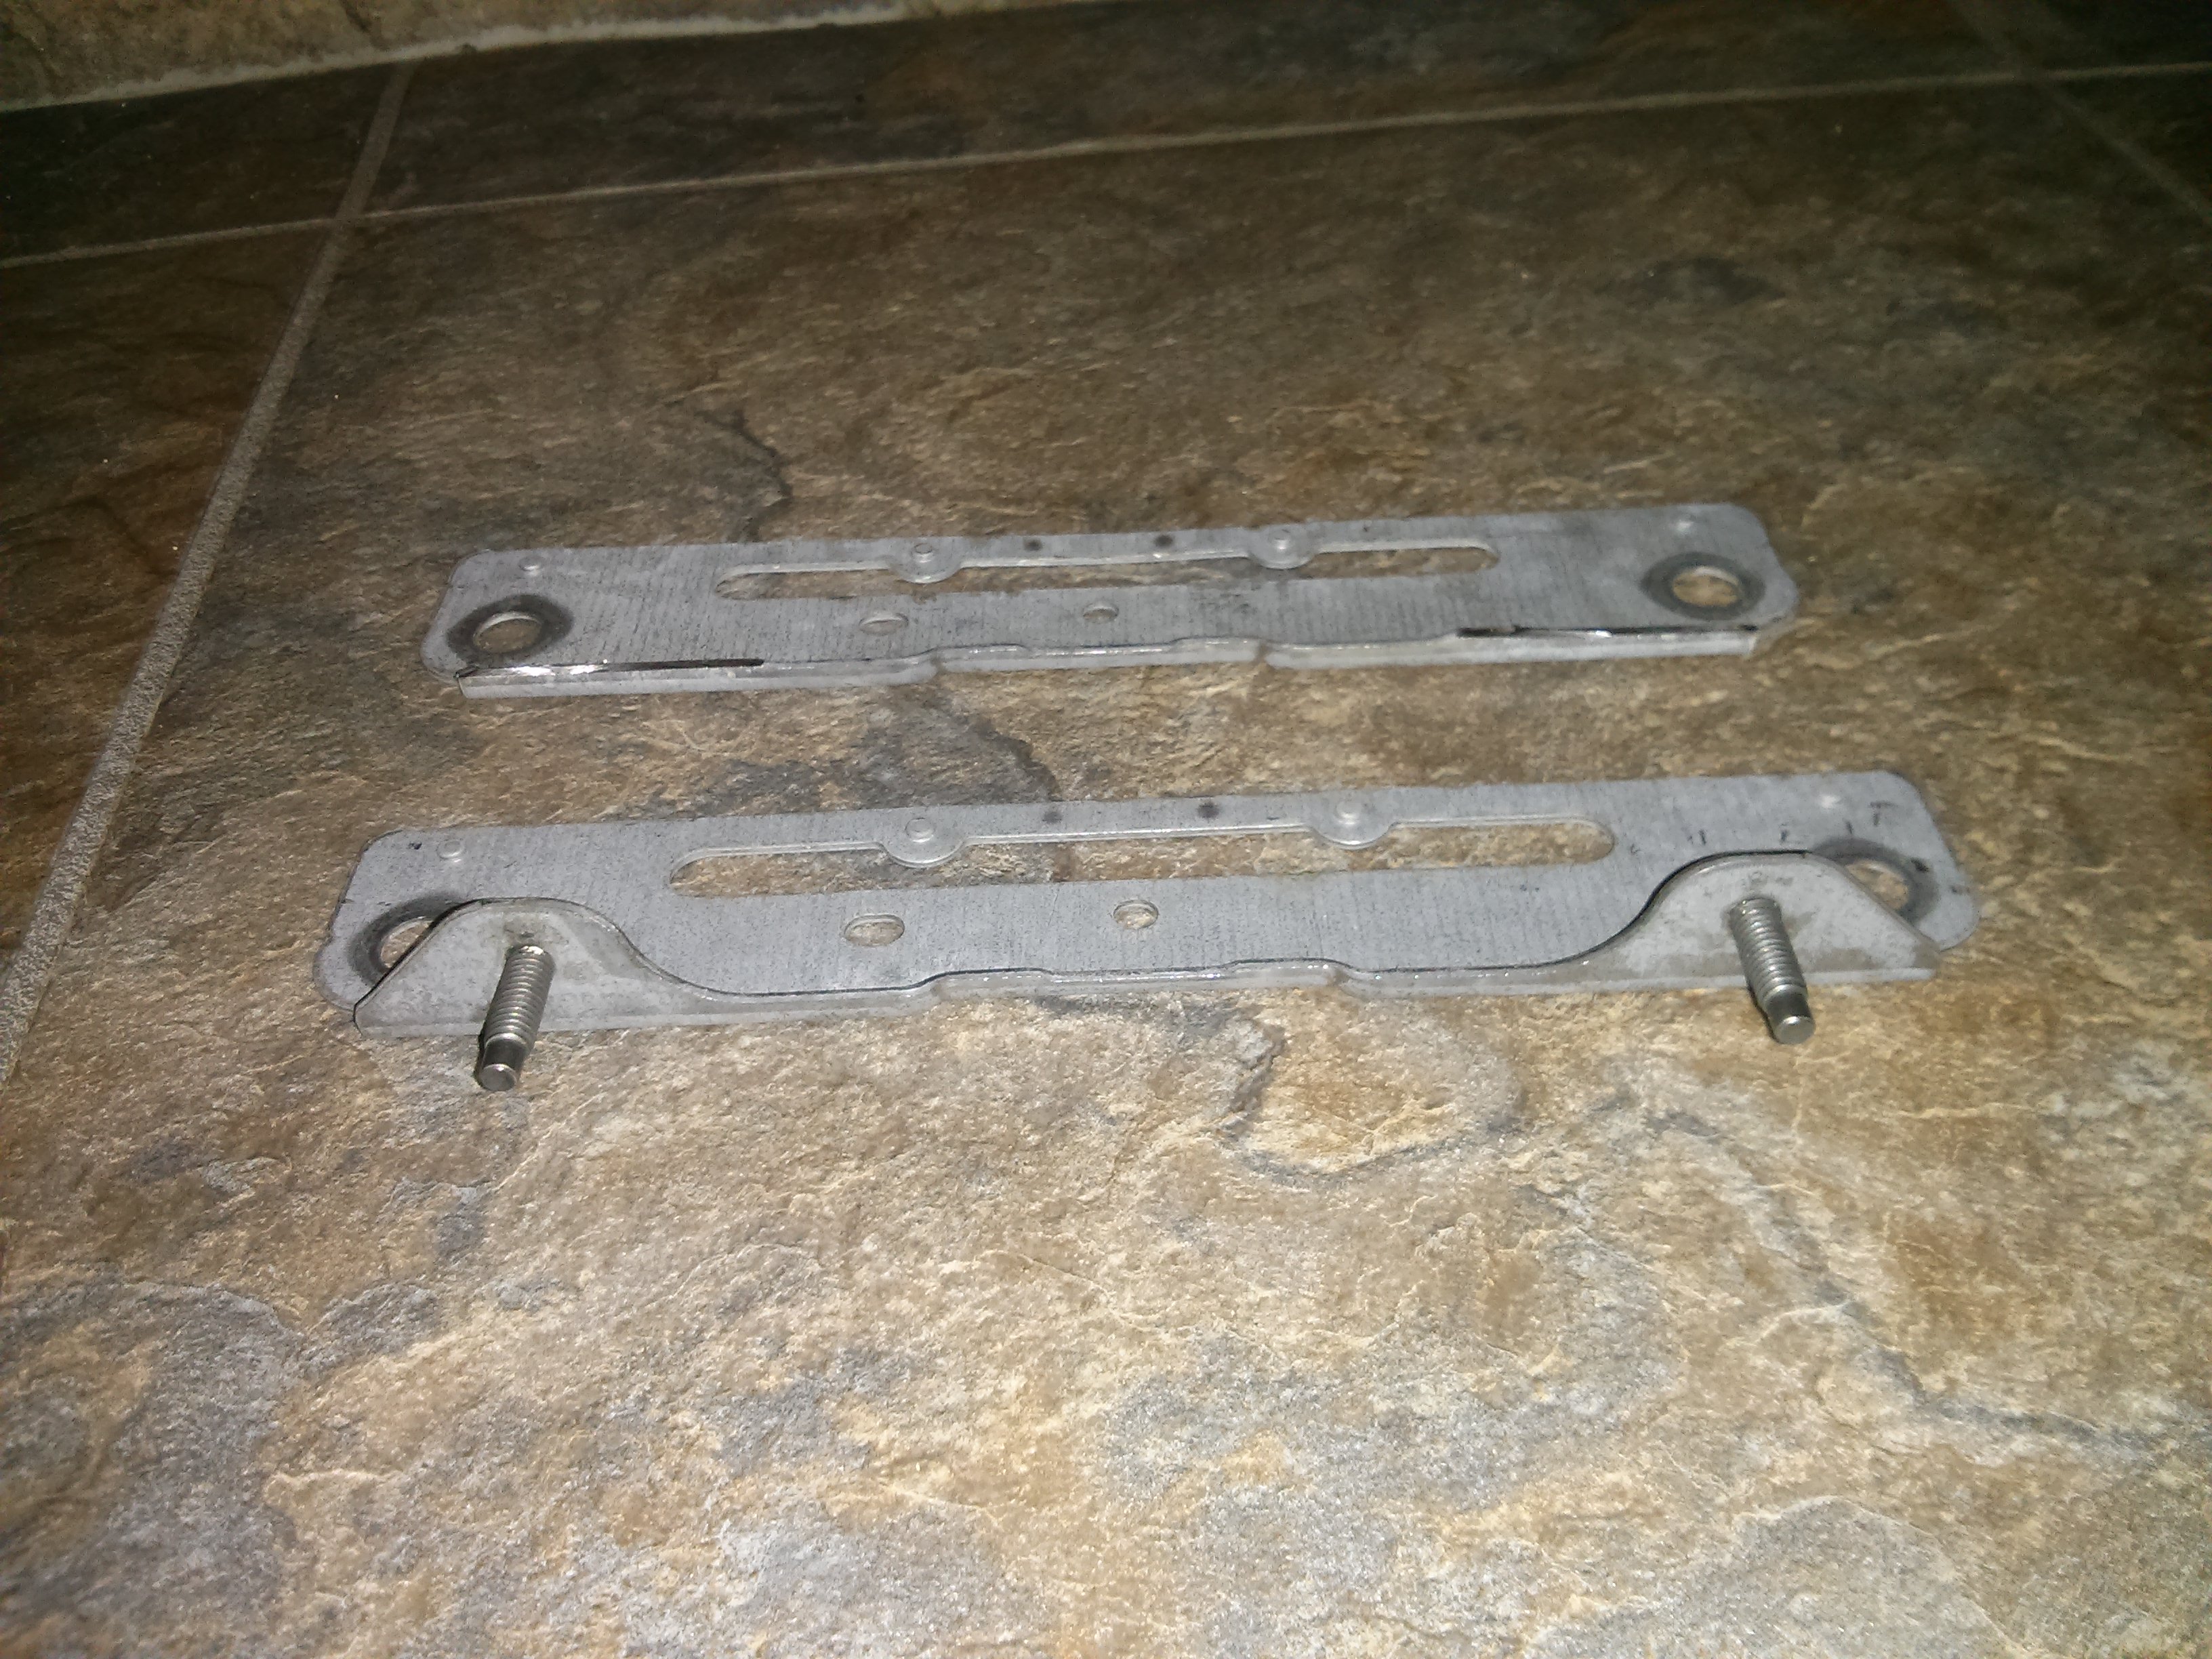
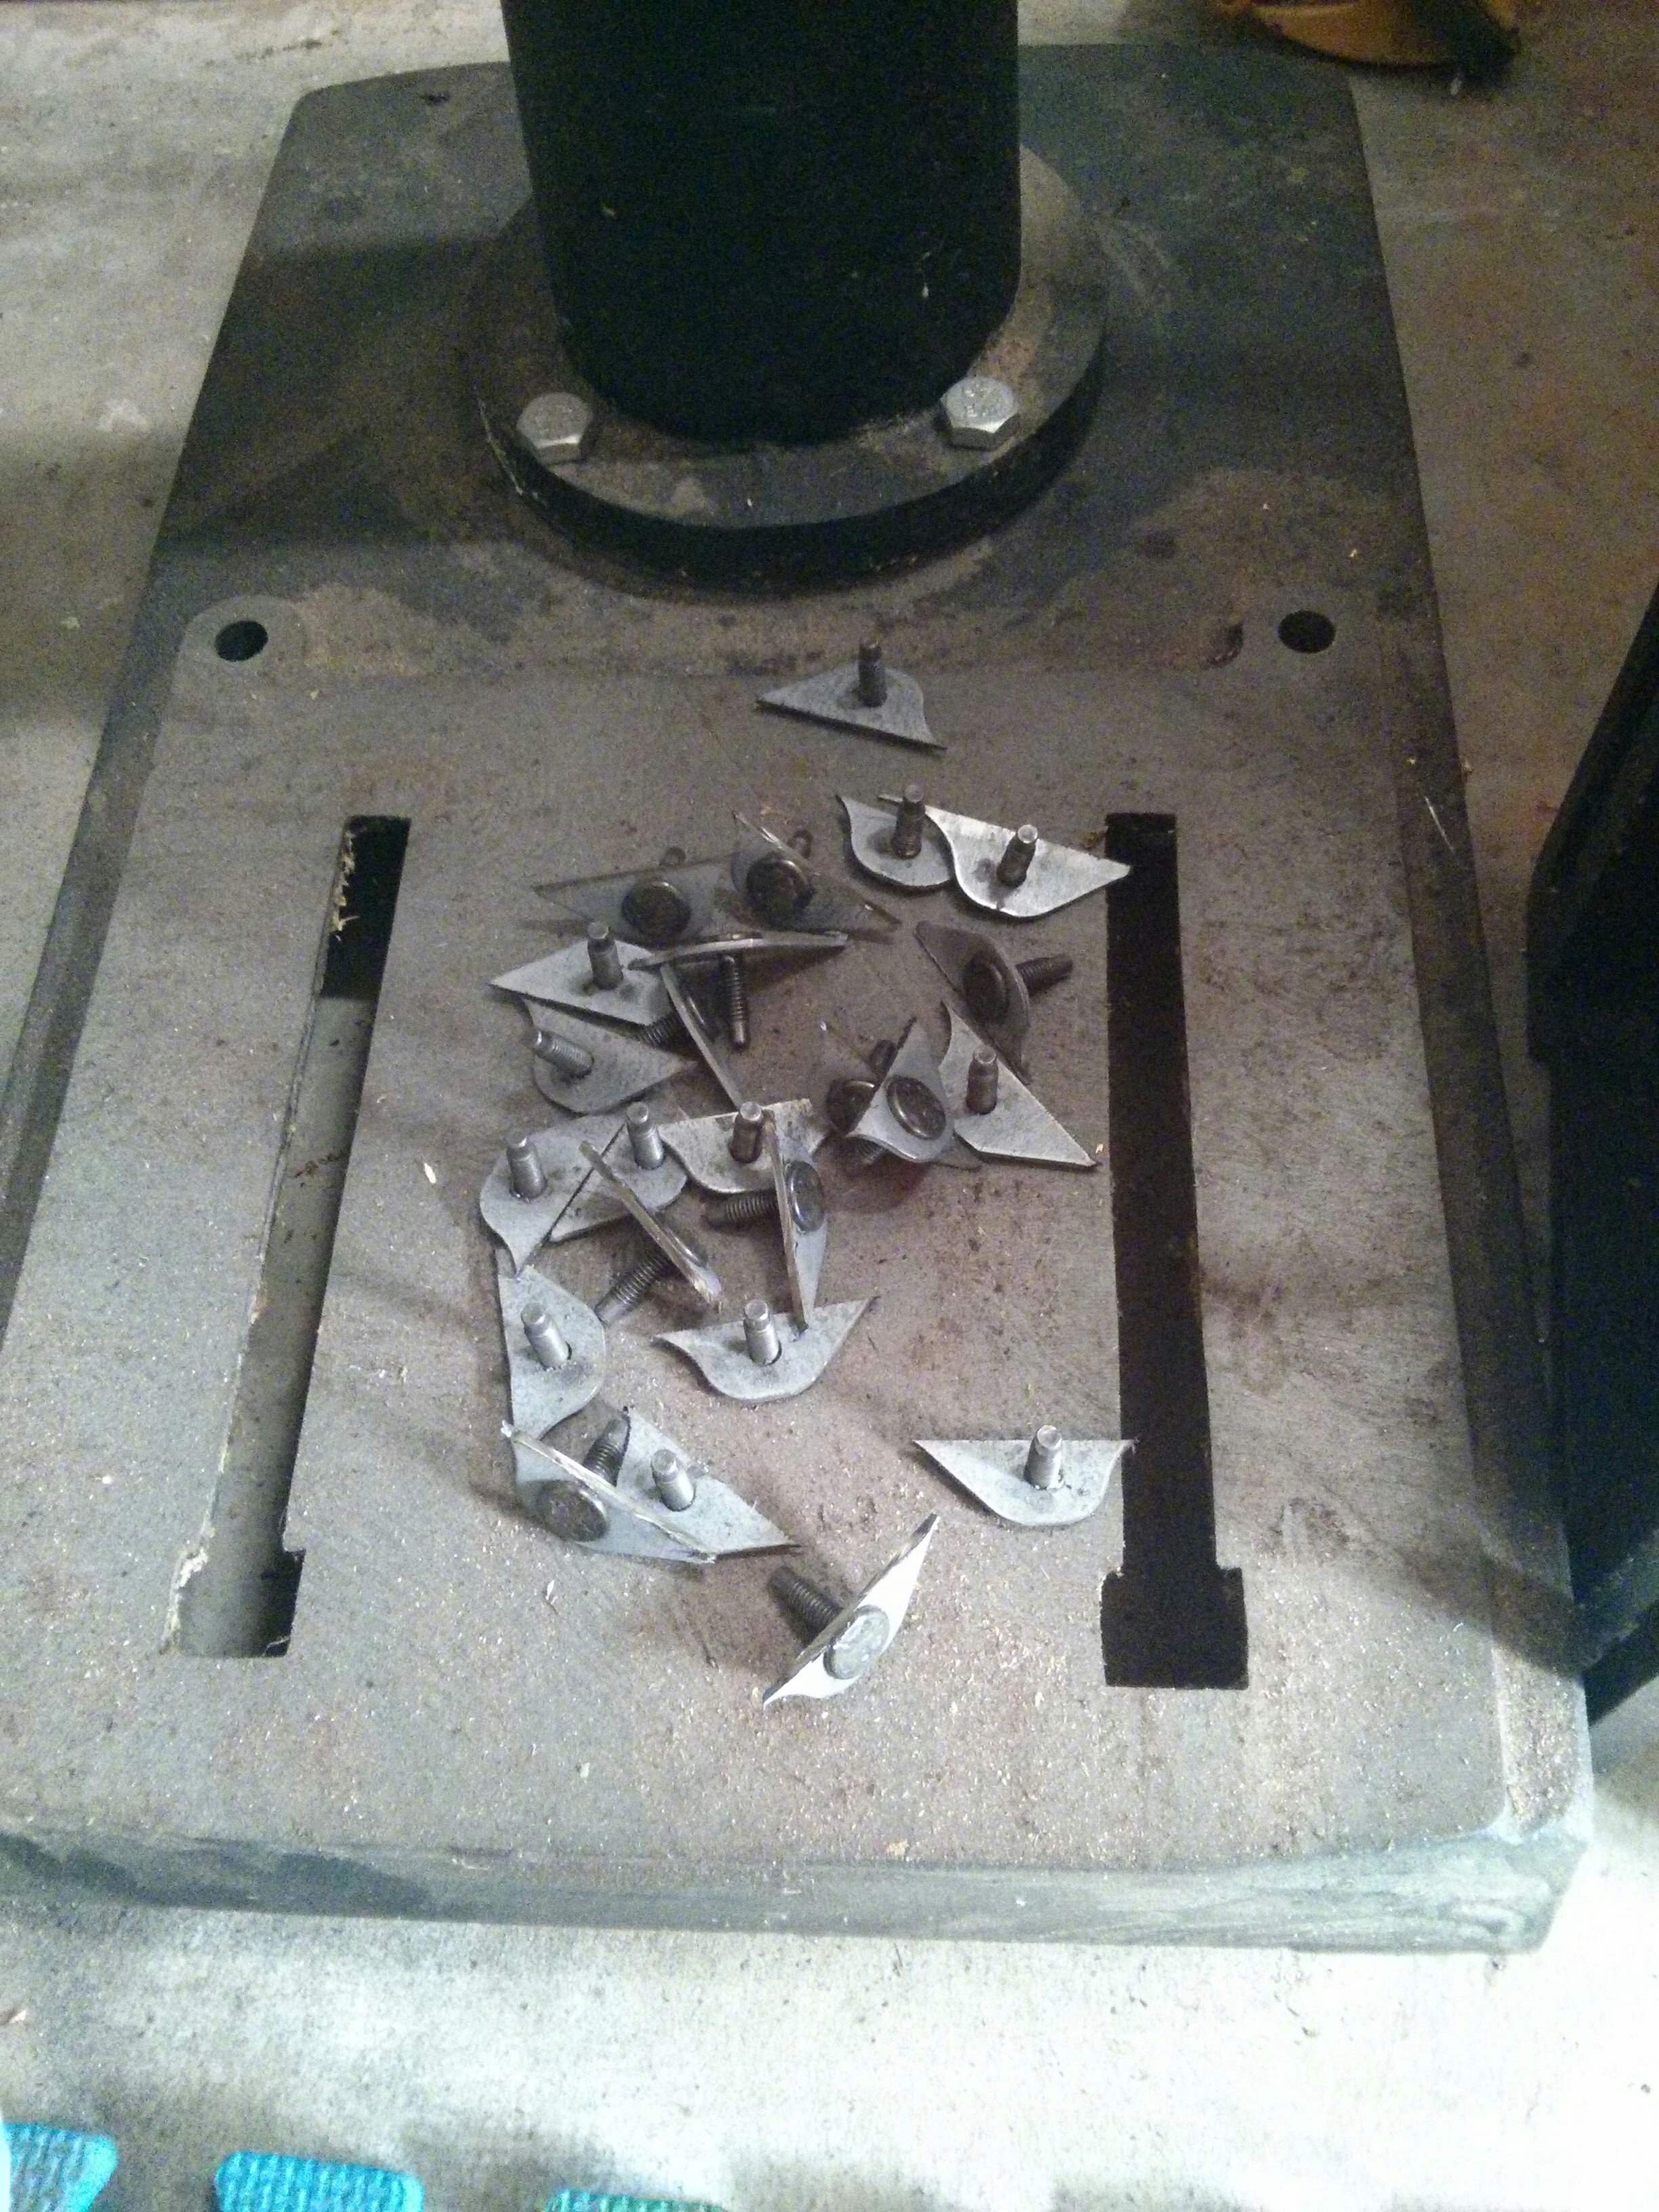
The metal plates have circular tube like supports that reach inside the holes on the modules, supporting them, and are also spot welded to the thin “tin” outsides of the modules. They can be pried off with a flat bladed screwdriver, popping the spot welds out and leaving small holes in the tin plates.
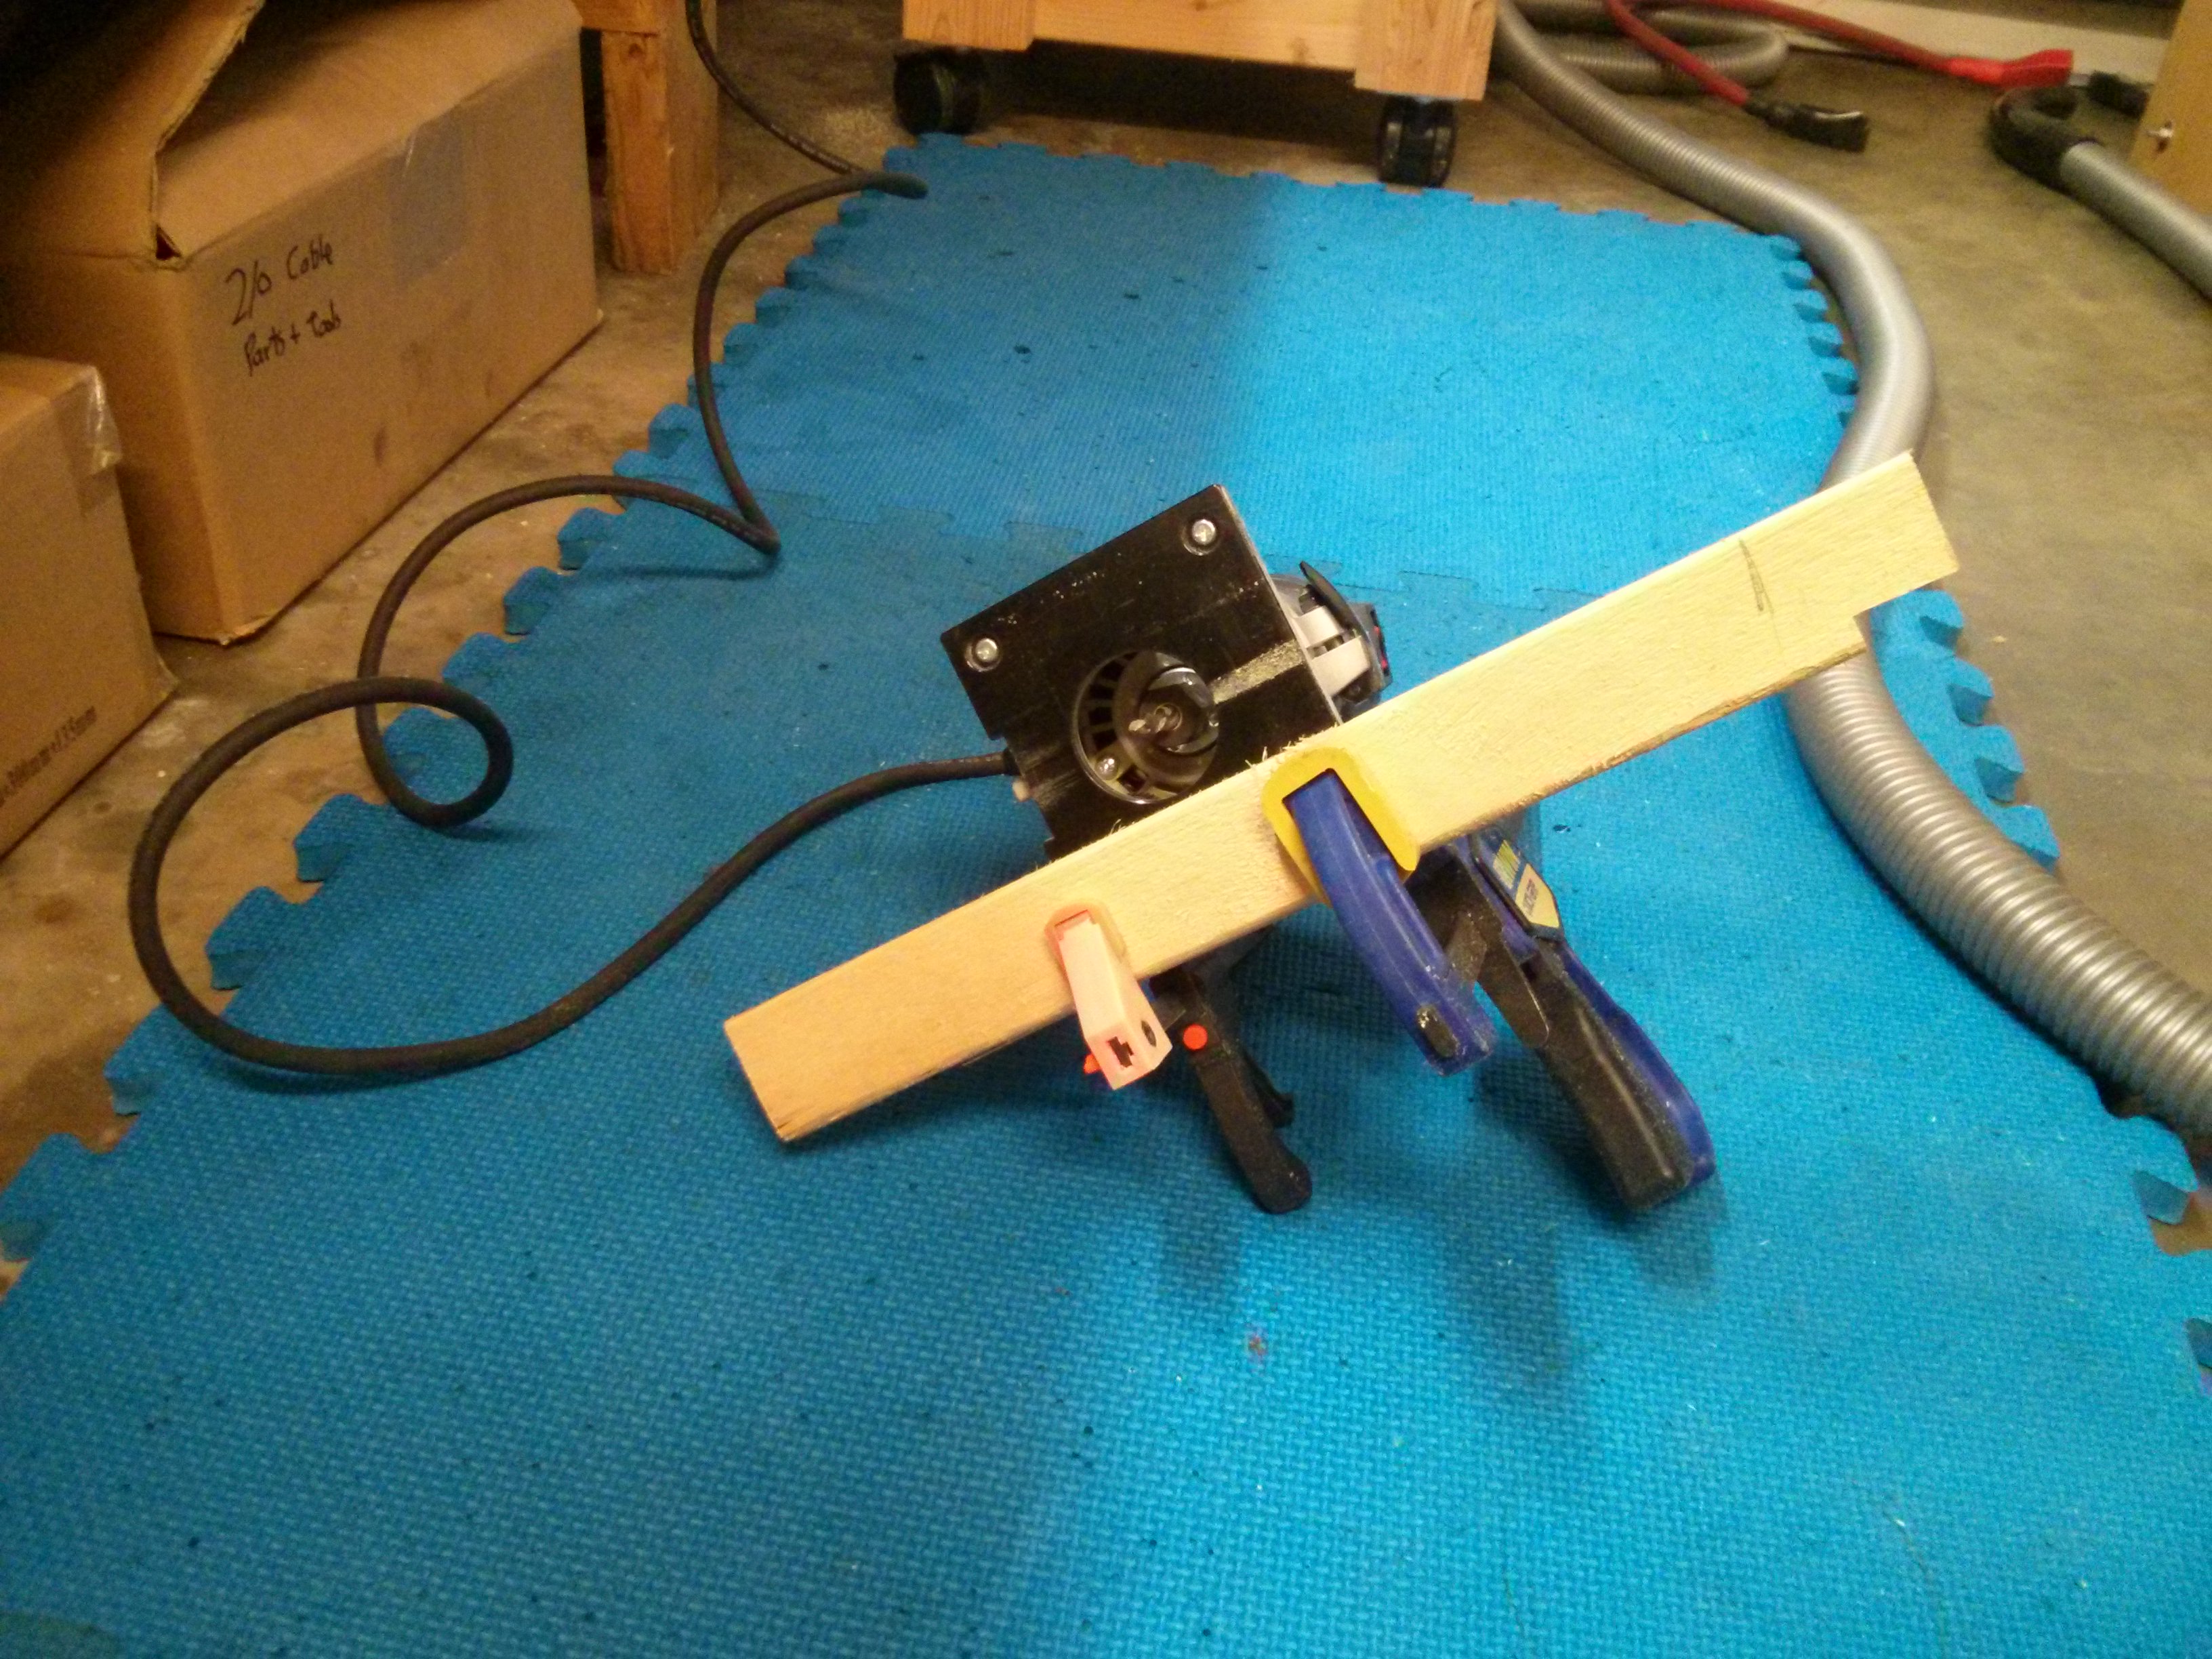
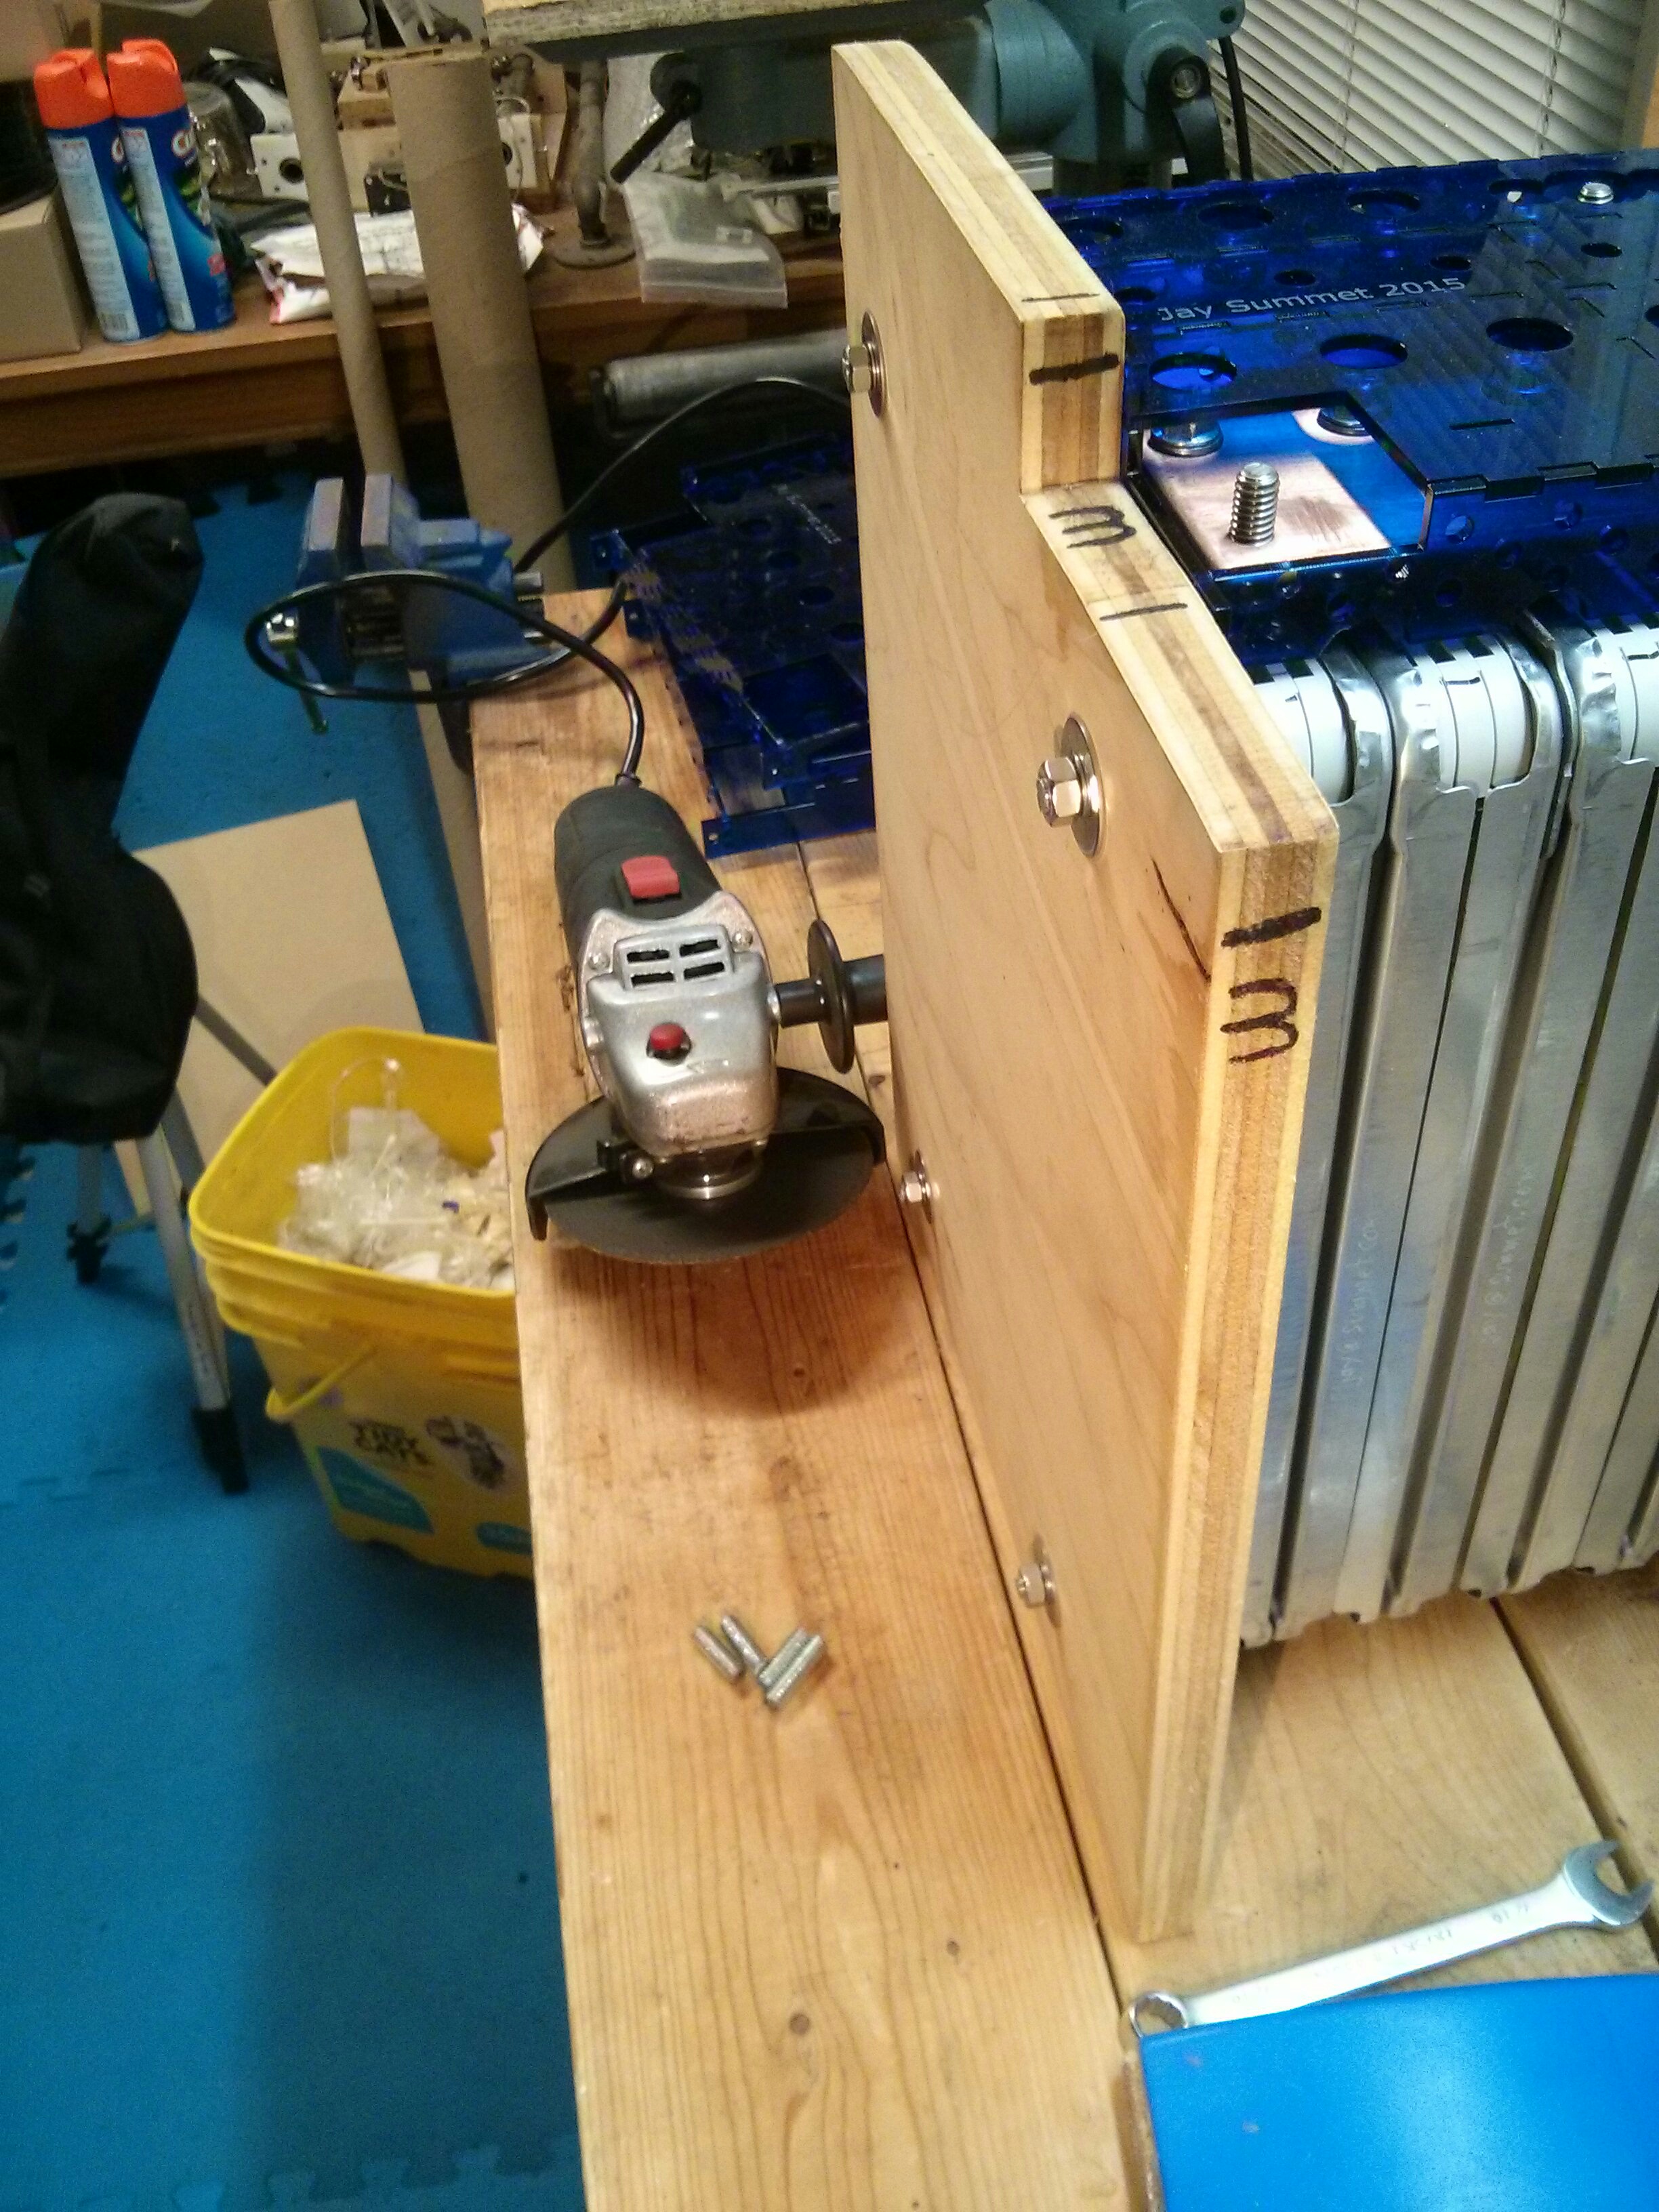
I just used a cut off blade on an angle grinder to cut off the parts of the brackets that I don’t want hanging out on the top of my battery.