Lightfield capture to Looking Glass “Quilt” image, scripted on the command line

I set up this still life scene to play with lightfield capture for my looking glass portrait device. Of course it has a few lenses in it so you can see the light go through the different lenses as you move your head back and forth.

To actually capture a “lightfield” you need to take photos of the scene from multiple locations (preferably in a controlled / regular pattern). To do this I put my phone on a skateboard and rolled it across the table from left to right while recording a video. This gives me 30 pictures per second with 1280×1920 resolution.  You can see this as a vertical video on the YouTube “Shorts” platform here: https://youtube.com/shorts/TvIdTJpuWhk

To extract the individual images from the video was a single command line:

ffmpeg -ss 00:00 -i left-to-right.mp4 -t 00:02  out%05d.jpeg

Unfortunately for me, the “input image sequence to make a lightfield hologram” provided by Looking Glass Studio software doesn’t work unless you have a “real” 3D graphics card. The integrated Intel graphics built into my laptop just wouldn’t cut it, so no lightfield magic for me.

BUT, if you can generate a “quilt” image, the Studio software will import that and put it on the Looking Glass Portrait device for you so you can get a 3D hologram from your video.  The trick is to generate the “quilt” image (which is just 48 views tiled into a single image in the exact correct size and format) from your sequence of images.

First, you need to convert each image to the proper aspect ratio (4:3, or 0.75) and size (480×640 pixels).  The command line below uses ImageMagic to do this, and also flips the images upside down (important for when we tile them together, so we can tile a lot of upside down images, and then flip the resulting tiled image to get them in the proper format for LookingGlass….) I’m also putting them into a separate “flipped” directory to preserve the original images.

mogrify -flip -resize 480x640^ -gravity center -extent 480x640 -path ./flipped out*.jpeg

Once we have them properly resized, we tile them into the special Looking Glass Portrait High Res quilt, which is an 8×6 tile (48 images exactly) at 3840 x 3840 pixels.
The leftmost image from the scene (first image in the video) should be at the bottom left, then the images advance across the row and then up the columns until they
end with image number 48 at the top right.

 
# The -tile 8x6 should be obvious
#
# The -gemometry 480x640^ means to make each image 480x640.
# the ^ means  resize the image based on the smallest fitting dimension.
# (redundant here, as they should already be sized correctly by the previous step)
# +0+0 means no border.

montage out000*.jpeg -gravity center  -tile 8x6 -geometry 480x640^+0+0    tempoutput.jpeg

This results in a tiled image with the leftmost image in the top left and the rightmost image in the bottom right…but since we “-flip”ed the images initially, we can now “-flip” this entire output image and re-name it to the proper format for the Looking Glass Studio software to recognize it as a quilt image:

convert -flip tempoutput.jpeg output-qs8x6a0.75.jpeg


All that is left to do is to import the quilt image into the Looking Glass Studio software and sync it to your device.

(Or, if you are a beta user of the “blocks” web based embedded hologram service…you can upload it there and then embed the resulting hologram in webpgaes…)

You can download all of my source data and the scripts I used to create the quilt here:  oscar-painting-lightfield.zip
Post Ubuntu 22.04 upgrade fixes

After upgrading from Ubuntu 21.10 to 22.04 on my Lenovo X1 Gen 5, I had the following issues:

1. The built in video player (Totem) would display H.264 AVC videos squished to the far
left of the video window and only black and white. This appears to be a problem with vaapi, as the following command fixed it:

sudo apt remove gstreamer1.0-vaapi

2. Desktop icons disappeared. Had to manually run:

sudo apt install gnome-shell-extension-desktop-icons-ng

3. Firefox (snap) refused to display a file dialog for uploading files to websites (or download any files) until I manually installed:

sudo apt install xdg-desktop-portal-gtk

3. OpenShot video editor 2.6.1 refused to run. This is more of an issue of 2.6.1 not being compatable with the latest desktop that Ubuntu is using, but to fix it is annoying, as OpenShot has not had an official release since 2.6.1 in Sep 2021. You have to use the “Dailies” appImage (or install from the most up to date source yourself) to get a working OpenShot.


4. When trying to open a file on the desktop using the “find software” dialog, I got an error message “Failed to start GNOME software”, which was solved by:

sudo apt install gnome-software

5. Thumbnails would not show up for video files in the file browser, until I installed:

sudo apt install ffmpegthumbnailer


Fixing my Neato X11 robot vacuum LCD screen

I’ve lived with a blank screen on my Neato X11 vacuum robot for a few years, but recently the robot started to beep error messages and refused to start up correctly, and I couldn’t figure out what the problem was without the screen.

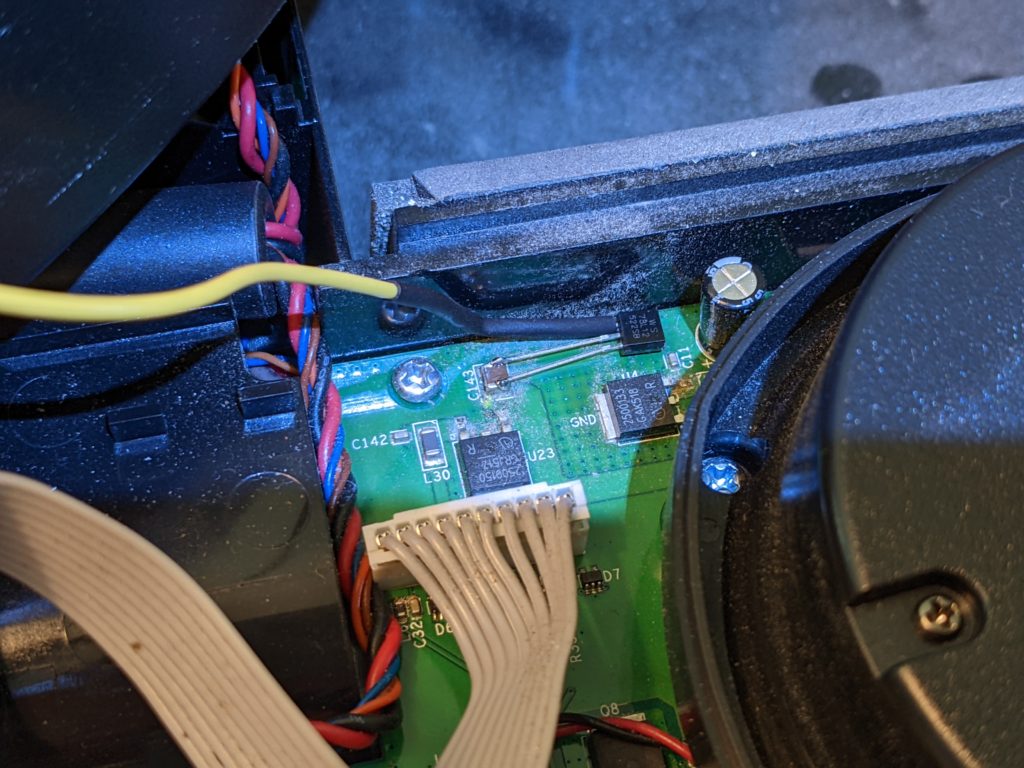
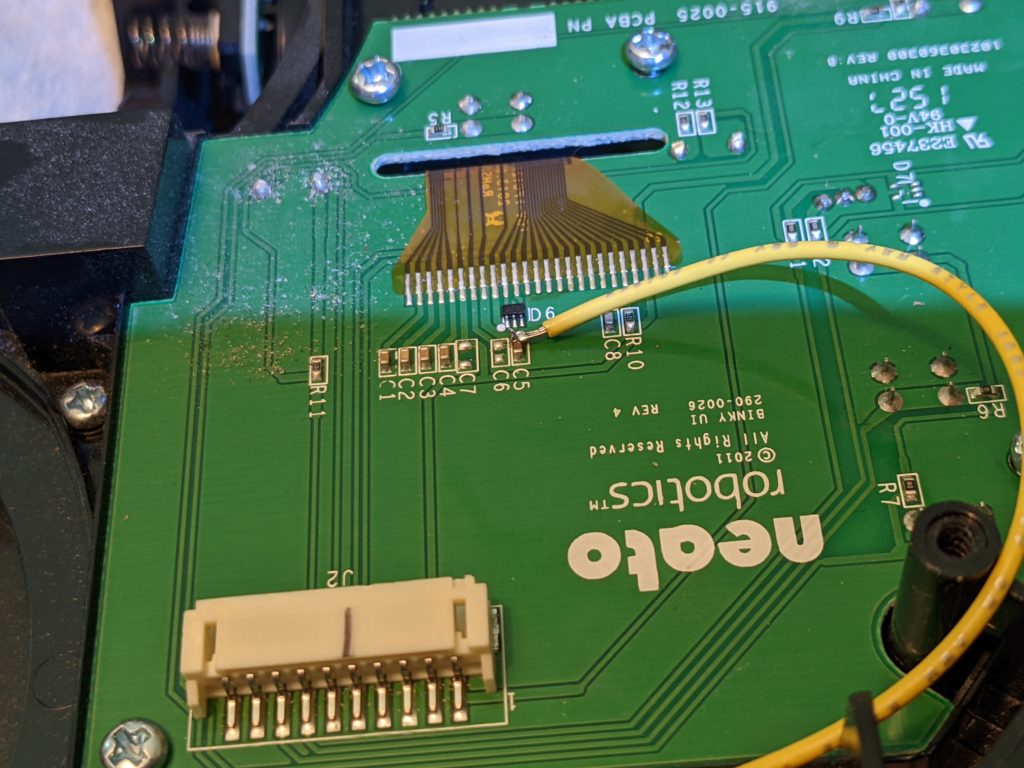
So I found this thread and this specific post and decided that injecting 12 volts to the c5 line would be worth trying (I’m NOT going to go to the effort of replacing the entire LCD, especially if I have to remove polarized sheets and reverse it ;> )

I used a 78L12 12v 100ma linear regulator (TO-92 package) because it was inexpensive and small.

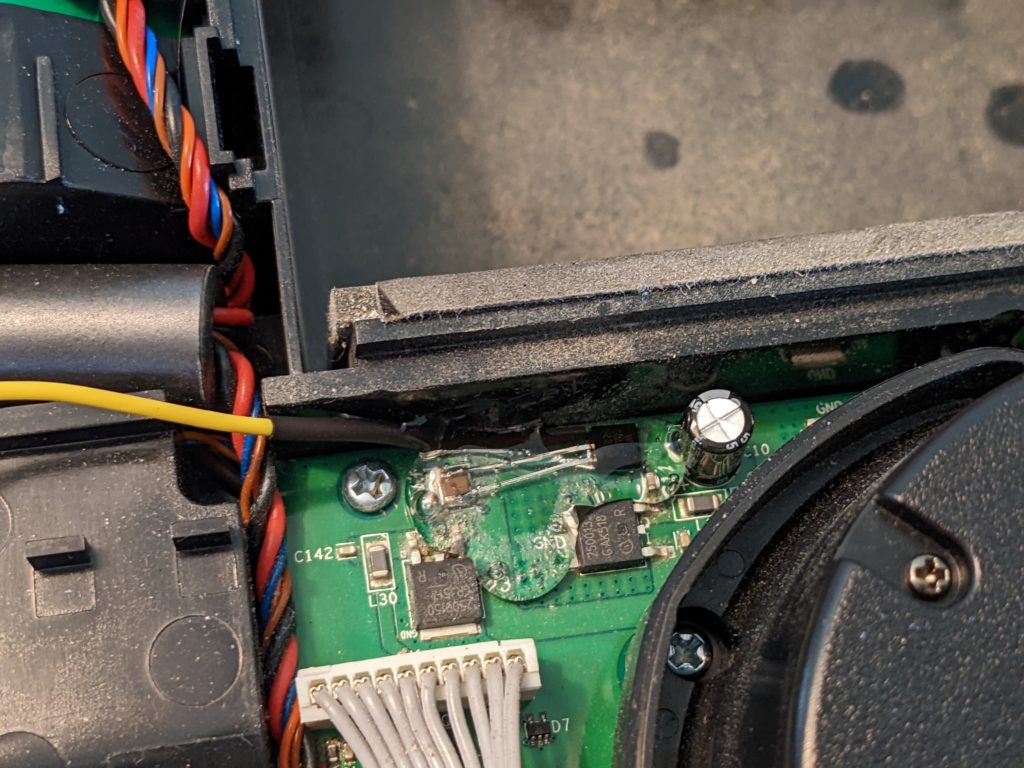
Of course, I added in a lot of hot glue for stress relief….

Thanks to AlainCAN, this fixed my LCD and I can now read the error message (fan was stuck, I found/removed a rice grain and that fixed things right up!).

Unfortunately, I somehow appear to have broken the LED’s (backlight for LCD as well as the button LEDs). I’m not sure if this is related to this throwaway line in Alain’s post:

By the way, don’t forget to replace the C10 capacitor as it can cause trubbles later (dimmed light green led).

Or perhaps I just forgot to plug something in….. but I can read the screen, which is better than having LED’s without being able to read the screen, so I’m going to count it as an overall success.

3D printed Prescription Lens Inserts for Oculus Go

I’ve always wanted Prescription Lens inserts for my Oculus GO VR headset. But I just couldn’t justify the $80 price just so I wouldn’t have to wear my glasses while using the VR headset.

Then I found this project on Thingiverse: Oculus prescription lens adapter (Quest 2, Quest and Rift S)

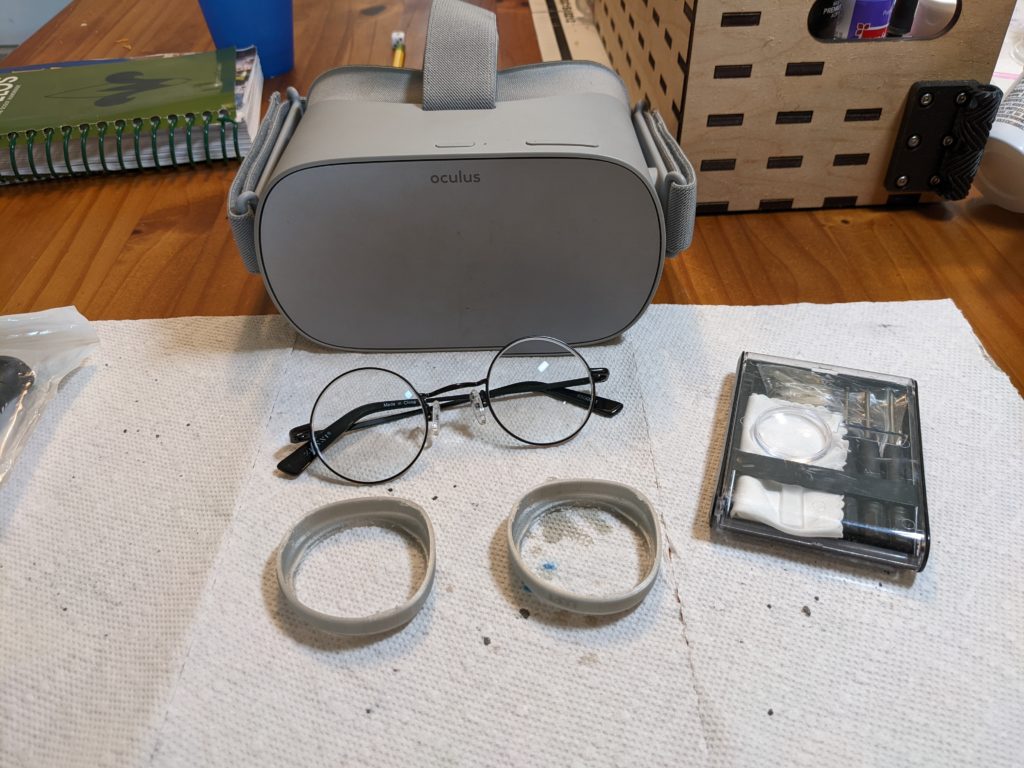
That’s right, you can 3D print your own adapters that will convert a standard round eyeglass lens (such as you receive if you order Zenni Optical Round Glasses 55002. Which just happen to only cost $35 in my prescription).

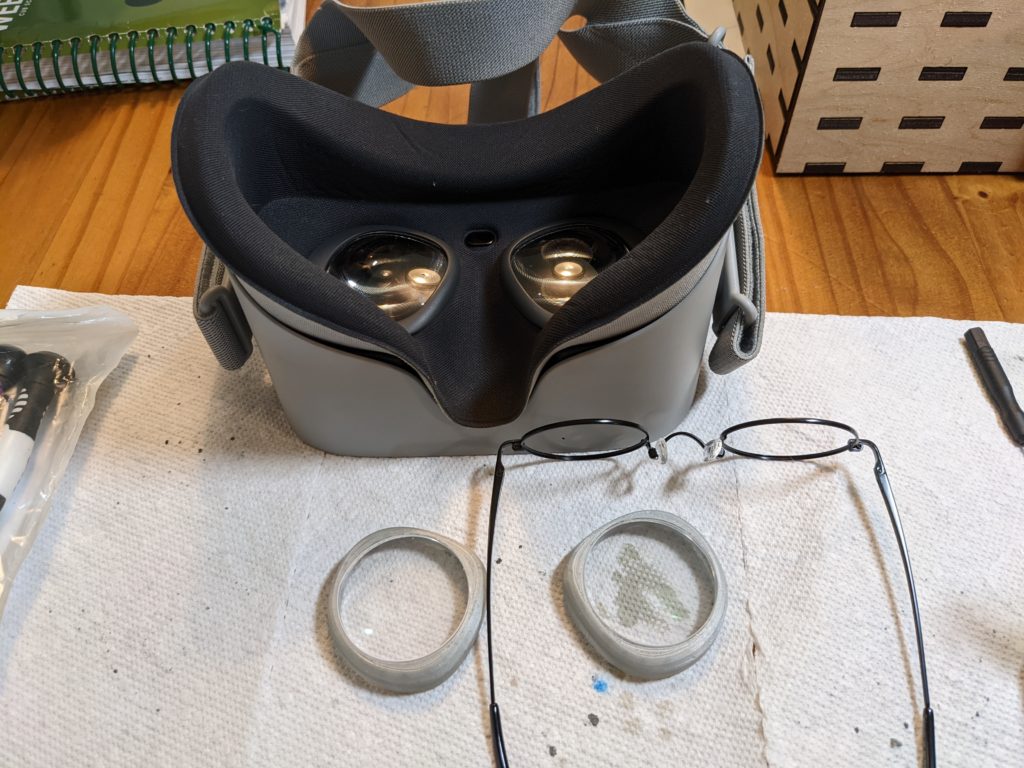
Seven days later, I was ready to mark the correct orientation, take the lenses out of the glasses (requires a small screwdriver), and pop them into my 3D printed adapters.

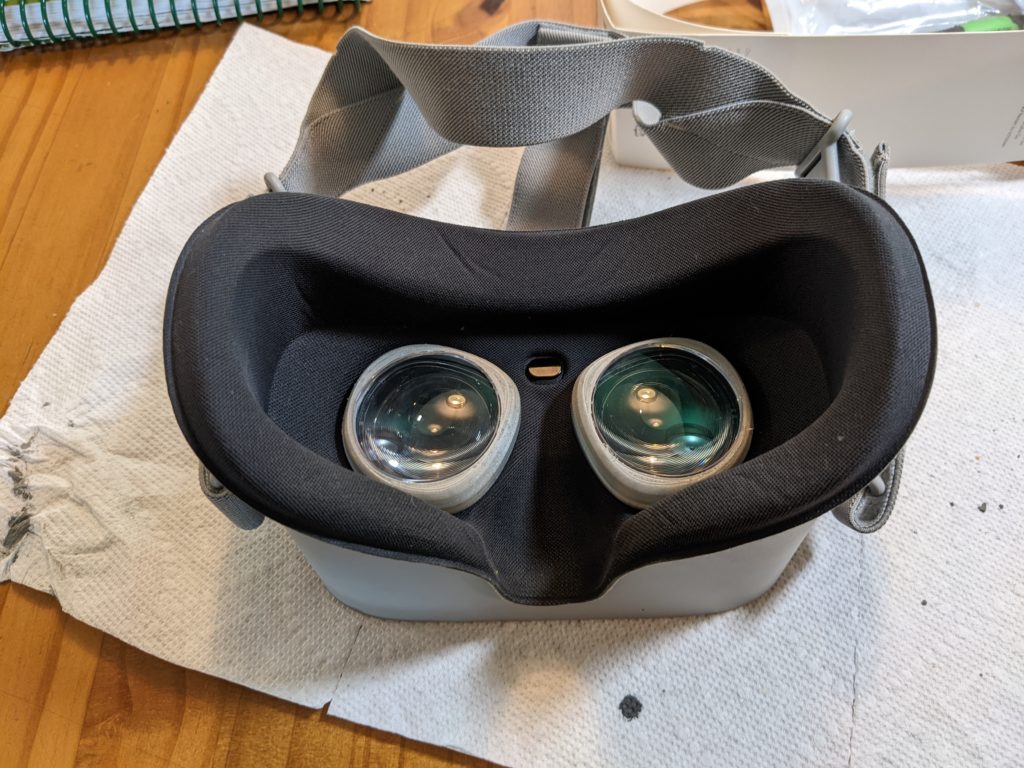
The “Version1” adapters pop right into my Oculus GO (which apparently are the same size as the original Quest), and now the VR headset fits more comfortably on my face (no more distracting gap around the nose area!).

Plus, I can give my son the now empty frames to have fun playing Harry Potter….

Update – July 19th 2022:

The lenses are working well in the Oculus Go, but after about 8 hours of use the right hand lens holder loosened up and stopped “gripping” the Occulus socket and holding in the foam.  I believe one of the small “lips” printed along the bottom had either snapped or had gotten worn down.  I printed a replacement part and before installing I dipped it in low viscosity epoxy resin. This made the part significantly more rigid (and smoother). I found it easier to install the lens (possibly due to experience) and it had a very satisfying grip on the Oculus.  If you are installing for the first time and have access to low viscosity epoxy, I’d recommend using it. (I also wonder if superglue would have a similar effect….) My left hand lens mount is still holding strong, so I’m not going to mess with it at this time.

May 2022 energy rates – Duke Energy – Orlando Florida

Residential Service rates for Duke Energy (Florida):

$12.45 per month Customer Charge *

13.082 cents per kWh (first 1000 kWh)
15.039 cents per kWh (all kWh above 1000)

* – Duke also imposes a 30$ minimum bill adjustment, so if you use less than 134 kWh of power ($17.55 of electricity usage + 12.45 customer connection charge = $30) they will add a Minimum Bill Adjustment so that your total charges are $30 (+3.37 of taxes in Orange County Florida) for a total minimum bill of $33.37


Painting the Castle Ravenloft Skeletons

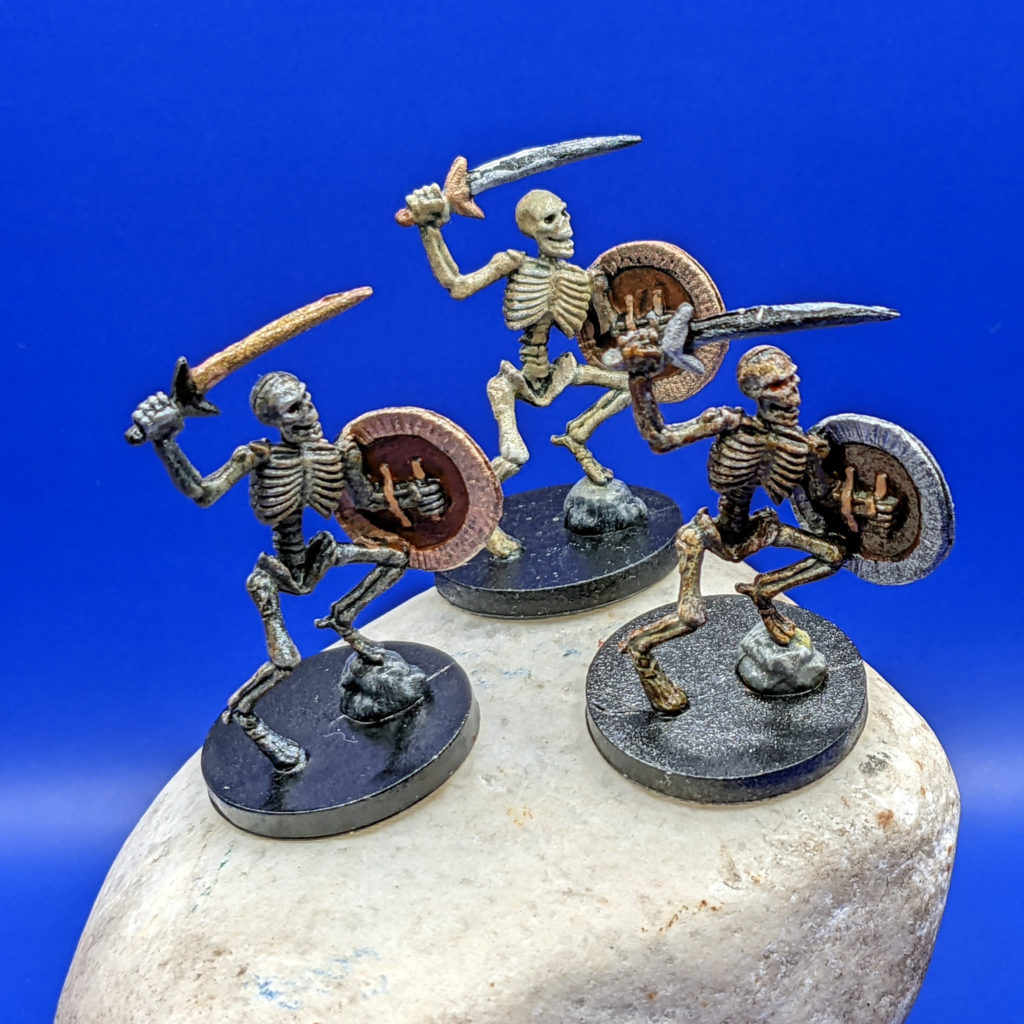
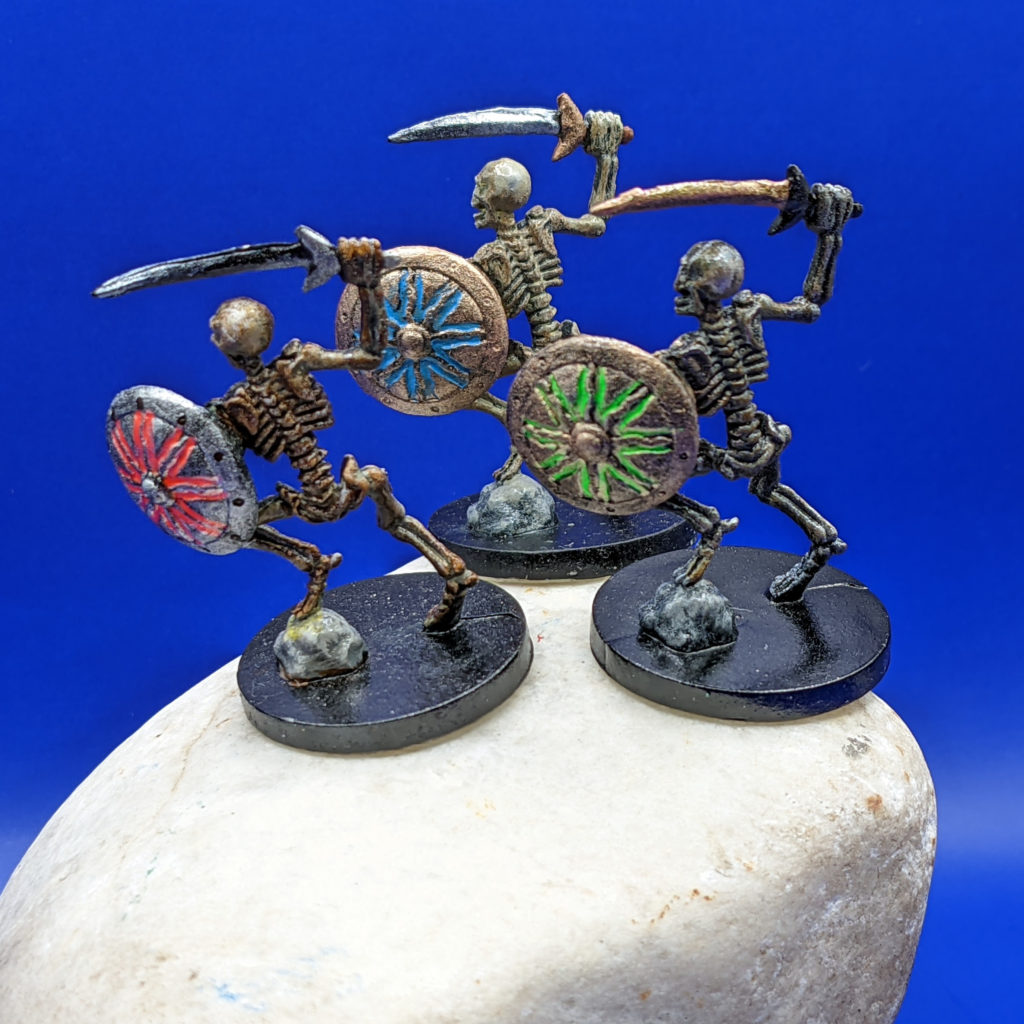
I painted the three Castle Ravenloft board game Skeletons with slightly different colors (mostly on the shields and swords, but the bones have different levels of tints on them as well) so that people could say things like “I want to aim at the one with the blue shield!”.

The general approach for bones is to do shades of gray/white first, then tint them with a bright yellow wash, followed by a transparent dark brown (burnt umber) wash.  Variations in lightness and color can be made by the lightness/darkness of the base coats, and amount of washes you use.

Continue reading

VECY’s CR60 car Fridge / Freezer (Dual Zone) Review

VECY's CR60 fridge

I reviewed the VECY’s CR60 car refrigerator / freezer. It is a 60 L wheeled cooler with built in dual zone compressor heat pump.  It has a dual zone control panel that can maintain temperatures between 68F down to -4F, and is powered by 12-24 volts DC. (It also includes an AC adapter to power it from 120-240v AC.)

You can watch my 5 minute summary review here:

(I also have a 30 minute long full review…but unless you are REALLY interested…the summary review gives you all you need to know.)

If you would prefer to read your review, here are the relevant details:


Continue reading