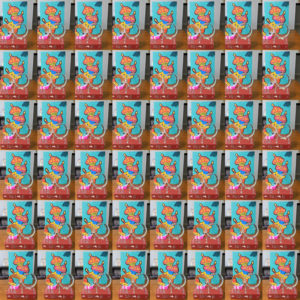
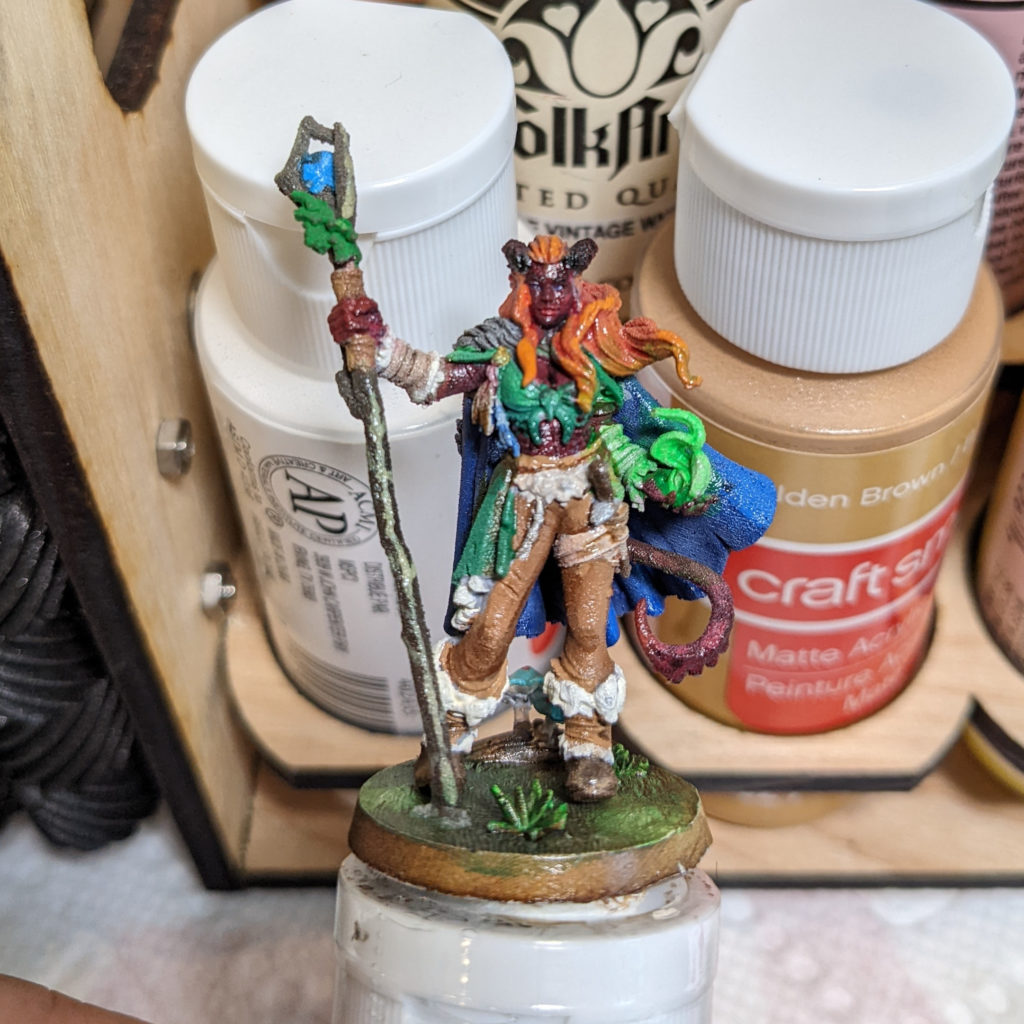
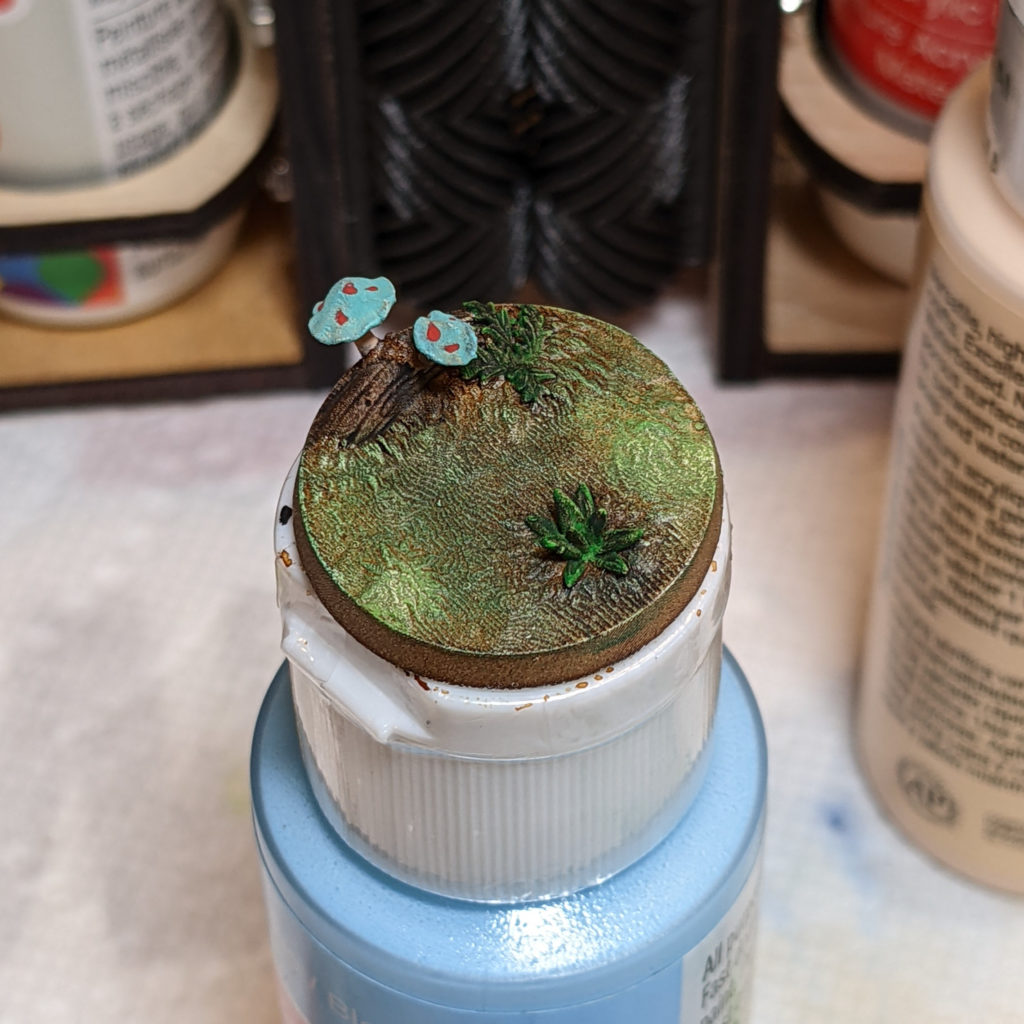
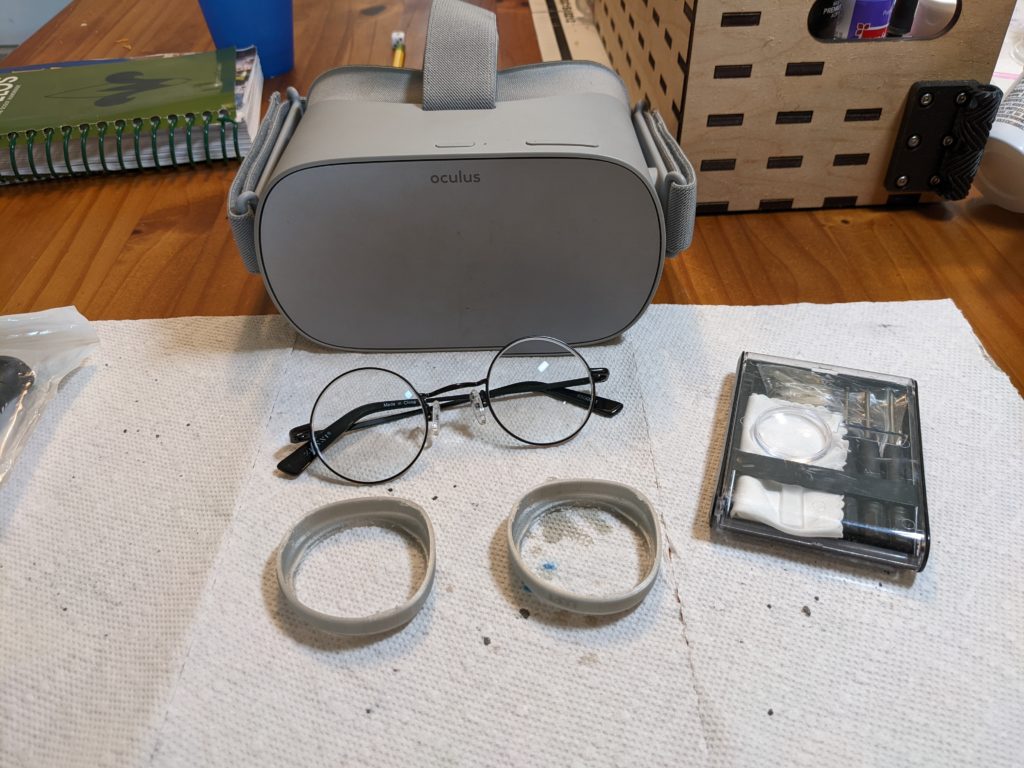
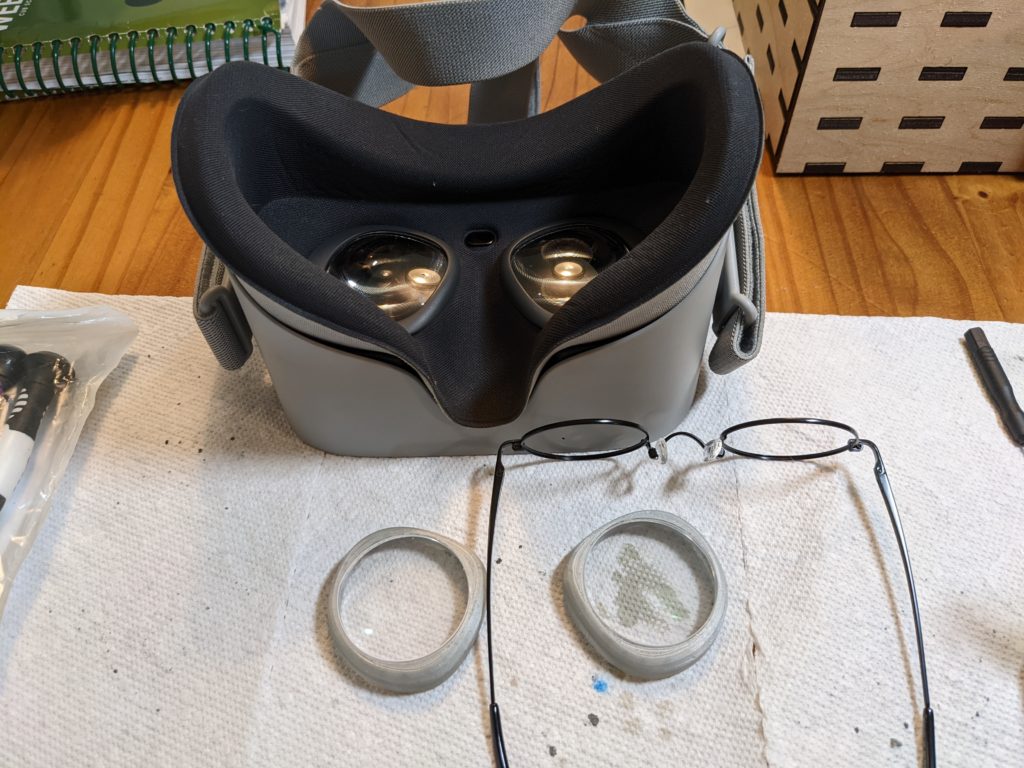
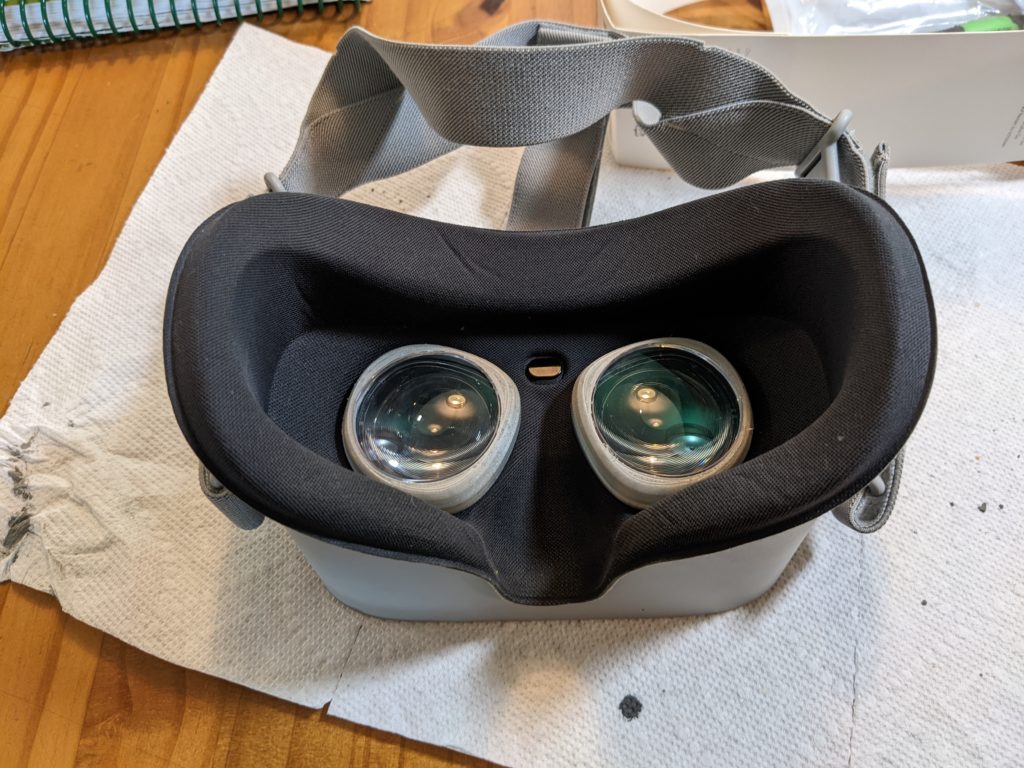
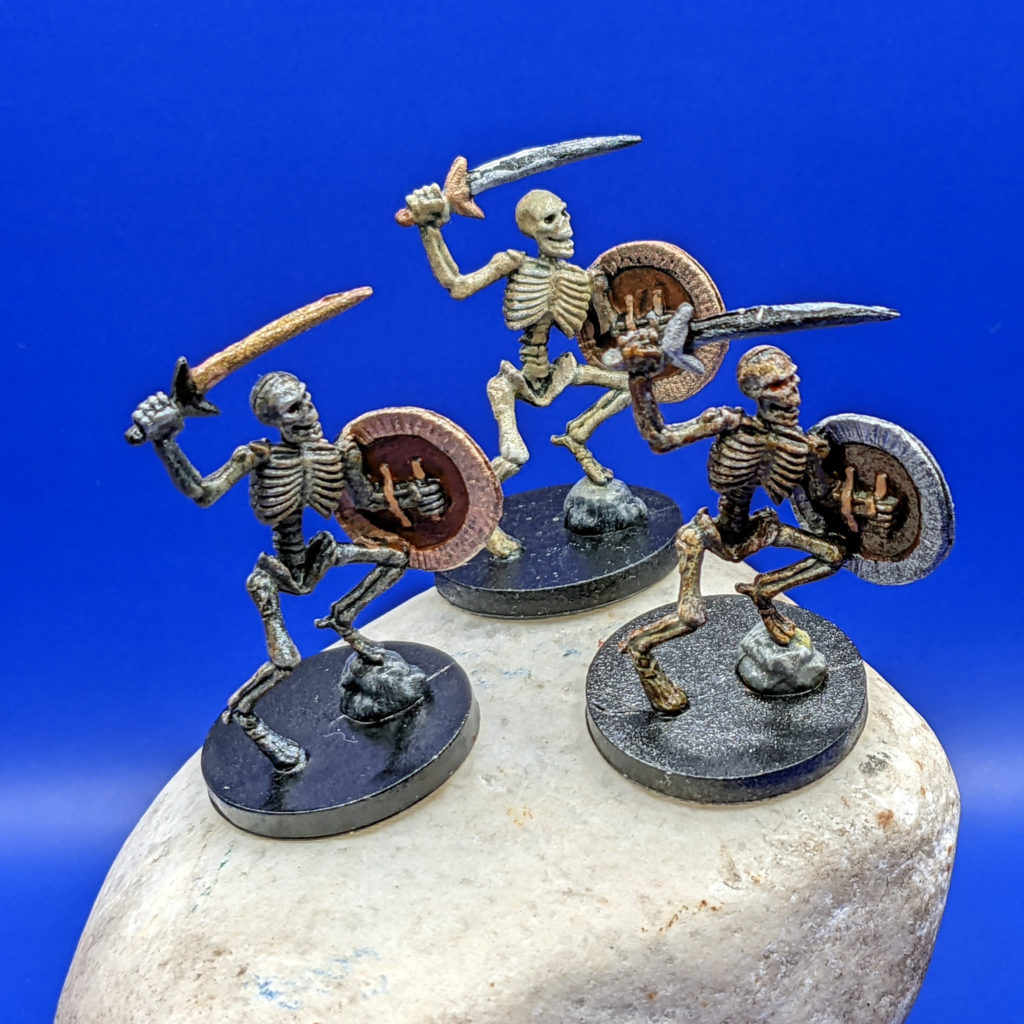
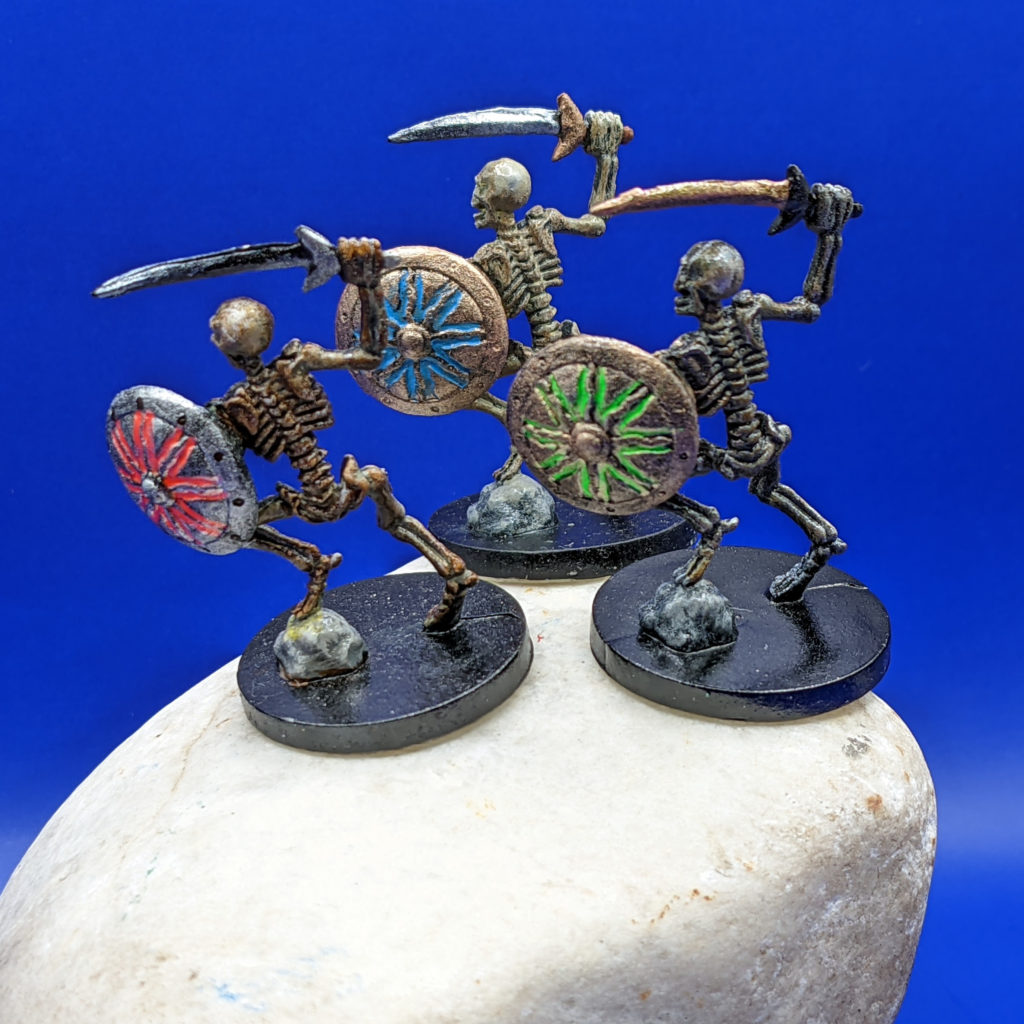
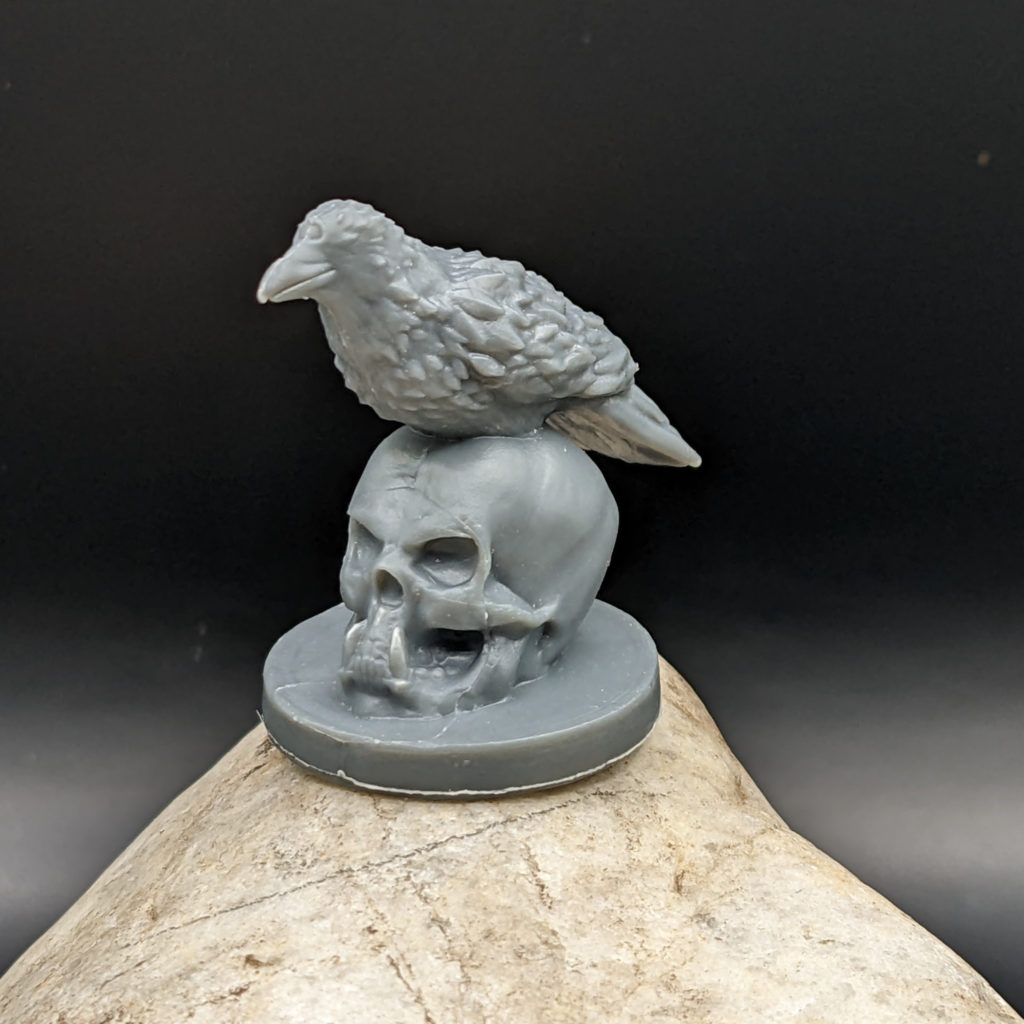
I set up this still life scene to play with lightfield capture for my looking glass portrait device. Of course it has a few lenses in it so you can see the light go through the different lenses as you move your head back and forth.

To actually capture a “lightfield” you need to take photos of the scene from multiple locations (preferably in a controlled / regular pattern). To do this I put my phone on a skateboard and rolled it across the table from left to right while recording a video. This gives me 30 pictures per second with 1280×1920 resolution. You can see this as a vertical video on the YouTube “Shorts” platform here: https://youtube.com/shorts/TvIdTJpuWhk
To extract the individual images from the video was a single command line:
ffmpeg -ss 00:00 -i left-to-right.mp4 -t 00:02 out%05d.jpeg
Unfortunately for me, the “input image sequence to make a lightfield hologram” provided by Looking Glass Studio software doesn’t work unless you have a “real” 3D graphics card. The integrated Intel graphics built into my laptop just wouldn’t cut it, so no lightfield magic for me.
BUT, if you can generate a “quilt” image, the Studio software will import that and put it on the Looking Glass Portrait device for you so you can get a 3D hologram from your video. The trick is to generate the “quilt” image (which is just 48 views tiled into a single image in the exact correct size and format) from your sequence of images.
First, you need to convert each image to the proper aspect ratio (4:3, or 0.75) and size (480×640 pixels). The command line below uses ImageMagic to do this, and also flips the images upside down (important for when we tile them together, so we can tile a lot of upside down images, and then flip the resulting tiled image to get them in the proper format for LookingGlass….) I’m also putting them into a separate “flipped” directory to preserve the original images.
mogrify -flip -resize 480x640^ -gravity center -extent 480x640 -path ./flipped out*.jpeg
Once we have them properly resized, we tile them into the special Looking Glass Portrait High Res quilt, which is an 8×6 tile (48 images exactly) at 3840 x 3840 pixels.
The leftmost image from the scene (first image in the video) should be at the bottom left, then the images advance across the row and then up the columns until they
end with image number 48 at the top right.
# The -tile 8x6 should be obvious
#
# The -gemometry 480x640^ means to make each image 480x640.
# the ^ means  resize the image based on the smallest fitting dimension.
# (redundant here, as they should already be sized correctly by the previous step)
# +0+0 means no border.

montage out000*.jpeg -gravity center  -tile 8x6 -geometry 480x640^+0+0    tempoutput.jpeg
This results in a tiled image with the leftmost image in the top left and the rightmost image in the bottom right…but since we “-flip”ed the images initially, we can now “-flip” this entire output image and re-name it to the proper format for the Looking Glass Studio software to recognize it as a quilt image:
convert -flip tempoutput.jpeg output-qs8x6a0.75.jpeg
All that is left to do is to import the quilt image into the Looking Glass Studio software and sync it to your device.
(Or, if you are a beta user of the “blocks” web based embedded hologram service…you can upload it there and then embed the resulting hologram in webpgaes…)
You can download all of my source data and the scripts I used to create the quilt here: oscar-painting-lightfield.zip
