Cobra tabletop miniatures: 3 color schemes — 3D printing & Painting

Black, Yellow and Brown cobra mini-figures

I’ve been very happy with this 28mm Cobra model from Thingiverse. Even printed on my low end FDM printer it retains enough texture so that dry brushing works well to accent the scales.   I used a heat gun to rotate the left model’s head 90 degrees in relation to it’s body, and the center model’s tail into a loop so that the three figures look slightly different, but mostly the color choices are the defining differences.

Continue reading

1977 AMF Alcort Sunfish Sailboat Restoration

sunfish sailboat inside u-haul

I purchased an old (1977 manufacture date) AMF Alcort Sunfish 14 foot sailing dinghy.   It was mostly complete and almost “ready-to-sail”, except for the broken auto-bailer, and cracked rudder, but the price was right.

Since I had to repair the crack in the rudder, I decided to go overboard and completely restore the entire rudder and tiller assembly. And once the rudder looked nice, I had left-over varnish and decided to go ahead and re-surface the daggerboard as well.

I also added a ratcheting mainsheet block, replaced all of the lines and purchased some necessary accessories (deck cover, beach dolly).
Sailboat in Lake

After the first sail I drained all of the water out of the hull (which MIGHT have already been in there…..maybe….) and purchased a better drain plug and rigged up a solar powered fan to dry things out. If I find water inside after the second sail, I’ll probably be doing some fiberglass hull repair.

You can see all of the details by watching the (multiple!) videos in this YouTube playlist:
https://www.youtube.com/playlist?list=PLmHP4lUqxKmv13lkNpPqG2FbnV9L4aaL0


I’ve found that the Better Boat Mini-Paddle fits perfectly into the rear cubbyhole on my 1977 boat.


EcoQube C+ acrylic lid

I bought an EcoQube C+   (3 gallon aquarium/aquaponics system with a built in spot for a few small plants) from a discount deal of the day website (after their Kickstarter imploded…and somebody offloaded the product).   The model I got was the EcoQube C+ UV, which has a small box containing UV LEDS just after the pump, that supposedly keep algae and other bad stuff from growing in the water.

Of course, it didn’t come with the plant growth medium that you are supposed to use in the four little baskets, so I bought some coco hanging basket liner and used a small strip of that in a loop to hold some perlite in the basket to support the roots of some sweet mint.

I noticed that the water was evaporating relatively quickly, possibly due to the large opening at the top. You used to be able to buy a glass cover for the 2 gallon EcoQube C, but it was out of stock, and probably wouldn’t fit the C+ anyways, so I decided to make my own out of 1/8″ clear acrylic.


This view with the protective paper still on the acrylic lets you see how it fits over the tank, and the following photo shows what it looks like when the protective paper is removed.

If you have access to a laser cutter, you can download my .SVG file to make your own: ecoCubeC+cover.svg

Or find it on Thingiverse: https://www.thingiverse.com/thing:4924825


Salvage 2013 Nissan Leaf Modules – 8 year age capacity test: 75-80%

six nissan leaf modules with capacity test values written on the sides
Back in 2015 I bought a wrecked 2013 Nissan leaf and salvaged it’s 48 battery modules to use in my s-10 electric pickup truck. At the time, the batteries had 18,921 miles from the Leaf on them, (10 quick charges and 775 Level 1/ Level 2 charges) and the leaf BMS reported a capacity of 64 amp hours (98% state of health). [The modules are rated at a minimum of 60 AH new, but most exceed the minimum specifications a bit.]
Continue reading

Nissan Leaf (2015) Hitch Receiver – CURT 11396 Class 1 Trailer Hitch

1 1/4 inch hitch receiver mounted under Nissan Leaf
I installed a CURT 11396 Class 1 Trailer Hitch receiver onto our 2015 Nissan Leaf. The procedure was relatively straightforward, but took me around three hours (the instructions say the novice install time is 70 minutes).  If you don’t already have a jack and set of jackstands, I’d recommend buying a set of auto ramps for this procedure, as it doesn’t involve the wheels/tires.
Continue reading

2017 Kia Optima Plug In Hybrid Electric Vehicle (PHEV) Missing maps SD card fix


When we bought a used Kia Optima PHEV (off lease) it was missing the Maps SD card that plugs into the infotainment unit, so the onboard maps & navigation did not work. Given that every phone now comes with multiple GPS navigation & mapping options, this wasn’t a deal-breaker, but I was worried that this would be a very expensive dealer only purchase if we ever wanted to get it working.

I was very pleasantly surprised to find out that Kia will sell and ship you an SD card with updated map data and infotainment software for only $25!
The magic website is easy to find: https://update.kia.com/

I was even happier to find out that if I didn’t want to pay the $25 and wait for shipping, I could buy my own 32 GB Class 10 SDHC UHS-1 card (For $10), download their (Windows or Mac only) software and use it to write the data out to the card myself at home!

Continue reading

My Glowforge Glass Lid Detached!

Remember how the handle on the front of my Glowforge’s glass lid fell off back in 2019? Well today when I went to lift the lid, the entire glass lid was detached from the back (hinges!).   I am NOT impressed with the adhesive that Glowforge used on this unit.

Glass lid detached from the hindges

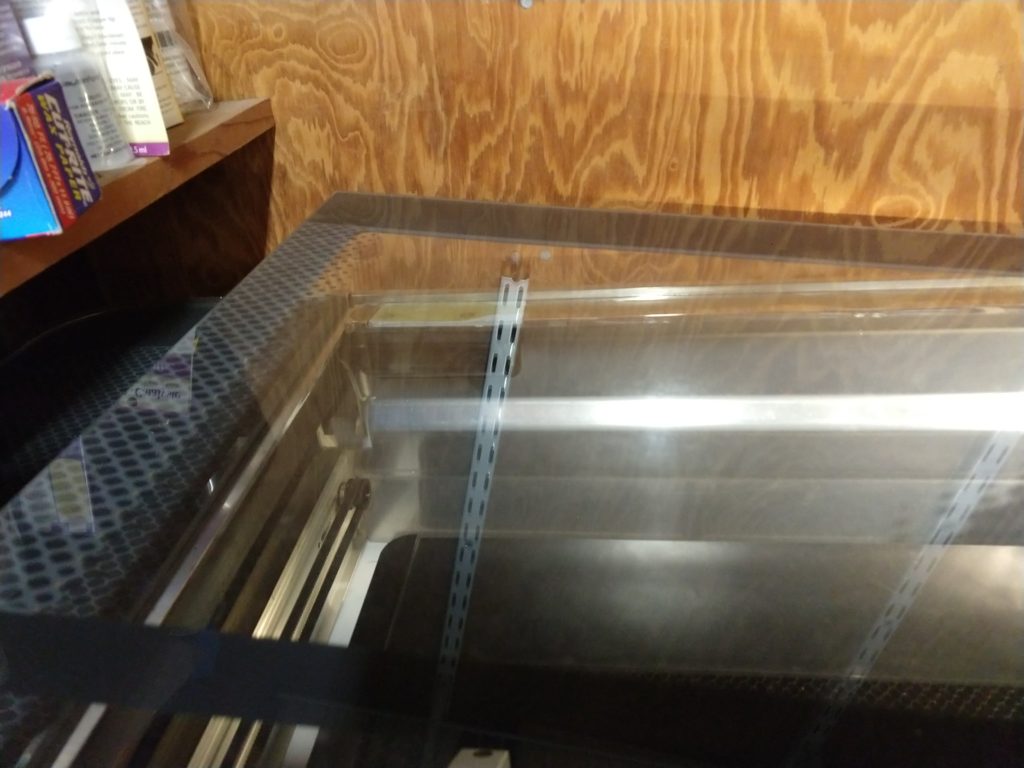
Last time I was able to simply epoxy the handle back into place. I’m hopeful I can do the same thing for the back of the lid, but unfortunately this time it will be very important that I be able to get the lid as close to possible to the original position, as the calibration of the under-lid camera may be negatively impacted by any offsets.     On the plus side, since my last issue, Glowforge has introduced a “beta” Calibrate Camera feature which should hopefully give me the ability to re-calibrate the under-lid (wide angle) camera “in the field”.

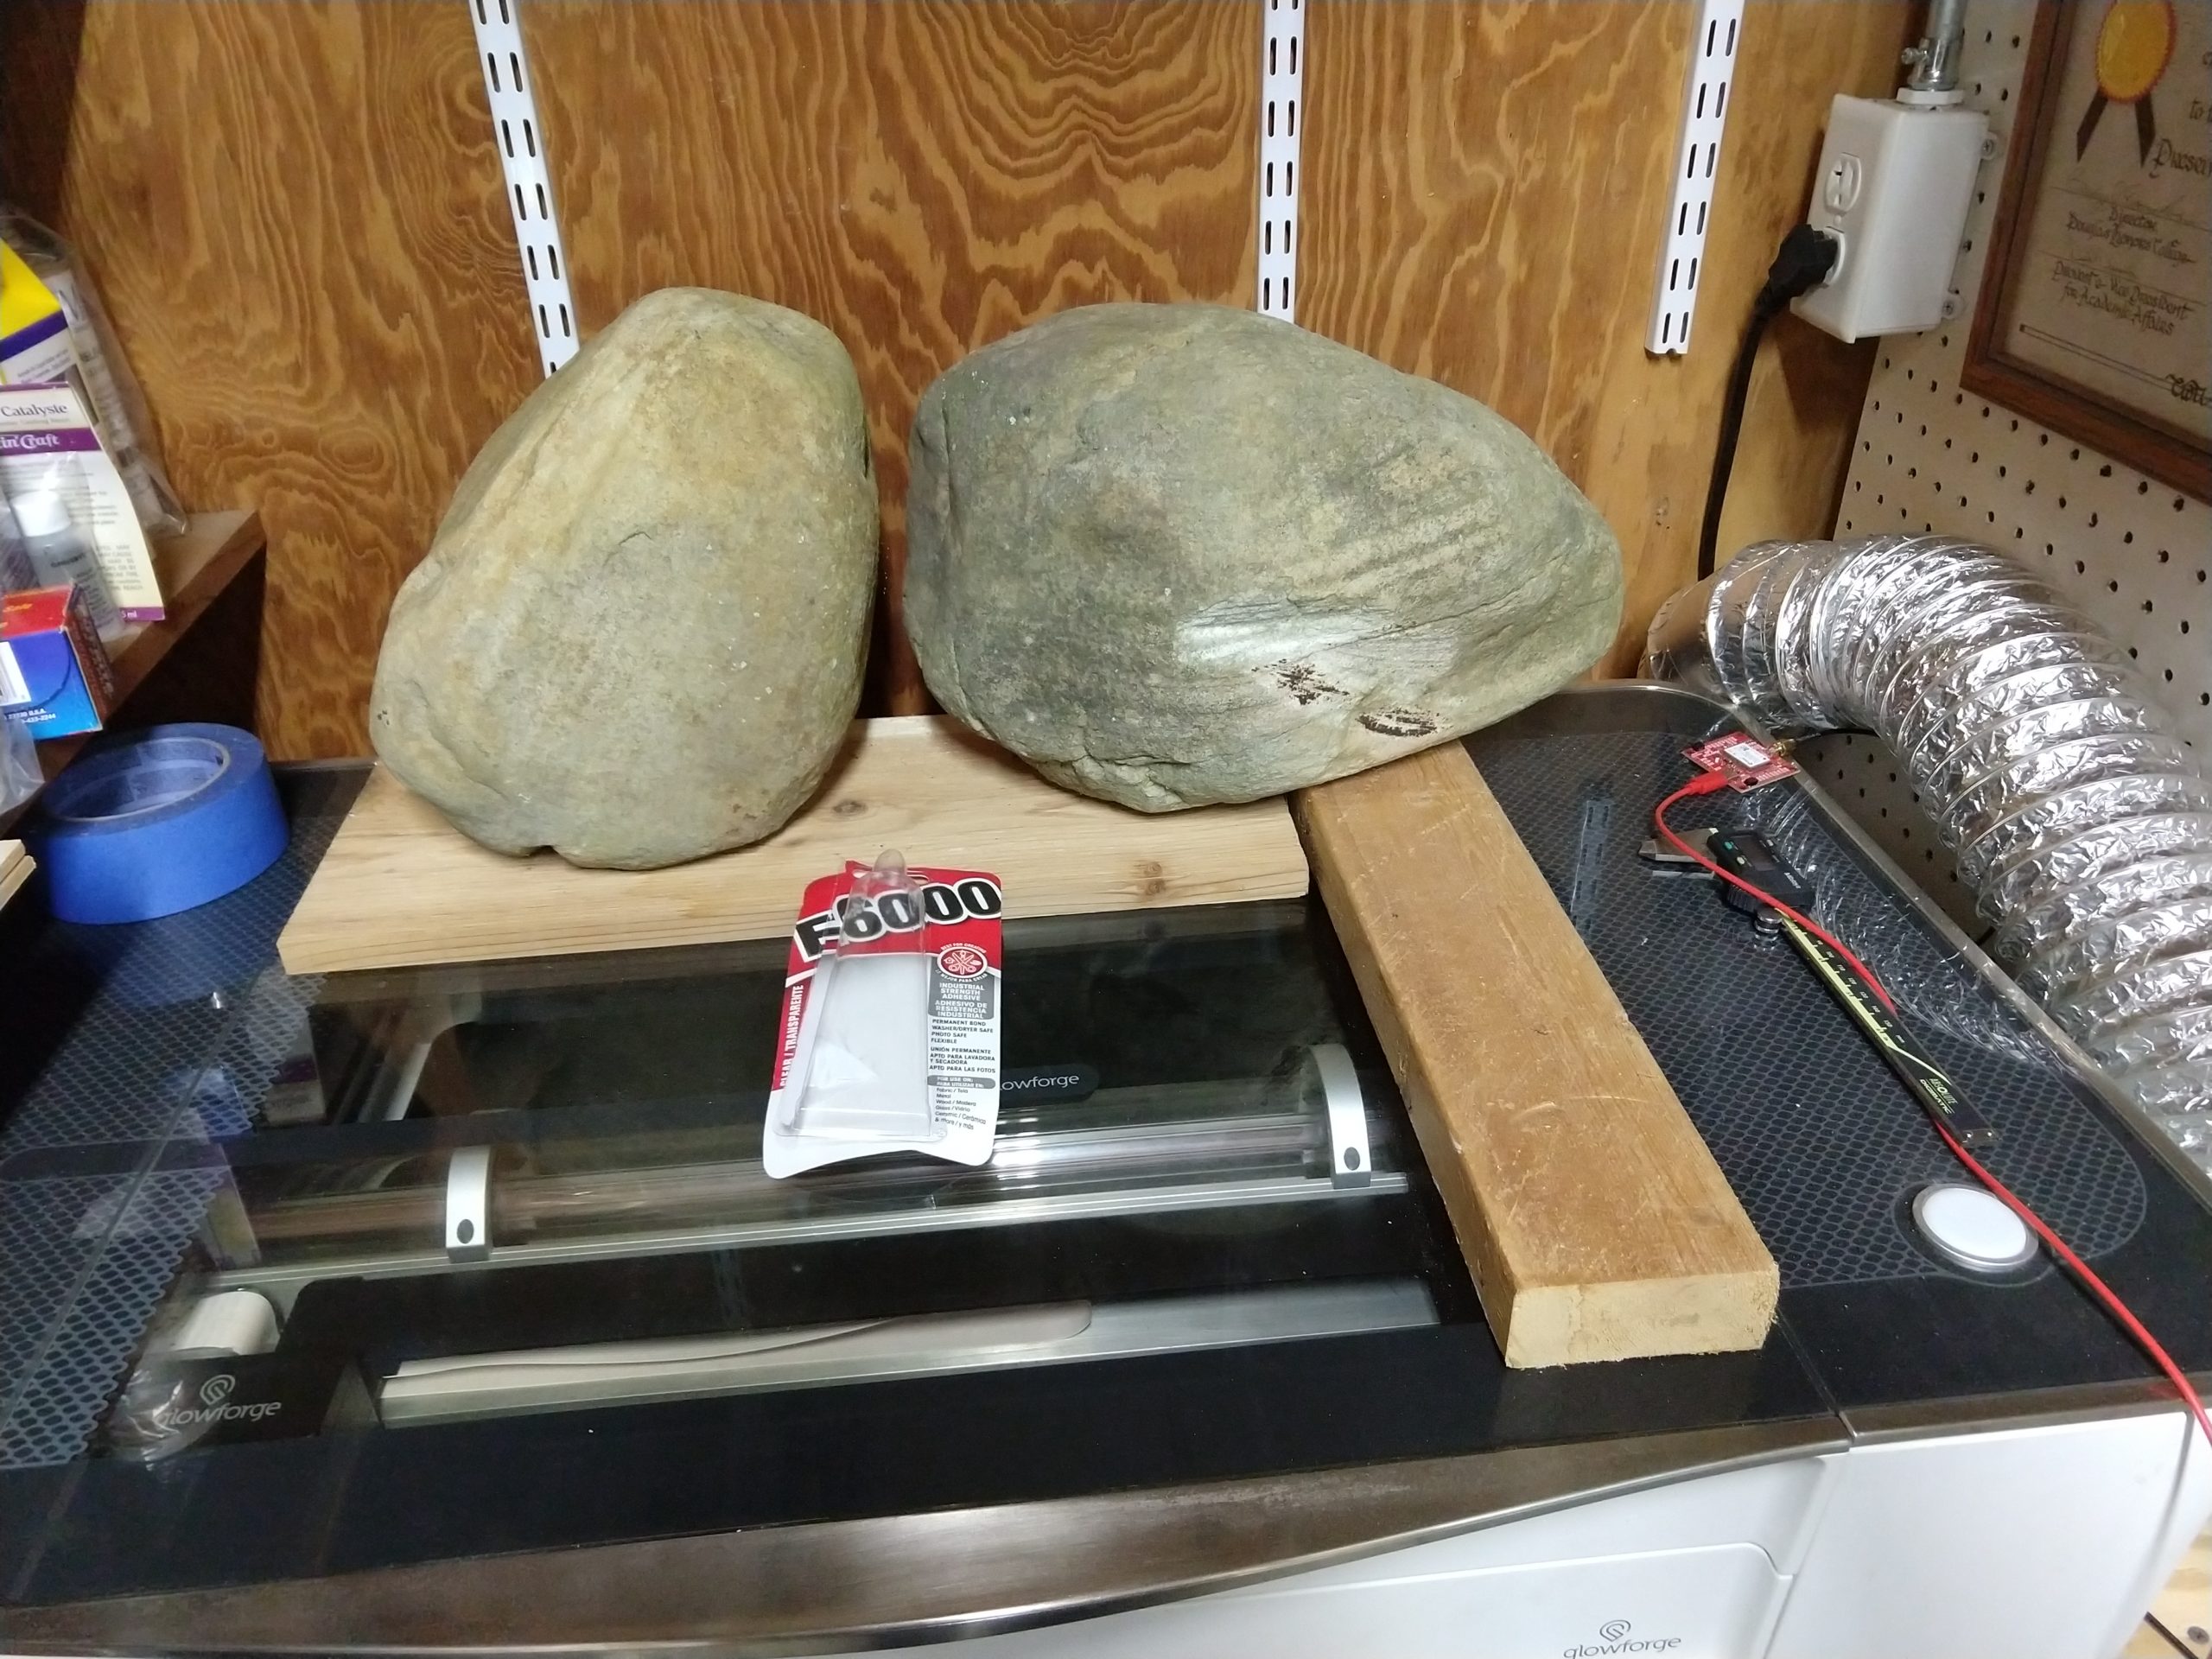
Somebody on the Glowforge community forums suggested that they had used E6000 (a flexible adhesive) to repair their lid, so I decided to give that a shot. I made this choice based mostly on the fact that E6000 is a single part adhesive that comes in a squeeze tube with a nice nozzle for dispensing. Getting a good bead between the lid and the hinge mechanism was going to be a little tricky because the lid is still attached to the main unit by a flexible circuit board/wire and it wasn’t immediately clear how to detach the connector. (I was worried that getting 2-part epoxy between the two of them without spilling any would be difficult. In retrospect, I should have ordered one of those “mix in the nozzle” dispensers for the epoxy….).

So, I laid down a few beads of E6000 and then clamped the lid down onto the hinges for 48 hours.

Rocks holding the lid down

Clamping force provided by gravity.

When I opened the lid, the E6000 mostly held, but there was a noticeable “glue stretching” sound, and the right hand side of the lid (nearest the flexible wire, and hardest to get the nozzle under) detached.   The E6000 was holding the lid on the hinge in an upright orientation, but I didn’t want to risk closing and opening the lid more.

So I ended up using JB Weld Clear 2 part 5 minute epoxy all along the edge of the lid and the hinge mechanism (using a toothpick to push it down in the gap on the right hand side) and then clamping the lid to the hinge in an upright position   (using a real clamp this time) for another 24 hours.

The Epoxy is currently holding the lid onto the hinge very solidly. I’d feel better if I’d used epoxy between the entire lid and hinge mechanism, instead of just the edge and what I could force down the crack on the right hand side, so I’ll be gentle with the lid (but then again, I’ve been gentle with it ever since the handle fell off….)

I’m hopeful the bond will remain at least as permanent as my repair on the handle has so far.

Update: My laser tube gave up the ghost, and GlowForge exchanged my (well out of warranty) unit for a Refurbished one for $500.   (Yes, they were informed about my lid repair activities with Epoxy and approved the exchange anyways…..)