Megatree: Materials & Costs

So, what do you need to build a large digitally color controlled LED outdoor Christmas tree display? (Commonly called a “megatree” by people in the Christmas display community.) And how much will it cost?

First, you need strings of color controlled RGB LED lights, wires to connect them, and a few power supplies. I bought 16 strands that have 50 lights each, with 6″ spacing (PixaBulb w/ Strawberry lens) from http://www.diyledexpress.com. (I also got a 17th strand as a spare, and am using it as my tree topping star right now). This cost me $650 (including extra connection wires & two 12 volt power supplies).

Then you’ll need a light controller. I bought a Falcon 16V3 from https://www.pixelcontroller.com for $210, and a CableGuard CG-1500 outdoor enclosure to protect it from the elements. (This enclosure holds the controller board, but is not large enough for the two power supplies, which I have under a better ventilated anti-rain plastic storage box)

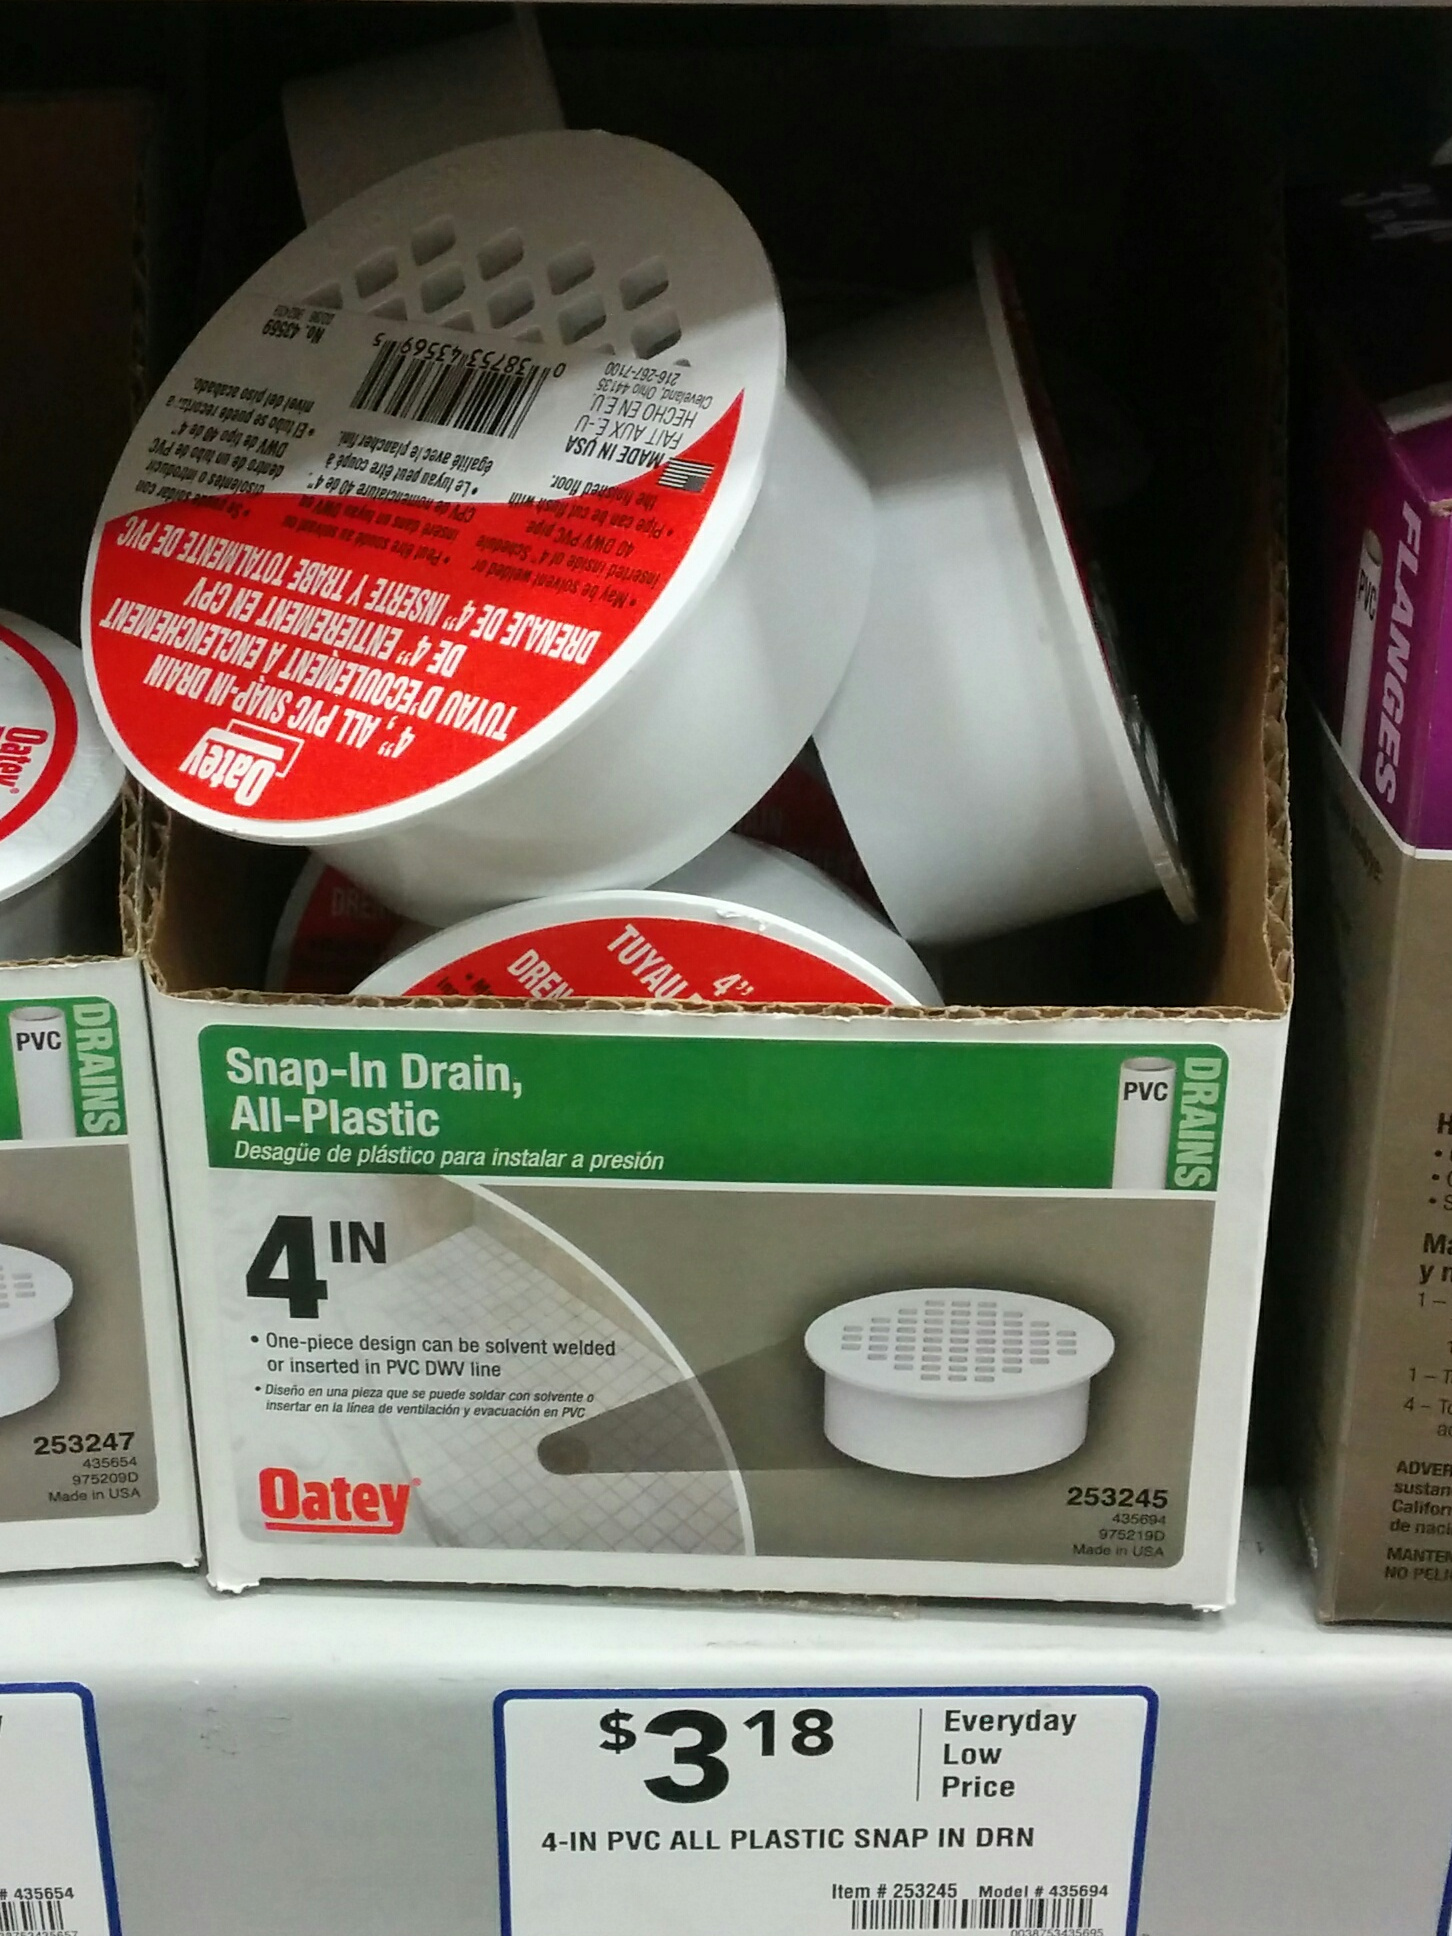
Then you’ll need a lot of mounting hardware (lag eyes, quick connect links, etc) and wire ropes (small cables, cable thimbles & crimp connectors) plus zipties, lots and lots of zipties. I used stainless steel hardware from e-rigging.com except for the galvanized wire rope that I bought at Harbor Freight (shipping a 500′ spool of stainless 3mm cable was prohibitively expensive). Including miscellaneous pieces of wood I used for my mounting ring and star tree-topper, a few extension cords, tent pegs and a 100′ run of Ethernet cable, all of this hardware cost me around $245.

I’m not including the cost of all the tools needed, plus a laptop to sequence and control the show.

So all in, for a “mid-sized” megatree (20′ tall, 16′ diameter at the base) you are looking at a little over a thousand dollars (plus a hundred hours of work). On the plus side, this cost can be amortized over multiple years, so it’s cheaper than multiple years of fireworks. Plus, with some creative work, you could re-purpose the lights for Halloween, weddings, parties, etc…


A more specific list of mounting hardware:

4x 1/2″ x 6″ Stainless Steel Lag Eye Bolts – Mounted in my tree. Completely overkill for supporting my relatively lightweight megatree, but may be re-purposed in the future for heavier loads. Holds up 4 support cables that allow me to raise/lower my top support ring.
20x 3/16″ Stainless Quick Links – for connecting and disconnecting the four support cables and top ends of the light strands to the top ring. I bought a 50 pack from a Chinese seller on ebay, as stainless steel quick links were quite expensive otherwise.
40x 1/8″ Light Duty Stainless Steel Wire Rope Thimble – Used at the top and bottom of each light strand, plus for the cables that lift the top ring.

40x 1/8″ Zinc Plated Copper Sleeve – Crimp connectors that hold the cable in place around the thimble. (Buy the proper crimping tool for these.)

16x 3/16″ x 1″ Stainless Steel Lag Eye Bolt – For connecting the top of the light strands to the top ring.
4x Eye bolts, washers & nuts to mount in the top ring for the support cables to connect to. (forgot the exact size, bought them at Lowes)
4x 4″ Stainless Steel Flag Pole Cleats – My jury-rigged solution for holding the four cables that support the top ring. I’m sure you could come up with a better solution.
16x 9″ tent pegs (bought at Walmart) for staking down the ends of the light strands.
8 packages 100′ 3mm galvanized wire rope from Harbor Freight (16 26′ light strands, 4 50′ support cables, leaving several 20′ seconds left over…) I seriously considered buying a 500′ spool of 1/8″ stainless cable from e-rigging.com, but the added shipping cost made it prohibitively expensive. I’m willing to pay double for stainless, but not quadruple to get it shipped to me. Plus I figure the LED light strands will probably fail before the 3mm wire rope rusts through….
800-900 black zipties from harbor freight (to hold the lights to the light strand cables.
Misc deck screws to hold the top support ring together (made of 2×4’s) and mount the flag pole cleats and cable guard enclosure to the tree.

Nexus 7 (2013) QI charging frame

I bought this inductive QI charger which is designed for cell phones, but also charges my Nexus 7 tablet. The only problem is that the tablet needs to be precisely centered to be charged, which takes a bit of effort to get exactly right, and if it’s bumped off center it stops charging. So I built this frame that sits over the top of the charger and holds my tablet exactly centered over the charging coil.

It’s made up of 3 layers of laser cut plywood, one around the charger, and two identical ones to frame the tablet. It even has nice finger slots to make it easy to remove, a feature I identified as necessary in my cardboard prototyping stage….

You can download the files from Thingiverse @ https://www.thingiverse.com/thing:2734516


Garage Door Insulation part 3 – Window Openings

I used fiberglass batt and reflectix to insulate the non-window panels of my garage doors, and the process was relatively quick and easy.I decided to use two layers of 3/4″ PolyIso insulation boards with aluminum facing to insulate the window opening panels. The process of cutting out two panels to fit around each window opening was labor intensive.


First, I made cardboard templates sized to fit around the windows and cut out my first layer of insulation. On the first layer, I placed the reflective layer “outwards” facing the door, as there is a small air gap between the panel and most of the steel door material due to a decorative “indent”. This first layer goes around the window frame. I would mark each piece of foam with a template, then use a carpenters square to cut straight (and mostly perpendicular) lines.

In the case of the 2nd layer, I had to freehand trace the curves with my razer knife. To keep the reflective side looking nice on the 2nd layer, I would mark and cut from the back, and then finish off the corners of the cuts from the reflective side.

The second layer fits over the window frame, so the openings are cut smaller, allowing light to enter, but covering up any opaque portions of the window or frame.This comes into play more on the front of my garage, which has decorative coverings over part of the square windows.

I faced the reflective side inward to reduce radiant heat transfer to the interior, and to match the reflectix aesthetically.

Two layers of this PolyIso 3/4″ insulation has an R value of 10, although there are some gaps between the layers, along with large openings cut out for the windows, but I prefer the natural light over thermal benefits of covering the windows entirely.

The take-away message here is if you have the choice, always pay extra to buy the insulated garage doors from the factory, as retro-fitting insulation takes time and money.

Easy 4″ exhaust vent outlet

I needed to add an exhaust vent to my workshop that would allow me to quickly attach and detach a 4″ exhaust hose. I decided to use an inexpensive   ($3.18) PVC 4″ snap in drain to go through the board I had in my window for the portable AC unit.   The nice thing about these 4″ snap in drains is that they will tightly fit inside of a 4″ hole, or a 4″ exhaust hose.


Plus, I already had the 4″ hole saw from using the same hardware to vent my truck’s battery chargers.

One hole and a bit of epoxy later, I had a way to vent a 4″ hose out my window.

The drain has a large plastic “grid” to keep out larger creatures, and in this particular application, I have the board mounted inside the normal window screen, so I don’t have to worry too much about bugs.   I also purchased a 90 degree aluminum elbow for $4.28 which makes it very easy for me to plug the flexible dryer hose over the plastic drain piece, and makes the 90 degree turn to go out the window.

It currently sits over the plastic with a friction fit just fine, although I may buy another spring clip to make the connection a bit tighter.   NOTE: This 90 degree elbow is “adjustable” in that you can rotate the different sections around to change the amount of bending. Unfortunately, this let some smoke smell escape into the room from the elbow until I covered all of the seams with aluminum foil duct tape.

Because I only leave the hose attached while venting, I also needed a way to plug the hole when I wasn’t using it. Again, the plumbing section provided the perfect fit with this 4″ PVC DWV to Sewer and Drain Bushing ($2.48), which fits over the outside of the snap in drain very tightly.

I cut a circle of 3/4″ poly iso insulation I had left over from insulating my garage doors to seal the inside of the bushing, and affixed it with hot glue.

Now, whenever I’m not using the Exhaust vent port, I just slip the bushing over the snap in drain and it blocks drafts and provides more insulation value than the plywood board I have mounted in my window for the AC unit in the first place.


My total cost for this solution was under $10 (assuming you have 2 part epoxy and poly-iso insulation just laying around…).


FB1-4001A motor brush photos

Here are some photos of the brushes installed on my DC FB1-4001A series wound motor, rated at 72-144 VDC, (19kW) 25HP continuous ( 100 ft/lb of torque / 48hp @ 500 amps ) which is   9.1″ in diameter.

My motor has a curved protective metal sheet that wraps around the front of the motor (the aluminum with diamond cutouts that has a cutout for the A2 post in this photo). It has a spring catch that releases it (not shown) on the other side of the motor.

I use the metal sheet to hold down fiberglass screen material underneath the diamond cutouts to provide extra protection from road debris. The brushes are accessed after removing the sheet.

The brushes are mounted in pairs, and each brush is held against the commutator by a metal spring and has two copper pigtails to transfer the current.

Here is a closeup of two brushes where you can see the commutator which rotates under them.


Howto: Trim pegboard to exactly match a framed opening

I have this window in the wall I’m putting pegboard up on. Because of the holes, pegboard does let some air and light in, but I decided to cut out the window opening so that I could operate it.

You could carefully measure the opening, cut a big section out of your pegboard panel, and then install it. But, because this opening would make my pegboard panel into a giant “C” shape, it would make installing it by myself excessively difficult. (Also, you have to measure and cut very accurately.)

I found it much easier to just install the full panel and then cut out the opening. I’m using a trim router with a following bit. After I cut out along the top, I hung it up with wire so that the panel I was cutting out wouldn’t fall down later on.

And then I cut out the other two sides. The downside of this technique is of course the copious amounts of hardboard sawdust, which does require a shopvac to clean up.
And of course, depending upon how you install the pegboard your cutouts may go through a series of holes. But, the edges are very close to the edge of your framing members.

Garage Door Insulation — Part 2 (Reflectix radiant heat barrier)

After installing the R-8 fiberglass batt with white vinyl backing, my garage doors were relatively well insulated, but I decided to add a layer of reflectix as a radiant heat barrier.

In this situation, with one side facing the open air of the garage, it adds about a 3 to the R factor. I also like the aesthetics of the silver bubblewrap more than the white puffy vinyl.

Unfortunately, unlike the Dow Corning fiberglass batt which is designed for garage doors and comes pre-cut at the factory to the correct height, I had to measure and cut the reflectix down from a 24 inch roll.

If you don’t have support bars, it’s relatively easy to install. Just make a few cuts to go around the upright bars and tuck the top and bottom inside the lips of the door panels. I was going to move the white plastic clips that hold the fiberglass in to outside the reflectix, but so far, a pure friction fit is holding it just fine.

The panels with support bars require more work. I guess it would be possible to remove the support bars and then re-install them on top of the reflectix, but I chose to measure and mark each bar location by cutting the edge of the reflectix, then taking it down and cutting the proper length. I installed the reflectix panel under the horizontal support bar, and made sure that the top lined up just under the height of the panel. Then I notched around the vertical bars so that I could get the top in place.

So far, they all stay in place with nothing more than a friction fit. The bottom panels that don’t have a horizontal support bar holding the reflectix bow the most when overhead and may pose a problem as they age, but if I run into issues, I’ll just take the plastic clips that hold the fiberglass on and move them to the outside of the reflectix to help hold it in place as well.

Next, I’m going to cut aluminum faced polyiso foam insulation for the spaces around the windows in the top panels.

Garage Door Insulation – Part 1 (Fiberglass door insulation)


My two car garage has four single wide doors. Two in the front, and two in the back, and they had no insulation. If you ever buy a new garage door, pay extra to get the insulated panels, otherwise, somebody may have to retrofit insulation later on.

I used 3 kits from Owens Corning that comes with R-8 fiberglass bat and plastic mounting clips. Because I’m only using it on the windowless bottom 3/4 of each door, I was able to   use 3 kits to insulate all 4 doors. I’ll be doing something different around the windows.


The other option is an R 4.8 Faced Polystyrene foam board kit, which is $20 cheaper per kit, but doesn’t offer as much insulation value, and would have required that I remove some support bars to install. Plus I hate cutting polystyrene as the beads get everywhere.

In addition to a pair of medium gloves, each kit came with two extra pieces of foam tape, 2 pairs of plastic clips, and a piece of vinyl repair tape.

I used acetone to remove the paint where I was going to be putting the foam stickers to mount the back half of the clips. I put up 12 foam squares at a time, and then put up 12 clips. You want to roughly center them in the openings. Where there were support bars, I centered into the remaining opening.

Then it’s just a matter of measuring each opening, and cutting your fiberglass batt’s about 1″ wider. The height comes pre-cut from the factory for standard garage door panels.

The kit includes a pair of medium plastic gloves, and you’ll also want a long sleeve shirt when handling the fiberglass. Then you just push the batt into the opening. After you are happy with how it is centered, you push down to find the end of the plastic clip, cut a small X in the vinyl with a razer knife, and push a mating clip onto it. The finished door is nice and white and puffy.


So far, friction and the plastic clips have held in all the fiberglass batts just fine. I’m probably going to be adding a layer of reflextix as a radiant barrier over the top of the   fiberglass. [I also plan on using foam insulation around the windows.]

There is a definite temperature difference between the insulated and non-insulated (top window) panels. Outside in the shade, the insulated panels were 99 degrees, and the uninsulated panels were 95 degrees, as they were being cooled more by the inside of my garage. (A bad thing…) Inside, the uninsulated panels were 94 degrees (a one degree difference from the outside) while the insulated panels were 88 degrees (an 11 degree difference).

Next up, wall and attic insulation.

Denford Micromill 2000 January 2003 dispatch date – SGR location

Cliff Burger is part of a makerspace ( http://www.tcmakerspace.com ) which had a Denford Micromill 2000 (January 2003 dispatch date) donated to them. When referring to my four part series( 1, 2, 3, 4)   about how I got mine working under CNC control, they noticed a few differences with their model and wanted to share that information.

Instead of having a custom made relay & power board, their mill has it’s relays mounted to a DIN rail (bottom left of the case in the image below).   The spindle go relay (SGR) is located in the 2nd from the right position.

A quote from Cliff:

On the DIN rail, the spindle activation relay is the second one in from the right. It’s a 12v relay with the ground for the coil being controlled by the C6 pin. However, currently the relay never sees a 12V signal either. Not sure if it’s something wrong with my board or it’s waiting for another command signal before it sends the 12V out as well. Either way, I’ll likely just get a 5V relay and switch it right off the BOB, but for the time being I’ve moved the orange wire from the “14” position to the “12” position to supply power to the board at all times.


Cliff also sent along his mach3 config file, which you can download here (note, you will have to remove the .txt extension from the file to use it.)   Denford.xml.txt

He has the following caveats:

Things to note about the mach3 config:
1) My limit switch are on different pin numbers due to me chopping 1 wire a bit shorter than I should have (oops!).
2) default units are in inches so the steps per INCH are correct, but may need slight tweaking for each application.
3) backlash settings will need to be measured for each mill, or disabled.
4) I’m running a UC100 UBS adapter board so Mach3 may give an error message the first time you open it with this config file.

Rolling Milk Crate organizer

I have a large number of these milk crates for storage. Although they stack well, it makes getting things out of the bottom of the stack unnecessarily complicated, and it also takes a lot of time to move the stack. I put a furniture moving dolly under the stack, which made it extra unsteady.

So I built this rolling organizer that lets me access any crate, move the stack around, and has some extra pegboard for hanging items. The final height rolls just under standard height garage doors.

Continue reading