Review: FunCreCol Standard White 101 photo-polymer resin for DLP/LCD 3D printing

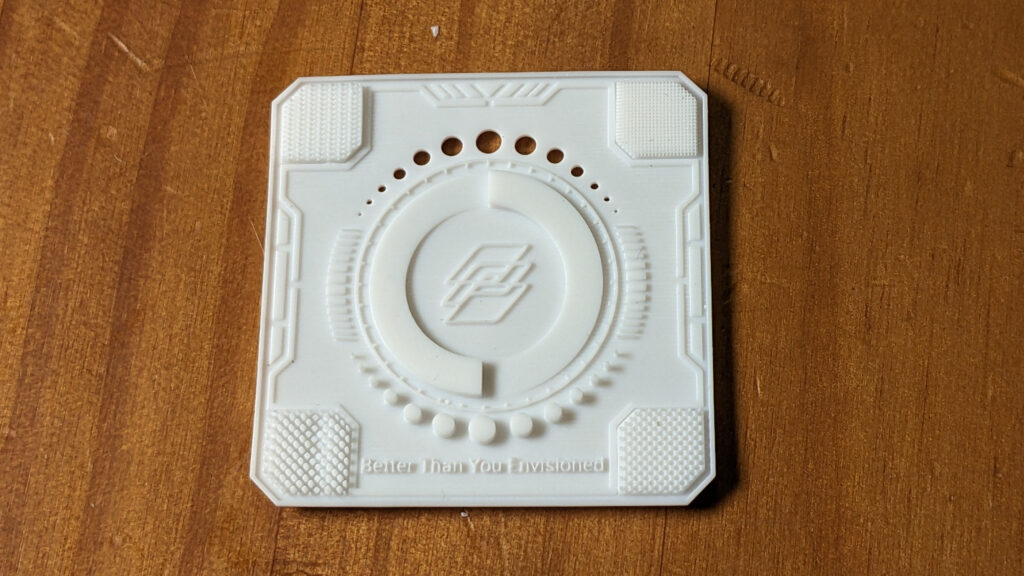
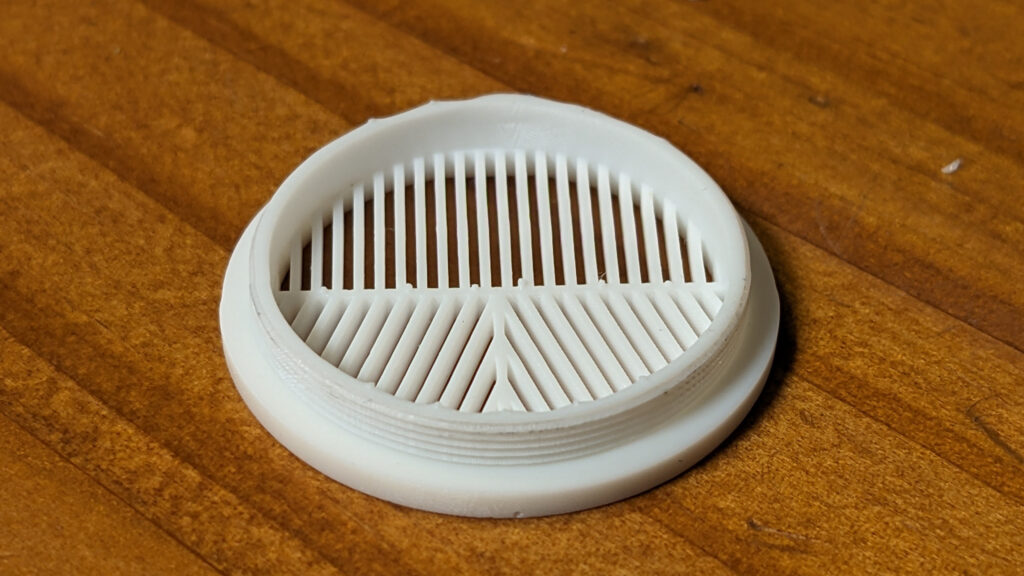
The FunCreCol Standard white 101 ($25)  is a low viscosity white photopolymer 3D printing resin. I used it with my Phrozen Sonic Mini 3D printer and after I added one extra second to my layer exposure times it worked beautifully. The output quality and resolution was just as good as my printer achieves with the Phrozen branded aqua ivory resin.

Exposure test print showing good details

The resulting prints were much stronger than the Aqua Ivory resin, but slightly more brittle. I suggest using the “thin” supports setting on your sliding software, as the thin supports bend and do not shatter into shards as much when you are breaking them off.

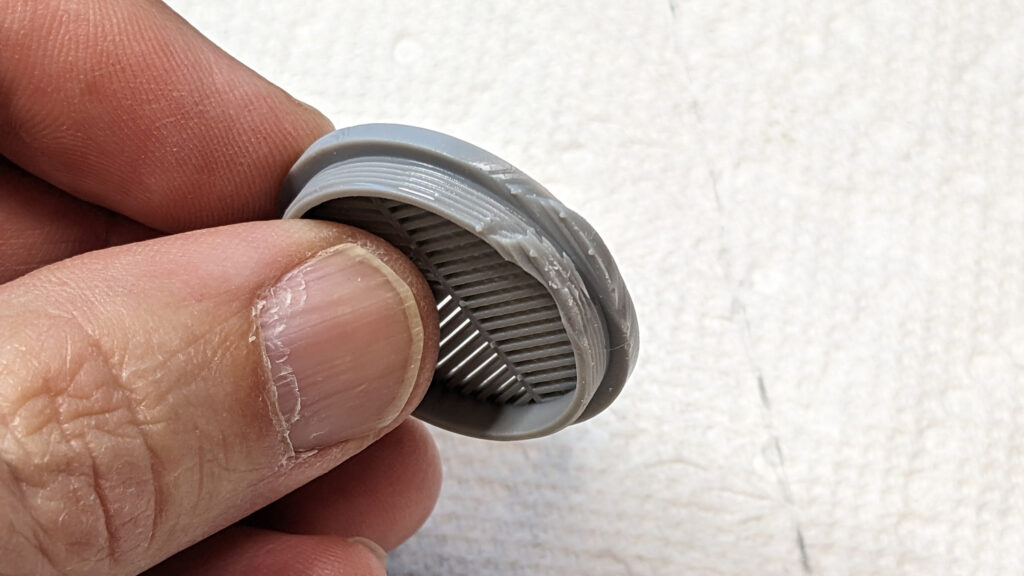
Showing fine thread detail

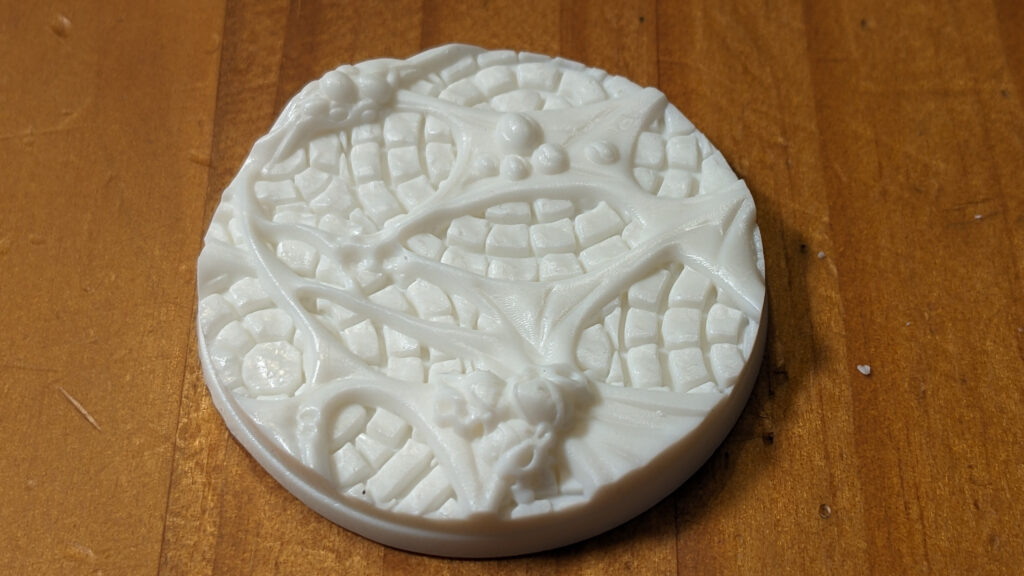
A 50mm tabletop gaming base with fine details

Continue reading

Review: FunCreCol “Tough” 102 gray photo-polymer resin for DLP/LCD 3D printing

The FunCreCol 102 “tough” (gray) resin produces prints with good resolution that have a little flexibility. They are not “flexible” like TPU, but do have a little “flex” and will generally bend instead of breaking. It is MUCH less brittle than the FunCreCol standard (101 – white) resin (But also costs more, and takes a bit longer to print due to the longer exposure times required).

Edge of a print deformed due to the interaction of flexible resin and thin supports

The only issue posed by the flexibility is when using light/thin supports with certain geometries, it is possible for the support structure or small parts of the print to flex and not fully pull off of the film, which can sometimes lead to distortions or “bad spots” in the print, typically focused near the small islands or near the beginning of the print. You can resolve these issues by using larger (medium/thick) supports or carefully positioning your prints to avoid small areas that would be susceptible to flexing while being pulled off of the film.

Continue reading

Turning custom extruder parts

finished_heatsinc
jays_parts_in_front

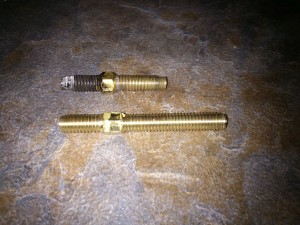
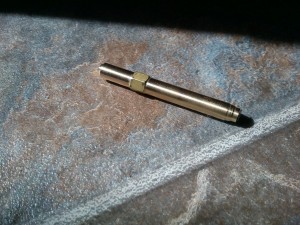
This is my new extruder hot end. After enclosing my printer with an insulated box, I decided that I needed to drop more heat before the plastic entry side of the end of the barrel. I accomplished this by turning an extra long barrel out of brass, and a small heatsink out of aluminum to go between the heater and the Groove Mount.

You can see the barrel compared to the original part here:
original_and_replacement_part

The barrel was straightforward to turn out of a piece of 1/4″ hex stock. I put the threads on with a metric M6x1 die.
turned_hex

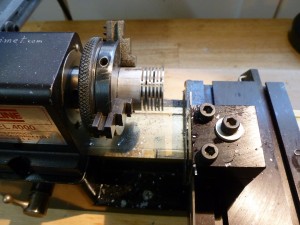
The HeatSink took more time, mostly because I had to cut the fins out of a 1″ diameter rod quite deeply with a cut-off tool.
inLathe1

I compressed the several hours of work on the heatsink down into a six minute video below:

CaseModding my 3D printer’s insulated cover

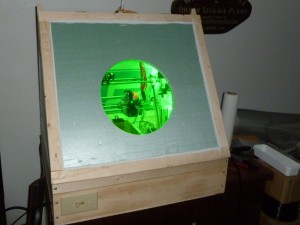
After building an insulated cover for my 3D printer, I decided that I needed to put some lights inside. This allows me to see how the print job is progressing, both via the porthole, and via the interior webcam. Because green surplus neon tubes for computer cases are inexpensive and take 12 volts, I riced up the cover with two green neon tubes. The color complements the light teal of the foam insulation nicely, and gives my Garage Laboratory an evil green glow at night.
riced_cover_neon_lights

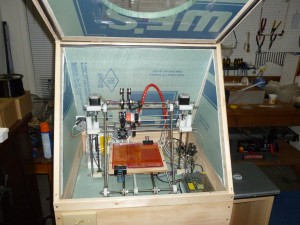
Insulated cover for my RepRap

lid_open
My 3D printer lives in the garage. I use it to print ABS plastic, so the smell needs to be out there. However, as my garage is unheated, I have problems with ABS prints warping and cracking, especially during the winter due to the cold air around the part as it is printed. To solve this problem (and get better performance even in the summer) I built an insulated cover for my 3D printer.

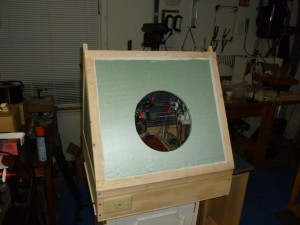
lid_closed

I cut a round viewport in the door that is covered by shrink fit window insulation plastic. Continue reading

Rostock-Mini Tweaks

I brought my rostock-mini 3D printer home so that I could take it to a class, and while I had it here, I decided to update a few minor things.
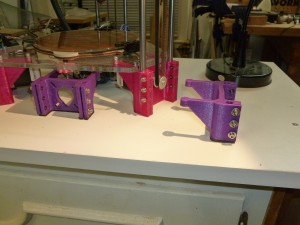
highboy installed

First, I swapped out the stepper motor brackets (which also serve as the legs) with three I had designed and printed that were 20mm taller. I have a full RAMPS board under the base plate of the rostock-mini, and although it fits, the fit was “very close”. I didn’t like the fact that my stepper motor wires would touch the surface the printer was sitting on, and the limited airflow paths. This extra 20mm really helps things out, and also opens up the possibility of installing an LCD control panel under the base plate in the front. (If I can figure out how to avoid my bed leveling knobs.)

Second, I upgraded the springs on my adjustable print bed to some that were a bit taller and a bit stiffer. My overall build volume was shortened from 187mm to 185mm, but now I have a lot more range for adjustments and the bed is more rigid (while still allowing the print head to push the spring loaded bed down if it crashes horribly).
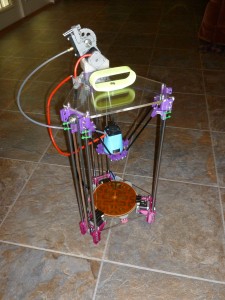
wiring harness
Third, I wrapped some plastic spiral wire harness wrap around the wires leading down to the print head, to give them a better visual appearance.
bowden tube ptc
Finally, I changed out my bowden tube from using M4 nuts to hold the tube to using screw in Push To Connect adapters. The goal was to allow me to remove the tube from either end without having to unscrew the plastic part holding the nut in place. However, the cheap PTC adapters I bought appear to be single use, in that they don’t release the tube reliably without breaking, so basically it just makes the bowden tube look slightly more professional.
MakerGear Hot End Molex Connectors

mg_plus_hot_end

I recently replaced a MakerGear hot end with a different model (MG Plus) but wanted to maintain the same connectors (used for the resistive heater and the thermocouple). The MakerGear connectors had a positive locking clip, while the JST connector that came with the MG Plus thermocouple was only friction fit.

FYI – The MakerGear hot end and Prussa Mendel kit I have use the following Molex Micro Fit 3.0 Family parts:

  • The female connector (with the bump) is a Molex 0436450200 (DigiKey part number WM1845-ND).
  • The male connector (with the hook that catches the bump) is a Molex 0436400201 Digi-Key part number WM1855-ND
  • You will also need the associated female and male crimp connectors for the internal contacts: Molex 43030-001 tin 20-24 guage wire (DigiKey part: WM1837CT-ND CONN TERM FEMALE 20-24AWG TIN) and Molex 43031-007 tin 20-24 gauge wire male terminal (DigiKey Part: WM1841-ND WM1841-ND CONN TERM MALE 20-24AWG TIN)
    ( You might want to get the crimp connectors for smaller wire (higher gauge numbers) depending upon what wires your thermocouple uses, but I got 20-24 gauge for use on power connections and just soldered my thermocouple wires into them.)

The cartridge heater on the MG Plus nozzle came with enough wire to reach all the way down to my RAMPS board so I ended up only using the molex connectors for the thermocouple, and running the resistive heater wire all the way down. This left me with a set of wires going to my hot end terminating with a molex, and I eventually plan on using this for an “always on” fan for cooling the top of the hot end (as opposed to the “under RAMPS control” fan for layer cooling).

Rostock-Mini: Fully Operational

After replacing the 1/8″ plywood temporary base and top frame plates with the final 1/4″ acrylic , my rostock-mini is working very well! The extra rigidity in the frame has greatly improved it’s positioning accuracy and it’s making prints that rival my Prussa Mendel for quality. The video above shows my round print bed and spring loaded adjustable levelers in action, as well as a close up of the delta bot motion.

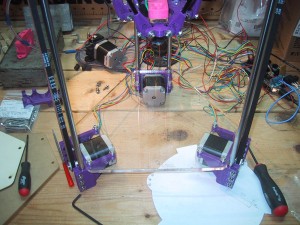
This is a picture of the clear acrylic base plate before I added the print bed holder to it.
clear_acrylic_base

Here is the complete printer with the adjustable print bed.
working_printer

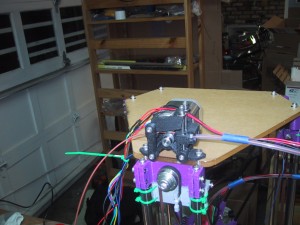
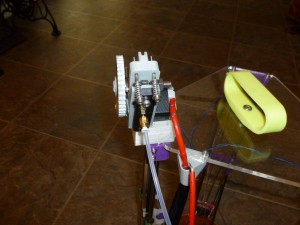
I mounted the airtripper v3 bowden extruder cold end on the rear of the top plate. As it turns out, the M6 screw holes on the extruder are close enough to the right distance apart to match up with the idler top end printed bracket, so I can use the same M4 screws (with fender washers) to hold the extruder cold end as well as hold the top plate to the idler bracket! Once I saw that bit of luck I gave up all thoughts of mounting the extruder under the bottom frame plate.

airtripper_extruder_on_top