Adding disk brakes to a bike frame without disk brake mounting holes

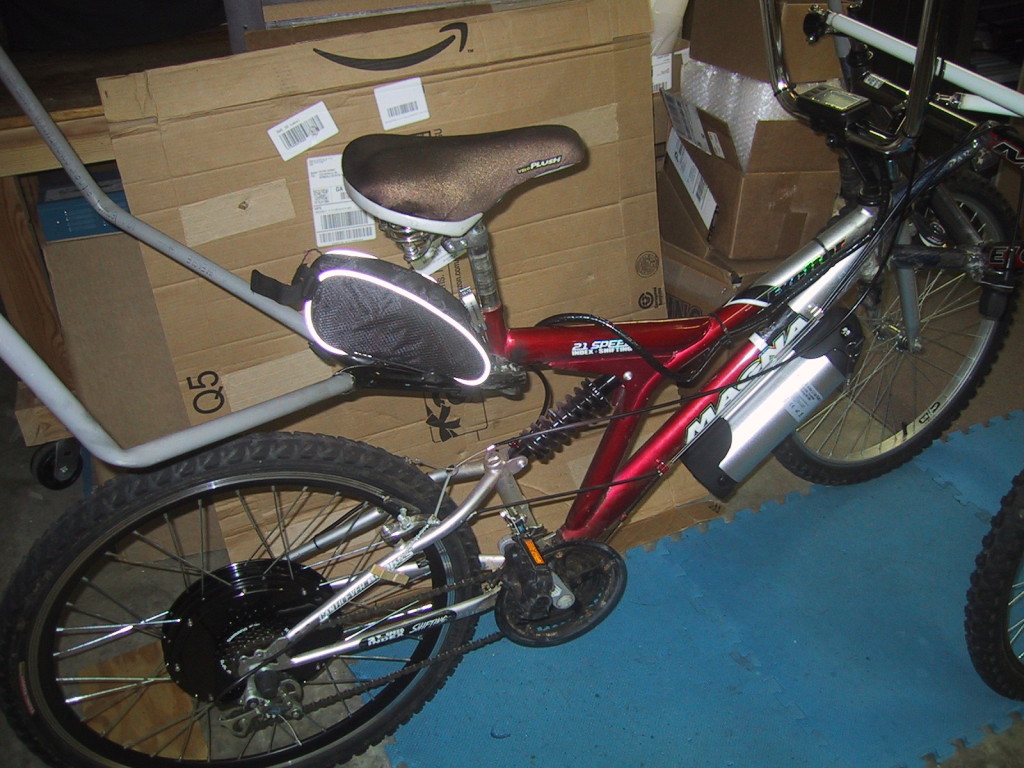
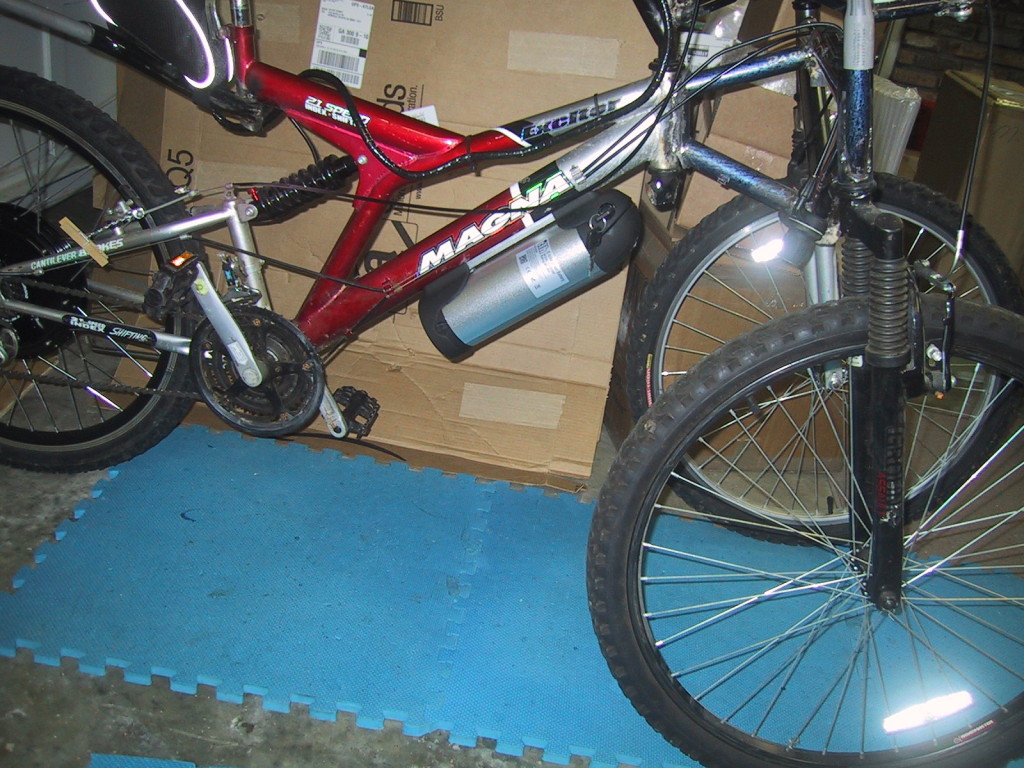
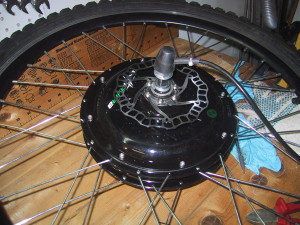
The electric hub motor I purchased had a set of six holes built in for adding a 140mm disk brake rotor. Unfortunately, the bike frame I had used was not set up to mount a disk brake caliper.

rotor_installed

I purchased the cheapest cable actuated disk brake caliper and rotor set I could find on ebay ($50) and then had to figure out how to mount the caliper. After a bit of thought, I eventually decided to keep it classy and not weld the entire thing directly to the bike frame.

Disk brake calipers are mounted using two screws, hopefully with lock washers to make sure they don’t come out. M6 SHCS (Socket Head Cap Screw), typically 1.0 thread pitch and 18mm long)

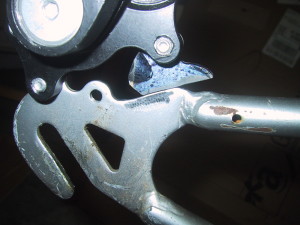
Although my bike frame did not have built-in holes for a disk brake caliper, it did have some threaded M6 holes for other purposes (racks/mudguards, etc..), so I could use one of those, and only had to add a 2nd mounting hole at exactly the right place.

hey_look_m6hole

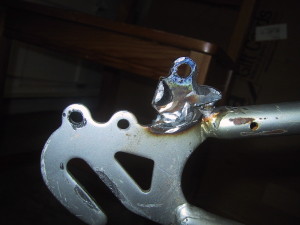
From chopping apart a lot of bike frames, I had some spare steel, and one of the spare front forks also had an M6 hole tapped into it, so I didn’t even have to drill and tap the 2nd hole. I used a cut-off wheel on an angle grinder to liberate the hole and surrounding steel, then screwed it to the 2nd hole in the caliper, using the caliper body itself to hold the steel piece in place while I welded it. (The caliper also has two screws that adjust the body slightly, so the weld doesn’t have to be 100% perfect…)

ready_to_weld2

Getting the small piece of steel, and cleaning off all the excess paint to get the parts ready to weld took a lot longer than actually doing the small weld. (I could have brazed the two together, but since I have the welder just sitting there, and the welded joint will be stronger, always important for brakes…)

welded_on

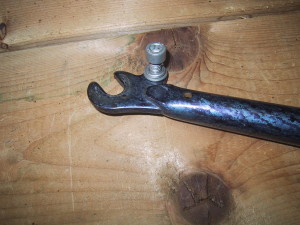
Of course, because the brake caliper itself has M6 threaded holes, you don’t want the holes on the frame to ALSO be threaded (because then you can’t use the screws to tighten the caliper to the frame of the bike effectively) so after I had the holes positioned where I wanted them, I used a drill bit to ream the threads out of the holes on the frame. (N.B….never use a drill bit as a reamer…unless you don’t have a reamer….)
Electrifying Franken-Trike

Franken-Trike is big and heavy. And it’s only going to get bigger and heavier once I finish the rain cover. So I added an electric motor to it… Weight with motor and battery is now 80 pounds.
ebike_parts

This is a Chinese generic hub motor, controller, LCD display that includes speedometer and odometer, along with a “water bottle” style 36v 10aH Li-Ion battery pack. The motor claims to be 500 watts, and the battery claims to be able to provide 540 watts (15 amps * 36 volts), but on steep hills I have to petal a bit myself to maintain speed. On level ground it can get the bike up to a scary enough 10 mph by itself, and I expect it will fulfill its purpose of making my commute into less of a taxing workout of lugging the monster bike up the big hill…

water_bottle_battery

New electric bicycle motor mount

motor mounted over the front tire of a bicycle using PVC pipe

The simplistic motor mount I made for my electric bicycle (which consisted mostly of me bolting a motor to my wire basket and holding the basket away from the axle with a piece of PVC pipe) had been working well for five months. Until, that is, I ran over a particularly large pothole and the chain fell off. I took the hint that the PVC pipe and wire basket were not exactly up to my exacting quality standards and decided it was time to make something better.

I decided that the main problem was that my wire basket was not rigid enough, so my construction material of choice remained 3/4″ schedule 40 PVC pipe. This time I used TWO upright supports, one on either side of the axle and some C shaped metal shelf brackets bolted to my motor mount. (I also used PVC elbows and pipe to join the top of the supports.) This picture gives a good view of how the whole thing fits together. I am still using a hose clamp connecting it to my wire basket for left-to-right stability, but this produces much less stress on the basket, and a little left-to-right wiggle is unlikely to allow the chain to come off the gears.
Continue reading

Ebike Solar Charging

My electric bicycle has a motor that draws up to 450 watts (if I drive it over its nominal 250 watt rating), and the batteries have only 5AH (approx 120 watt hours) total capacity. Keeping in mind that I should only discharge the lead acid batteries to 50% (approx 60 watt hours) this indicates that I can only use the motor at full blast for eight minutes.

But, since I only use the motor to help go up hills and provide extra acceleration, and most of the time it is not drawing the full 450 watts, I actually have a much longer run-time. I deliberately chose to put small batteries on the bike both to keep the weight down, and to allow them to be recharged using solar cells (8 watts) in a reasonable amount of time. Under full sun, hypothetically the solar cells will generate 60 watts of power to recharge the batteries from 50% to 100% charge in 7.5 hours. In actual practice, it takes more like 10 hours of sunlight, usually around two days.

How does this work in actual practice? Here are some examples.
Early Saturday morning I biked a 2.8 mile round trip to the post office, using the motor lightly. I left the bike outside all day and it was recharged by 4pm. On Sunday afternoon I rode the bike to a friends house ( a 2.5 mile round trip). Because it was overcast and raining, no charging occurred before I then rode the bike another 0.9 miles to the Marta station (up hill) and left it all day. (At this point the batteries had been used for 3.4 miles of travel without charging.) When I returned at the end of the day and rode the bike home (another 0.9 miles) it was not fully charged (due to the ride home) but the voltage had gone up significantly. After leaving it out in the sun for another day the batteries were fully charged.

In general usage, I typically only use the bike two or three days a week (rain, schedules matching up, etc) so the two day charging time fulfills my needs. If the bike was my only means of transportation, I’d probably have to supplement the solar charging with a grid tied charger, or install much larger solar panels at a fixed location to charge the bike.

Vacuuform motor cover

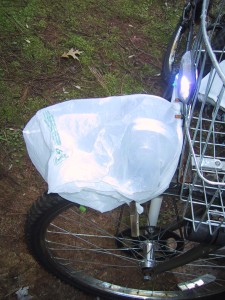
plastic bag covering motor

Ever since I mounted an electric motor to the front wheel of my
bicycle I have been keeping a plastic bag over the motor with a clothespin whenever the bike is parked. This does a decent job of keeping rain out of the motor, but the process of uncovering and covering the motor takes extra time. In an effort to make a permanent rain cover for the motor, I built a tool (mold form) out of wood and used a vacuuform machine to shape a piece of plastic over it.
Continue reading

E-bike solar charging rack

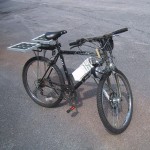
Solar EbikeAn electric powered bike makes it easier to go up hills, and can turn a ride to the train station from a workout into a commute. Typically however, the batteries need to be plugged in to charge after your trip. Although electricity is cheap, this does require that you have removable batteries (or wheel your bike into the house or bring a charger outside). I decided to use the sun to recharge my bike, seeing as how I would be parking my bike outside at a train station all day. This way, it can be fully charged and ready for the ride home when I return. Continue reading

Bike Lighting: $15

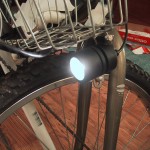
Front Headlight In case I need to commute home after dark on my electric bike, I added a front headlight (5 watt MR11 halogen) and a rear tail light (Red LED tail light for “off-road” use). The front headlight enclosure was designed to be used on a bike, and included a nice mounting bracket and enough cord that I could harvest some to run to the rear tail light. Black zip-ties hold the wires to the frame. The rear tail light had no enclosure, so I soldered the wire directly to it and epoxied it into the back of my rear rack. Both lights run off of only one of the 12v batteries through a 5A blade fuse and an automotive switch mounted under the battery pack. Continue reading

The $175 Electric Bike

Electric Bike
Electric bikes are expensive. Even if you buy the cheapest electric bike you can find on deep discount at walmart, it costs $300. (Formerly $400 before they deeply discounted it.) I decided to build my own out of surplus parts and things I could buy at the local Ace Hardware for less than $300. (Mostly, for the fun of the build.)

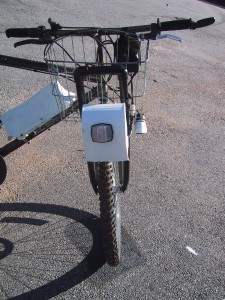
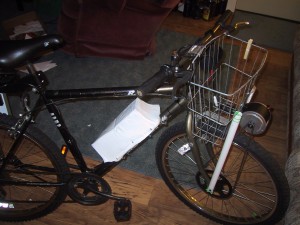
So, I bought a surplus motor controller, handlebar mounted throttle, and a 250 watt electric motor. I bolted the motor to the front of my used $20 bike, built a battery holder out of PVC pipes, and made a vacuum formed cover.
Continue reading