Long Board & Sheet Storage + Maslow CNC Frame

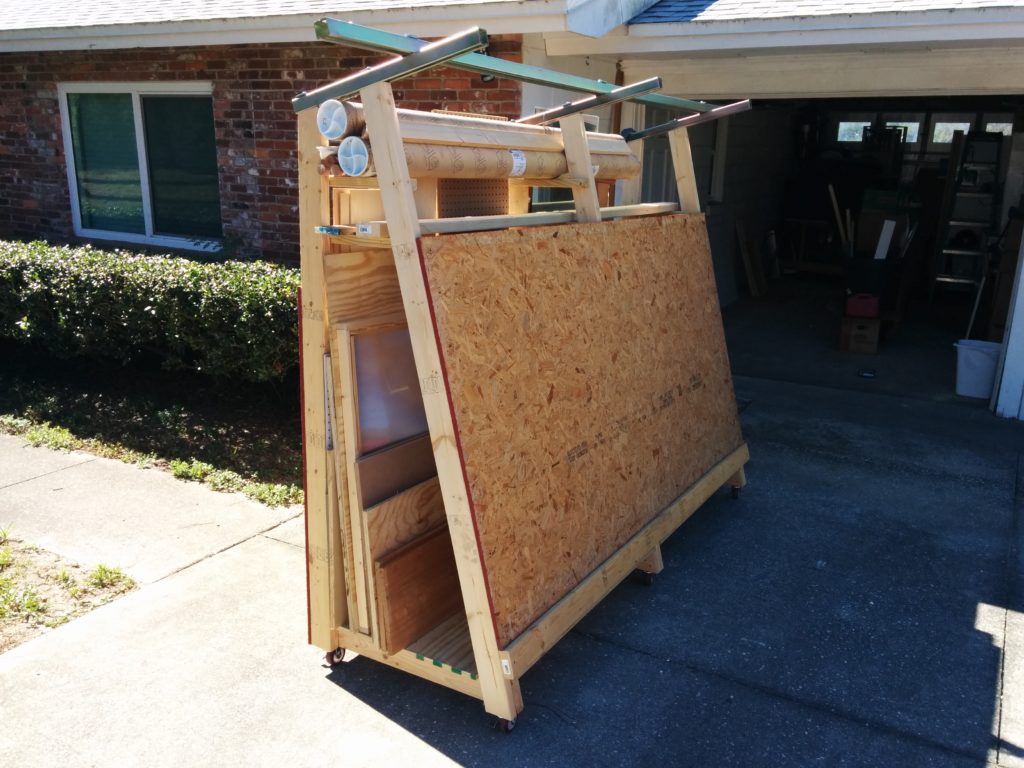
I built this rolling triangle shaped frame as a multi-purpose piece of shop furniture. It’s primary function will be as the frame for my maslow CNC router, which is why the front face is at a 15 degree angle and it has the 10′ unistrut beam at the top to mount the chain drive motors on.

But, if I’m going to have a frame to hold a 4’x8′ sheet in my garage, I wanted the back of the frame to serve a useful purpose, so I integrated sheet and board storage into the rolling frame. I can store multiple 4’x8′ sheets inside, along with many long boards in the top. It also stores various pieces of flat plastic and glass I’m saving for important future uses.   Continue reading

Garage Door Insulation part 3 – Window Openings

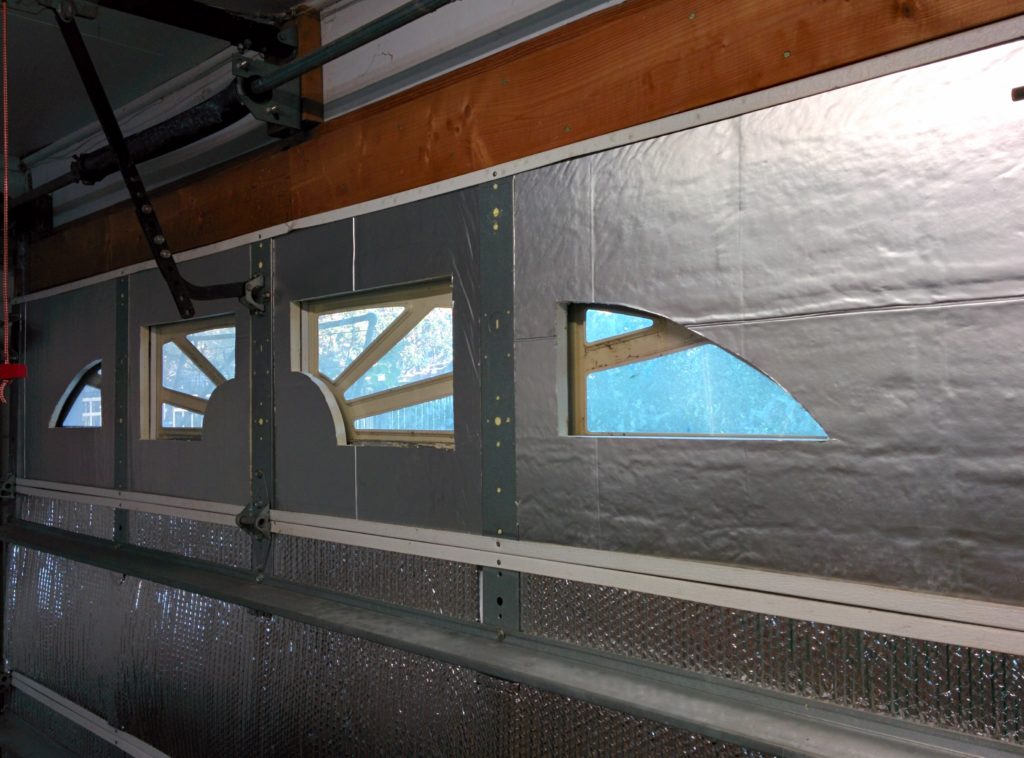
I used fiberglass batt and reflectix to insulate the non-window panels of my garage doors, and the process was relatively quick and easy.I decided to use two layers of 3/4″ PolyIso insulation boards with aluminum facing to insulate the window opening panels. The process of cutting out two panels to fit around each window opening was labor intensive.


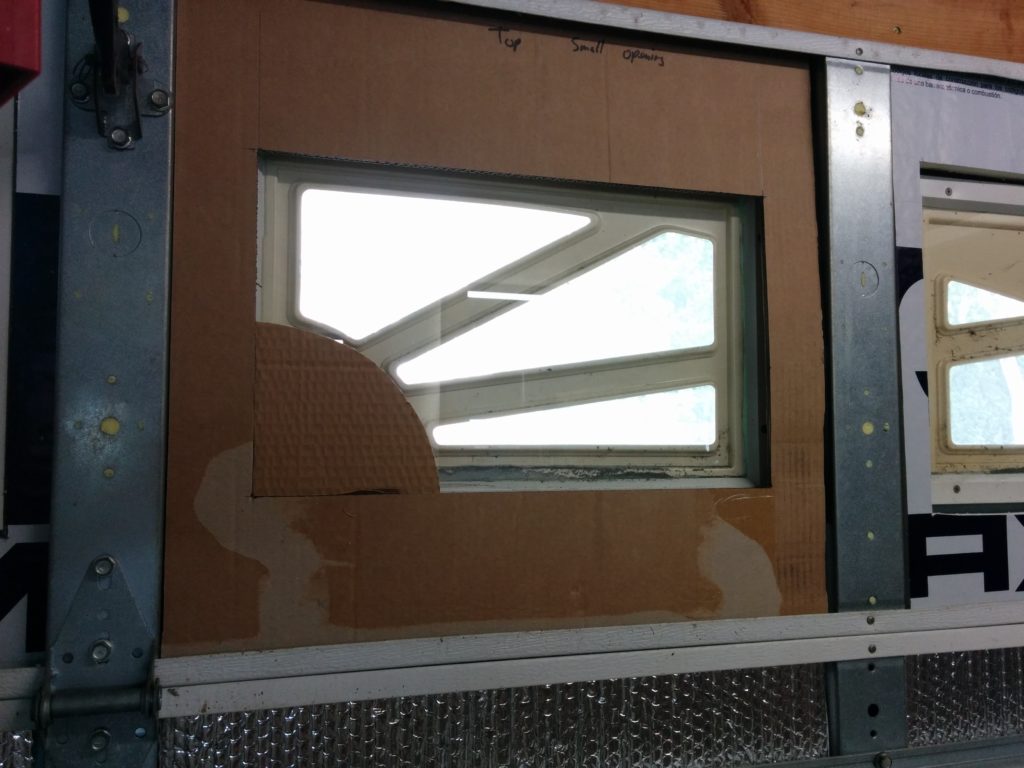
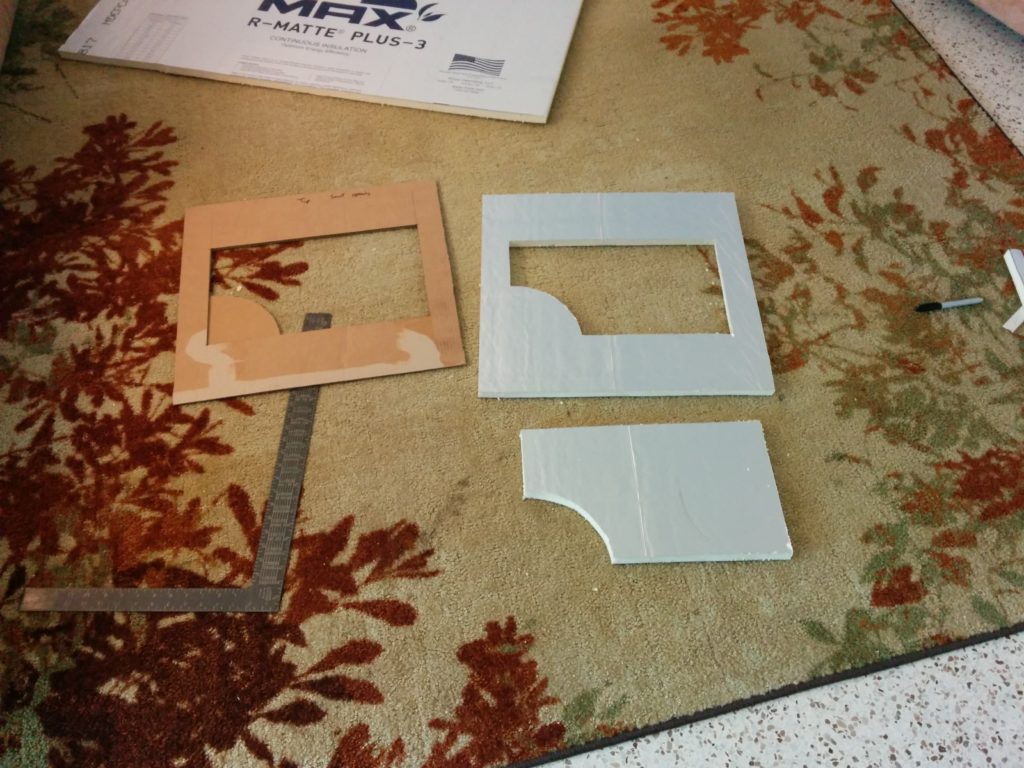
First, I made cardboard templates sized to fit around the windows and cut out my first layer of insulation. On the first layer, I placed the reflective layer “outwards” facing the door, as there is a small air gap between the panel and most of the steel door material due to a decorative “indent”. This first layer goes around the window frame. I would mark each piece of foam with a template, then use a carpenters square to cut straight (and mostly perpendicular) lines.

In the case of the 2nd layer, I had to freehand trace the curves with my razer knife. To keep the reflective side looking nice on the 2nd layer, I would mark and cut from the back, and then finish off the corners of the cuts from the reflective side.

The second layer fits over the window frame, so the openings are cut smaller, allowing light to enter, but covering up any opaque portions of the window or frame.This comes into play more on the front of my garage, which has decorative coverings over part of the square windows.

I faced the reflective side inward to reduce radiant heat transfer to the interior, and to match the reflectix aesthetically.

Two layers of this PolyIso 3/4″ insulation has an R value of 10, although there are some gaps between the layers, along with large openings cut out for the windows, but I prefer the natural light over thermal benefits of covering the windows entirely.

The take-away message here is if you have the choice, always pay extra to buy the insulated garage doors from the factory, as retro-fitting insulation takes time and money.

Howto: Trim pegboard to exactly match a framed opening

I have this window in the wall I’m putting pegboard up on. Because of the holes, pegboard does let some air and light in, but I decided to cut out the window opening so that I could operate it.

You could carefully measure the opening, cut a big section out of your pegboard panel, and then install it. But, because this opening would make my pegboard panel into a giant “C” shape, it would make installing it by myself excessively difficult. (Also, you have to measure and cut very accurately.)

I found it much easier to just install the full panel and then cut out the opening. I’m using a trim router with a following bit. After I cut out along the top, I hung it up with wire so that the panel I was cutting out wouldn’t fall down later on.

And then I cut out the other two sides. The downside of this technique is of course the copious amounts of hardboard sawdust, which does require a shopvac to clean up.
And of course, depending upon how you install the pegboard your cutouts may go through a series of holes. But, the edges are very close to the edge of your framing members.

Garage Door Insulation — Part 2 (Reflectix radiant heat barrier)

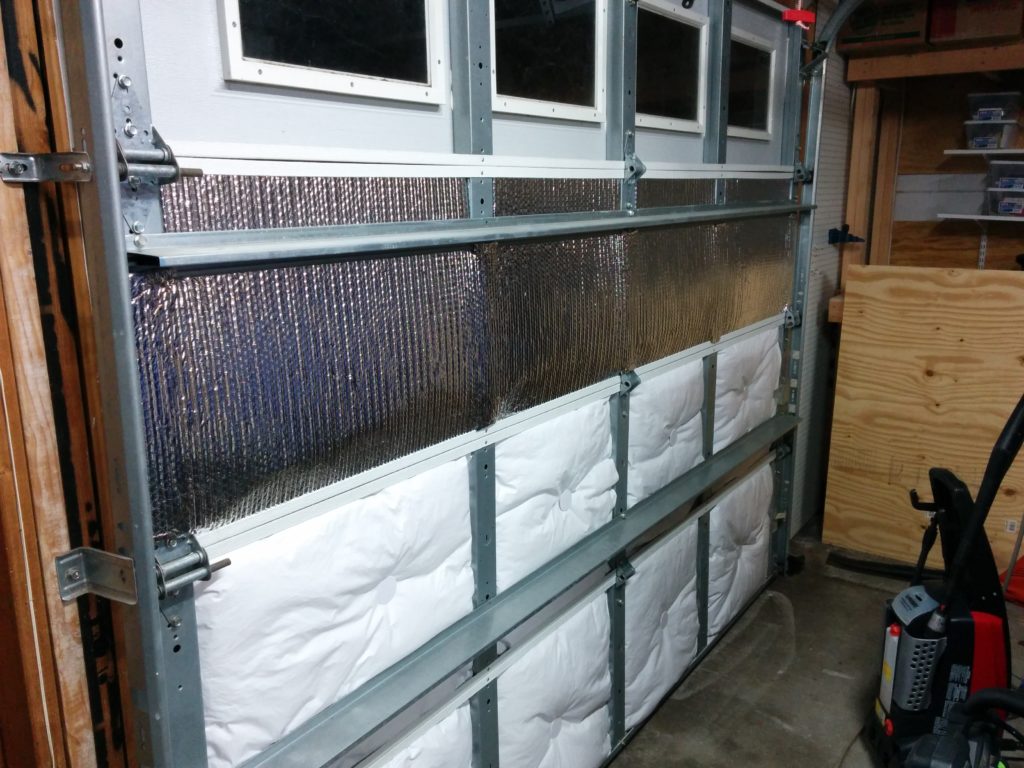
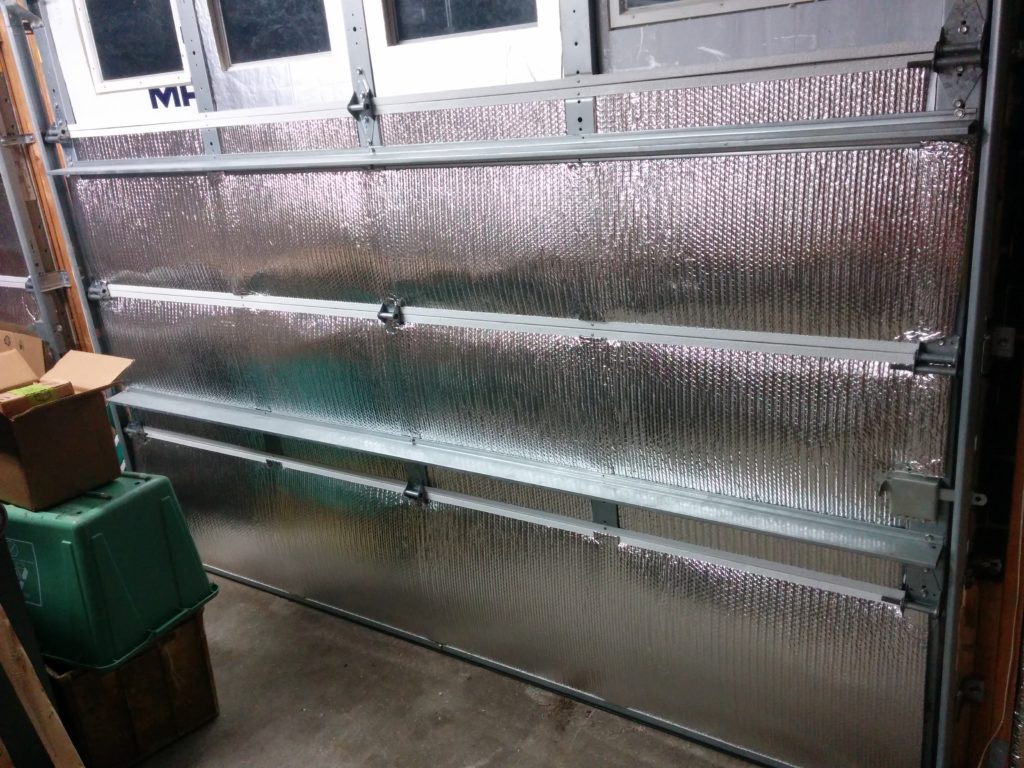
After installing the R-8 fiberglass batt with white vinyl backing, my garage doors were relatively well insulated, but I decided to add a layer of reflectix as a radiant heat barrier.

In this situation, with one side facing the open air of the garage, it adds about a 3 to the R factor. I also like the aesthetics of the silver bubblewrap more than the white puffy vinyl.

Unfortunately, unlike the Dow Corning fiberglass batt which is designed for garage doors and comes pre-cut at the factory to the correct height, I had to measure and cut the reflectix down from a 24 inch roll.

If you don’t have support bars, it’s relatively easy to install. Just make a few cuts to go around the upright bars and tuck the top and bottom inside the lips of the door panels. I was going to move the white plastic clips that hold the fiberglass in to outside the reflectix, but so far, a pure friction fit is holding it just fine.

The panels with support bars require more work. I guess it would be possible to remove the support bars and then re-install them on top of the reflectix, but I chose to measure and mark each bar location by cutting the edge of the reflectix, then taking it down and cutting the proper length. I installed the reflectix panel under the horizontal support bar, and made sure that the top lined up just under the height of the panel. Then I notched around the vertical bars so that I could get the top in place.

So far, they all stay in place with nothing more than a friction fit. The bottom panels that don’t have a horizontal support bar holding the reflectix bow the most when overhead and may pose a problem as they age, but if I run into issues, I’ll just take the plastic clips that hold the fiberglass on and move them to the outside of the reflectix to help hold it in place as well.

Next, I’m going to cut aluminum faced polyiso foam insulation for the spaces around the windows in the top panels.

Garage Door Insulation – Part 1 (Fiberglass door insulation)


My two car garage has four single wide doors. Two in the front, and two in the back, and they had no insulation. If you ever buy a new garage door, pay extra to get the insulated panels, otherwise, somebody may have to retrofit insulation later on.

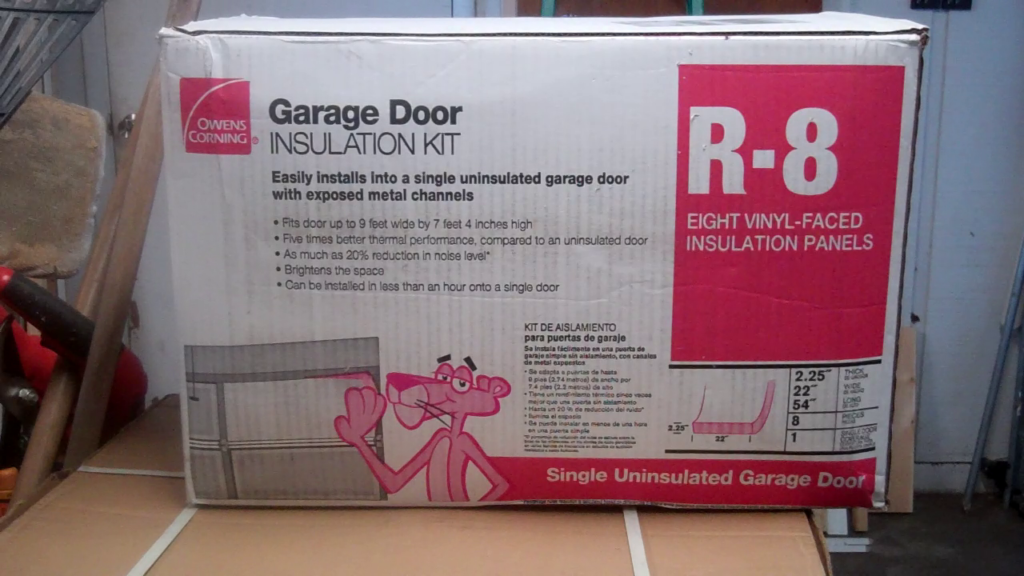
I used 3 kits from Owens Corning that comes with R-8 fiberglass bat and plastic mounting clips. Because I’m only using it on the windowless bottom 3/4 of each door, I was able to   use 3 kits to insulate all 4 doors. I’ll be doing something different around the windows.
 

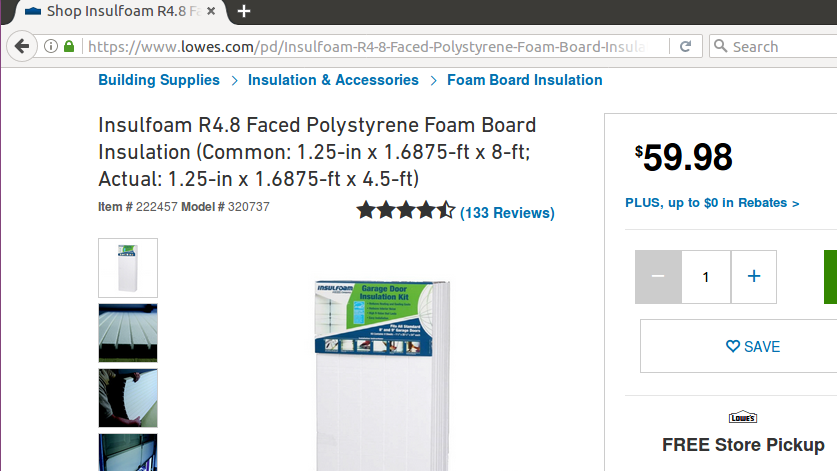
The other option is an R 4.8 Faced Polystyrene foam board kit, which is $20 cheaper per kit, but doesn’t offer as much insulation value, and would have required that I remove some support bars to install. Plus I hate cutting polystyrene as the beads get everywhere.
In addition to a pair of medium gloves, each kit came with two extra pieces of foam tape, 2 pairs of plastic clips, and a piece of vinyl repair tape.

I used acetone to remove the paint where I was going to be putting the foam stickers to mount the back half of the clips. I put up 12 foam squares at a time, and then put up 12 clips. You want to roughly center them in the openings. Where there were support bars, I centered into the remaining opening.
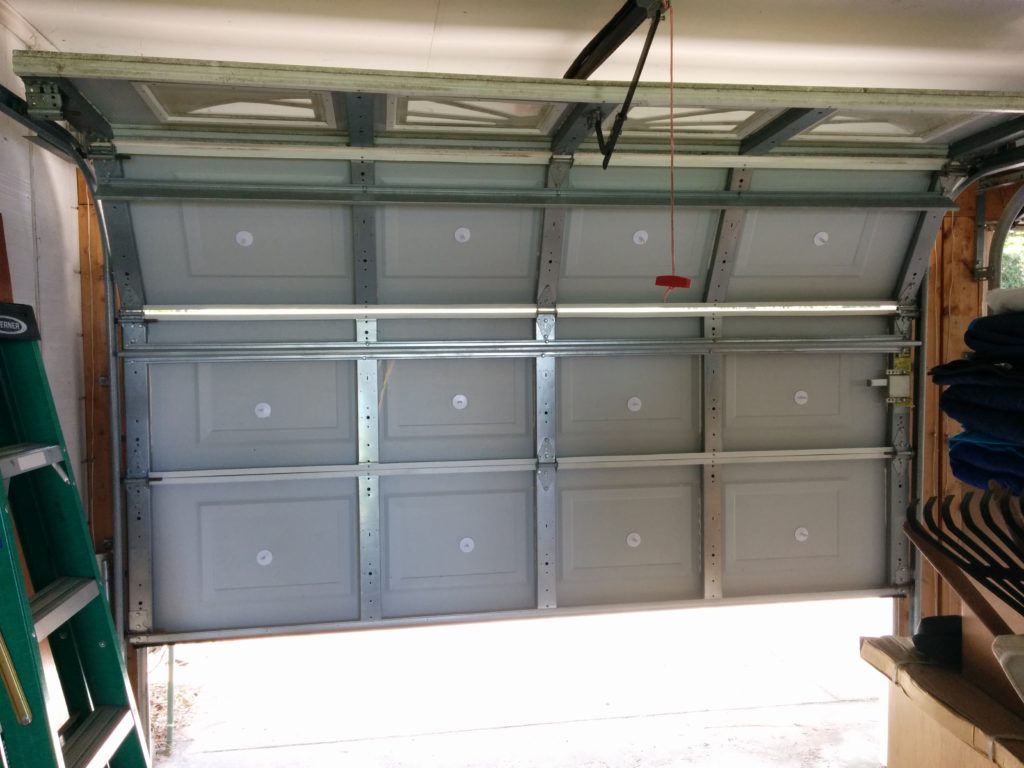
Then it’s just a matter of measuring each opening, and cutting your fiberglass batt’s about 1″ wider. The height comes pre-cut from the factory for standard garage door panels.

The kit includes a pair of medium plastic gloves, and you’ll also want a long sleeve shirt when handling the fiberglass. Then you just push the batt into the opening. After you are happy with how it is centered, you push down to find the end of the plastic clip, cut a small X in the vinyl with a razer knife, and push a mating clip onto it. The finished door is nice and white and puffy.
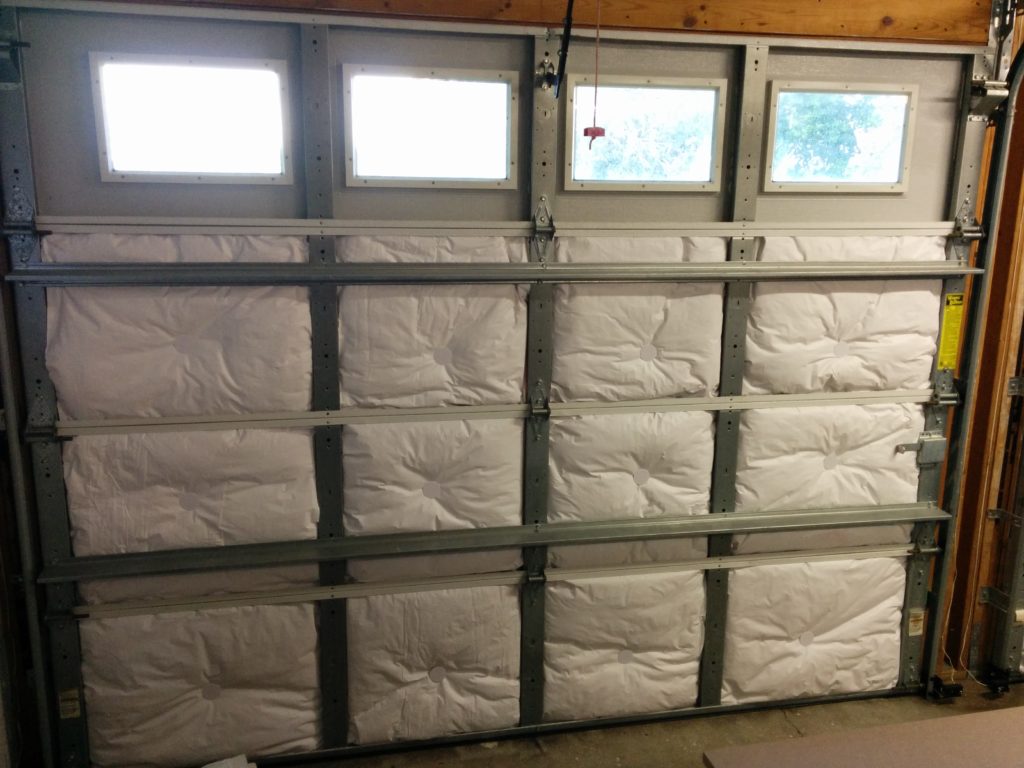
 

So far, friction and the plastic clips have held in all the fiberglass batts just fine. I’m probably going to be adding a layer of reflextix as a radiant barrier over the top of the   fiberglass. [I also plan on using foam insulation around the windows.]

There is a definite temperature difference between the insulated and non-insulated (top window) panels. Outside in the shade, the insulated panels were 99 degrees, and the uninsulated panels were 95 degrees, as they were being cooled more by the inside of my garage. (A bad thing…) Inside, the uninsulated panels were 94 degrees (a one degree difference from the outside) while the insulated panels were 88 degrees (an 11 degree difference).

Next up, wall and attic insulation.