Pokeball Decoration (MDF, Paint, Resin)

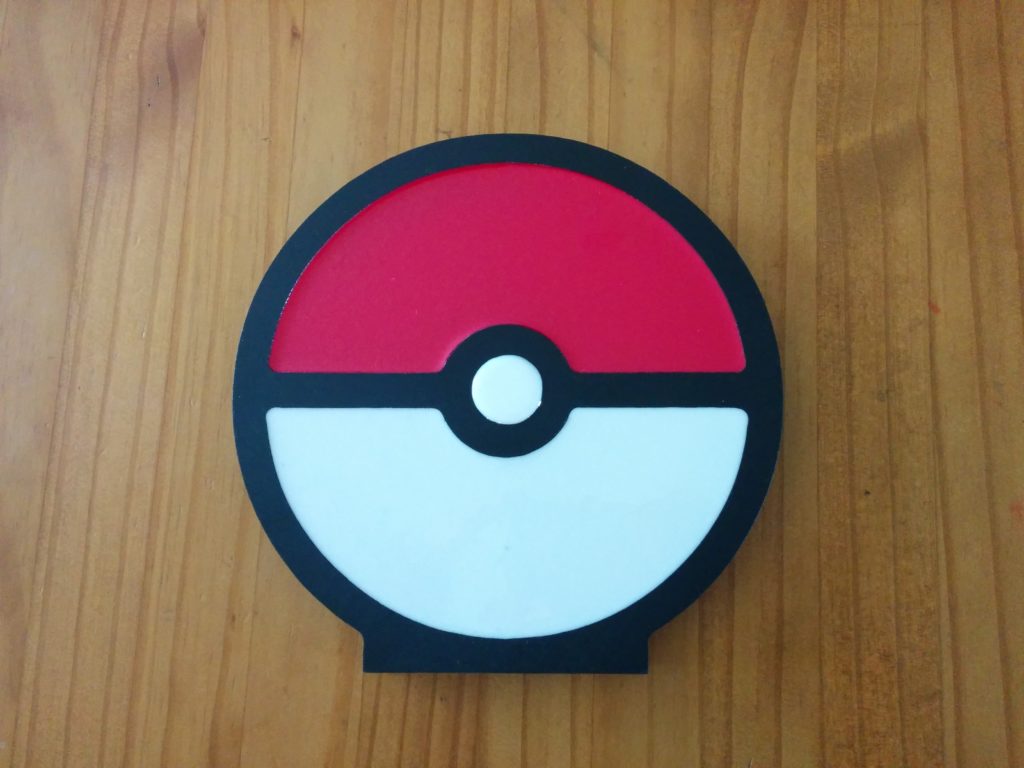
I built this for my son. It was also a learning project for my new Maslow CNC Router (and using tinted casting resin to fill in pockets for a mixed-media project).

Videos of the process:
1 – How to design the digital file

2 – How to convert the SVG file into Gcode using the Makercam.com webapp

3 – Running the Maslow CNC Router and cutting out the part.

4 – Hand finishing, spray-paint and colored resin pouring to finish the piece.


You can download a zip file including the SVG and gcode (.nc) files here: pokeball_files

Maslow CNC “hanging router” review

I have completed a few projects using my Maslow CNC “hanging router”. Although I’m not yet an expert on its use, I feel like I have enough experience for a general review. The bottom line is that it provides excellent value for the cost for a hobbyist, but will not replace a professional gantry style CNC router for professional use.


The source of the Maslow’s sub $500 cost is its unique motion system, which relies on gravity working against two variable length chains to position the router sled, which must slide on a flat work piece. Because you provide your own router, build the frame yourself, and cut out the final round sled using a temporary sled that you cut by hand, the electro-mechanical parts of the Maslow can ship in a large USPS priority mail box.

My Maslow is the 2nd generation that includes a ring for two chain carriages to roll along. The rolling chain carriages allow the two support chains to virtually “end” at the center of the sled where the router bit is positioned. This mostly eliminates negative effects of sled rotation and simplifies the kinematics of the machine. Earlier versions tried to model and account for the sled rotation with chains anchored off-center, or used a mechanical linkage system to achieve a similar effect. In my opinion, the ring and carriages is the best solution.

Continue reading

Maslow CNC setup

After building the frame for my Maslow CNC machine, the rest of the setup was just a matter of assembling all of the pieces.   I used 1/4-20 “superstrut” nuts and 1/4-20 machine screws to mount the motor brackets. The slots in the brackets are almost, but not quite wide enough to let 1/4-20 screws go through them, so I had to drill them just slightly larger in the two spots I mounted the screws.
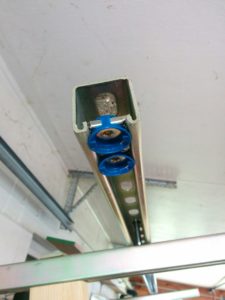
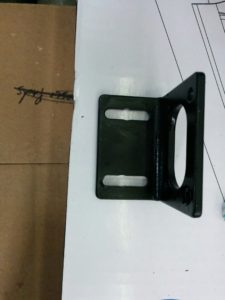
     

I made use of one of the four motor mounting holes to place an extra long (60mm) M4 screw holding a plastic idler that keeps the chain wrapped around the sprocket to avoid chain slips under tension.   I’m currently using a binder clip to keep the plastic idler from “crawling up” the screw and eventually letting the chain fall onto the screw.

I considered buying a shorter screw to keep the plastic idler from crawling up the screw, but if I ever want to manually adjust the chain position on the sprocket all I need to do is remove the binder clip and slip the plastic idler up out of the way, so I’m leaving it as-is for now.   I also paid Lowes an outrageous $5 for a set of two blue plastic end caps to make the end of my superstrut look nice.
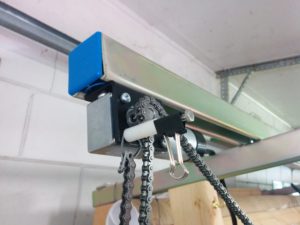
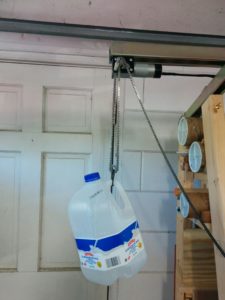


You can see that I also hung the far end of the chain from the idler mounting screw, and adjustable tension is placed on the slack side of the chain with an idler sprocket weighted down with a few pounds of water. (So far I just put a few inches of water in each jug, and haven’t needed to add significant weight.)
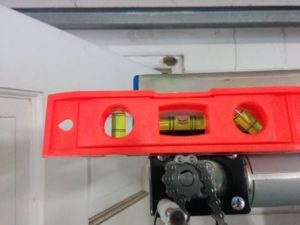
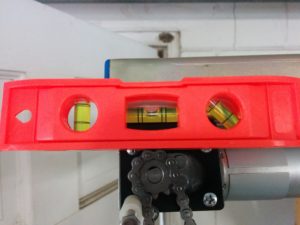
I found that I could balance a small level directly on top of the chain and use the bubble to get a tooth of the sprocket aligned vertically within a 10th of a degree. (At least, there was a small but visible difference between the bubble between presses of the 0.1 deg button in the software…you’ll probably have to click the photos to zoom in before you can see it…)
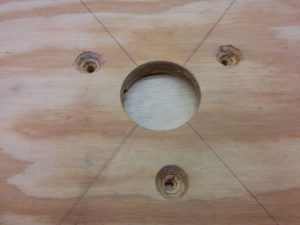
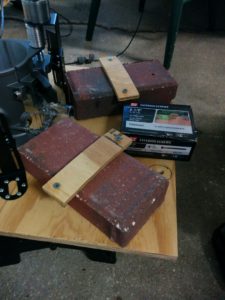
 

I built a temporary sled out of a piece of plywood that was left over from covering a window during Hurricane Irma. Instead of bothering to countersink the heads of the provided brick mounting bolts, I just used deck screws to mount the temporary bricks.   I also was able to use the (too short) screws originally meant for the clear router base to mount the router to the plywood by abusing the heck out of a large countersink bit to REALLY countersink the screws so the short length was no longer an issue.
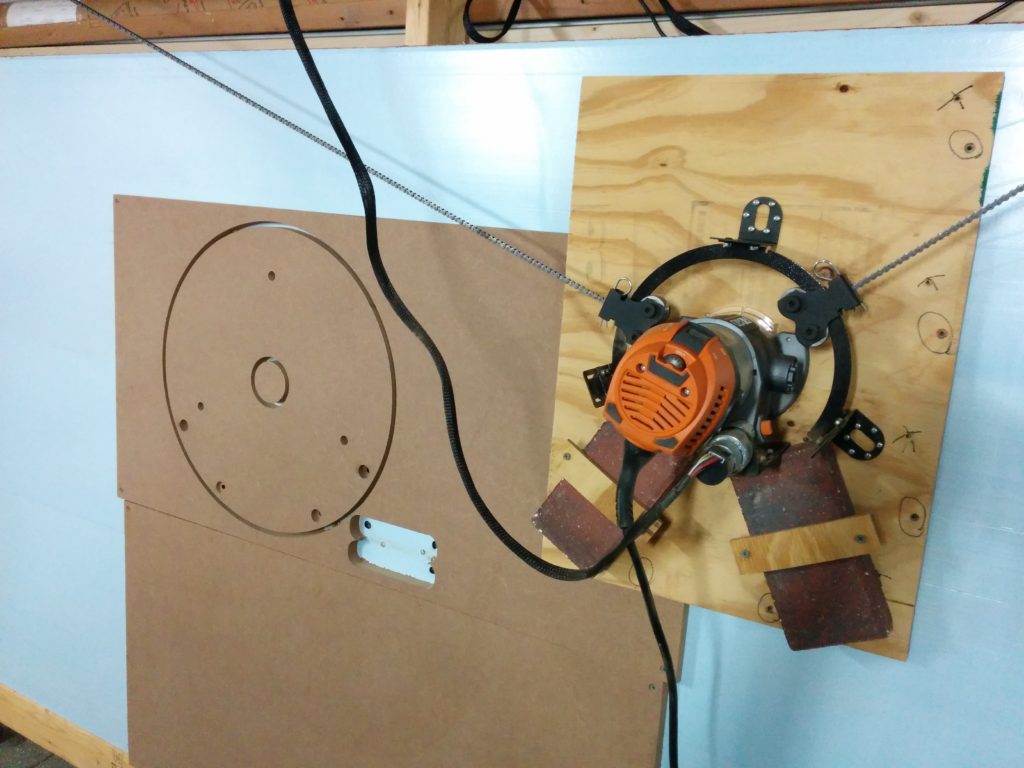
After calibrating the machine using the foam waste board, I used the temporary sled to cut a fancy round sled out of some MDF I had laying around. I don’t like the super fine sawdust that MDF generates, but it is more slick than regular plywood, which I figure is a good property for a router sled to have. (Plus, already had it laying around….)


Long Board & Sheet Storage + Maslow CNC Frame

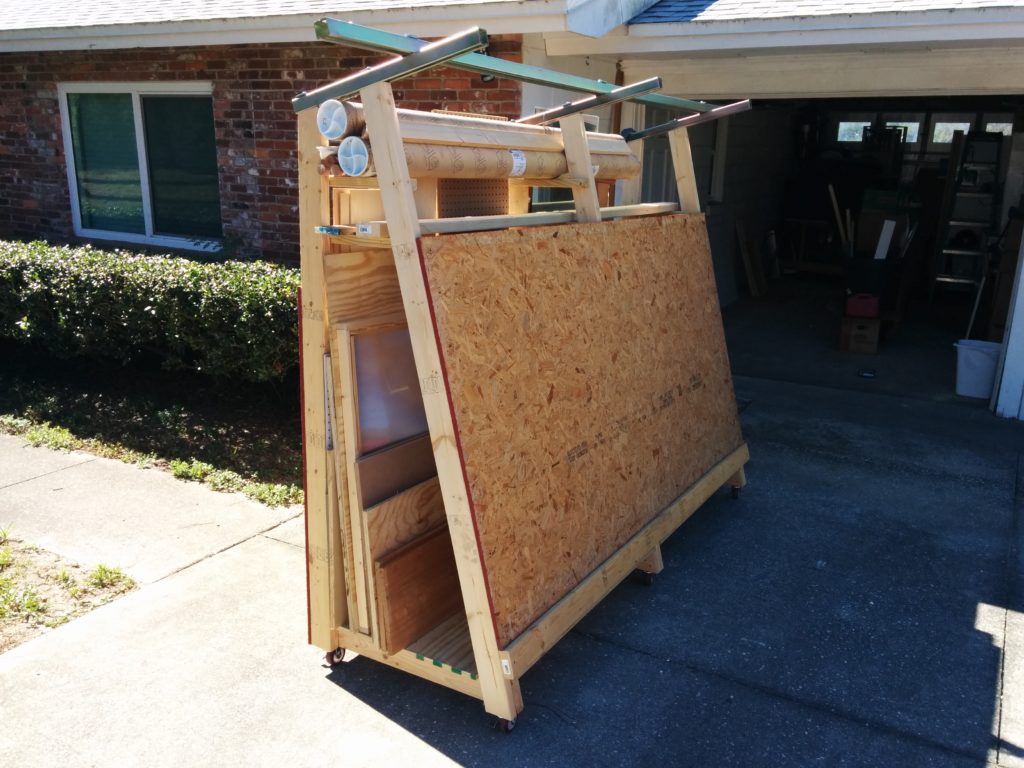
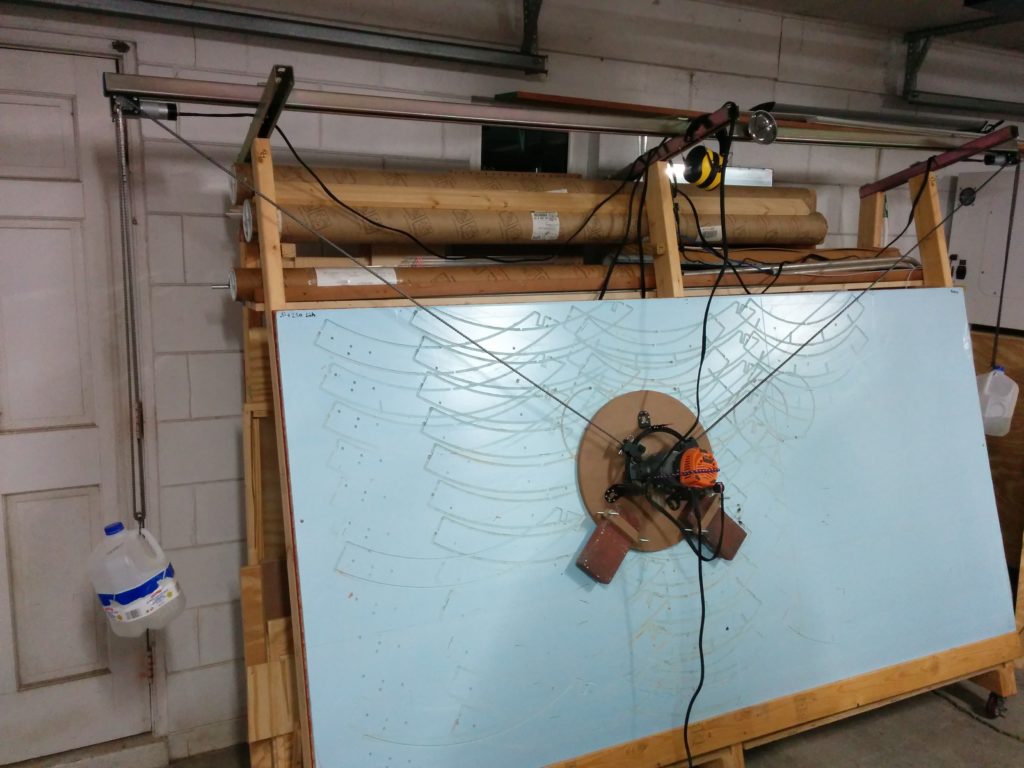
I built this rolling triangle shaped frame as a multi-purpose piece of shop furniture. It’s primary function will be as the frame for my maslow CNC router, which is why the front face is at a 15 degree angle and it has the 10′ unistrut beam at the top to mount the chain drive motors on.

But, if I’m going to have a frame to hold a 4’x8′ sheet in my garage, I wanted the back of the frame to serve a useful purpose, so I integrated sheet and board storage into the rolling frame. I can store multiple 4’x8′ sheets inside, along with many long boards in the top. It also stores various pieces of flat plastic and glass I’m saving for important future uses.   Continue reading