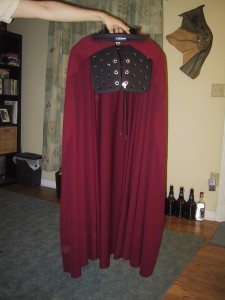
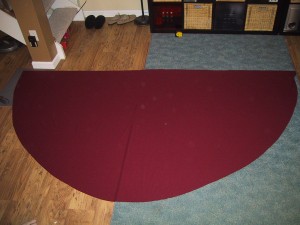
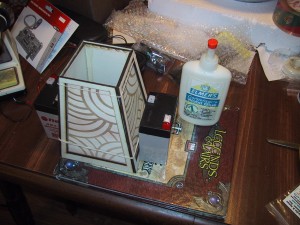
Today I started on the actual costume part of my costume (as opposed to the props) and found 3 yards of remnant fabric ( $1 per yard!) that is approximately the correct color for my mysterio cape. Because the costume needs something that is closer to a cape than a full cloak, I made a “half-circle” cloak, which typically falls over the shoulders but doesn’t completely close in the front. [A full circle cloak is MUCH more massive and would hide most of your body.] The trick to cutting an even half circle is to fold your fabric in half, have somebody hold a piece of string at the corner, and trace out a quarter circle (with a washable fabric marker if you have one). When you cut out the quarter circle and open your fabric back up, both sides of your half-circle match. Then do the same folding trick when you cut out a neck hole. Remember, you can always cut more, but adding fabric is hard. If you get lucky and find a knit fabric that doesn’t fray, you may not even have to hem the edges.
Tag Archives: mysterio
Mysterio Bracers: Hooks
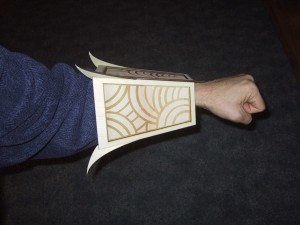
I glued the “hooks” or “spikes” to the mysterio bracers and they look very nice! I had been considering using clay or shape-lock to “fill in” the areas around the hooks to make them more “3D”. But after examining them, I think I may simply leave them as they are now. I kind of like the flat/sharp look. Next up, selecting cloth for my costume, and matching spray paint.
Mysterio Bracers Assembled
Mysterio Bracers, wooden panel
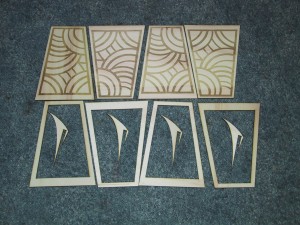
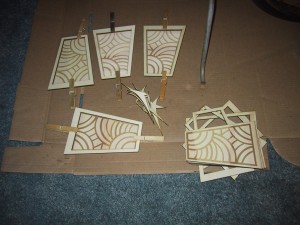
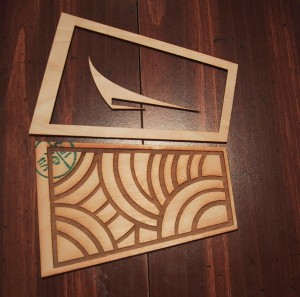
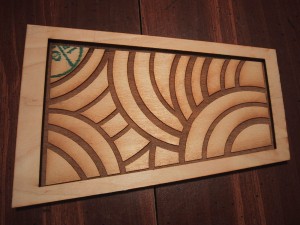 With lots of help from my friend Christian (Check out his comic!), I got a template made for my Mysterio bracer panels. The panel is actually assembled out of two layers for an extra 3D effect. Layer one is the bottom, with the “circle-hashing”, and the other layer is the frame around it. The small green circle is pre-existing marks on the craft plywood that will be covered when I paint the bracers once they are fully assembled. In this picture you can see the different laser cut parts that I will be replicating (8x) to make two bracers. The power level settings for this particular panel were 15% speed, 100% power, 2500 Frequency on a 40 watt laser engraver from Epilog.
Mysterio Costume – Wearing the Sphere on a Cowboy Collar
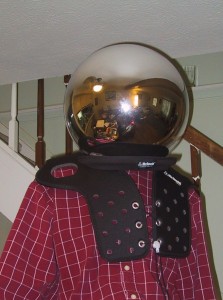
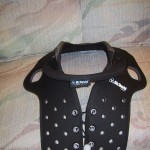
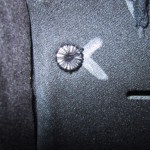
I purchased a McDavid Cowboy Collar (A piece of football protective gear) and cut the collar part off the back and moved it to the front to help support the sphere. The whole thing fits well over my shoulders, and with the modification of moving the collar to the front and sewing a few magnets onto the shoulders, it holds the sphere relatively well. I used black nylon thread to sew the ring magnets and the collar piece onto the base unit, and I also used GOOP flexible contact cement to add strength to the front collar part. Because the collar part is spanning the front, the laces on front are no longer strictly needed to close the gap. I made it just large enough to fit over my head (with a bit of bending). My plan is to rig the front part of my cape to fit between the sphere and the top of the collar (using the collar to hold it up) to disguise the join between the sphere and collar and hide the collar entirely. (Luckily, this is 100% consistent with Mysterio’s costume.)
Mysterio Bracers – Paper Prototype
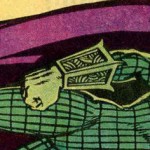
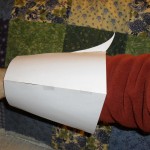
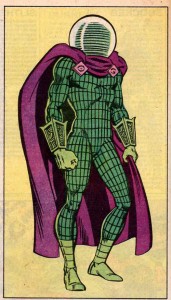
The photo to the left is my model for what I am trying to re-create. The photo on the right is my first prototype. What’s that you say, it looks like you just cut up a few pieces of paper and taped them together? Well, yes, yes I did. But I verified that they make the correct shapes, in the correct size, and soon I will cut them out of craft plywood using the same measurements. But first, I have to trick one of my graphically inclined friends into doing the circle style crosshatching. The curved hooks can not be done out of 2D material (paper/plywood) so I am making a plywood hook shape as the skeleton that I will fill out with modeling clay or plasticine to give the (8) hooks a curved 3D appearance.
Mysterio Sphere – Rim Reinforcement
 As you may have guessed from this post, I spent another Saturday cutting the bottom(s) off of glass sphere(s). Yes, plural. I broke my replacement sphere before I was a quarter of the way around. This was due to one of the following reasons: 1) I had placed packing tape over the blade path, hoping to reinforce the glass. or 2) my tile saw blade holding bolt had loosened. Regardless, I cracked the sphere quite well.
So, I moved on to my backup replacement sphere (number 3 for those of you keeping track at home). I had already figured out that sharpie ink will NOT stick to glass when sprayed with water from a tile-saw, so I continued to use masking tape to mark where my cut should be on sphere number 3. I also placed packing tape on the non-cut side of the masking tape, as I was impressed with how well it had contained the breakage from sphere 2. (I plan on using packing tape to cover a large portion of the inside of the sphere (except the viewport) as a poor-man’s tempered glass substitute. )
Continue reading
Mysterio voice effects
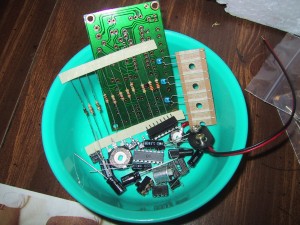
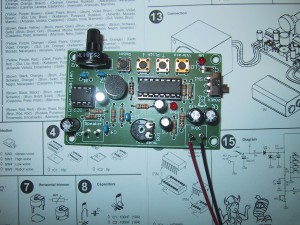
I spent an hour assembling an MK171 digital voice changer kit from Ramsey Electronics for my Mysterio costume. The plan is to place the microphone on a wire inside the glass sphere with the speaker mounted outside so that I can communicate. I will probably have a head operated button inside that gives me push-to-talk capabilities. I picked the voice changer kit because I felt it would give me more options than a simple amplifier.
Although the voice changer kit only cost $15, I still have to purchase an external speaker to use with it.
Depending upon the acoustics of the sphere, I may also need a microphone outside with an earphone wire running inside to hear people talking to me.
I spent a much larger amount of money on an LED strobe light kit, which will hopefully drive flashing lights from Mysterio’s cape clasps or sphere.
Breaking the Sphere….or…travels to yuppieville
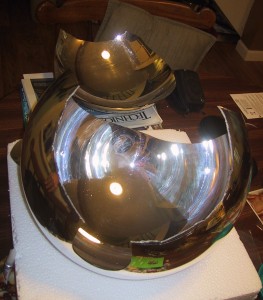 I purchased a football “Cowboy Collar” which I think will be a good way to mount and carry the glass sphere. Unfortunately, I got excited when it arrived, and put it inside the hole in my (previously cracked) sphere before I used epoxy putty to reinforce the rim. Digression: An egg is quite strong to pressure applied to the outside. To break it, you want to create a crack in the shell, and pull the crack apart. This is exactly what I did by sawing a hole in the bottom of my sphere, and then placing a (slightly compressed) cowboy collar inside of it. CREAK! The linear crack I had created when cleaning up the edge of the cut with the tile saw extended itself all the way to the other side of the sphere. At this point, I was considering switching my costume to that of Mysterio in Friendly Neighborhood Spider-Man #11-13, where his sphere gets cracked.
After searching the Internet for more glass spheres, I finally called the Pottery Barn main telephone number and was told the item (SKU number 702 1991) had been discontinued and it was not available for order over the Internet or phone. But she did mention that one of their stores still had some stock, and it turned out to be in Atlanta!
Continue reading
Cutting the Sphere, or, I hope Mysterio had tempered glass…
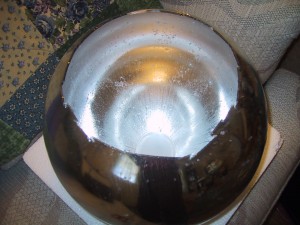 After ordering a tile saw and diamond blade ($80…twice the cost of my sphere! Guess I’ll have to re-tile the kitchen now…) I was able to cut the bottom off of the glass sphere that is going to serve as my Mysterio costume helmet. Once I got away from the hole at the bottom, it was quite thin (1/8″ thick) and relatively easy to cut with the diamond blade. As you can see in the picture above, the edge was a bit rough. While cleaning up the cut I did place two cracks in the sphere, which I have hopefully fixed with glass glue. (Update: the fix didn’t work.)
Continue reading
